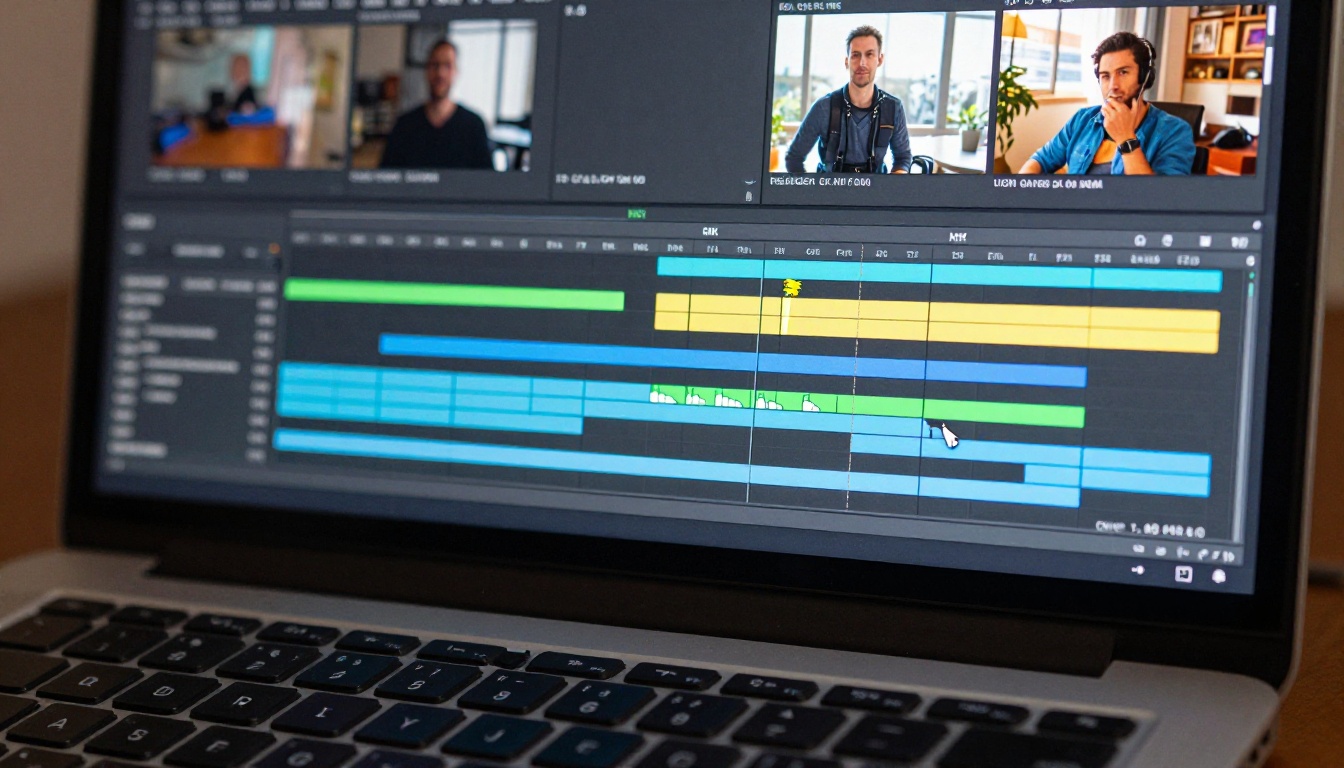
If you've ever spent three hours cutting a two-minute video, you already know the problem. Video editing is brutally repetitive, and the majority of that time disappears into tasks that have nothing to do with creative decisions: trimming silence, syncing captions, organizing 40 clips into a usable timeline, upscaling footage that was shot two years ago on a camera that doesn't match your current setup. AI doesn't replace editorial judgment, but it does eliminate the mechanical work sitting between your raw footage and a polished timeline. Here's exactly how to use it.
Why Manual Editing Still Costs You Hours
The average YouTube video takes 1 to 3 hours of editing per finished minute of content. A 10-minute video is a full workday. For short-form creators producing multiple pieces of content per week, that math gets unsustainable fast.
Most of that time is not spent on creative choices. It's spent on:
- Reviewing raw footage to find usable takes among dozens of bad ones
- Trimming and cutting silence, filler words, repeated phrases, and dead air
- Adding captions line by line, timing them to the frame
- Color matching clips recorded at different times of day or under different lights
- Upscaling and exporting at multiple resolutions for different platforms
- Hunting sound effects through royalty-free libraries and timing them manually
Every item on that list is a candidate for automation. The question isn't whether AI can handle these tasks. It's which tool to use for each one.
💡 Time audit: Before adopting any AI tool, track where your editing time actually goes for one project. Most creators discover that 60 to 70 percent of their time is in tasks that require no creative judgment whatsoever.

What AI Actually Does to Your Timeline
AI video tools work across four distinct modes. Understanding the difference helps you choose the right tool for each problem rather than applying one model to everything.
Structural automation handles the mechanical operations: trimming silence, splitting clips, merging segments, extracting frames. These tools replace repetitive manual work with consistent, fast execution.
Generative editing rewrites what's already in the footage. Text-based editing models analyze every frame and apply your described changes across the entire clip: new backgrounds, different lighting conditions, altered subject clothing, changed environments.
Enhancement improves existing quality without changing content: super-resolution upscaling, noise reduction, stabilization, and sharpening all fall here.
Addition adds something new: generated captions, AI sound effects, ambient audio, background music composed to match your footage's mood and pacing.
Here's a breakdown of what's now fully or partially automatable with current AI tools:
| Task | Time Saved | Method |
|---|
| Trimming silence and filler | 60-80% | Smart cut detection |
| Captioning | 90%+ | Speech-to-text with auto-timing |
| Upscaling footage | 100% | Super-resolution models |
| Background removal | 100% | Semantic segmentation |
| Object removal | 85%+ | Inpainting with frame tracking |
| Restyling clips | Variable | Text-based generative editing |
| Sound effects | 90%+ | Visual-context audio generation |
| Format conversion | 100% | Aspect ratio reframing |
Text-Based Editing Changes Everything
The biggest paradigm shift in video editing right now is the move to text-based editing. Instead of hunting for the right frame on a timeline and manually adjusting elements, you write what you want the clip to look like, and the AI applies your description consistently across every frame.
This sounds abstract until you use it. The first time you type "change the background to a modern coffee shop with warm afternoon light" and watch a full clip transform without touching a mask or a compositing layer, the workflow implications are immediate.
Lucy Edit 2 for Instant Clip Changes
Lucy Edit 2 by Decart lets you edit any video using a plain text prompt. Swap environments, change clothing and accessories, alter lighting conditions, or add and remove foreground elements, all while the model maintains temporal consistency so subjects move naturally across the changed frames.
This is particularly valuable for brand content where you need the same scene adapted to multiple contexts: the same product demo in five different environments, the same interview in a clean studio and a field setting, the same social media video with different seasonal backgrounds. What would take hours of green screen, compositing, and color correction work takes minutes with a well-written prompt.
The edit strength parameter controls how aggressively the model applies changes. Low strength keeps the core composition intact and modifies only the specified elements. High strength allows full scene-level transformation. Starting at 30 to 50 percent and iterating up produces the most controlled results.
Wan 2.7 Videoedit for Stylistic Overhauls
Wan 2.7 Videoedit takes a complementary approach. Built on Wan's 2.7 architecture, which handles temporal consistency across longer clips better than most comparable models, it's optimized for broader stylistic and atmospheric changes: altering the time of day, changing the emotional tone of a scene, modifying lighting from harsh midday to golden hour, or shifting the overall aesthetic without touching the subject.
The distinction matters in practice. Use Lucy Edit 2 when you need to change specific elements within a scene. Use Wan 2.7 Videoedit when you want to change how the entire scene feels.
Also in the text-based video editing space: Kling o1 handles scene-level rewrites with particular strength on subject behavior and interaction, and Gen4 Aleph by RunwayML focuses on high-motion-fidelity restyling, maintaining sharp motion even through aggressive style changes. LTX 2 Retake takes a different angle entirely: rather than changing the whole clip, it lets you select specific sections of a video and re-generate just those frames while keeping the surrounding footage intact.
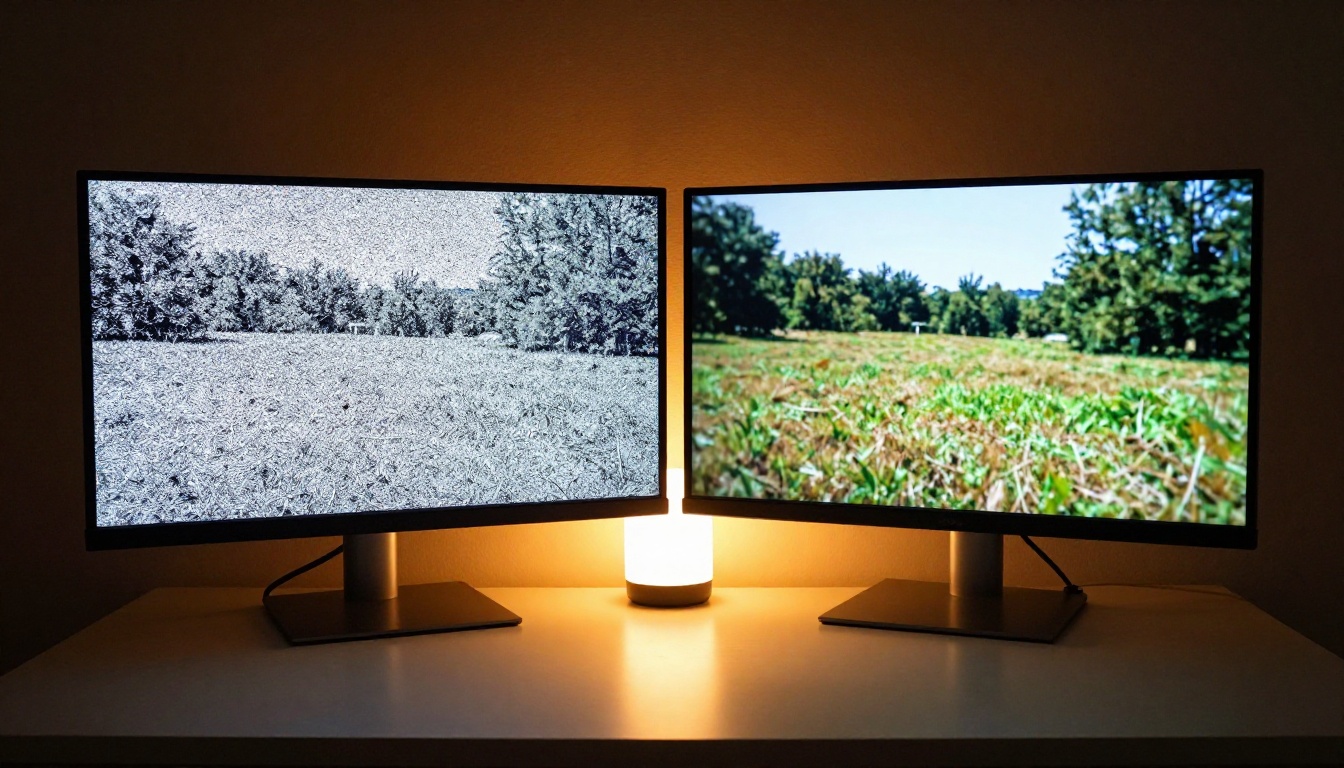
Every creator has footage on a hard drive that's too good to abandon but too low-resolution to use: old drone clips, archival interviews, travel footage shot on a phone from three years ago. AI upscaling recovers this material without going back to location.
Real ESRGAN Video for Sharp 4K Output
Real ESRGAN Video uses enhanced super-resolution GAN architecture trained specifically on video content. Unlike simple bicubic scaling, it reconstructs fine detail at the pixel level: skin texture, fabric weave, foliage, hair, all the micro-detail that low-resolution sensors and heavy compression destroy. The output is footage that reads as natively 4K even when the source is 1080p or 720p.
For creators working with archival material, this cuts entire re-shoot budgets. A travel documentary built from older footage no longer needs expensive return trips to locations that have changed in the years since original filming.
Crystal Video Upscaler for 4K and Beyond
Crystal Video Upscaler handles fast-moving content with particular strength. It accounts for motion vectors during the reconstruction process, which preserves sharpness in sports footage, action sequences, fast camera pans, and high-motion drone shots where standard upscalers introduce blur or ghosting artifacts.
For talking-head content, interviews, and product demonstrations where motion is slower, Video Increase Resolution by Bria targets 8K output with a focus on fine detail preservation in relatively static scenes. It's the right choice when pixel-level sharpness in skin, fabric, and product surfaces matters more than motion handling.
Captions, Audio, and the Boring Stuff (Automated)
Not every time-consuming task in video editing is glamorous. Captions, ambient sound, and audio replacement are essential for modern content distribution, but they're among the most tedious parts of any post-production workflow.
Auto Captions in One Click
Autocaption by Fictions AI generates animated, styled captions from your video's audio track automatically. No transcription app, no manual timing, no copy-pasting lines into a subtitle editor. It reads the speech, aligns each word to the correct frame, applies visual styling, and outputs a ready-to-publish captioned video.
For short-form content where 85 percent of mobile viewers watch without sound, captions are no longer optional. They're a baseline performance requirement for every platform. Doing them manually for every video, even at 20 minutes per video, represents hours per week of entirely eliminable work.
AI Sound Design Without a Library
Thinksound analyzes your footage visually and generates contextually appropriate sound effects synchronized to on-screen events. It understands what it's watching: footsteps on different surfaces, impacts, environmental ambiance, movement through space. The output is usable production audio, not generic library sounds dropped on a timeline.
For atmospheric content, MMAudio generates AI-composed ambient audio that matches the mood and pacing of your footage. Pair it with Video Audio Merge to layer or replace audio tracks cleanly without re-rendering the video or introducing sync issues.
If you need to separate audio from footage entirely, Extract Audio handles clean extraction in seconds, useful for voice-over workflows or when you need to reprocess audio independently before recombining.
Sometimes the problem isn't the edit structure, it's something in the frame: a logo, a production crew member, an accidental brand sign, a microphone boom that dipped into the shot. Traditional solutions require manual rotoscoping, which is slow, technically demanding, and expensive to outsource.
Remove Objects Without Drawing Masks
Video Erase Object by Bria handles object removal across video frames with automatic frame-to-frame tracking. Identify the element you want removed, and the model propagates the removal through the clip, using inpainting to reconstruct the background realistically on every frame.
Compared to manual rotoscoping, which can run 4 to 8 hours per minute of finished video, AI object removal takes minutes and requires no masking expertise. The most practical use cases: removing watermarks from reference footage, cleaning up production errors, removing repositioned equipment from frame edges, and eliminating accidental signage that creates licensing issues.
Background Removal Without Green Screen
Video Remove Background by Bria runs semantic segmentation across footage to separate subjects from backgrounds frame by frame, with no green screen or controlled lighting setup required. This opens compositing workflows for creators who shoot on location without studio infrastructure.
Combined with Reframe Video by Luma, which automatically converts 16:9 horizontal footage into 9:16 vertical format while intelligently tracking and repositioning subjects, these two tools alone cover the most common post-production headaches for multi-platform distribution.
For basic clip operations, Trim Video and Video Split handle precise segment cutting, and Video Merge combines clips into a single clean output without generational quality loss from re-encoding.
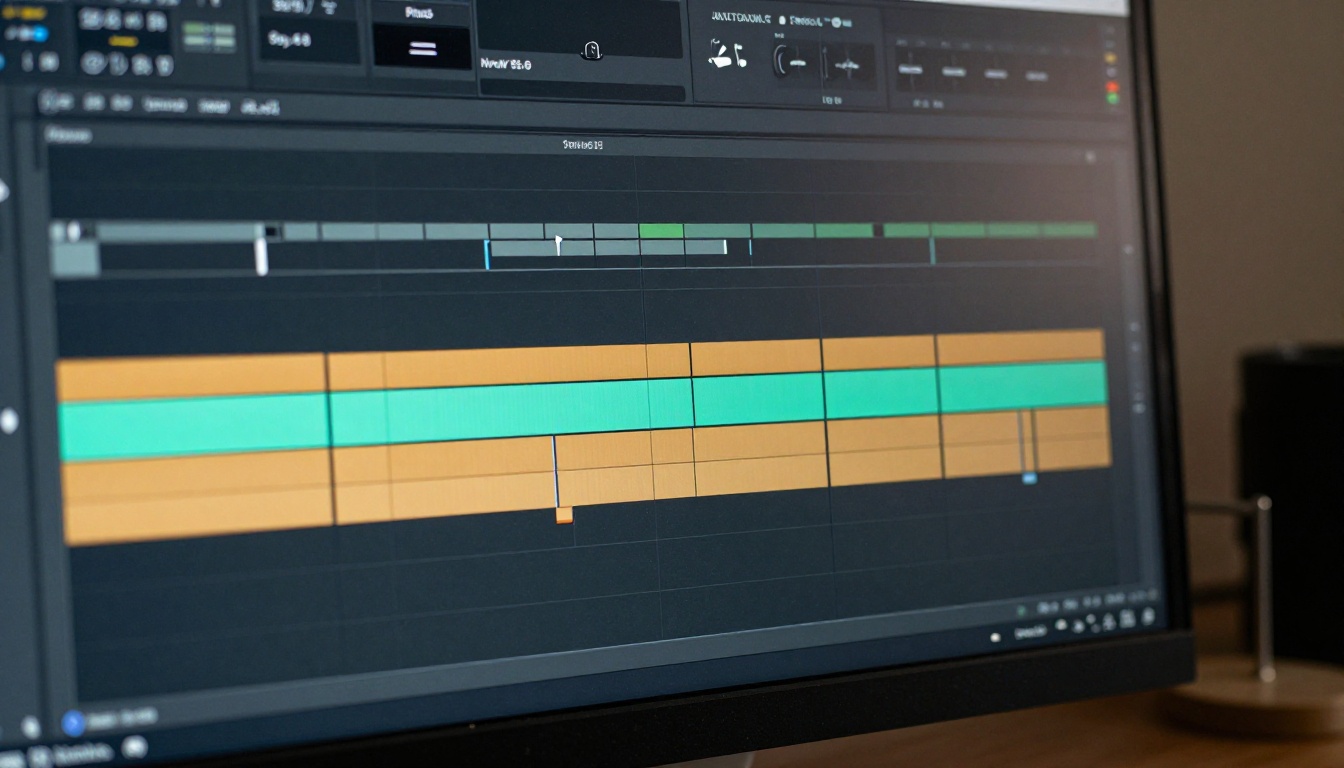
PicassoIA's video editing tools run entirely in-browser with no downloads or local processing required. Here's a practical step-by-step workflow for text-based editing using Lucy Edit 2 or Wan 2.7 Videoedit:
Step 1: Prepare and upload your clip
Both tools accept MP4 and MOV formats. For fastest processing, work with clips under 30 seconds. If you're editing a longer video, split it first using Video Split and process segments separately, then recombine with Video Merge.
Step 2: Write a specific edit prompt
Vague prompts produce inconsistent results. Instead of "change the background", write: "Replace the office background with a modern coffee shop interior, warm lamp lighting, brick walls, afternoon light through windows." The more environmental and lighting detail you include, the more temporally consistent the output will be across frames.
Step 3: Set parameters
For Lucy Edit 2: the edit strength slider controls transformation intensity. Start at 40 percent and iterate up if the changes are too subtle. Going above 70 percent on complex clips can introduce artifacts at frame transitions.
For Wan 2.7 Videoedit: specify whether the change is stylistic (overall mood, lighting, atmosphere) or structural (specific elements, subject changes) in the prompt itself. The model responds differently to each framing.
Step 4: Review and iterate
Most clips need two or three prompt iterations to get the result right. The first run calibrates the baseline, the second and third refine specific elements. Save each version before iterating so you can compare outputs and revert if needed.
Step 5: Enhance and export
Before downloading, run the output through Real ESRGAN Video or Crystal Video Upscaler to sharpen the final export. Text-based editing models sometimes introduce slight softness in background areas, and upscaling restores the full-resolution sharpness.
💡 Pro tip: For the cleanest text-based editing results, shoot against relatively static backgrounds. Complex moving backgrounds increase processing time and reduce frame-to-frame consistency in the output.
Build a Faster Editing Stack
The real productivity gain comes from combining tools into a repeatable workflow for your specific content type. Here are three practical stacks built from tools available on PicassoIA:
For YouTube creators:
| Step | Tool | What It Does |
|---|
| 1. Cut silence | Trim Video | Remove dead air and filler segments |
| 2. Add captions | Autocaption | Auto-generate styled subtitles |
| 3. Restyle scenes | Lucy Edit 2 | Change environments via text |
| 4. Upscale output | Real ESRGAN Video | Sharpen final export to 4K |
For social media and short-form creators:
For professional video editors:
| Step | Tool | What It Does |
|---|
| 1. Erase objects | Video Erase Object | Remove unwanted elements from frames |
| 2. Restyle | Gen4 Aleph | High-fidelity scene restyling |
| 3. Fix sections | LTX 2 Retake | Re-generate specific clip sections |
| 4. Enhance | Crystal Video Upscaler | Push resolution to 4K with motion clarity |
Each workflow runs entirely in-browser on PicassoIA. No installing software, no maintaining five separate tool subscriptions, no context switching between applications mid-project.
The time reduction adds up fast. A social media creator producing five short videos per week, each taking 90 minutes to edit manually, could realistically cut that to 40 to 45 minutes per video using the stack above. That's 3 to 4 hours back every week, compounded across a year of production.
The fastest way to understand the time savings is to pick one clip from your last project and run it through a single tool. Start with something concrete: drop a talking-head video into Autocaption and see how long it takes compared to your usual captioning workflow. Run an old drone clip through Real ESRGAN Video and compare the output to the source.
Once you see what current AI video tools produce, the question shifts from "should I use these?" to "which parts of my workflow should I still do manually?" For most creators, the honest answer is fewer than they expect.
PicassoIA gives you access to every tool covered in this article from a single platform, no setup required. The video editing and AI video enhancement sections cover trimming, upscaling, background removal, captions, sound effects, object erasure, format conversion, and text-based restyling. Start with the one task you spend the most time on, and build from there.
Your next video could take half the time to edit. The tools are ready when you are.


