Shaky footage is one of the most frustrating problems in video production. You nail the shot, the light is perfect, the subject is in frame, and then you review it on a bigger screen and see the wobble. Every step, every breath, every road vibration is right there, destroying the professional look you were going for. The good news: AI has fundamentally changed how stabilization works in post-production, and the results in 2027 are genuinely impressive.
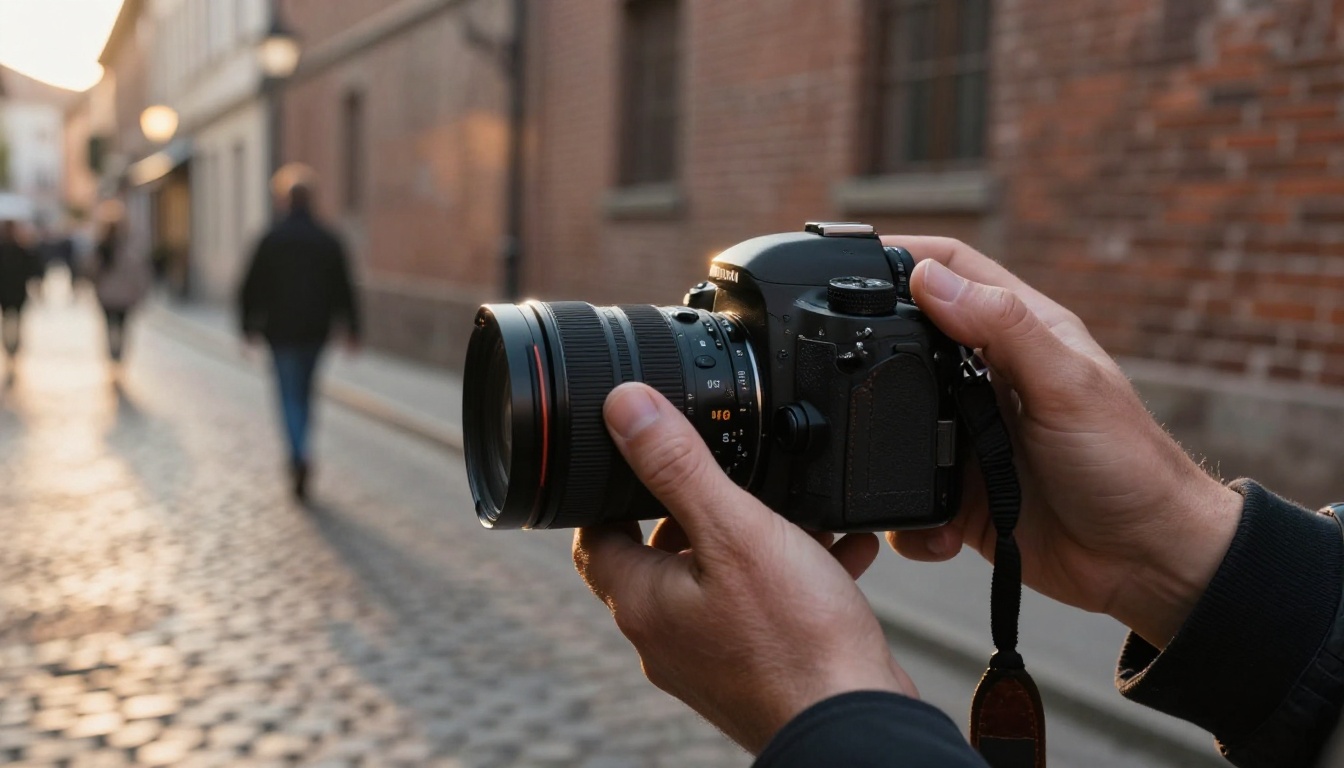
Before fixing the problem, it helps to know exactly what you're dealing with. Not all camera shake is the same, and different sources of instability require different approaches.
Rolling Shutter Jello Effect
Most modern CMOS sensors don't capture an entire frame at once. They scan the image from top to bottom, line by line. When the camera moves quickly during that scan, vertical objects appear to lean or wobble in a characteristic way — but rather than em dashes, think of it as a visual smear: the effect is especially brutal on DSLRs shooting fast action and on drones banking hard in windy conditions.
Rolling shutter correction is a separate process from stabilization, but AI handles both simultaneously in modern tools. The algorithm estimates how the sensor moved during each frame's exposure window and warps the frame back into alignment with sub-pixel precision.
High-Frequency Vibrations
This is the shake you get from running, riding a motorbike, mounting a camera on an engine block, or filming from a moving boat. Unlike slow sweeping pans, which look intentional, high-frequency micro-vibrations look like nervous energy and read as amateur footage immediately.
Traditional stabilization tools, like the Warp Stabilizer in Premiere Pro, struggle with high-frequency content because they average motion over time. This often produces the floating "jello-on-a-plate" effect that can look worse than the original shake. AI approaches analyze motion frame-by-frame with optical flow models that understand scene geometry, not just pixel displacement.
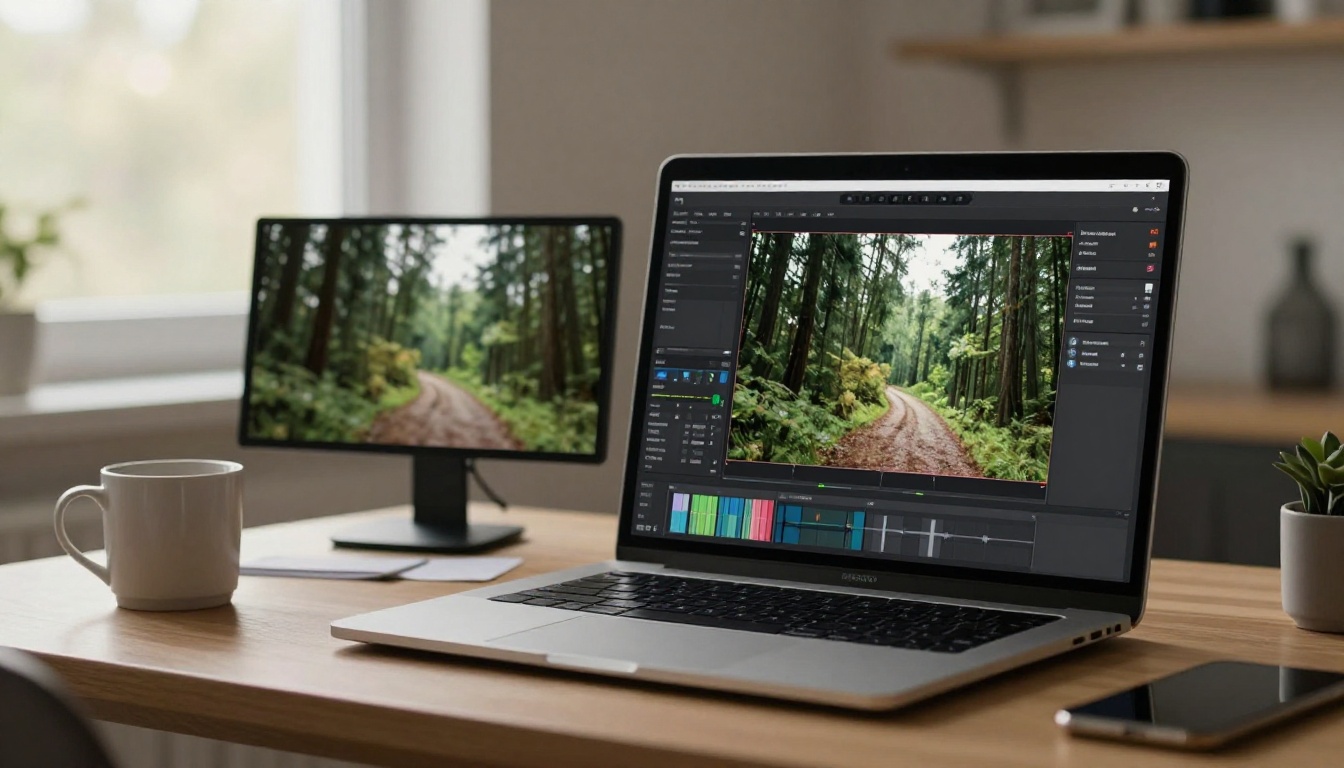
What AI Stabilization Actually Does
The core difference between classical stabilization and AI stabilization is how motion is estimated. Classical tools use feature tracking: they find high-contrast corners in the image and watch them move between frames. AI tools use dense optical flow, which estimates motion for every pixel simultaneously, and often layer on top a scene-understanding model that knows the difference between camera motion and subject motion.
Optical Flow vs. Warp Stabilizer
| Feature | Classical Warp | AI Optical Flow |
|---|
| Motion estimation | Feature points only | Per-pixel dense flow |
| Rolling shutter fix | Basic correction | Accurate per-line correction |
| Subject motion handling | Often confused | Distinguishes camera vs. subject |
| Crop required | 10-20% typical | 5-15% with smarter prediction |
| Processing speed | Fast (CPU) | Slower (GPU-heavy) |
| Result quality | Serviceable | Noticeably cleaner |
💡 The single biggest advantage of AI stabilization is that it can predict where the edge of the frame should be, rather than just cropping to avoid black borders. Some tools can even generate plausible fill content for areas the camera didn't capture, reducing the crop hit significantly.
The Crop Tax
Every stabilization algorithm carries a hidden cost: crop. To compensate for motion, the algorithm shifts frames around, and those shifts mean the edges of the image go off-screen. The solution is to zoom in and crop off those edges. With classical tools, you typically lose 10-20% of your field of view. AI-powered tools reduce this, but don't eliminate it.
This is why shooting at a slightly wider focal length than you need is standard practice when you know footage will need stabilization. A 24mm shot that gets cropped to roughly 28mm equivalent is still very usable. A 70mm shot that gets cropped loses significantly more compositional context and apparent resolution.
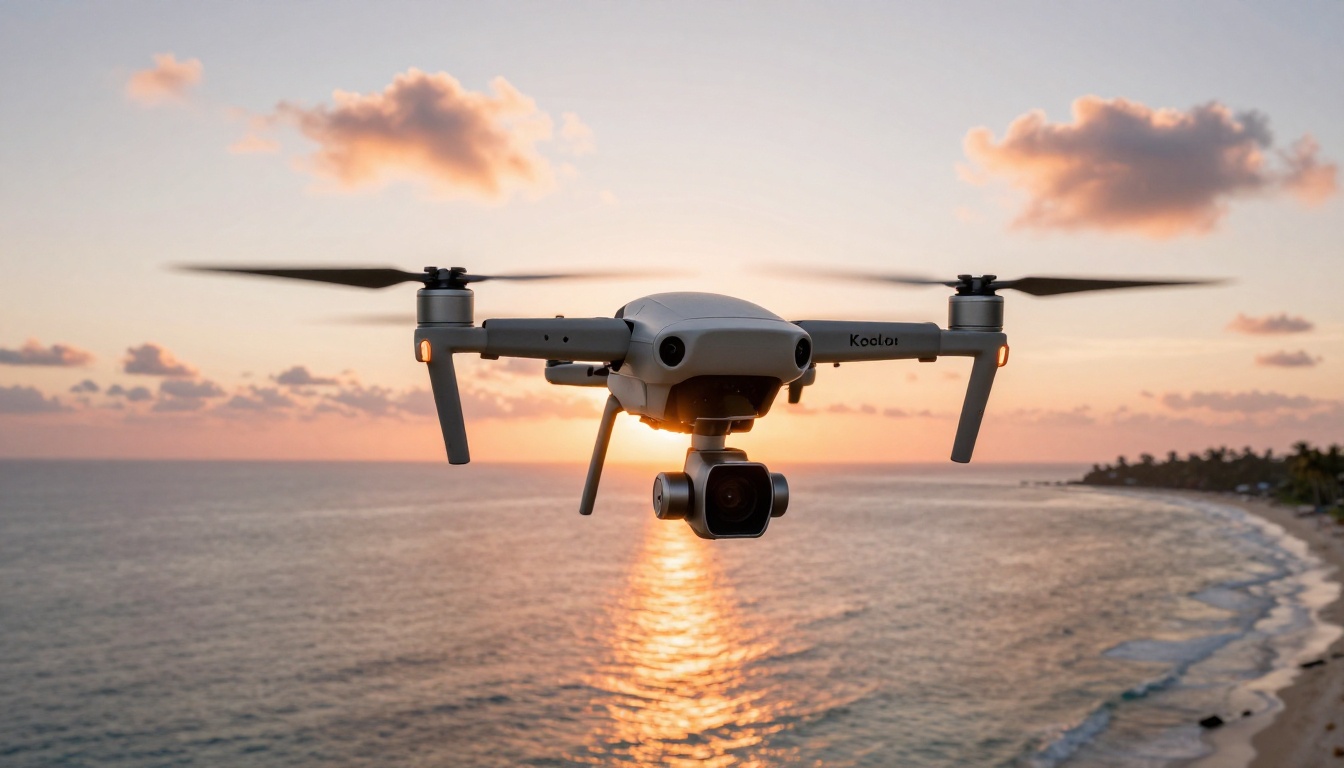
Not every video benefits equally from AI stabilization. These three scenarios are where it makes the biggest real-world difference.
Drone Footage in Wind
Consumer drones have optical image stabilization on the gimbal, but that only handles slow tilt and pan corrections. Wind creates micro-vibrations that mechanical gimbals can't compensate for, and at lower price points, gimbal performance degrades significantly. The result is footage that looks smooth on the drone's tiny monitor but shows clear jitter on a desktop display.
AI stabilization handles drone footage extremely well because the camera is generally moving through 3D space in a predictable trajectory. The optical flow model can estimate depth and parallax, making geometric corrections more accurate than flat 2D pixel shifting.
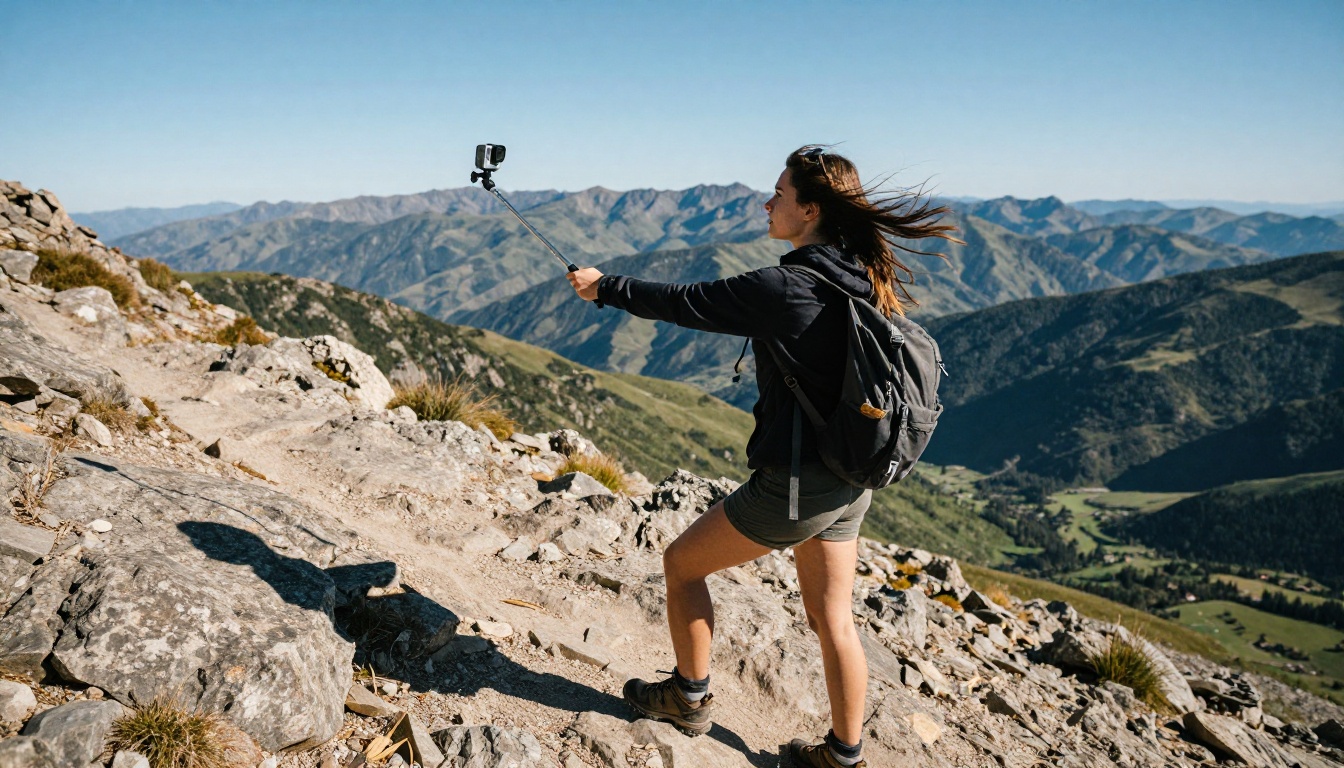
Action Camera Footage
GoPros and similar action cameras have built-in digital stabilization (HyperSmooth, RockSteady, etc.), but those algorithms run on limited hardware inside a tiny body. They work well for moderate activity but fall apart during high-impact sports: mountain biking, skateboarding, wakeboarding. The in-camera crop is also aggressive, often sacrificing a significant portion of the sensor area.
Processing that footage again in post with a more powerful AI model can produce significantly smoother results. Because you're starting with already-stabilized footage, the AI has less work to do, which means a smaller secondary crop hit.
Handheld Run-and-Gun Video
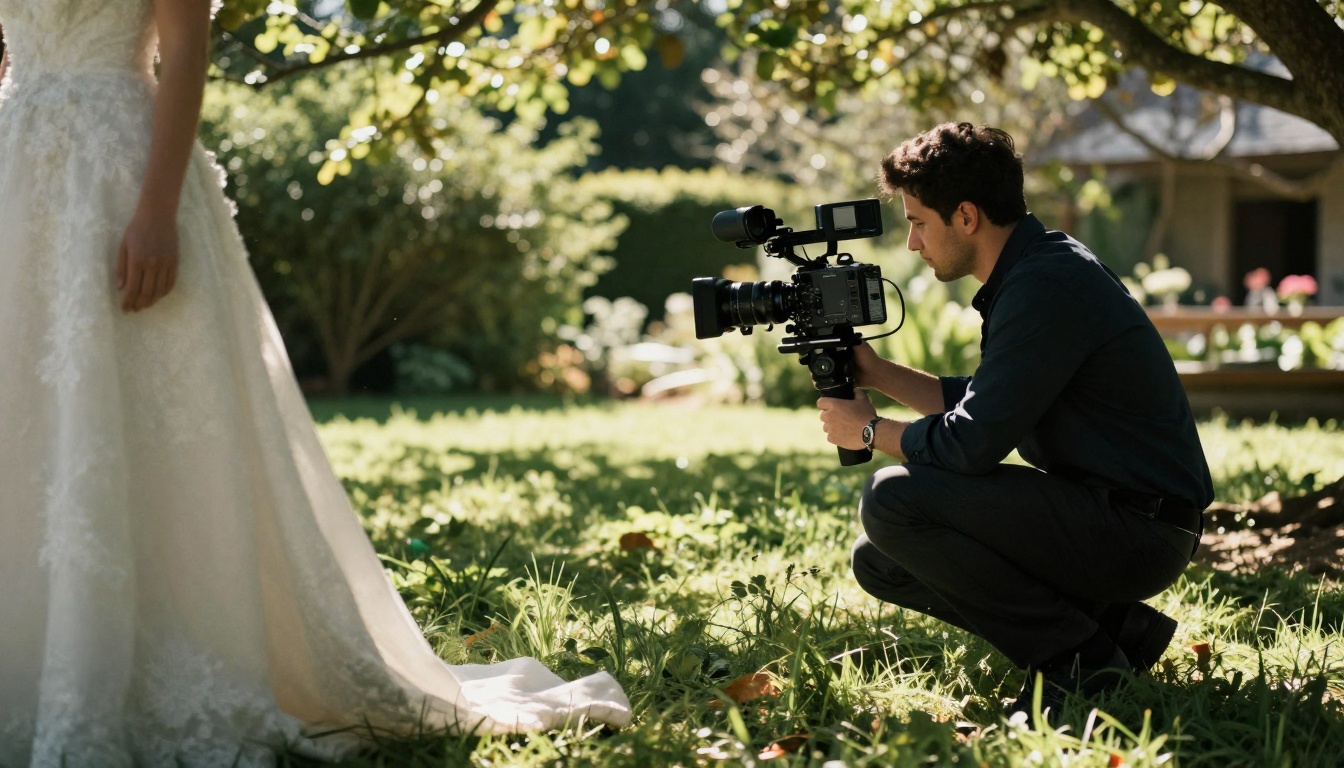
Journalists, documentary filmmakers, wedding videographers, event shooters — anyone who needs to follow action without a rig spends a lot of time managing shaky footage. The naturalistic handheld look has its place, but there's a clear difference between intentional movement that follows a subject and accidental shake that distracts the viewer.
AI stabilization is particularly effective here because it can distinguish between the slow, organic camera movements of a skilled operator, which should be preserved, and the high-frequency tremor that comes from breathing, footsteps, and hand fatigue, which should be removed.
Here's a step-by-step workflow that applies whether you're using dedicated AI stabilization software, a node-based compositor, or a web-based tool.
Step 1: Assess the Footage First
Before applying any stabilization, watch your footage and categorize the problem:
- Low-frequency sway: Big, slow movements caused by walking or panning too fast. These respond well to all stabilizers.
- High-frequency jitter: Fast, small tremors from vibration or hand shake. Needs AI optical flow or high-smoothness settings.
- Rolling shutter distortion: Vertical lean on fast lateral pans. Requires dedicated rolling shutter correction before or alongside stabilization.
- Mixed motion: Subject moving plus camera moving simultaneously. AI tools handle this far better than classical ones.
Knowing what you're dealing with before you start saves you from applying the wrong correction and ending up with footage that looks worse than the original.
Step 2: Apply Motion Analysis
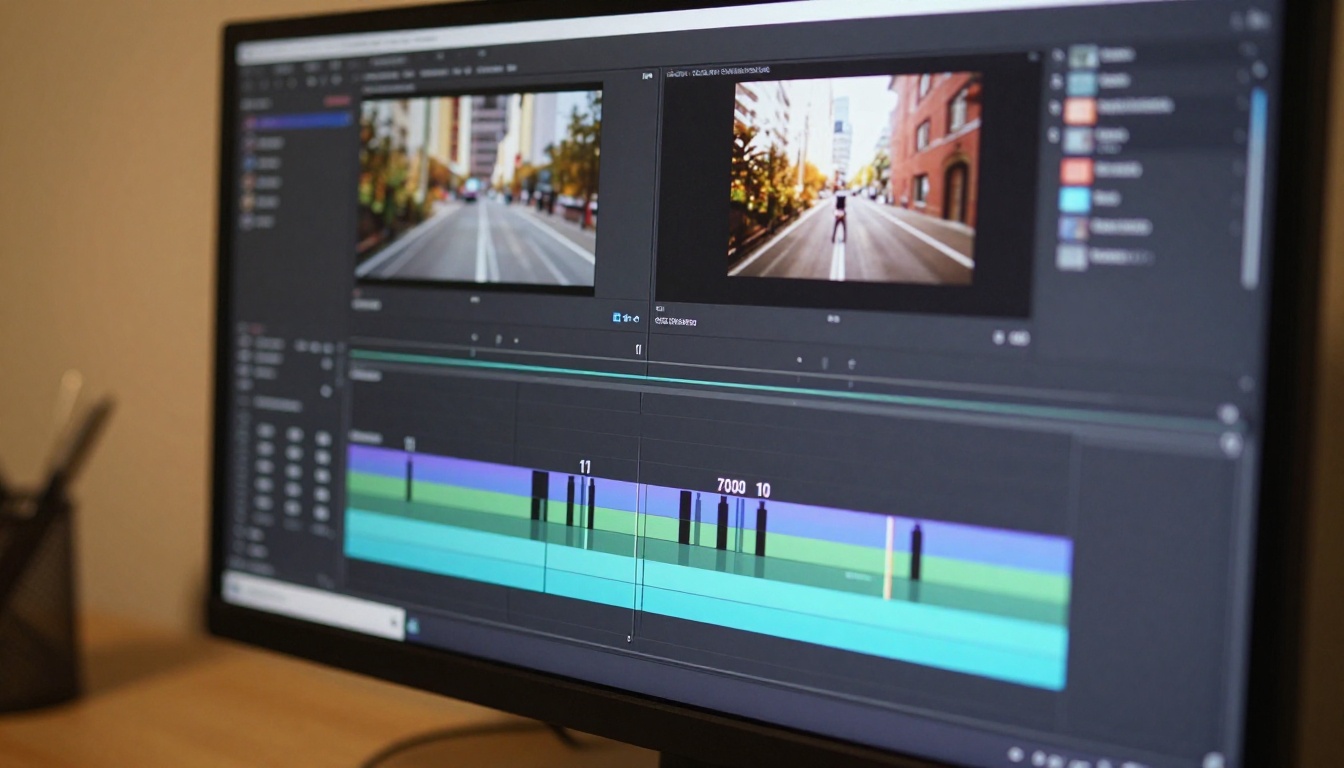
In most tools, this is the computationally heavy step. The software analyzes every frame and builds a motion map, either a set of transform parameters (translation, rotation, scale) or a full optical flow field.
This step determines the quality of everything that follows. A poor motion analysis means the correction will be inaccurate. If your footage has areas of very low contrast, such as foggy backgrounds, pure sky, or flat walls, the tracker can lose reference points and produce erratic corrections in those sections.
💡 For footage with problematic sections, consider masking out featureless areas before analysis so the tracker focuses on high-contrast content like faces, buildings, and textured surfaces.
Step 3: Set Smoothness and Crop
Smoothness controls how aggressively the algorithm irons out the motion path. A setting of 100% tries to make the camera perfectly locked off. A setting of 50% preserves some of the original motion character while removing the worst shake.
For documentary and event footage, 50-70% smoothness usually feels most natural. For product demos and talking-head videos where a locked-off look is expected, push toward 90-100%.
The crop parameter controls how much of the frame is sacrificed to achieve that smoothness level. Higher smoothness always means more crop. Find the balance that gives you the cleanest motion without making the image feel uncomfortably tight on your subjects.
Step 4: Fix Rolling Shutter
If your footage has rolling shutter artifacts, apply rolling shutter correction before stabilization if your software allows it, or use a combined tool that handles both simultaneously. The correction amount is usually expressed as a percentage of frame height. Start around 50% and adjust based on visual feedback on objects you know should be perfectly vertical.
Getting rolling shutter right is an iterative process. Too little correction and the jello remains. Too much and you introduce reverse distortion on objects that weren't originally affected.
Step 5: Upscale to Recover Lost Resolution
This is the step most people skip, and it's where a significant amount of image quality can be recovered. After stabilization crops your footage, you're left with a slightly smaller frame than your original capture resolution. If you're delivering in 4K but shot in 4K, that crop means your output is being scaled up from a smaller source.
AI upscaling tools compensate for this intelligently. Models like Crystal Video Upscaler and Video Upscale by Topaz Labs use trained neural networks that add real detail rather than just interpolating pixels. The result is footage that looks sharper than the post-crop source, often approaching the quality of the original pre-crop frame.
Software Comparison in 2027
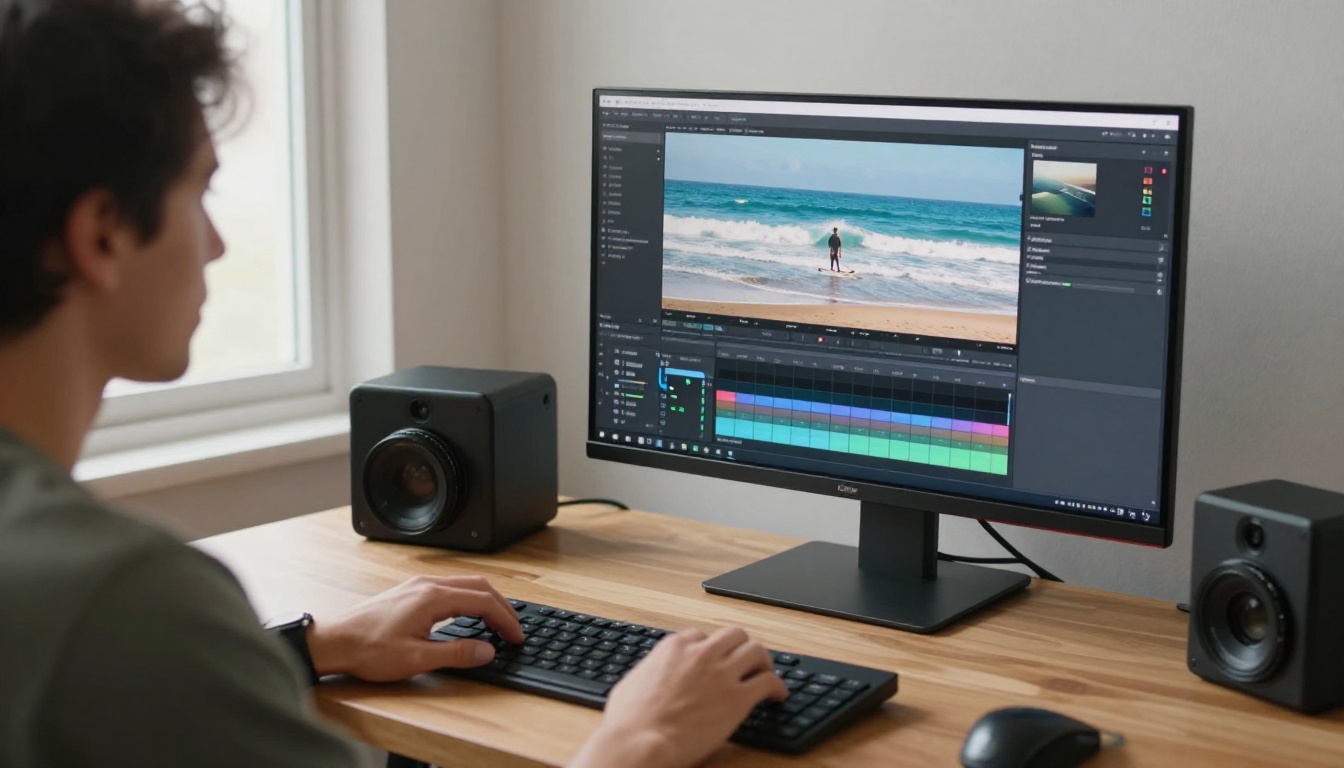
There are several strong options for AI-powered video stabilization, each with different strengths depending on your workflow.
| Tool | Best For | AI Approach | Platform |
|---|
| DaVinci Resolve + Gyroflow | Drone, action cam | Gyroscope data fusion | Desktop |
| Adobe Premiere Warp | General editing | Classical and ML hybrid | Desktop |
| CapCut | Short-form social | Proprietary AI | Mobile, Web |
| Gyroflow Toolbox | Log footage workflows | Gyro-assisted AI | Desktop Mac |
| Topaz Video AI | High-quality stabilize plus upscale | Multiple neural networks | Desktop |
| Web-based AI tools | Quick turnaround projects | Various hosted models | Browser |
For most users, the fastest path to polished results is a web-based tool for stabilization followed by a dedicated AI upscaler to recover the crop loss. That combination outperforms most single-step solutions for typical social media and online distribution formats.
Over-Smoothing Action Footage
Applying 100% smoothness to footage of a skateboarder or a crowd at a concert doesn't just remove the shake, it makes the camera feel completely disconnected from reality. The viewer subconsciously expects some camera motion during energetic, physical content. When it's entirely absent, the footage feels robotic and detached from the scene.
Match your smoothness setting to the energy of the scene, not just the severity of the shake.
Ignoring the Crop on Tight Compositions
If you're working with footage where framing is already tight, stabilization can push important subjects partially or entirely out of frame. A person's head at the very top of a portrait-framed shot, for example, may get clipped after stabilization applies its zoom compensation.
Always preview the stabilized result at full output resolution before committing the export. What looks acceptable in a small timeline preview window can reveal serious cropping problems at delivery resolution.
Stabilizing Intentional Camera Movement
Camera operators use motivated movement deliberately. A slow push-in during an emotional dialogue moment, a swish pan between subjects, a Dutch tilt used for psychological effect: these are choices, not mistakes. Running your full timeline through a stabilizer will flatten all of it into the same neutral, locked-off camera language.
Stabilization should be applied clip-by-clip, with intentional moves either excluded entirely or handled with significantly lower smoothness settings.
After Stabilization: Recovering Your Resolution
The crop from stabilization is a real problem for anyone delivering at 4K or higher. Here's a practical approach that professional editors use:
- Shoot at a higher resolution than your delivery target. If you're delivering in 1080p, shoot 4K. The stabilization crop leaves you with plenty of margin.
- Use AI upscaling as a post-stabilization step. Tools like Real ESRGAN Video and Upscale v1 by RunwayML intelligently restore sharpness to the cropped frame rather than simply blowing up pixels.
- For resolution-critical projects, Video Increase Resolution by Bria can push footage toward 8K while preserving fine texture detail across the whole frame.
The combination of AI stabilization followed by AI upscaling is now a standard part of professional post-production pipelines, particularly for content shot on consumer cameras, drones, and action cameras where the source resolution is already a limiting factor.
💡 Some AI upscalers specifically train on degraded video to restore motion blur, compression artifacts, and noise simultaneously. Running stabilization first gives the upscaler cleaner input and produces better final results than attempting both corrections in a single pass.
Who Gets the Most Out of This Right Now
The people seeing the biggest impact from AI stabilization in 2025 are:
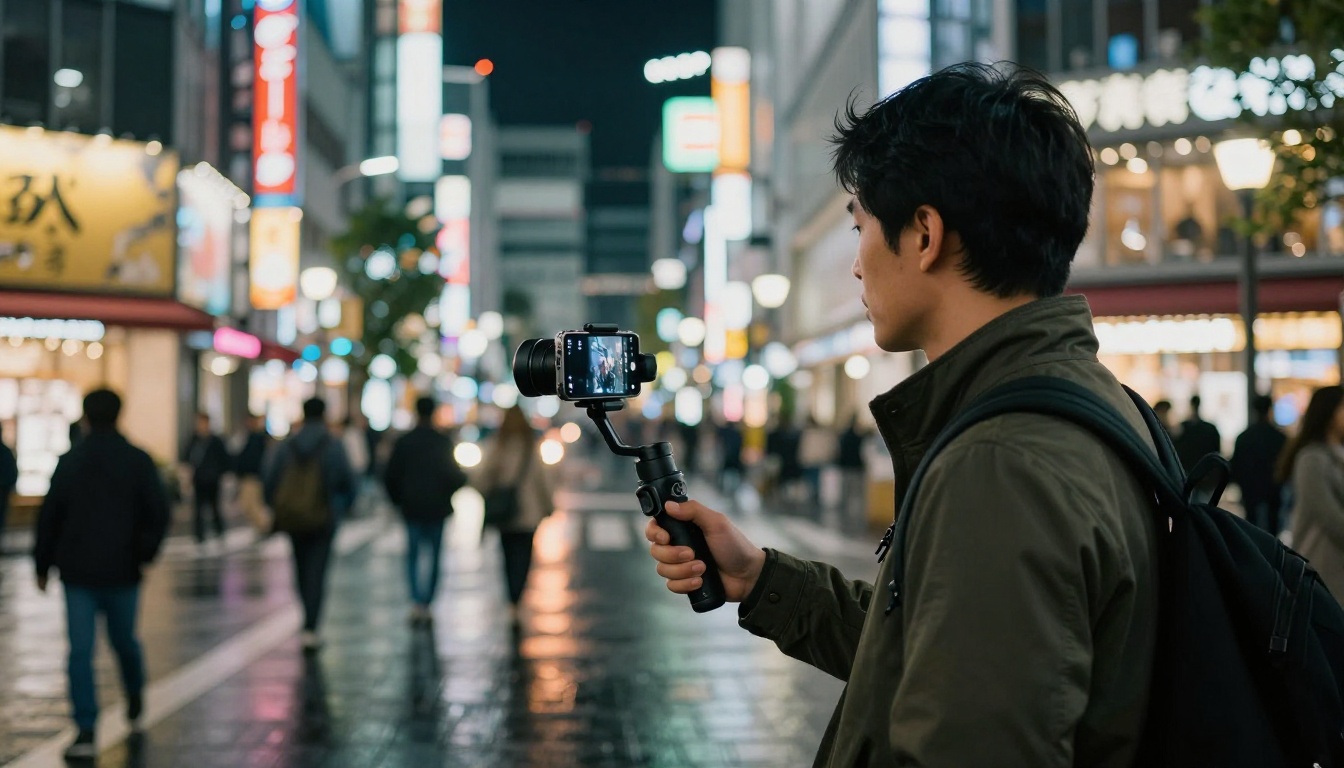
- Travel content creators who shoot handheld in crowded environments where carrying a gimbal is impractical or disruptive
- Wedding and event videographers who need clean footage without the time to rig stabilization equipment between every shot
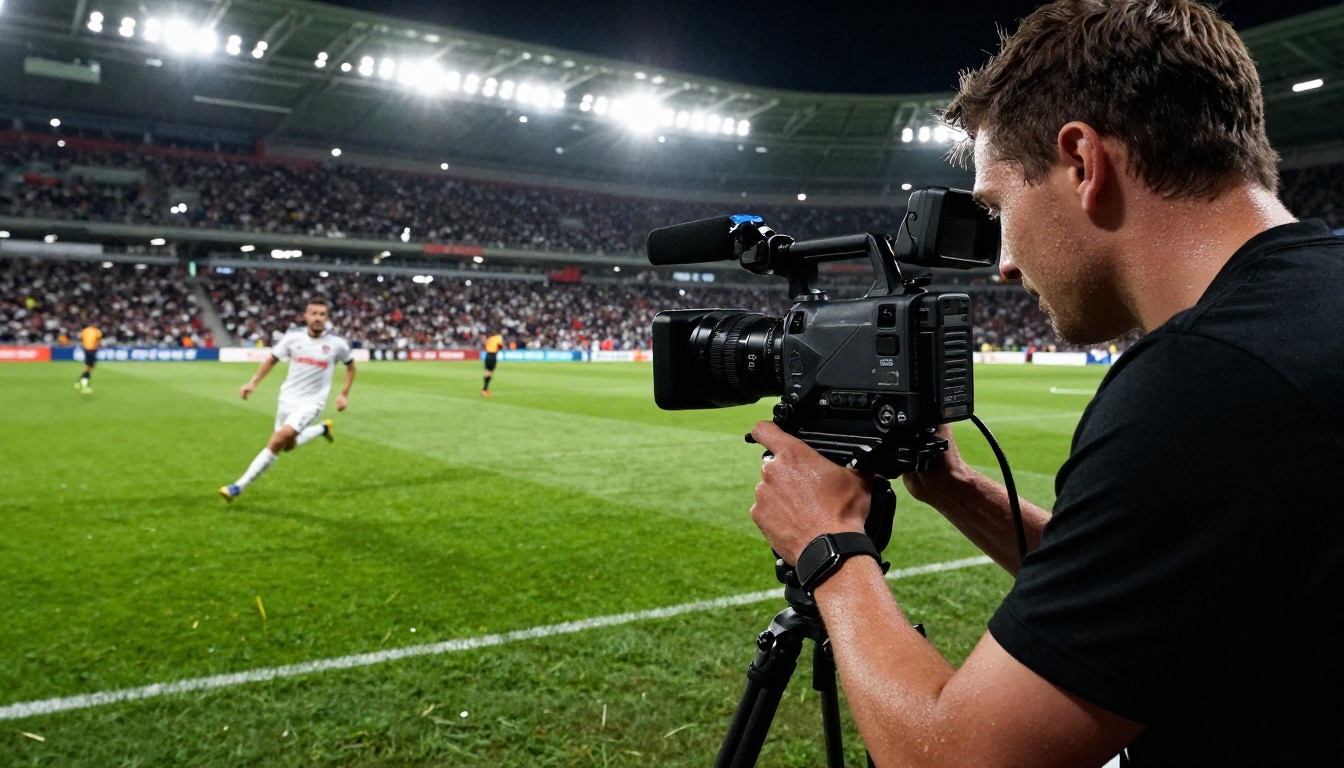
- Sports journalists who shoot fast action from sidelines with long telephoto lenses, where even small camera movements are dramatically amplified
- Drone pilots dealing with wind conditions that overwhelm the mechanical gimbal at lower price points
- Mobile videographers who want broadcast-quality results from smartphone footage for branded content or social campaigns
The barrier to professional-looking video has dropped dramatically. What used to require a $500+ gimbal and careful pre-production planning can now be fixed in post-production in minutes.
What You Can Do on PicassoIA Right Now
If you want to take your video work further beyond basic stabilization, PicassoIA has an entire suite of AI video tools available without any software installation or high-end hardware. From upscaling shaky footage to 4K with Crystal Video Upscaler, to removing backgrounds cleanly without a green screen, adding contextual sound effects, and editing clips with plain text prompts using Wan 2.7 Videoedit, the platform puts professional post-production workflows into a browser tab.
You don't need a workstation with a high-end GPU or subscriptions to multiple desktop applications. Upload your footage, choose the enhancement that matches your problem, and let the AI handle the computation. The Video Upscale model from Topaz Labs in particular is worth testing on footage that's already been stabilized and cropped. The difference in perceived sharpness compared to standard bicubic upscaling is immediately visible, even at 1080p delivery.
The tools are there. The footage you already have is better than you think. Start with one clip, apply stabilization, run it through an AI upscaler, and compare it against your original. That before-and-after is the fastest way to see what's now possible without buying a single piece of new equipment.


