Bad lipsync is one of the fastest ways to pull a viewer out of your animation. It doesn't matter how polished your character design is or how smooth your movement curves are. The moment a mouth moves out of sync with speech, audiences feel it instantly. Whether you are working with 2D characters, 3D rigs, or AI-generated talking avatars, getting lips in sync with audio is a skill worth investing in seriously.
Why Bad Lipsync Breaks Everything
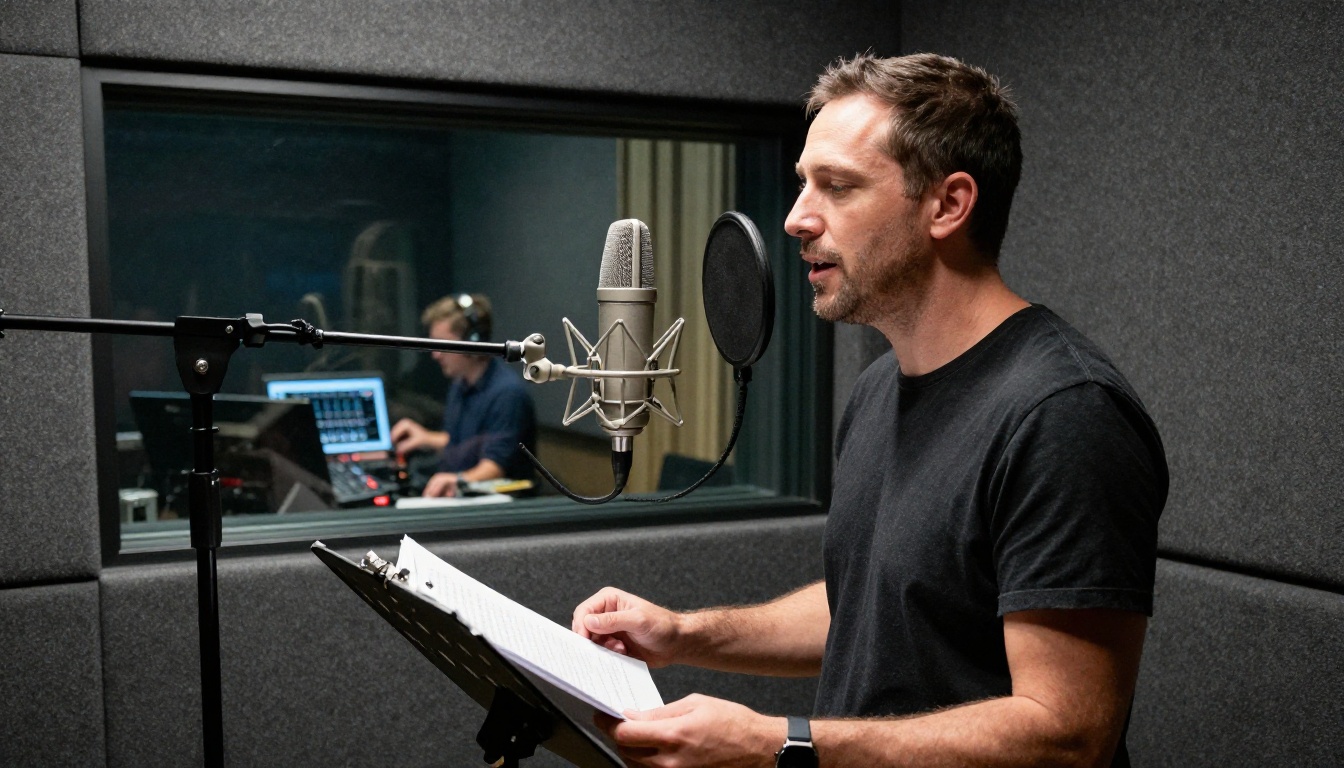
The brain watches mouths first
Human beings are wired to watch mouths when someone speaks. It is the same reason dubbed films always feel slightly off, even when the translation is brilliant. Your brain constantly cross-references what it hears with what it sees, and when those two signals do not match, the whole scene loses credibility.
For animated characters specifically, the tolerance for sync error is surprisingly low. Viewers forgive a lot in animation: exaggerated physics, simplified backgrounds, stylized anatomy. But a half-second audio lag or a character continuing to mouth words after the dialogue stops? That gets noticed every single time.
The numbers behind the perception
Research on audiovisual speech perception shows that viewers can detect sync errors as small as 40 to 80 milliseconds in optimal conditions. In practice, animation sync errors under 150ms tend to pass unnoticed in fast-paced scenes, but anything beyond that registers as wrong, even to casual viewers.
💡 The 2-frame rule: At 24fps, two frames equals about 83ms. Keeping your lipsync within a two-frame margin of the actual phoneme onset is a solid working target for most animation styles.
The Phoneme System Explained
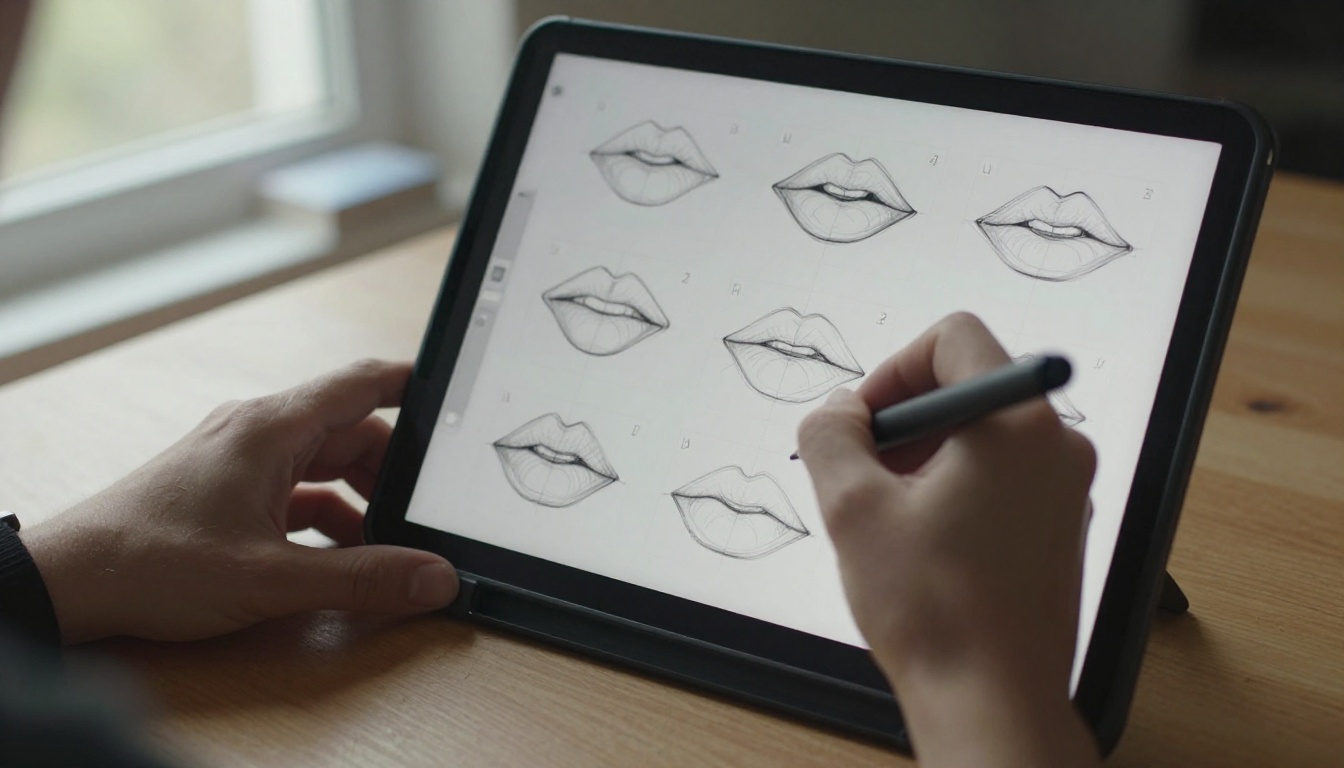
Breaking speech into mouth shapes
Spoken language is not a smooth continuous stream. It is a sequence of discrete sound units called phonemes, and each phoneme corresponds to a distinct mouth shape, also called a viseme. The practical insight for animators is this: you do not need a unique mouth drawing for every single sound. You need a small set of well-chosen shapes that span the full range of speech.
Most professional animation pipelines use between 8 and 12 core mouth shapes. Preston Blair's classic breakdown, still widely used today, organizes English phonemes into groups:
| Shape | Phonemes | Description |
|---|
| A/I | "ah", "ay", "i" | Wide open mouth |
| O | "oh", "oo" | Rounded lips |
| E | "ee", "e" | Pulled back, teeth visible |
| U | "u" | Slightly pursed |
| M/B/P | "m", "b", "p" | Lips pressed together |
| F/V | "f", "v" | Upper teeth on lower lip |
| L/D/T | "l", "d", "t", "n" | Tongue tip position |
| Th | "th" | Tongue between teeth |
| W/Q | "w", "qu" | Tight rounded pucker |
| Rest | silence | Neutral closed position |
Why viseme count matters
More mouth shapes means more realism but also significantly more animation time. Fewer shapes means faster production but risks looking rubbery if not handled carefully. Most independent animators find the sweet spot at 8 to 10 shapes. Big studio productions with facial rigs often go to 16 or more shapes, but that is rarely necessary for web content or short-form animation.
The critical factor is consistency: once you pick a shape library, use it throughout the entire production. Mixing approaches mid-project creates an inconsistency that viewers pick up on subconsciously.
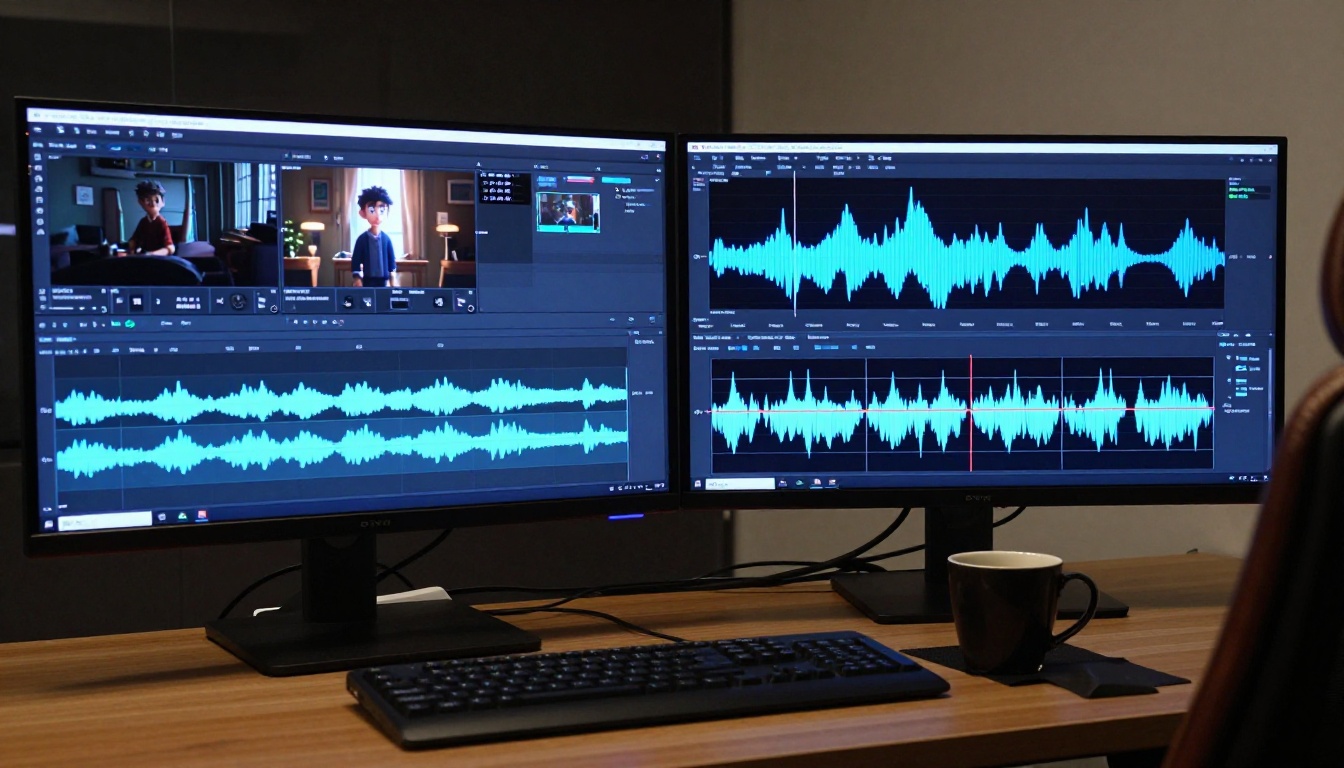
What you're actually looking at
The audio waveform in your timeline is your roadmap for lipsync work. Amplitude peaks in the waveform correspond to stressed vowels and explosive consonants. Quiet passages indicate pauses, fricatives, or soft consonants. Being able to read a waveform fluently is the single most valuable skill for manual lipsync work.
A few practical patterns to recognize:
- Sharp vertical spikes: Plosive consonants (p, b, t, d, k, g). These need a closed mouth shape just before the spike, opening immediately after.
- Dense, sustained amplitude: Vowel-heavy syllables. These sustain an open mouth shape for the duration.
- Gradual fade-out: The end of a word or phrase. The mouth should begin closing while amplitude is still present, not after silence hits.
- Flat sections: Pauses and breath intakes. The mouth should fully return to rest position here.
The timing offset most animators miss
One counter-intuitive principle in professional lipsync is that the mouth shape needs to lead the audio slightly. Because the human eye processes visual information slightly ahead of how we consciously perceive audio, a mouth that opens exactly on the frame of a sound can actually feel late.
The standard correction is to place mouth-open keyframes 1 to 2 frames ahead of the audio onset. At 24fps, that is roughly 42 to 83ms of visual anticipation. On fast dialogue this makes a significant perceptible difference.
💡 Practical tip: Scrub your timeline one frame at a time on a fast line of dialogue. If the peak of the waveform and the peak of the mouth opening are on the same frame, move the mouth keyframe one frame earlier. That small shift often transforms mediocre sync into something that feels natural.
AI Lipsync on PicassoIA
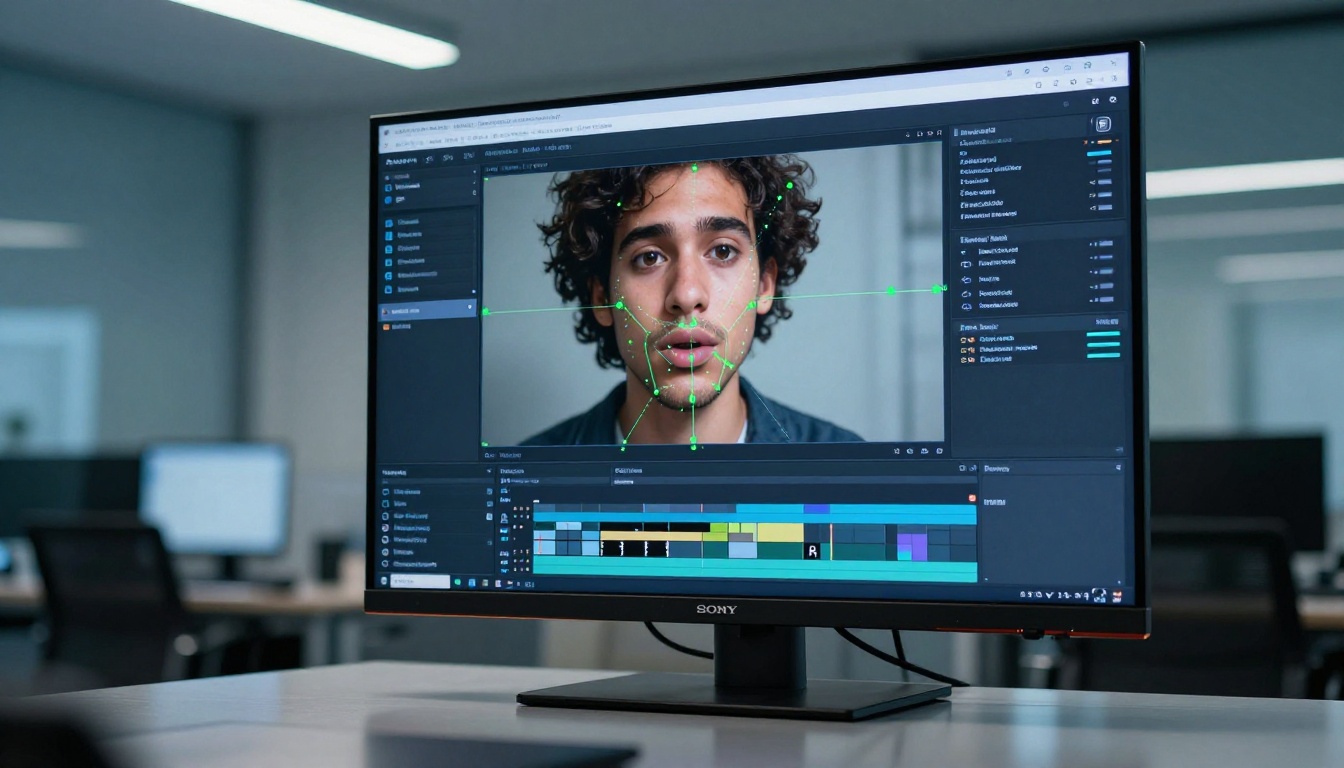
What changes with AI tools
Manual lipsync is craft-intensive. Even on a short 30-second dialogue scene, placing and refining keyframes for every phoneme can take hours. AI lipsync tools change the workflow fundamentally: instead of animating mouth shapes frame by frame, you feed the tool an audio track (and optionally a reference face) and it generates sync automatically.
The output quality has improved dramatically in recent years. Today's best AI models produce sync accuracy that would have taken a professional animator days to achieve manually, in a matter of seconds.
How to use Lipsync 2 Pro
Lipsync 2 Pro by Sync is one of the most precise automated lipsync models available on PicassoIA. It is built for applying accurate mouth sync to existing video footage of characters or people.
Step-by-step with Lipsync 2 Pro:
- Open Lipsync 2 Pro on PicassoIA.
- Upload your video file (the animated character clip or talking head footage).
- Upload the audio file you want to sync to (voiceover, dialogue recording, or dubbed audio).
- Set the sync mode: Tight for precise phoneme-level accuracy, Natural for smoother transitions between shapes.
- Hit Generate and let the model process. At standard settings, processing takes 30 to 90 seconds per minute of footage.
- Download the output and review on a frame-by-frame basis in your editor.
💡 Parameter tip: For cartoon characters with simplified mouth shapes, use the Tight mode. For more realistic 3D characters or photo-realistic avatars, Natural mode produces less jitter between adjacent phoneme frames.
The standard Lipsync 2 model is a solid option if you need faster processing at slightly lower precision. Both deliver professional-grade output for most production needs.
Kling Lip Sync for moving characters
Kling Lip Sync by Kwaivgi excels specifically with video clips where the character's face has significant movement in addition to speaking. Traditional lipsync tools can struggle when the head is turning, nodding, or the camera is moving. Kling handles these cases well by tracking the face across frames before applying sync.
It is particularly well-suited for:
- Animated characters with active head movement during dialogue
- Scenes with camera cuts mid-sentence
- Short social-format clips where the character is in motion throughout
Talking avatars with Omni Human
Omni Human 1.5 by ByteDance takes a different approach: instead of syncing existing animation to audio, it generates a talking video from a single still image. Upload a character illustration or photograph, provide an audio file, and Omni Human animates the face with natural-looking lip movement, subtle head motion, and blinking.
This is ideal for:
- Character portraits being adapted into short video content
- Social media clips where full-body animation is not needed
- Rapid prototyping of dialogue scenes before committing to full animation
Omni Human (the previous version) remains available and is slightly faster for basic use cases where the highest fidelity of 1.5 is not required.
Model comparison at a glance
| Model | Best For | Input | Speed |
|---|
| Lipsync 2 Pro | Precise sync on existing video | Video + Audio | Medium |
| Lipsync 2 | Fast sync, standard quality | Video + Audio | Fast |
| Kling Lip Sync | Moving characters in video | Video + Audio | Medium |
| Omni Human 1.5 | Photo to talking video | Image + Audio | Medium |
| React 1 | Realistic lipsync overlay | Video + Audio | Fast |
| Fabric 1.0 | Making photos talk | Image + Audio | Fast |
3 Common Lipsync Mistakes
The lip flap problem
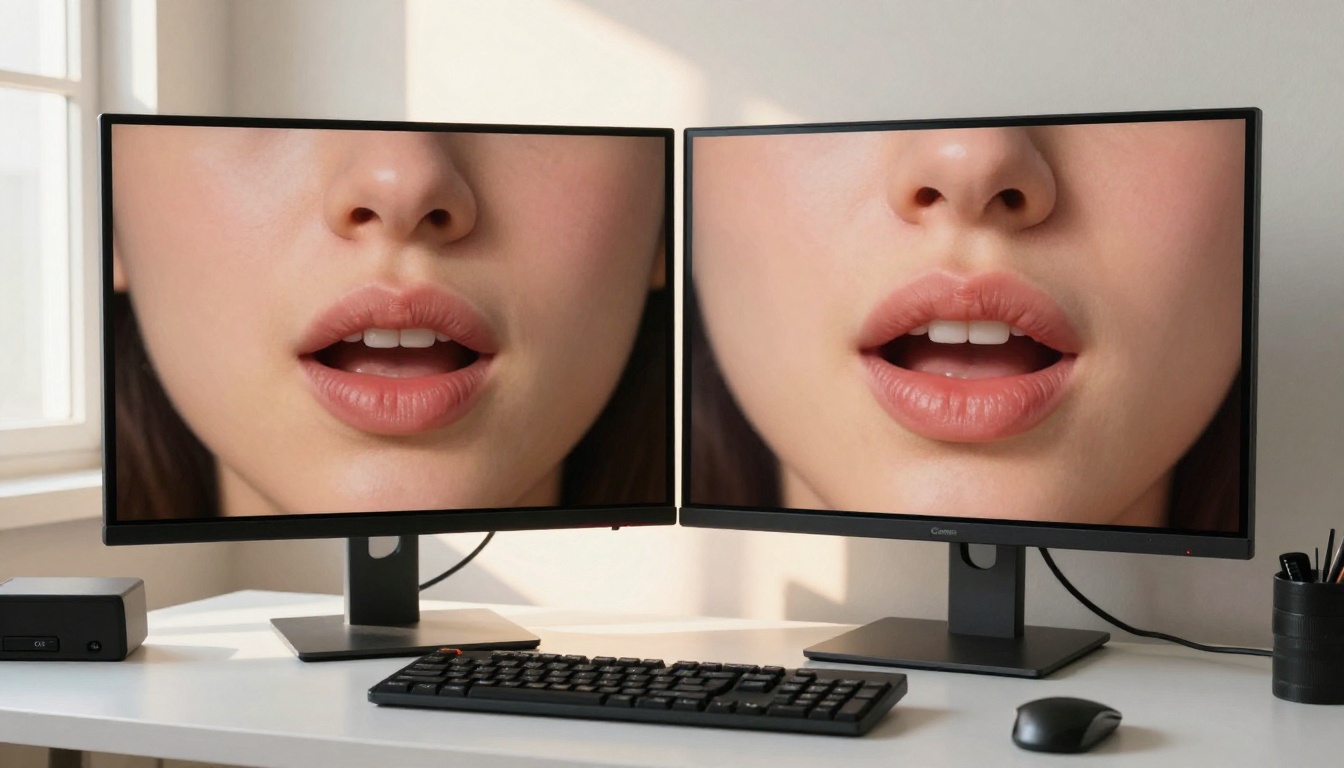
Lip flap is the informal term for a mouth that continues opening and closing after the character has stopped speaking, or that cycles through shapes without corresponding to any phonemes. It is the most common lipsync error in low-budget animation, and it has a specific cause: animators place mouth shapes without consulting the waveform, relying on guesswork about rhythm instead.
The fix is straightforward: never place a mouth-open keyframe without identifying a specific phoneme in the waveform that justifies it. Every open mouth position should have a corresponding sound.
Over-animating consonants
Hard consonants (especially plosives like "p", "b", "t", "d") do not need exaggerated mouth shapes. The mouth should close briefly for these sounds, but the closed position should be subtle, not a tight press. Over-emphatic consonant shapes create a choppy, over-animated quality that draws attention to the sync rather than the performance.
💡 Many professional animators intentionally soften consonant shapes by 30 to 50% compared to their first instinct. The subtlety reads as more natural, especially at normal playback speed.
Forgetting jaw movement
Lipsync is not just lips. Jaw movement drives the overall sense of a character speaking. A head rig without proper jaw animation will look like a ventriloquist dummy no matter how accurate the lip shapes are. In 3D rigs, jaw rotation should track with vowel intensity. In 2D animation, the jaw line should drop visibly on stressed open vowels.
The jaw also provides a physical constraint on what mouth shapes are possible. A wide-open "ah" vowel requires a dropped jaw. Showing wide-open lip shapes without corresponding jaw drop looks anatomically wrong and feels it too.
Pro Tips for Polished Results
Sync to the final mix, not the scratch
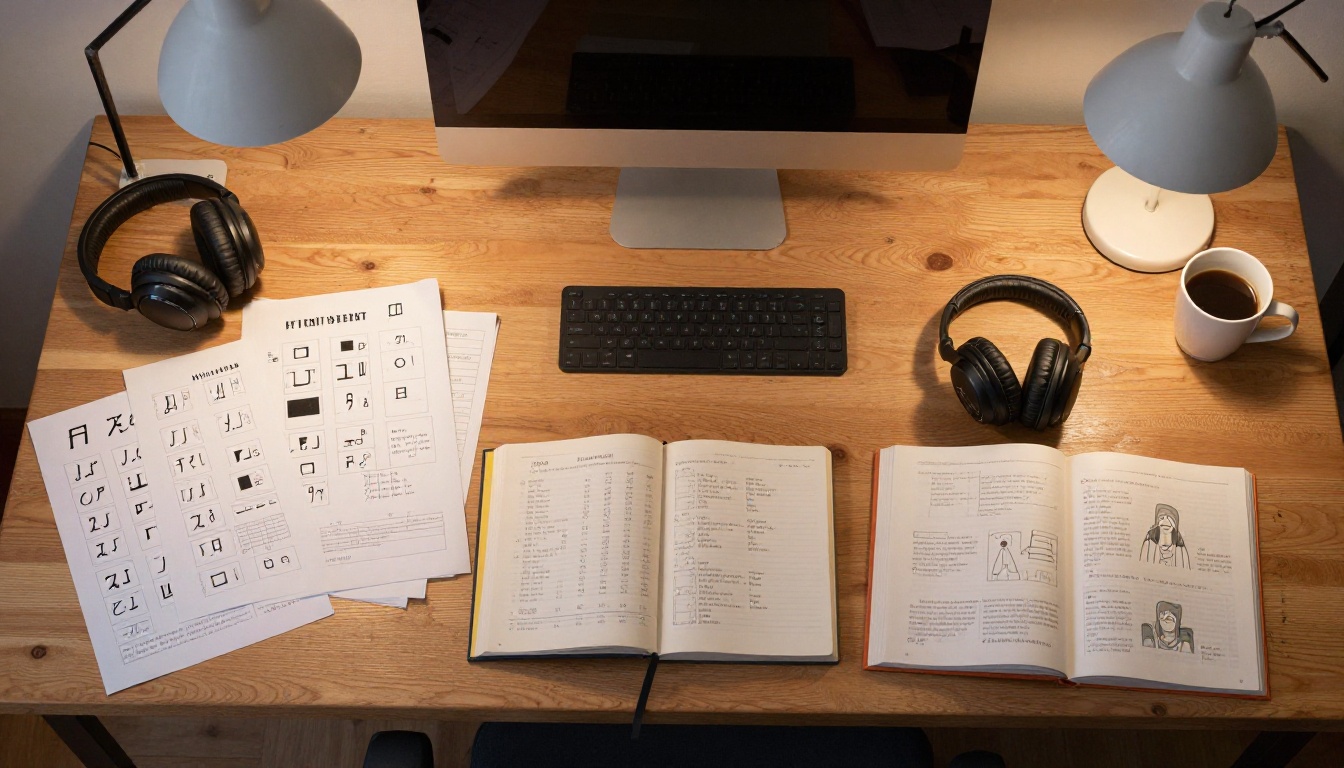
One of the most common production errors is animating lipsync to an early scratch recording, then replacing the audio with the final mix without re-checking sync. Even small timing differences between the scratch and final recording (faster delivery, slightly different pacing by the voice actor) will cause the sync to drift.
Always finalize your audio before locking lipsync. If re-recording happens after sync is done, treat it as a redo of the sync work, not just a file swap.
Record reference video from voice actors
Professional animation studios routinely record video of voice actors during the recording session, not just audio. These reference videos give animators a real performance to analyze: exact mouth shapes, jaw movement timing, and the small physical expressions that make dialogue feel inhabited.
Even if you are working solo on a project, recording yourself speaking the lines on your phone and reviewing the footage frame by frame gives you far more useful reference than guessing.
Frame rate awareness
Your sync accuracy is limited by your frame rate. At 12fps, each frame is 83ms, meaning your best possible sync precision is roughly one frame, which is already at the threshold of perceptibility. At 24fps, you have 42ms per frame. At 30fps, 33ms.
For lipsync-heavy projects, working at a minimum of 24fps is strongly recommended. Animating dialogue at 12fps can work for stylized productions with a deliberately limited aesthetic, but it requires accepting visible sync imprecision as part of the style.
Syncing Different Character Types
2D frame-by-frame characters
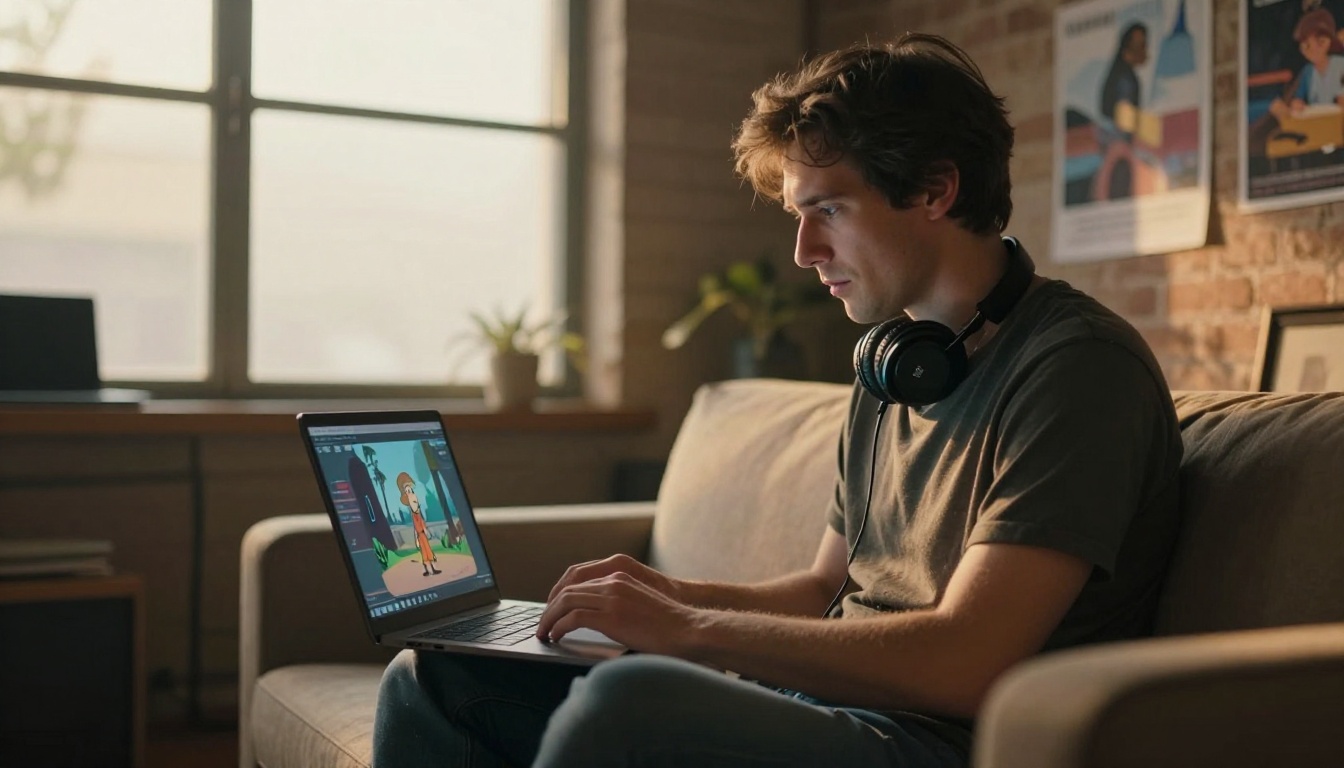
Traditional 2D characters typically use a replacement animation approach for lipsync: a separate mouth drawing for each phoneme shape, swapped in on the appropriate frame. This is efficient because you are reusing a small library of pre-drawn shapes rather than redrawing the mouth on every frame.
The workflow:
- Draw the full phoneme shape library for your character style.
- Break down the audio track into phoneme events with timestamps.
- Place the correct shape drawing at each phoneme onset frame.
- Smooth transitions between distant shapes by inserting intermediate positions.
3D rigged characters
3D characters use blend shapes or bone rigs to morph between mouth positions. The workflow is similar conceptually but involves setting values on rig controls rather than swapping drawings.
Most 3D animation software (Blender, Maya, Cinema 4D) includes a way to bake audio to keyframes, which automates initial phoneme placement. The result typically needs manual refinement, but it provides a much faster starting point than placing every keyframe by hand.
AI-generated and photo characters
For AI-generated characters or photographs being brought to life, tools like Omni Human 1.5 and Fabric 1.0 handle the sync generation entirely. The workflow shifts from animation to prompt engineering and iteration: understanding what inputs produce the best sync quality for your specific character style.
P Video Avatar by Prunaai is worth trying for creating talking avatar videos from character images with minimal setup time.
Automation and Speed at Scale
Automated phoneme detection software
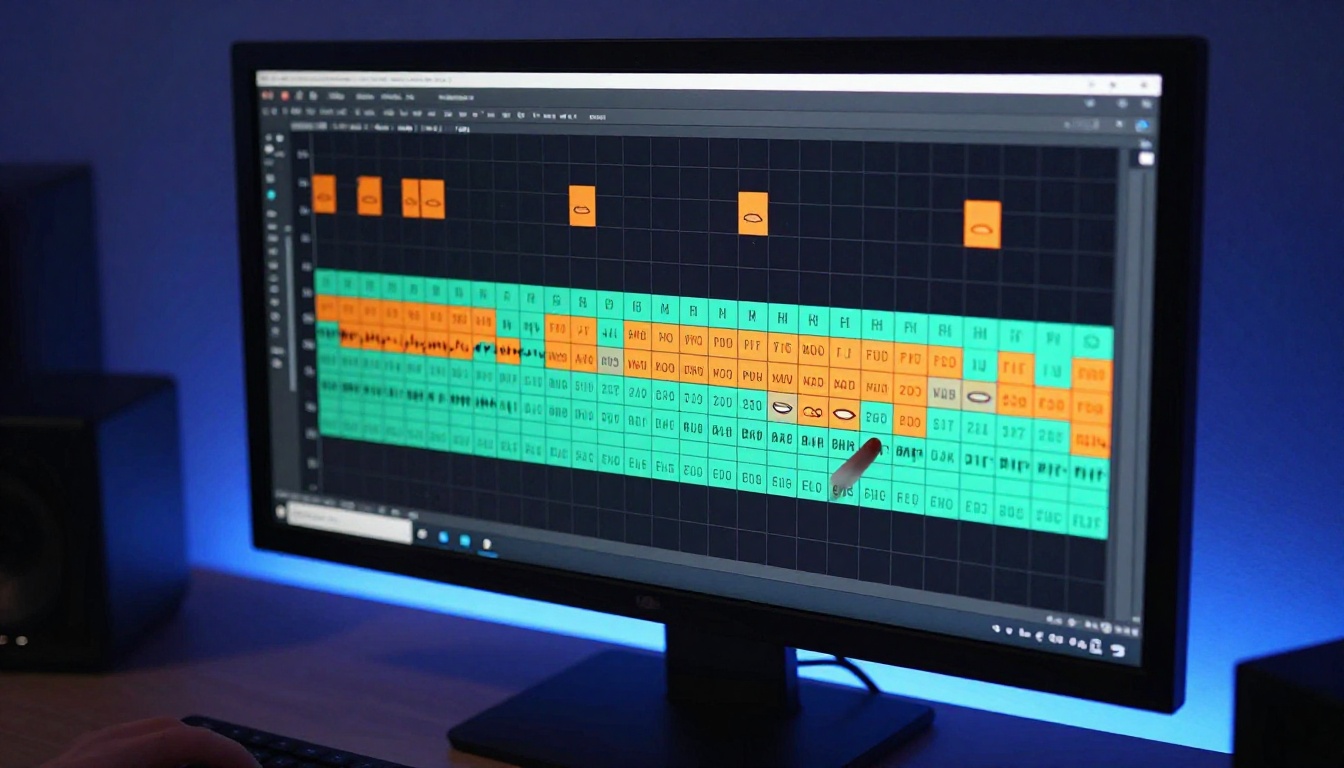
Several software tools can automatically detect phonemes in an audio file and generate a timed breakdown you can use as a keyframing reference. Papagayo-NG is a well-known free option. Adobe Character Animator has this built in. Most 3D applications with audio baking capabilities do something similar.
The output from these tools is a starting point, not a finished product. Automated phoneme detection is good at identifying major vowel events and plosives, but struggles with consonant clusters, fast speech, and unusual pronunciation. Budget 30 to 50% of your original manual time for cleanup after automated detection.
Dubbing and multilingual sync
When you need to sync new dialogue to footage in a different language, AI tools like Video Translate by HeyGen handle both the translation and the lipsync adjustment simultaneously. This is a significant workflow shift for anyone producing multilingual content. What once required re-recording, re-editing, and re-animating for each language can now be processed automatically.
Lipsync Speed and Lipsync Precision by HeyGen offer two points on the accuracy-versus-speed spectrum. Speed mode processes quickly for draft review. Precision mode is slower but delivers tighter phoneme accuracy for final output.
Pixverse Lipsync rounds out the options on PicassoIA for teams that need instant audio-to-video sync without manual frame work.
A note on sync quality expectations
No automated tool, AI or otherwise, produces perfect sync on the first pass for every type of input. The gap between a good result and a great result is almost always in the review and iteration loop: watching the output critically, identifying the two or three frames that feel off, and making targeted adjustments.
Treat AI sync output the same way a professional treats automated phoneme detection: a strong starting point that saves 70 to 80% of the manual work, with the final 20 to 30% requiring human judgment.
Start Creating Talking Characters
The gap between acceptable lipsync and genuinely convincing lipsync comes down to one thing: how closely you pay attention to the audio. Every tool in this article, whether a manual keyframing approach or an AI model on PicassoIA, produces better results when you feed it good input and review the output critically.
Start with one short dialogue clip. Use Lipsync 2 Pro to generate an automated sync baseline, then compare it against the waveform. Watch the result on loop. Notice which frames feel off and which feel right. That loop of generation, review, and adjustment is where real lipsync instinct develops.
If you want to bring a still character image to life instantly, try Omni Human 1.5 with a short audio clip. The results will give you a concrete feel for what AI-assisted lipsync can produce and where the limits still are.
PicassoIA has a full library of lipsync models ready to use. Whether you are dubbing footage, animating a portrait, or applying sync to a 3D character render, there is a tool for your specific workflow. Run experiments, compare outputs, and keep refining. Your characters will thank you for it.


