Taking a room photo and watching AI reconstruct it as a navigable 3D model is no longer science fiction reserved for architectural firms with expensive software. In 2027, anyone with a smartphone and internet access can do this in minutes, and the results are genuinely useful for real estate, interior design, renovation planning, and creative visualization.
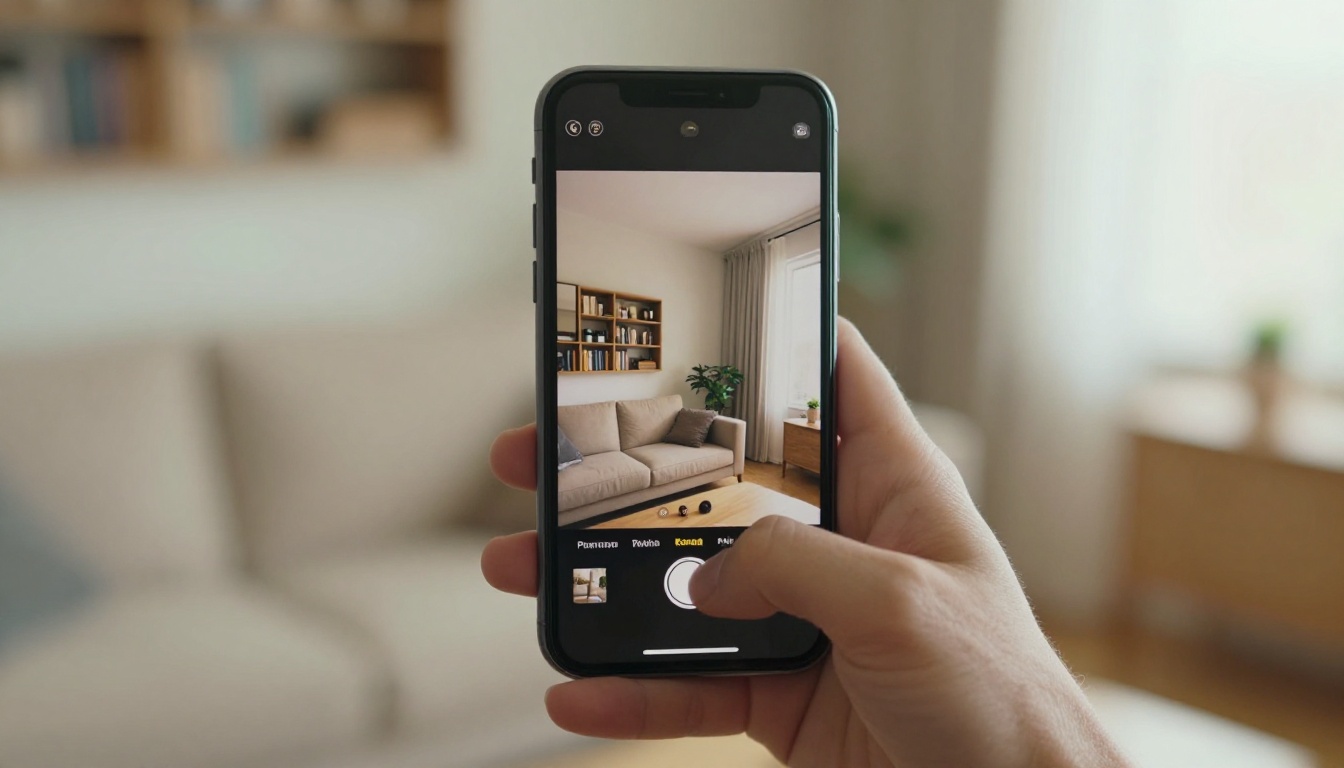
The catch is knowing exactly how to set up the shot, which AI workflow fits your goal, and what to do after the conversion to get something actually worth using. This article walks through the whole process, from the science behind it to a practical step-by-step workflow you can follow today.
What AI Actually Does to Your Room Photo
Most people assume this is magic. It is not. It is elegant mathematics applied at scale.
Depth Estimation in Plain Terms
When you look at a room, your brain uses dozens of cues to judge distance and depth: the size of objects you recognize, perspective lines converging at a horizon, shadows indicating elevation changes, and slight color shifts caused by atmospheric haze. AI systems trained on millions of photographs have learned to read these same cues.
Monocular depth estimation takes a single flat image and predicts, for every pixel, how far that point is from the camera. The result is a depth map, a greyscale image where bright areas are close and dark areas are far. From there, software reconstructs the 3D geometry of the scene.
Modern depth estimation models, trained on diverse residential datasets, can now produce depth maps accurate enough to generate plausible 3D reconstructions from a single photo. Accuracy improves significantly when you use multiple overlapping photos of the same space.
From Pixels to Geometry
Once a depth map exists, the AI generates a point cloud, a collection of thousands of data points in 3D space, each corresponding to a surface in the image. Connecting those points into surfaces produces a mesh, the fundamental unit of any 3D model.
More sophisticated pipelines use Neural Radiance Fields (NeRF) or Gaussian Splatting, methods that model the volumetric properties of a scene and can generate photorealistic views from any angle, even angles the original photo never captured. These approaches are computationally heavier but produce far richer outputs.
💡 Quick distinction: A point cloud is raw data. A mesh is the structured model. A NeRF is a learned volumetric representation. Each step up in complexity produces better results but requires more computation and more source photos.
The 3 Main Workflows
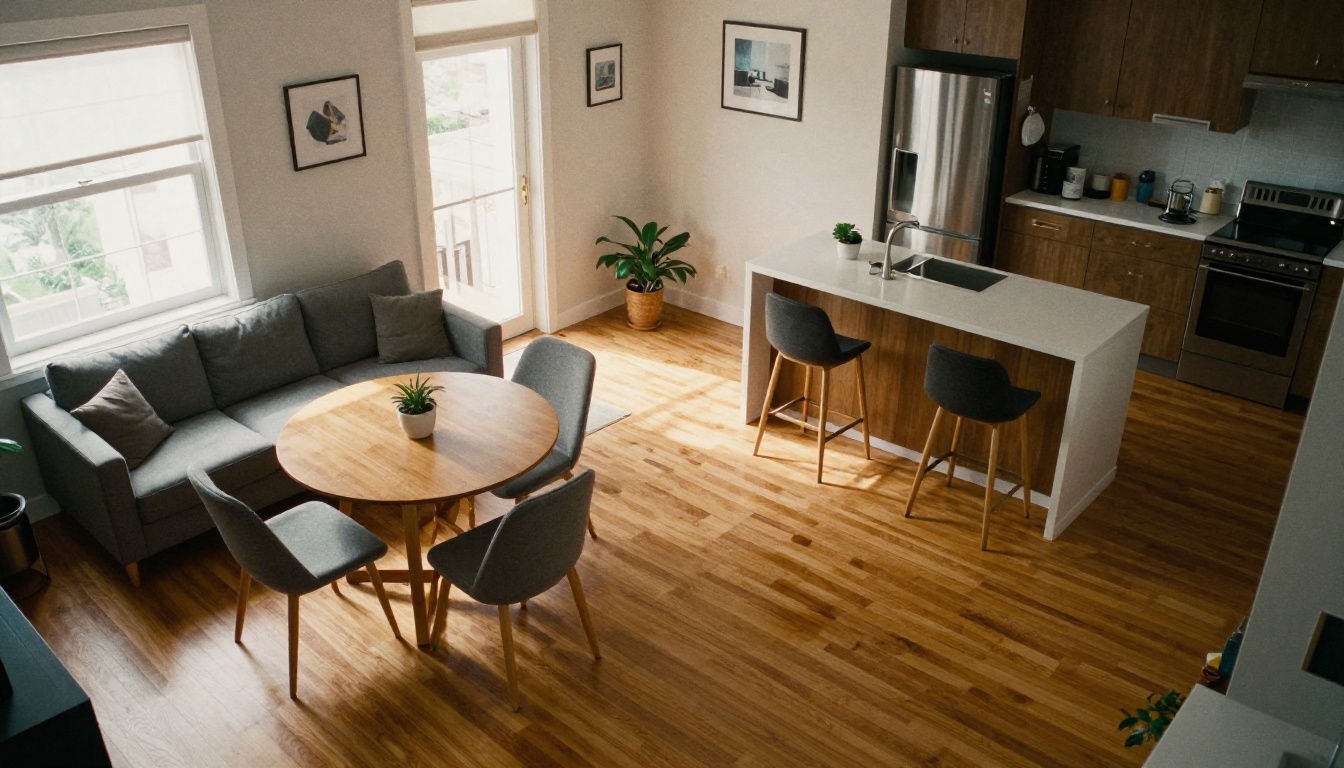
Not every use case needs a full NeRF reconstruction. Understanding the three main workflow categories helps you pick the right tool for your actual goal.
Phone Apps for Quick Scans
Apps like RoomScan Pro, Polycam, and IKEA Kreativ use your phone's LiDAR sensor (on supported iPhones) or purely vision-based depth estimation (on Android devices) to scan rooms in real time. You walk the phone around the space, and the app builds a 3D model as you move.
Best for: Quick floor plans, furniture placement, real estate listings.
Limitation: Output quality depends heavily on available light and the sensor quality of your specific device.
Browser-Based AI Tools
Web-based tools accept uploaded room photos and return a 3D reconstruction without any app download. Some use proprietary depth models; others use open-source models like Depth Anything V2 or ZoeDepth under the hood.
Best for: Designers who want to work from existing photography, or anyone without a compatible mobile device.
Limitation: Usually requires multiple photos of the same space taken from overlapping angles for accurate results.
Professional Photogrammetry
Software like RealityCapture or Agisoft Metashape, originally built for archaeology and land surveying, applies Structure-from-Motion (SfM) algorithms to dozens of photos taken in a systematic pattern around a room. The output is a high-fidelity mesh with photorealistic textures baked into every surface.
Best for: Architecture, real estate marketing, renovation planning, heritage documentation.
Limitation: Requires careful photography and significant processing time, sometimes hours per room.
| Workflow | Photos Needed | Time to Result | Output Quality |
|---|
| Phone App | 1 scan session | 1-5 minutes | Good |
| Browser AI | 5-20 photos | 5-30 minutes | Very Good |
| Photogrammetry | 50-200 photos | 1-8 hours | Excellent |
Taking the Right Room Photo
The quality of your 3D model is almost entirely determined by the quality of your source photos. A 10-megapixel photo taken correctly beats a 50-megapixel photo taken carelessly.
Lighting Makes or Breaks It
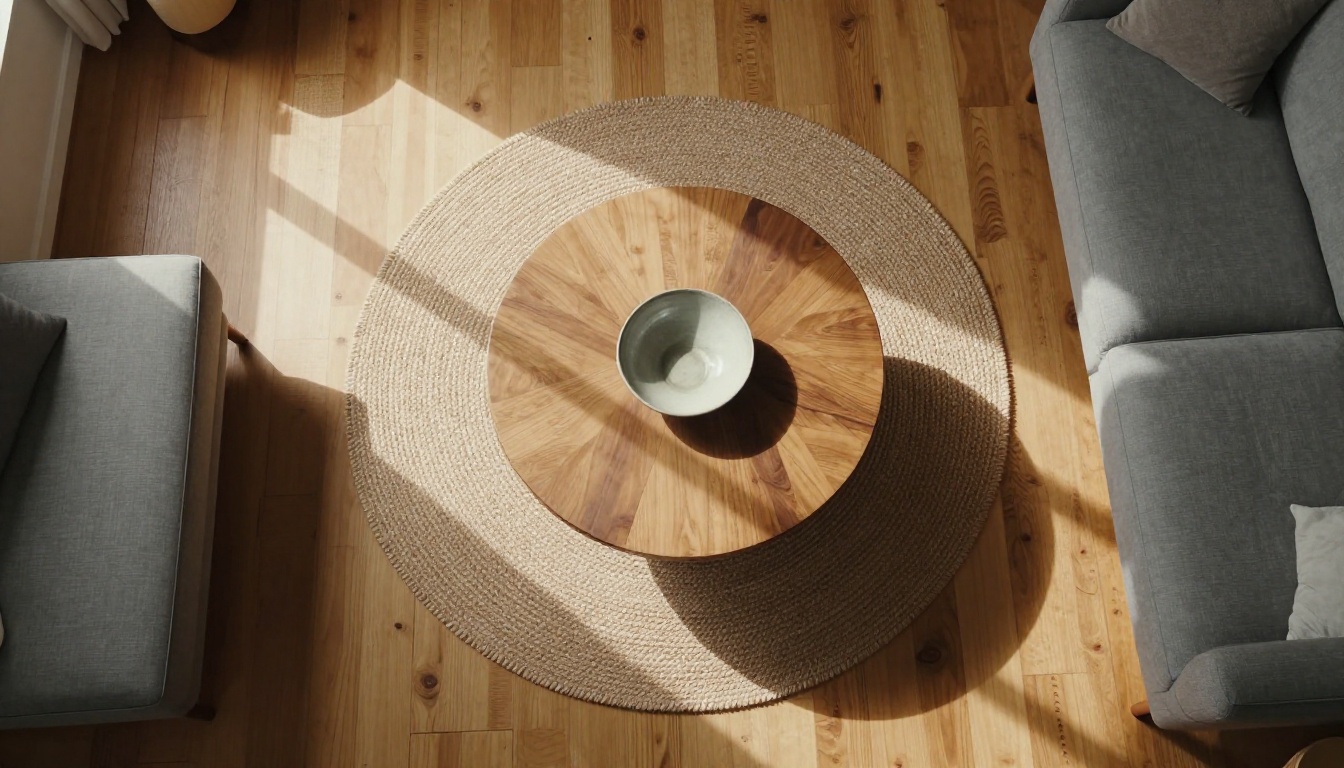
AI depth models struggle with two lighting conditions above all others: direct glare and complete shadow. Both eliminate the texture and edge detail the model needs to detect surfaces accurately.
The ideal lighting for room photography is even, diffused natural light from a window on one side of the room, on an overcast day. This preserves shadow depth without creating blown-out highlights on reflective surfaces like glass and polished stone.
Avoid shooting in these conditions:
- Directly into a bright window (backlight destroys depth information)
- At night with only overhead artificial lighting (creates flat, nearly shadowless surfaces)
- On sunny days when direct sun patches strike the floor at an angle (extreme contrast confuses edge detection along the light boundaries)
Angles That Work
Every useful room photography session should include at least three distinct angle types:
- Standing-height corner shots: Stand in each corner of the room and shoot diagonally across to the opposite corner. This gives the AI maximum geometric information about the overall room shape.
- Eye-level center shots: Stand in the center of the room and shoot toward each wall in turn. Captures wall detail and the front faces of all furniture.
- Downward 45-degree angle: Hold the camera at shoulder height tilted 30-45 degrees toward the floor. Captures floor texture and the spatial relationship between furniture legs and the flooring plane.
💡 Pro tip: Overlap your frames by at least 60%. Every object in the room should appear in at least two photos from slightly different positions. This overlap is what allows the AI to triangulate real depth rather than estimating it from a single viewpoint.
What to Clear Before You Shoot
Transparent and reflective surfaces are the enemy of AI reconstruction. Glass coffee tables, mirrors, and glossy appliances produce inconsistent depth readings that corrupt the geometry of surrounding surfaces.
Before every session:
- Remove or cover large mirrors where possible
- Close all cabinet doors and drawers (open items add complexity without adding useful spatial data)
- Clear the floor of small objects, bags, cables, and anything that interrupts the floor plane
- Turn off all screens (televisions and monitors create localized bright patches that flatten nearby depth data)
AI-Powered Room Visualization
Even without building a full 3D model, AI can dramatically change how you visualize what a room could become. This is where tools like PicassoIA become genuinely powerful for designers and homeowners alike.
See the Redesign Before You Build It
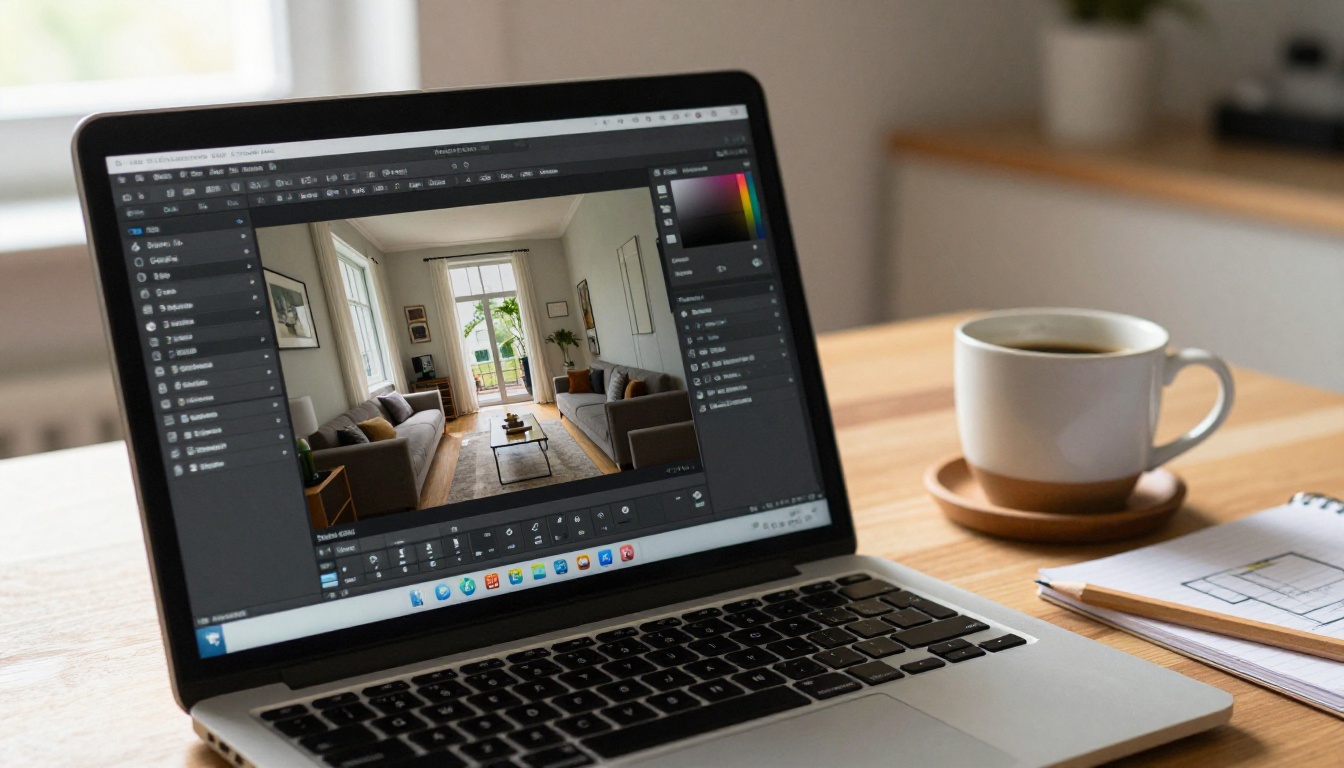
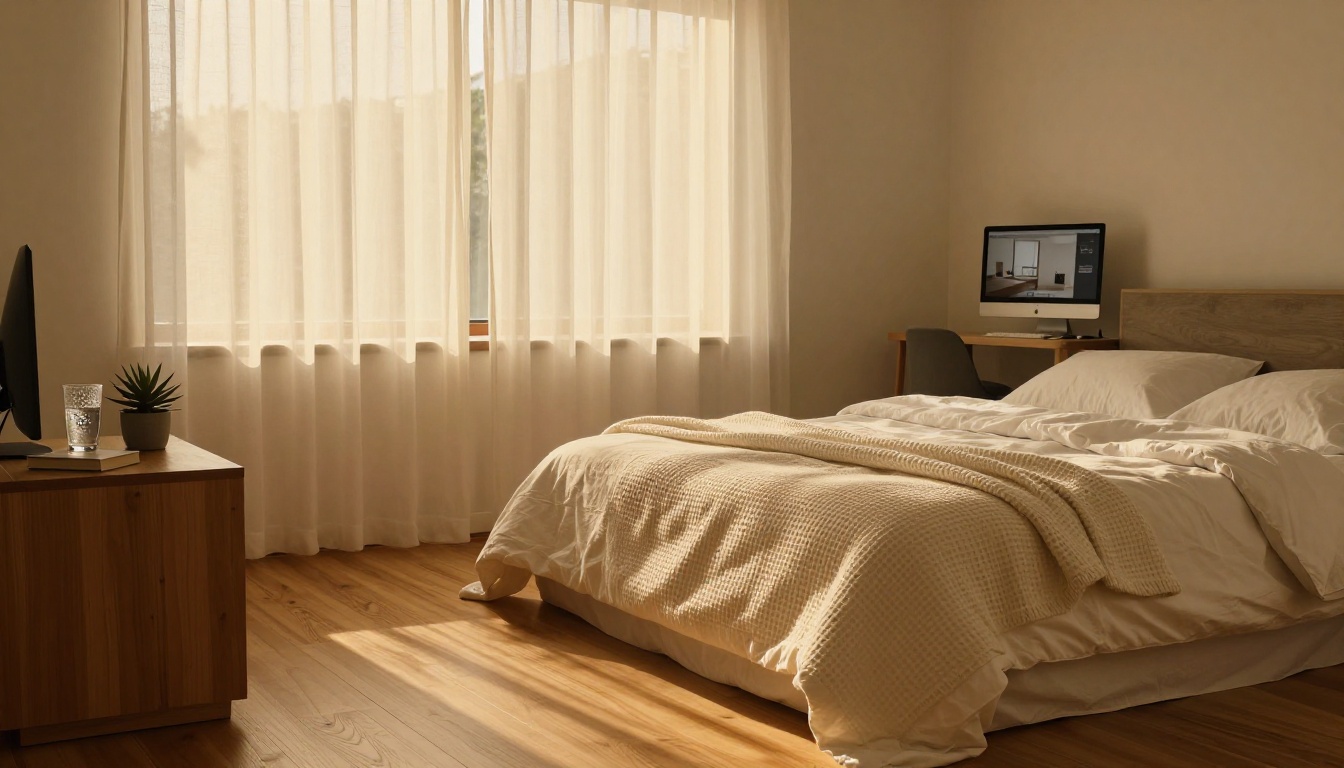
Instead of building a 3D model and then applying new textures inside a modeling application, you can take your existing room photo and run it through an AI text-to-image workflow that reimagines the space based on a descriptive text prompt. Describe a new color palette, furniture style, or room function, and the AI generates a photorealistic image of what that change would look like.
This approach is faster than full 3D reconstruction for many use cases, specifically when the goal is design iteration rather than precise spatial measurement.
PicassoIA's text-to-image collection includes dozens of models capable of generating high-fidelity interior photography-style outputs from detailed prompts. You can iterate through design concepts in minutes and share the results with clients or family members before committing to any physical changes or purchases.
Upscaling Your AI Output
Whether you generate a new room visualization or export a render from a 3D modeling workflow, the output resolution is often insufficient for print or large-screen presentation. AI upscaling fixes this without the blurring that traditional bicubic interpolation produces.
Real ESRGAN is particularly effective for interior photography and AI-generated room imagery, preserving edge sharpness in furniture outlines and wall textures while scaling images up to 4x their original resolution.
For photography focused on architectural details with smooth surfaces, Crystal Upscaler adds fine recovered detail without introducing artifacts in walls, ceilings, or large upholstered surfaces.
When maximum detail is the priority, Clarity Pro Upscaler applies photorealistic texture recovery that makes AI-generated interiors look indistinguishable from real high-resolution photography.
How to Use PicassoIA for Room Visualization
PicassoIA does not have a dedicated photo-to-3D conversion tool, but it offers a workflow that produces something arguably more useful for most homeowners and designers: AI-generated photorealistic visualizations of redesigned rooms. Here is exactly how to do it.
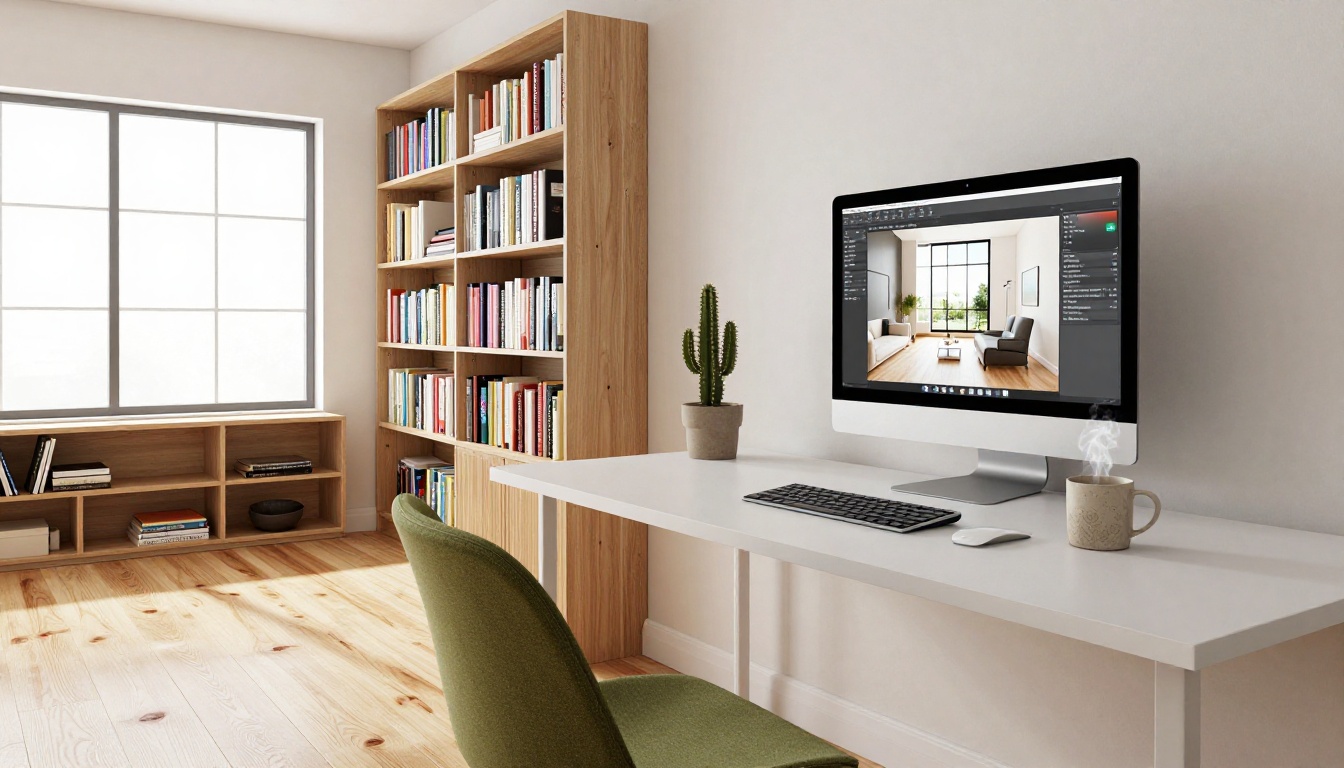
Step 1: Take or Select Your Room Photo
Use the angle and lighting advice from earlier in this article. A clear, well-lit corner shot with minimal reflective surfaces works best. The photo should show as much of the room as possible within a single frame.
Minimum recommended resolution: 1024 x 1024 pixels. Higher resolution always produces better results when feeding into AI models.
Step 2: Write a Detailed Design Prompt
Open PicassoIA and navigate to any model in the text-to-image collection. Your prompt should describe four elements clearly:
- The room type: living room, bedroom, kitchen, home office, bathroom
- The desired style: Scandinavian, industrial, mid-century modern, contemporary, rustic
- Specific changes you want: new sofa color, different flooring material, repainted walls, new pendant lighting
- Lighting conditions: morning light from east-facing windows, warm evening ambiance, neutral midday daylight
Example prompt: "Photorealistic interior photograph of a modern Scandinavian living room, light oak hardwood flooring, white walls, cream linen sofa, large south-facing window with diffused natural light, minimal decor, terracotta accent cushions, trailing pothos plant on a floating shelf, 24mm lens, Kodak Portra 400, 8K resolution"
Specificity is everything. Vague prompts produce generic outputs. The more precisely you describe your vision, the closer the result aligns with what you actually want.
Step 3: Upscale the Result
Once you have an output you want to keep, run it through Topaz Image Upscale for up to 6x resolution increase without loss of sharpness. Alternatively, Google Upscaler provides a 4x boost that retains color accuracy particularly well with interior photography tones.
The upscaled image is now print-ready and suitable for client presentations, mood boards, renovation contractor briefs, or real estate marketing materials.
3 Mistakes That Break Your Results
These three errors appear in almost every first attempt at AI room reconstruction or visualization.
Shooting in the Wrong Light
The single most common issue. Shooting at night under warm overhead incandescent lighting produces a depth-deficient image with flat, monochromatic yellow tones. AI models trained on diverse, well-lit photography data perform significantly worse on these images because the shadows that reveal surface geometry simply are not there.
The fix: Shoot between 9am and 4pm on an overcast day. If you must shoot at night, position multiple supplementary light sources around the room to create directional shadows from different angles, preventing the flat-look problem.
Ignoring Furniture Overlap
When a sofa hides the wall behind it, or a dining table blocks the floor beneath it, the AI cannot reconstruct those surfaces. In a 3D output, occluded areas either appear as holes in the geometry or are filled with plausible-but-incorrect guesses.
The fix: Take additional photos from angles that expose occluded areas, even if those angles are compositionally awkward. Capturing a low shot that shows under the sofa, or a wide shot from the hallway doorway that shows the wall behind the main furniture, gives the AI what it needs to fill those gaps accurately.
Using Low-Resolution Source Photos
Running a compressed JPEG downloaded from a social media post through an AI reconstruction tool gives you a compressed, artifact-filled reconstruction. Detail that does not exist in the source photograph cannot be invented by the AI regardless of how sophisticated the model is.
The fix: Always use the highest-resolution original file available. When shooting on a phone, go into your camera settings and disable any automatic compression before the session. Shoot in the highest resolution mode your device supports.
What a 3D Room Model Actually Gets You
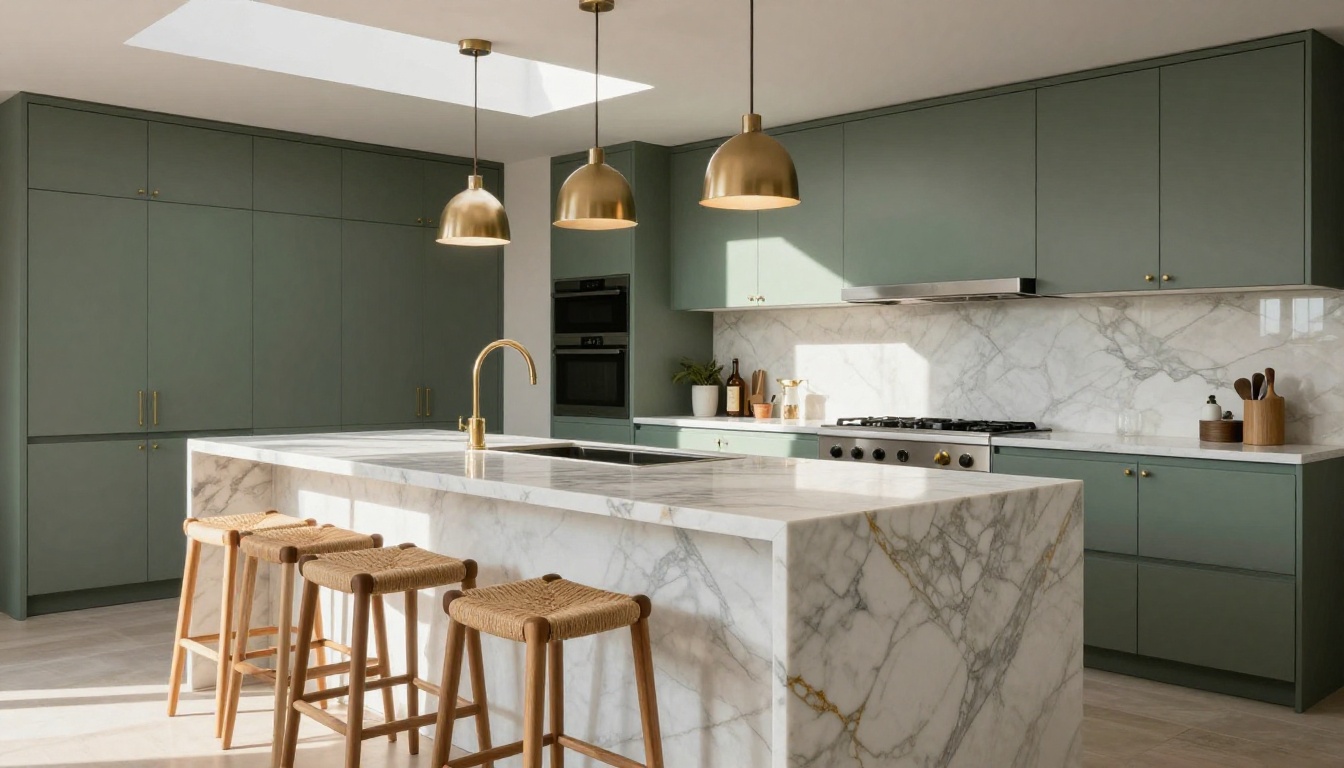
Once you have a 3D model or a high-quality AI visualization, the applications extend well beyond what most people initially consider.
Interior Design and Furniture Planning
Furniture is returned at remarkably high rates precisely because it looks different in person than it does in a flat product photograph on a white background. A 3D room model with accurate dimensions lets you place furniture models into your actual space at actual scale before purchasing anything.
Major retailers including IKEA, Wayfair, and most premium furniture brands now offer AR or 3D product files that can be imported directly into room models. This makes it genuinely possible to see whether a specific sectional sofa fits your living room dimensions and matches your existing floor tone before it ever leaves the warehouse.
Real Estate and Virtual Tours
360-degree room models have become a baseline expectation in real estate listings above a certain price point. Buyers relocating from other cities or countries rely entirely on virtual tours to pre-qualify properties before committing to an in-person visit.
AI-generated visualizations also serve real estate differently: they let agents show buyers what a dated, worn, or empty room could look like after thoughtful renovation, a powerful selling tool for properties that need work but have strong bones.
Renovation and Architecture
Contractors and architects use 3D room models to plan work sequences, verify spatial clearances for plumbing and electrical runs, and communicate design intent to clients who struggle to read 2D technical plans. A photorealistic visualization of the finished space, generated in minutes, provides clearer communication than a technical drawing that requires professional training to interpret.
What to Create Next
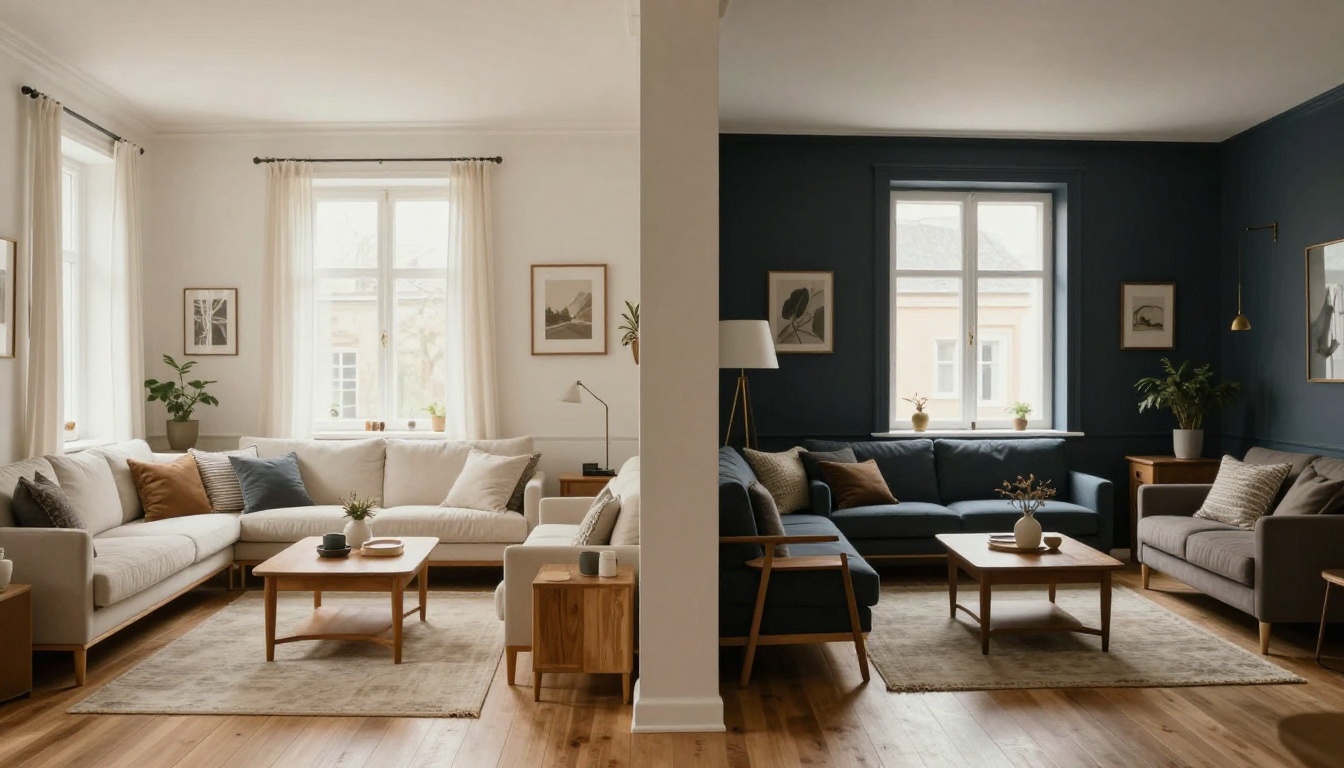
The process of turning a room photo into a 3D model or AI visualization is now accessible to anyone willing to spend an hour on the workflow. The technology has outpaced awareness: most homeowners, designers, and real estate agents who would benefit from this still do not know it exists or assume it requires specialist software.
If you want to start experimenting right now, PicassoIA gives you access to the full visualization stack. Generate new room concepts with the text-to-image collection, then sharpen and upscale your outputs with Real ESRGAN, Clarity Pro Upscaler, or Topaz Image Upscale for print-quality results at any scale.
Take a photo of a room in your home right now. Run it through the workflow. See what AI thinks your space could become. The gap between what exists and what is possible has never been smaller, and every tool you need is already waiting.


