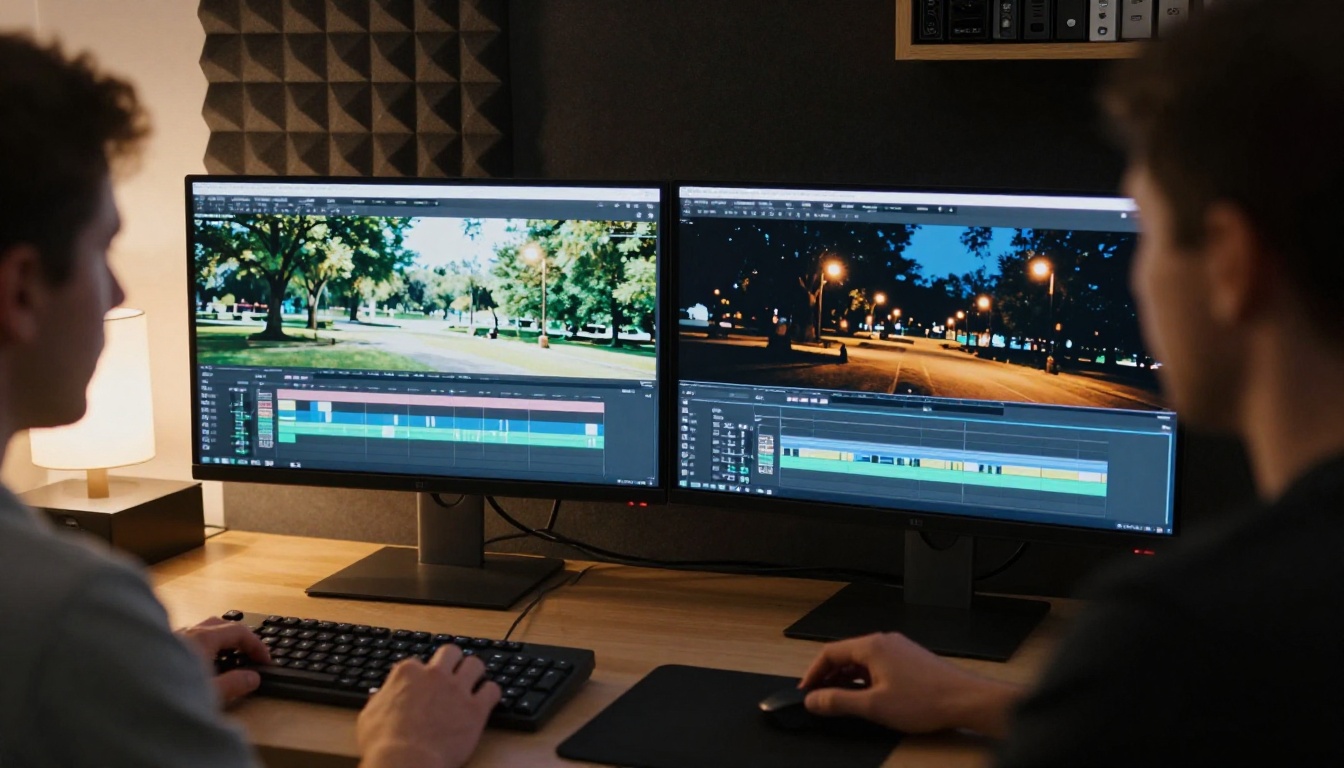
Shooting at night costs money. You need permits, artificial lighting rigs, a crew that works after dark, and sometimes you simply cannot return to a location once the sun has gone down. AI has changed all of that. You can now take any clip shot in broad daylight and convert it into a convincing, cinematic night scene without touching a single light or stepping foot on set again.
This is not color grading. It is not slapping a blue filter on your footage and calling it done. The AI models available today actually relight the scene: they read the geometry of buildings, streets, skin, and water, then simulate what that environment would look like under moonlight, street lamps, and artificial sources. The results can be stunning, and in 2027 you can do all of it through a browser.
Why Day-to-Night Is Hard Without AI
The physics of light nobody talks about
Daylight is a single, massive, directional source sitting 93 million miles away. It wraps around objects, fills shadows, and creates relatively even illumination across an entire scene. Nighttime is the opposite: dozens of small, competing light sources at different color temperatures scattered across the environment. Some areas are pitch black. Others are blown out by a sodium lamp or a neon sign.
When you try to fake night with color grading alone, you flatten the entire image to a dark blue tone. But real night footage has contrast. Deep shadows next to bright pools of light. Warm window glow against a cold sky. Headlights cutting through fog. A standard color grade cannot add light sources that were never there. AI can.
What manual editors get wrong
The three most common mistakes when faking night manually:
- Too much blue: Real night is not uniformly blue. Sodium street lamps are amber-orange. LED storefronts are cool white. Neon is colored. Moonlight at full moon is closer to silver-white.
- No secondary light sources: Every building has windows. Every street has lamps. Manually adding these is painstaking and rarely looks right.
- Sky and ground don't match: Darkening the sky without adjusting how light from the sky falls on the ground creates an obvious mismatch that immediately reads as fake.
AI sidesteps all three problems because it has been trained on millions of actual night scenes and knows exactly what the physics of artificial and lunar light look like on real surfaces.
Color temperature shifts
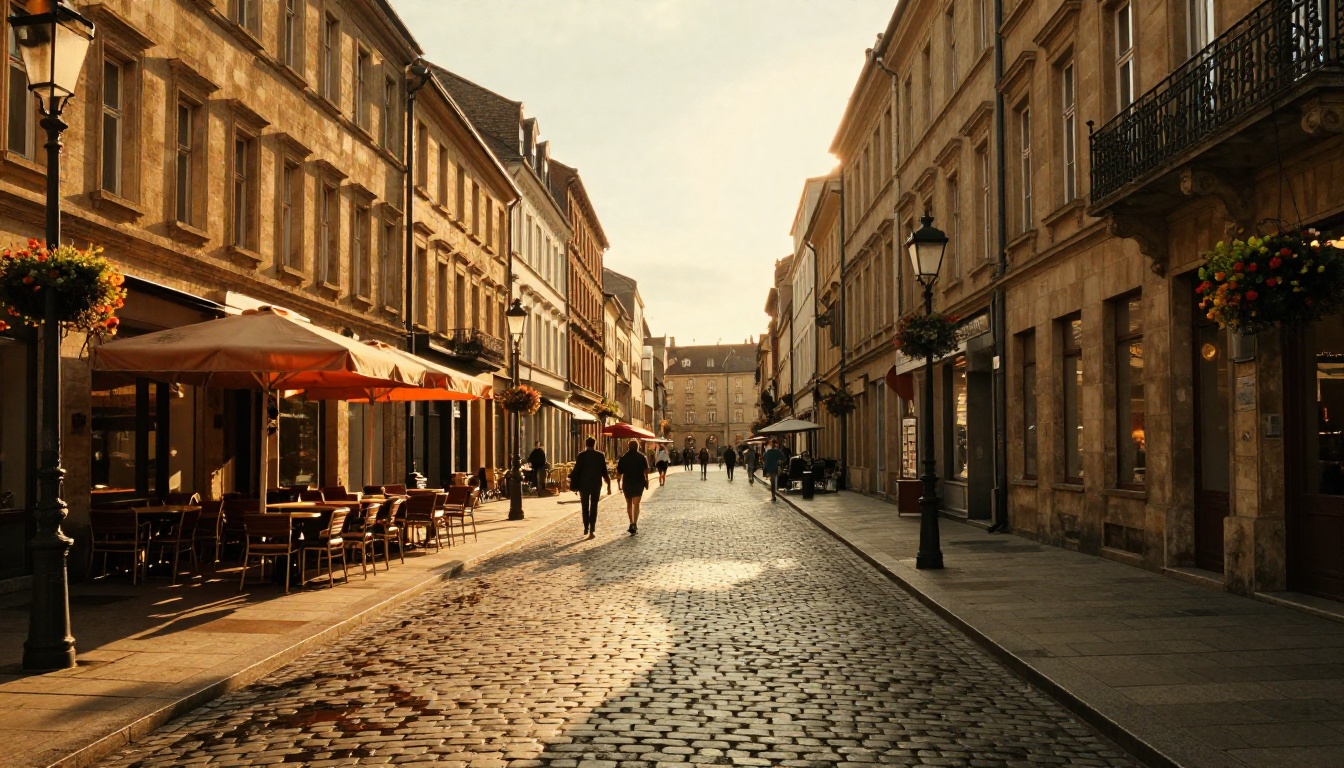
The most visible change is the global shift from warm daylight (5600K) to the cooler, more varied palette of night (3000K to 8000K depending on source). AI models handle this by analyzing every surface in the frame and applying temperature changes that respect the existing texture and reflectivity of each material.
Stone reflects moonlight differently from glass. Skin absorbs and reflects light differently from fabric. The best models account for all of this in a single pass, producing results that a uniform color grade simply cannot achieve.
Shadow and highlight redistribution
During the day, global illumination fills most shadow areas with bounced light. At night, shadows go nearly black unless a specific source is nearby. AI redistribution of shadow depth is where you can clearly see the gap between a basic filter and a real AI relighting model. The shadows should feel heavy, not just dark.
Adding artificial light sources
This is where the technology genuinely surprises people. Models like Wan 2.7 Videoedit can introduce new light sources into the scene based on your text prompt. You tell it "add warm street lamps every 20 feet along the sidewalk" and the model places them logically within the existing geometry, then calculates how that light would fall on the ground, bounce off surfaces, and cast shadows.
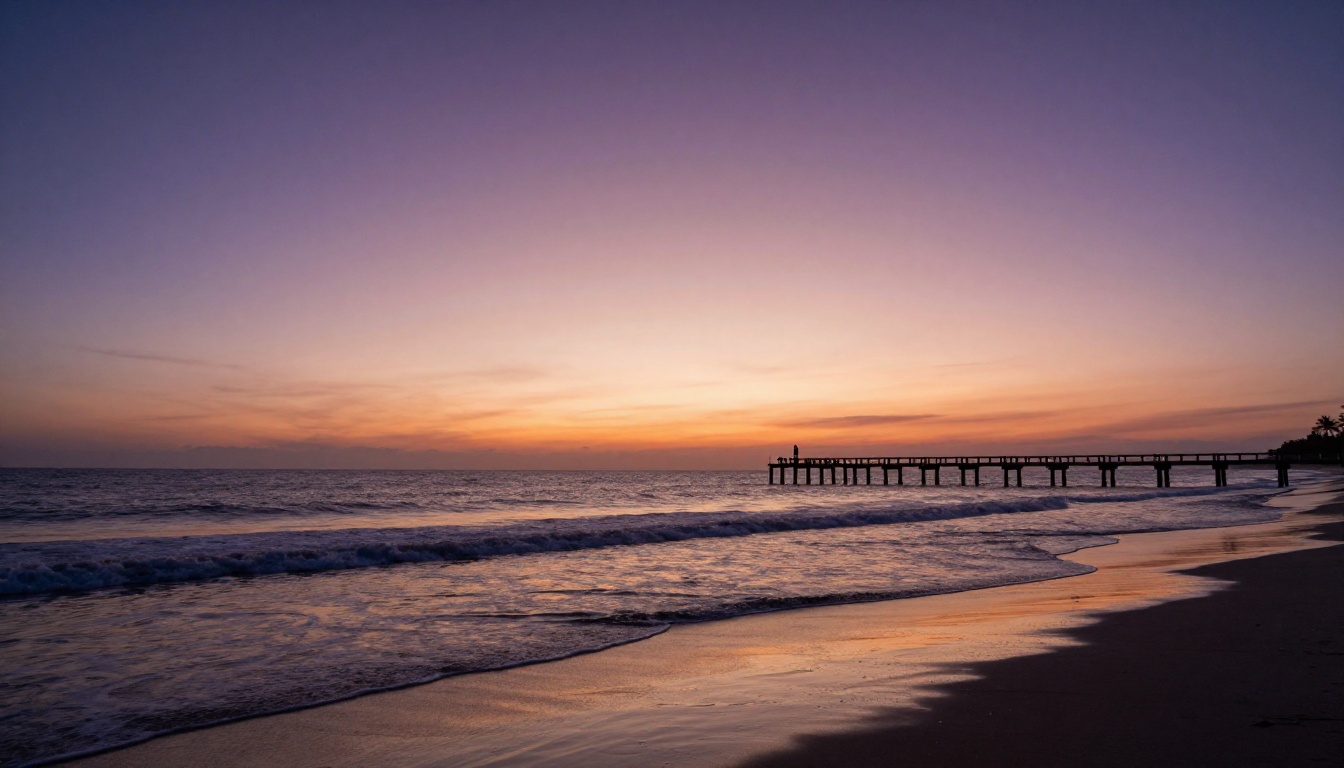
These models are purpose-built for video editing via text prompts. All of them are available through PicassoIA, so you do not need to manage APIs or install anything locally.
Wan 2.7 Videoedit
Wan 2.7 Videoedit is the most capable model on this list for complex lighting conversions. It processes your entire clip and applies spatial-aware edits based on a text description. For day-to-night work, it excels at adding believable secondary light sources and preserving motion coherence across frames. The model does not flicker between frames or lose track of moving subjects, which is the failure mode of most video relighting tools.
Lucy Edit 2 by Decart
Lucy Edit 2 is built for speed. If you need a quick preview of what your clip might look like at night before committing to a full render, this is the model to test with first. Its results are slightly less precise on edge cases (reflective surfaces, complex shadows), but for most standard footage it delivers solid results in seconds.
Kling o1
Kling o1 treats your video as a full scene rewrite rather than a surface-level edit. You provide a reference clip and a description of the target look, and it regenerates the video while preserving the core action and composition. For day-to-night, this means the end result can look genuinely shot at night rather than processed in post.
Gen 4 Aleph by Runway
Gen 4 Aleph gives you more artistic control over the final look. You can specify not just "night" but exactly what kind of night: neon-lit downtown at 2am, quiet residential street at 10pm, or moonlit countryside with no artificial sources. The model interprets these descriptions with strong consistency across the full clip duration.
Modify Video by Luma
Modify Video is Luma's straightforward style transfer tool. It is the fastest option for social media content where you need to turn around clips quickly. The night conversions are convincing at typical mobile screen sizes, though they may not hold up under close inspection on a large monitor.
LTX 2 Retake by Lightricks
LTX 2 Retake stands out because it lets you target specific sections of a clip rather than the full duration. If only part of your video needs to become night, or if you want to create a time-lapse-style transition from day to night within a single clip, LTX 2 Retake handles the temporal aspect better than the others.
How to Use Wan 2.7 Videoedit on PicassoIA
Wan 2.7 Videoedit is the recommended starting point for serious day-to-night work. Here is the exact process from upload to final output:
Step 1: Upload your clip
Go to the Wan 2.7 Videoedit page and upload your source footage. The model accepts MP4, MOV, and WebM formats. Clips under 30 seconds work best for this type of conversion. Longer clips can be processed but will take more time and may be less consistent in their lighting across the duration.
💡 Tip: Footage shot in flat or log color profiles gives the AI more dynamic range to work with. If you have LOG footage, upload that rather than a color-corrected version for better shadow recovery and highlight control.
Step 2: Write your editing prompt
This is the most important step. Your prompt tells the model what the final result should look like. Do not write "make it night." Instead, describe the specific lighting environment you want with precise detail.
Weak prompt: make it nighttime
Strong prompt: Convert to nighttime. Add warm sodium street lamps along the sidewalk. Moon overhead casting cool silver shadows. Store windows glowing warm amber from interior lights. Dark blue sky with visible stars. Keep all motion and people exactly as they are.
The more specific your light sources, color temperatures, and atmospheric conditions, the more convincing the result.
Step 3: Adjust the strength parameter
Most video editing models have a transformation strength slider. For day-to-night:
- Low strength (0.3-0.5): Subtle darkening, preserves more of the original footage but may not look fully convincing at night
- Medium strength (0.6-0.75): The sweet spot for most footage. Strong night effect without losing too much detail in shadow areas
- High strength (0.8-1.0): Full scene conversion. Best for dramatic looks, but can introduce artifacts on fast-moving subjects
Step 4: Review and iterate
Render a preview at lower resolution first. Check: Do the shadows feel heavy enough? Are the light sources believable in their placement? Is there flicker between frames? If any of these are off, adjust your prompt and re-run before committing to a full high-resolution render.
💡 Tip: Add "no flicker, temporally consistent, smooth lighting throughout" to your prompt to reduce frame-to-frame variation in the lighting, especially for clips with camera movement.
Prompt Writing That Actually Works
Prompts that fail
These are the most common patterns that produce weak or unconvincing results:
"make it night": too vague, model defaults to uniform darkening with no light source logic"dark scene": does not specify light sources, produces flat and muddy output"nighttime version": no information about the type of night or lighting environment"add darkness": not a lighting description, tells the model nothing about what sources exist
The pattern here is clear. Vague prompts produce generic output because the model has no information about what kind of night you want.
Prompts that deliver
Strong prompts describe three things: the sky condition, the artificial light sources present, and the overall mood or atmosphere.
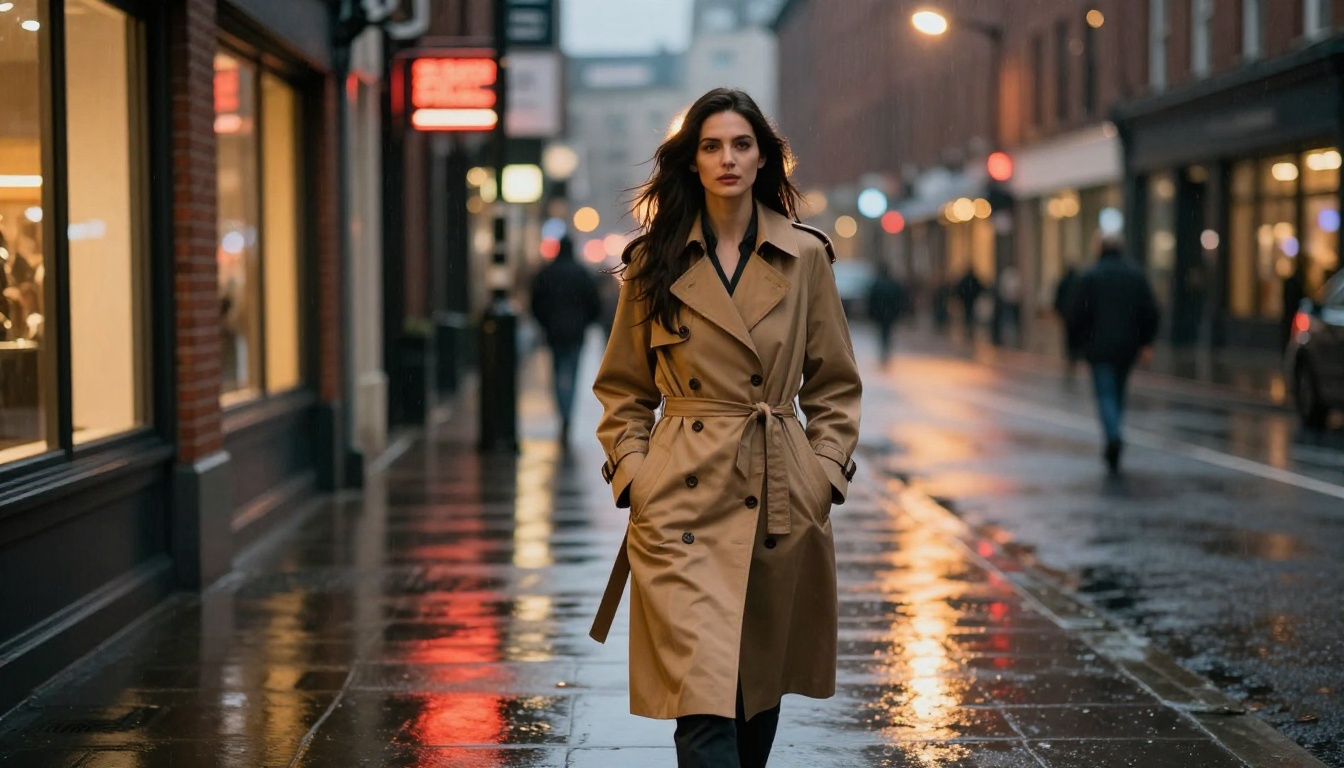
Urban street: "Convert to late night urban scene. Overcast sky blocking moon, no ambient sky glow from above. Sodium street lamps at 2800K casting pools of warm orange light on wet asphalt. Closed shopfronts with minimal window glow. Few pedestrians visible as dark silhouettes. Quiet, slightly moody atmosphere."
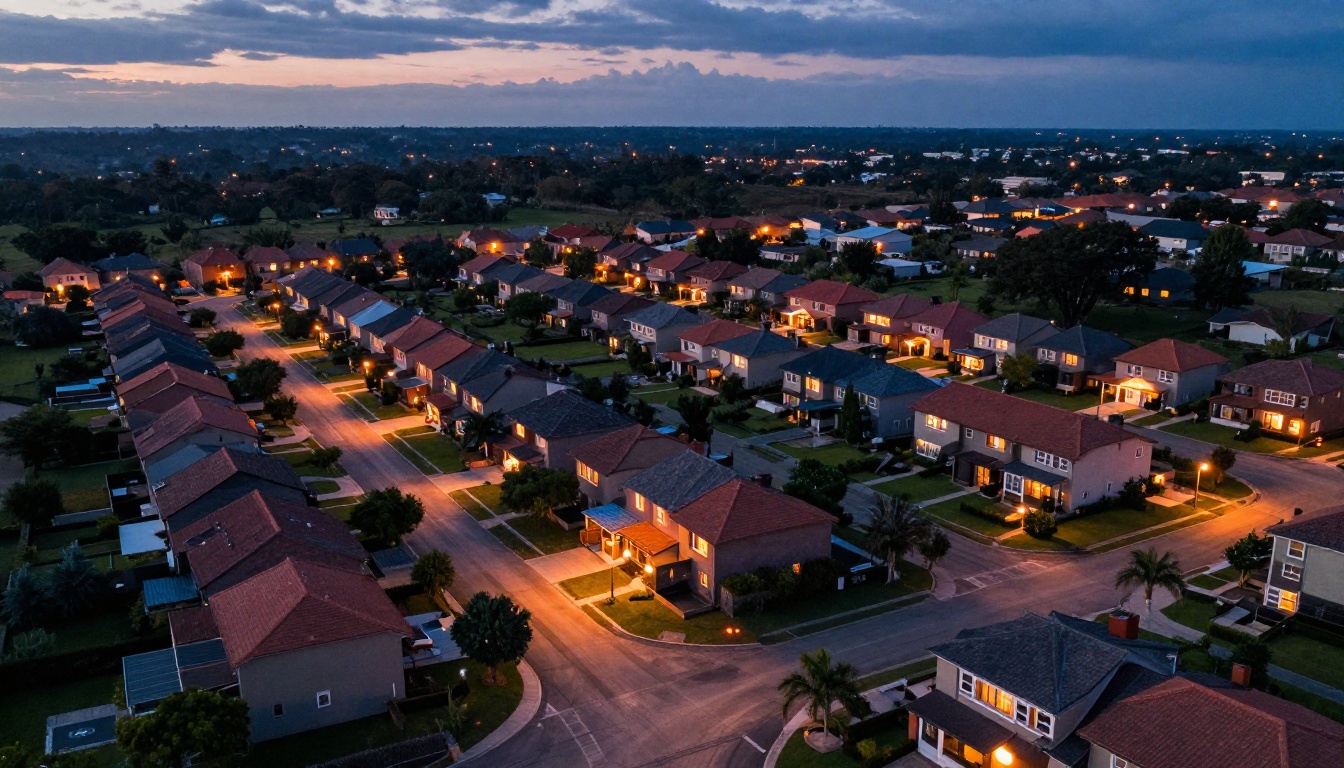
Residential area: "Change to 10pm suburban night. Clear sky with visible moon at 5700K silver light. Interior house lights glowing warm through curtains at 3000K. Occasional car headlights visible at end of the street. Safe, quiet neighborhood atmosphere with deep lawn shadows."
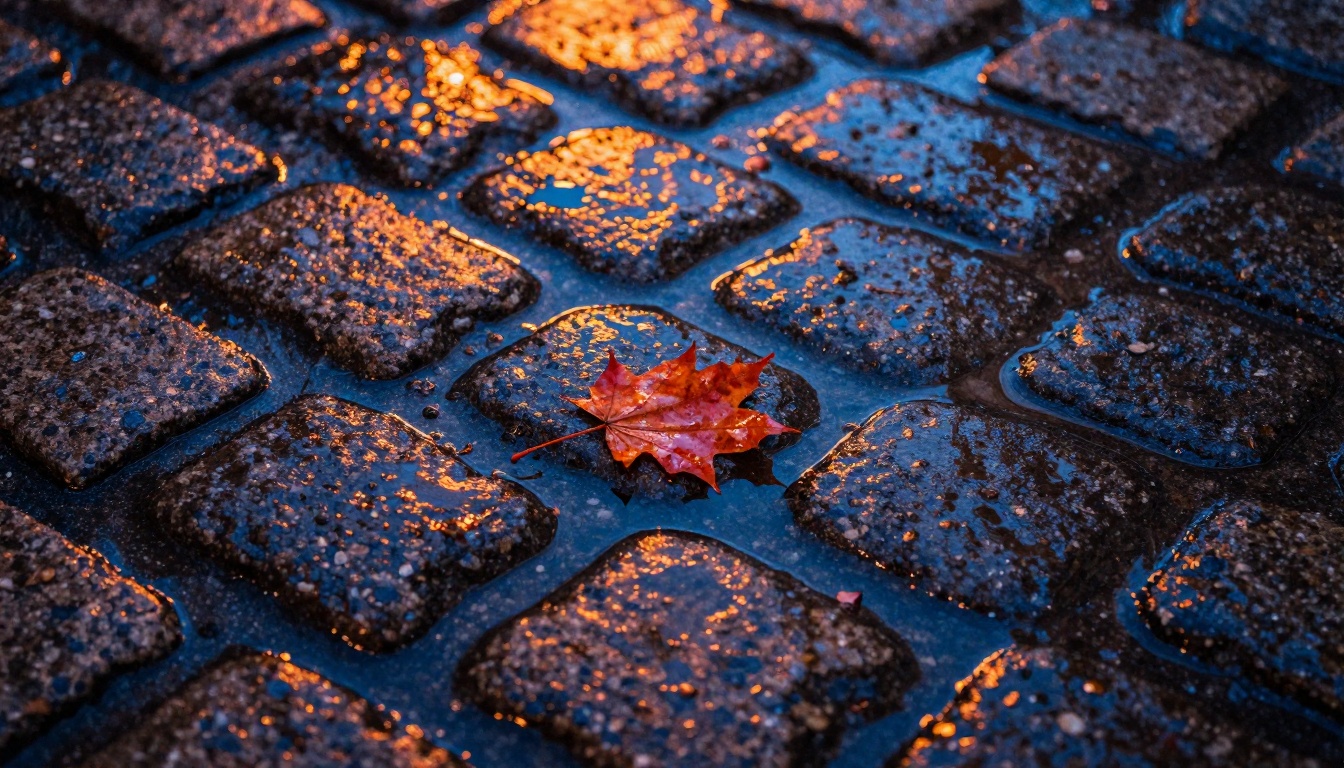
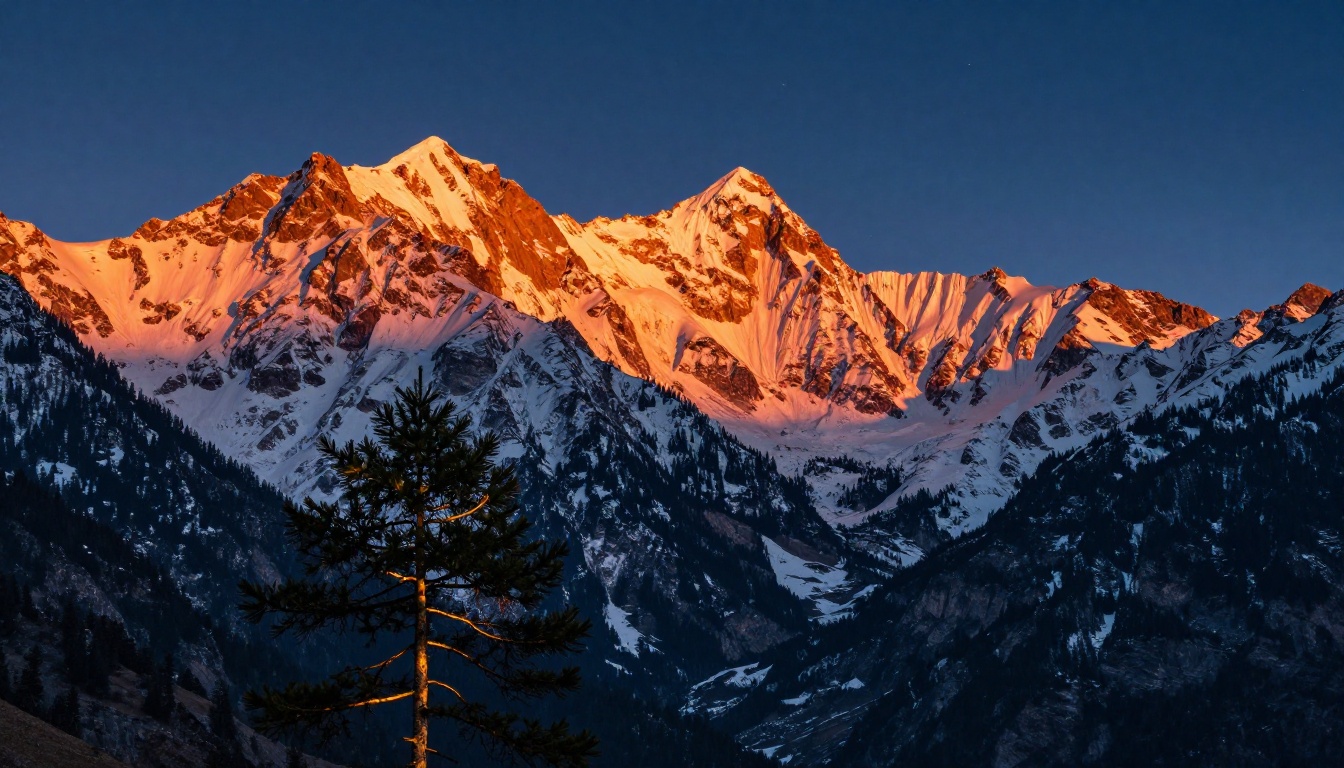
Natural landscape: "Night-time natural landscape. Full moon overhead at 5500K casting hard directional shadows across terrain. No artificial lights visible anywhere. Stars filling the entire upper sky with Milky Way visible. Ground illuminated only by moonlight with very deep shadows under tree canopy. Wilderness atmosphere."
Real Use Cases That Benefit Most
Short films and music videos
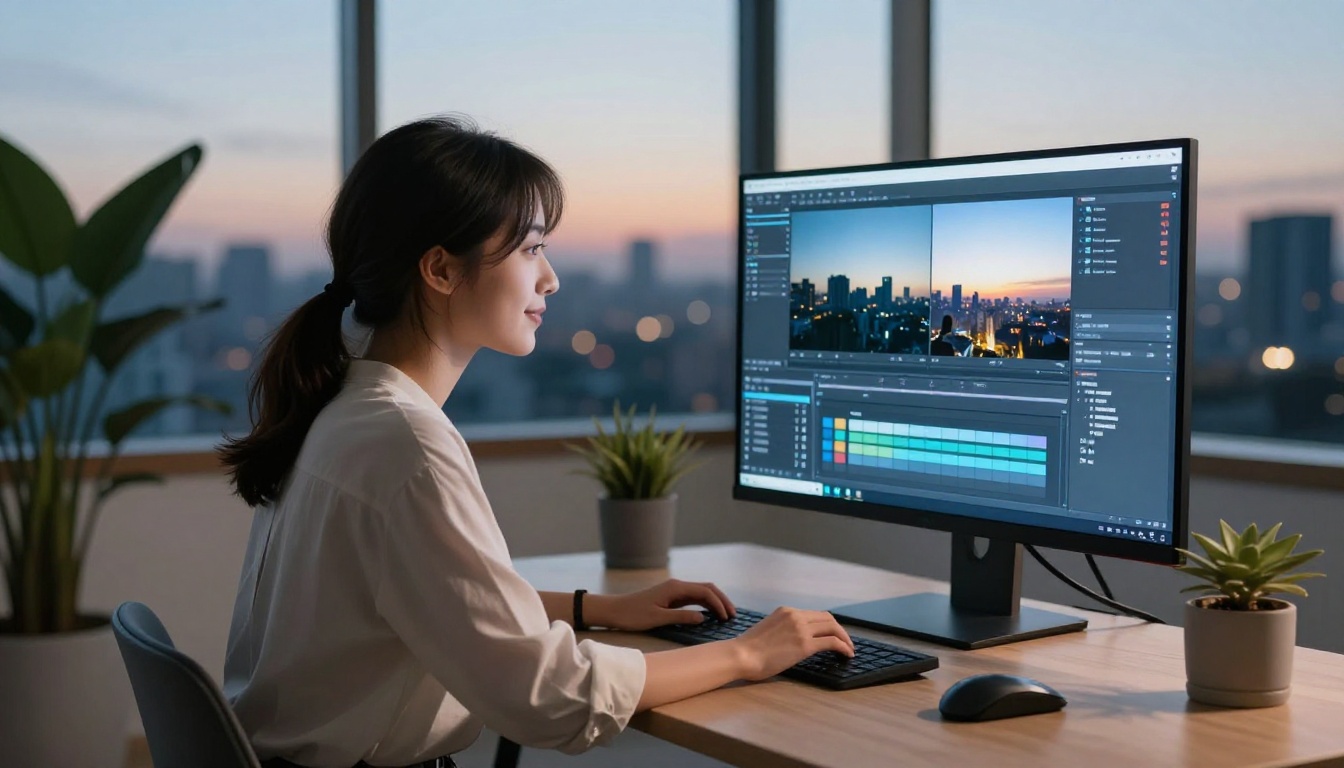
Reshooting a scene costs money. When a director realizes in post that a daytime exterior would work better as a night scene for emotional impact, that traditionally means returning to the location, rebuilding the lighting setup, and paying the crew again. AI day-to-night conversion makes that decision a software call instead of a budget call.
For music videos specifically, the aesthetic shift from day to night is often more about mood than strict realism. Models like Gen 4 Aleph and Kling o1 allow strong stylistic control, so you can push the night look into more dramatic territory without it needing to be strictly photorealistic.
Social media content
If you shoot street content, travel footage, or lifestyle videos, you often end up with more daylight footage than anything else. Night content is harder to shoot handheld because of sensor noise, camera shake, and autofocus failures in low light. AI relighting means your best handheld daylight clips can become night content without any of those problems.
Modify Video is particularly useful here because its output is optimized for platforms where heavy compression is applied after upload, meaning the night conversion holds up well after re-encoding and delivery to mobile screens.
Real estate and architecture
Architectural photography has used day-to-night compositing for decades. The video equivalent has lagged behind because frame-by-frame consistency was impossible to maintain manually. AI models handle temporal consistency automatically, applying the same lighting logic to every frame without manual keyframing.
A walkthrough video of a building shot at noon can become the blue hour footage that makes architectural content compelling for listings and marketing.
💡 Tip: For real estate footage, try: "blue hour, 7pm in summer, warm interior lights visible through windows at 2700K, exterior lit only by ambient twilight at 5800K, no artificial exterior lighting visible." This is the classic architectural twilight look and AI models reproduce it reliably.
The Limitations You Need to Know
When AI struggles
Being direct about where these tools fall short saves time and avoids frustration:
- Very fast camera moves: Rapid pans or zooms can cause the model to lose spatial consistency in the lighting placement. The slower the camera move, the better the result.
- Complex transparent surfaces: Glass buildings with heavy reflections during the day create confusion for AI relighting because the model has to determine what those reflections show at night.
- Long clips over 60 seconds: Processing quality can degrade for longer clips, partly due to computational limits and partly because maintaining consistent lighting across many seconds of footage is genuinely difficult.
- Extreme contrast in source footage: If the original clip already has harsh shadows and blown highlights, the AI has less pixel data to work with in those areas.
- Faces in extreme close-up: Skin relighting at very close range can sometimes look artificial. Medium and wide shots relight more convincingly than tight close-ups where every skin texture detail is visible.
The best approach is to test with a 5-10 second section of your clip before processing the full thing. If the short section looks good, the full clip will likely follow. If it struggles, try a different model or refine your prompt.
What to Expect from Each Night Type
Not all "night" is the same. Here are the most common night environments and what each requires from your prompt:
City center at midnight: Heavy artificial light with multiple competing sources at different color temperatures. Little or no moonlight visible due to light pollution. Your prompt should specify: sodium lamps, LED signage, headlights, neon storefronts, and wet reflective surfaces.
Suburban residential at 9pm: Moderate artificial light. A mix of street lamps and house windows. Some visible sky with moon or stars if conditions are clear. Your prompt should specify: warm window glow at 2700K, cooler street lamp pools at 3000K, visible lawn areas in deep shadow.
Rural or wilderness: Almost no artificial light. Moonlight is the primary source if present, otherwise only starlight creates near-total darkness with very soft blue-silver illumination. Your prompt should specify: full or crescent moon position, star-filled sky, deep natural shadows under vegetation.
Blue hour (transitional): The period 20-40 minutes after sunset. Sky is still bright but shifted to deep blue and violet. No harsh artificial lights yet. This is the most flattering look for architecture and outdoor portraits, and AI models reproduce it very reliably. Your prompt should specify: deep blue sky with residual glow on the horizon, early interior lights just becoming visible, cool ambient light with no hard shadows.
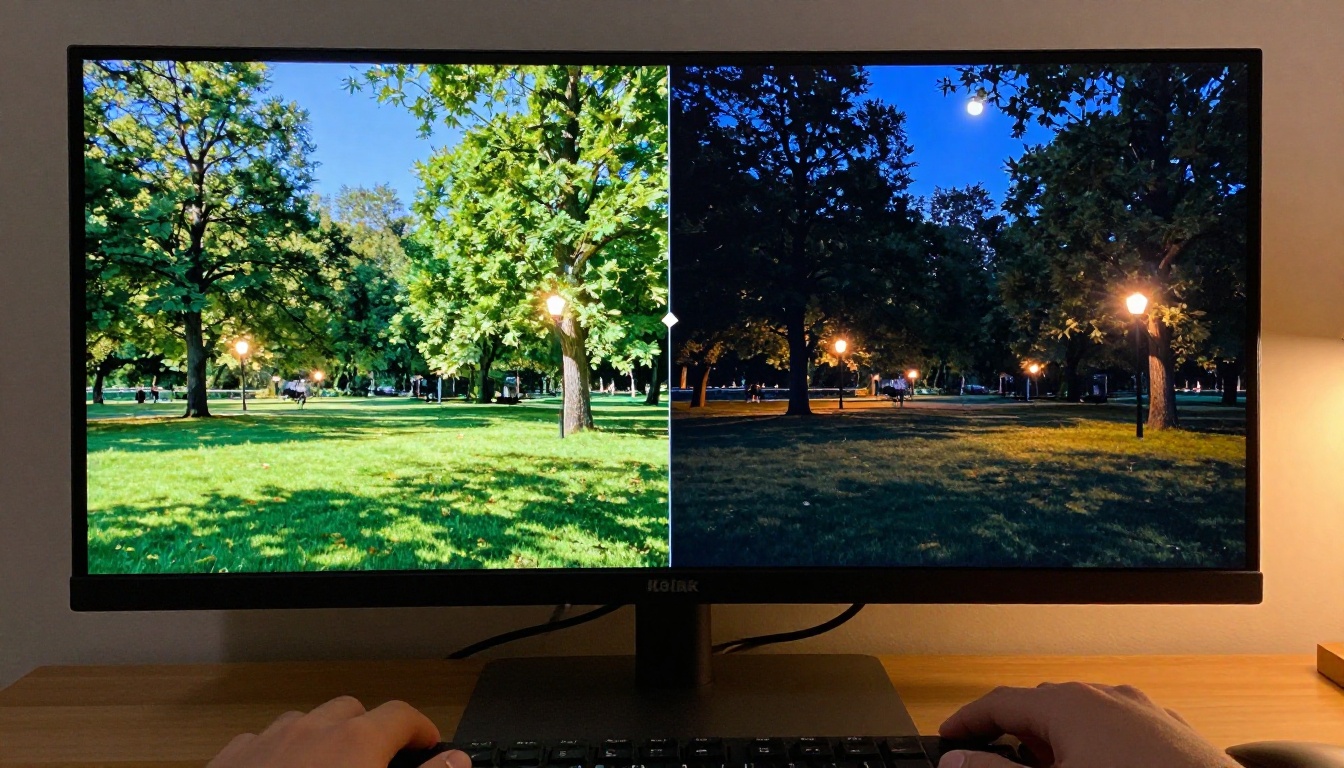
You do not need to wait for the right time of day, book a night shoot, or hire a colorist. Every tool covered in this article is available on PicassoIA: Wan 2.7 Videoedit, Lucy Edit 2, Kling o1, Gen 4 Aleph, Modify Video, and LTX 2 Retake are all there, ready to process your next clip in minutes.
The best way to get a feel for what is possible is to take one clip you already have, run it through Wan 2.7 Videoedit with a detailed night prompt, and see the output. Most people are genuinely surprised by how convincing modern AI relighting has become. The gap between what is possible now and what required a full night shoot two years ago is significant.
Upload your footage, write a specific prompt describing your exact night environment, and start producing night content from the daylight footage you already have.


