Turning a flat photograph into a dimensional spatial asset used to require a dedicated 3D scanning rig, specialized software, and hours of manual cleanup. AI has collapsed that workflow. Today, a single photo captured on a smartphone can feed into an AI pipeline and come out as a textured depth map, a reconstructed mesh, or a dimensionally rich image that reads like a spatial object. This article walks through the real methods, actual tools, and specific steps that produce results worth using.
What Photo-to-3D AI Actually Does
Before picking a tool, it pays to know what happens inside the process. "Photo to 3D" is shorthand for several very different operations that produce different types of outputs.
Depth Estimation vs. Full Reconstruction
Depth estimation is the simpler of the two. The AI looks at a single image and assigns a depth value to every pixel, typically visualized as a grayscale depth map where white pixels are closest and black pixels are furthest away. This does not produce a mesh you can rotate in CAD software. What it produces is a spatial interpretation of the photograph that other tools can act on.
Full 3D reconstruction goes further. Given enough photographs of an object from multiple angles, the AI stitches them together into a point cloud, then builds a textured polygon mesh. This is closer to what most people imagine when they hear "photo to 3D model," and it is the basis of workflows used in product design, game development, and film VFX.
The Data Behind Every Model
The AI models handling these tasks are trained on millions of image pairs: photographs alongside corresponding depth data or 3D scans. From that training, they develop a statistical sense of how objects in the physical world recede in space, how light behaves on different surfaces, and how the visible parts of an object imply the shape of its hidden sides.
💡 Tip: The quality of AI output depends heavily on the quality of your input photos. Consistent lighting, sharp focus, and proper subject coverage are not optional.
The Two Main Workflows
There are two broad ways to approach photo-to-3D conversion with AI, and they are suited to different situations.
Photogrammetry: Many Photos, One Object
Photogrammetry is image-based 3D modeling at its most reliable. You shoot the same object from dozens of angles, making sure consecutive shots overlap by at least 60 to 70 percent. Dedicated software then identifies matching features across all images, calculates the camera position for each shot, and reconstructs the object in three dimensions.
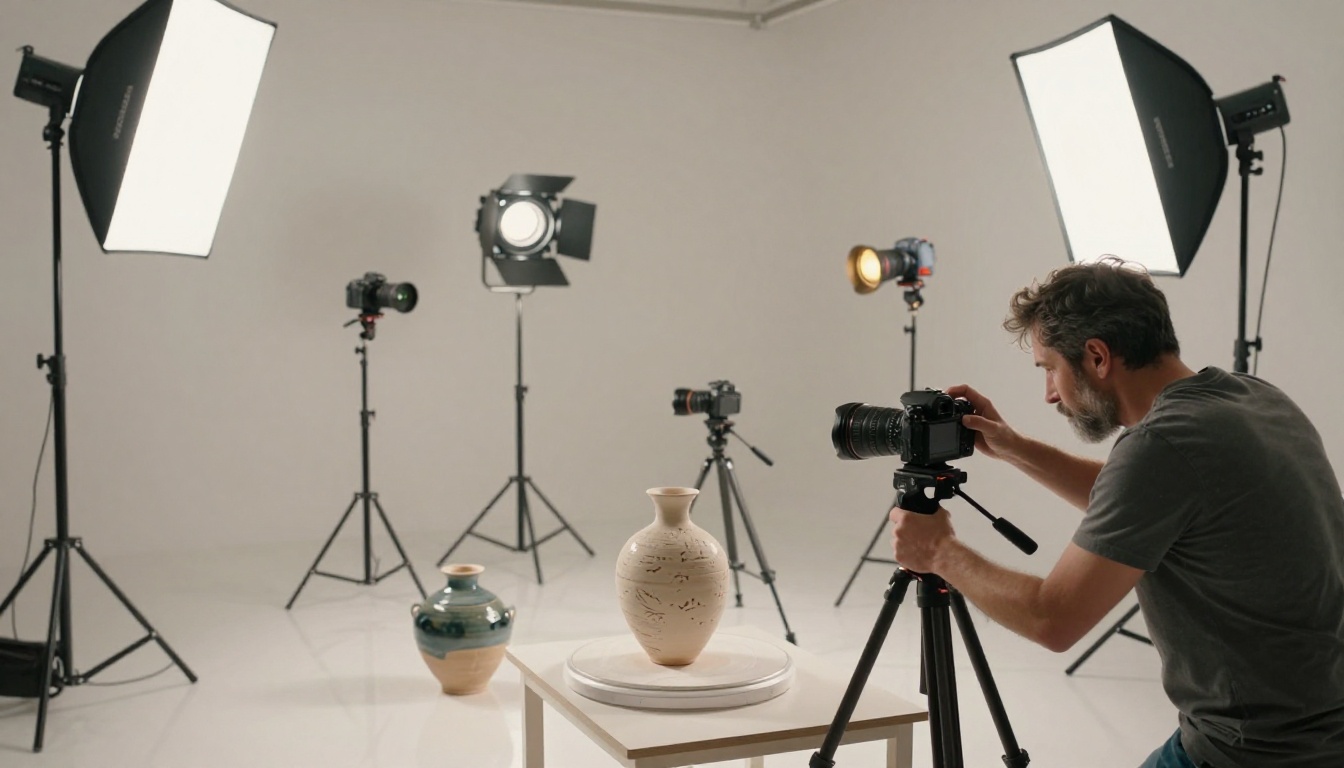
What you need for photogrammetry:
- Minimum 30 to 50 photos for a simple object
- Consistent, diffuse lighting with no hard shadows
- A full circuit at three height levels: eye level, 45 degrees down, and top-down
- A plain background or turntable to isolate the subject
- Sharp focus on the subject in every single shot
This method works well for objects that have visible texture, since the AI needs surface features to calculate correspondences between images. Highly reflective or transparent objects are notoriously difficult because their appearance changes with every angle.
Neural Approaches: One Photo, AI Fills the Rest
Newer approaches based on Neural Radiance Fields and diffusion models can infer 3D structure from a single photograph or just a few. Instead of computing geometry from matching pixels across multiple images, the neural model draws on its training data to hypothesize what the unseen portions of the object look like.
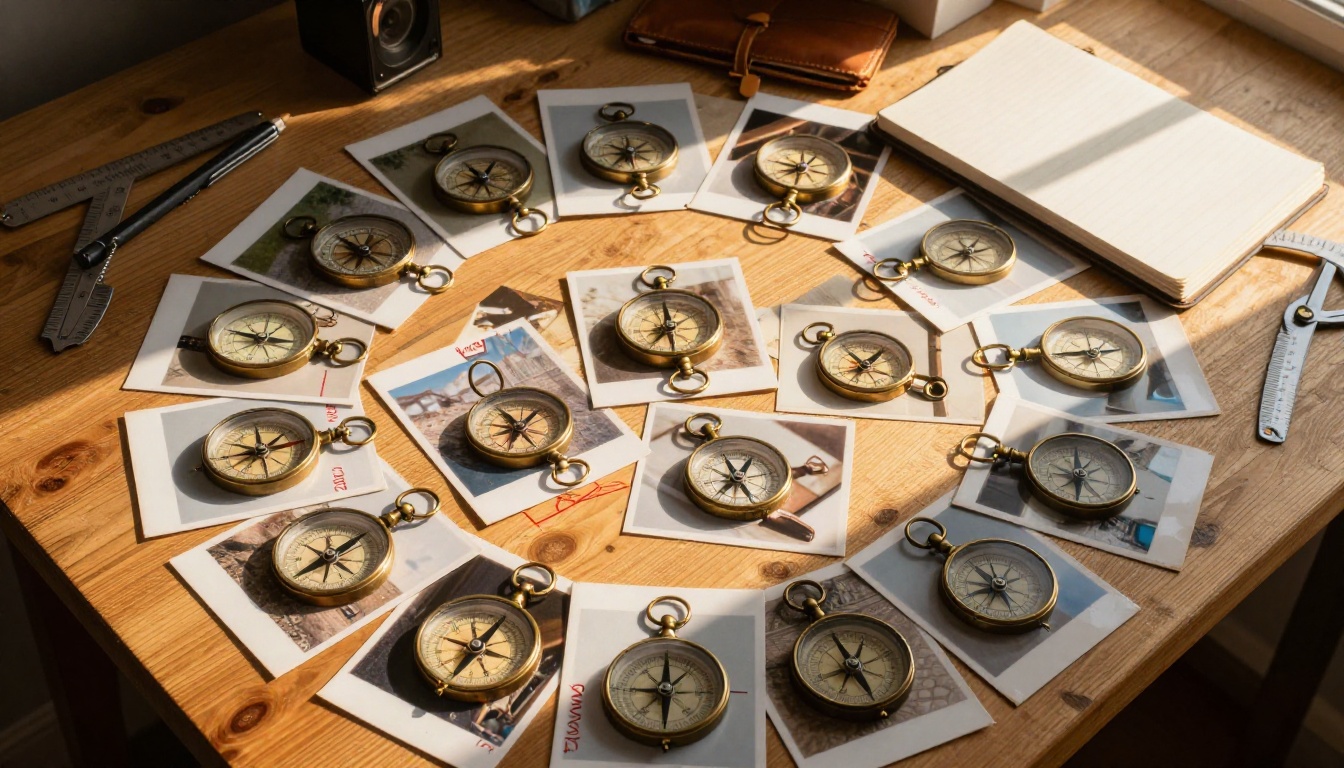
Single-image methods produce plausible results, not definitive ones. The AI is making informed guesses about the back of the object based on statistical patterns from training data. For many creative applications, this is entirely acceptable. For engineering, manufacturing, or anything requiring dimensional accuracy, multi-image photogrammetry remains the more reliable path.
| Method | Photos Required | Output Type | Best For |
|---|
| Photogrammetry | 30-200 | Textured mesh | Products, objects, spaces |
| NeRF/Diffusion | 1-10 | Depth map, novel views | Creative assets, concept work |
| Depth Estimation | 1 | Depth map only | Post-processing, parallax video |
| img2img AI | 1 | Re-rendered image | Visual storytelling, design mockups |
Shooting Photos for Best Results
Regardless of which AI workflow you use, what you put in determines what you get out. Sloppy source photography produces reconstructions with holes, artifacts, and surface noise that no amount of AI processing can fix.
Overlap and Coverage
For photogrammetry, shoot in three horizontal rings around the subject. First ring at eye level, second at 45 degrees looking down, third from directly above. Within each ring, move in small increments so consecutive photos share at least two-thirds of their content. Rushed or sparse coverage means the AI cannot triangulate reliably, and the resulting mesh will have gaps.
Lighting That Works for AI
Flat, even lighting is ideal for photogrammetry. Harsh shadows create inconsistencies between shots because the shadow pattern shifts as you move around the subject. An overcast sky is ideal for outdoor subjects. In a studio, large diffused light sources from multiple directions eliminate the deep shadows that confuse reconstruction algorithms.
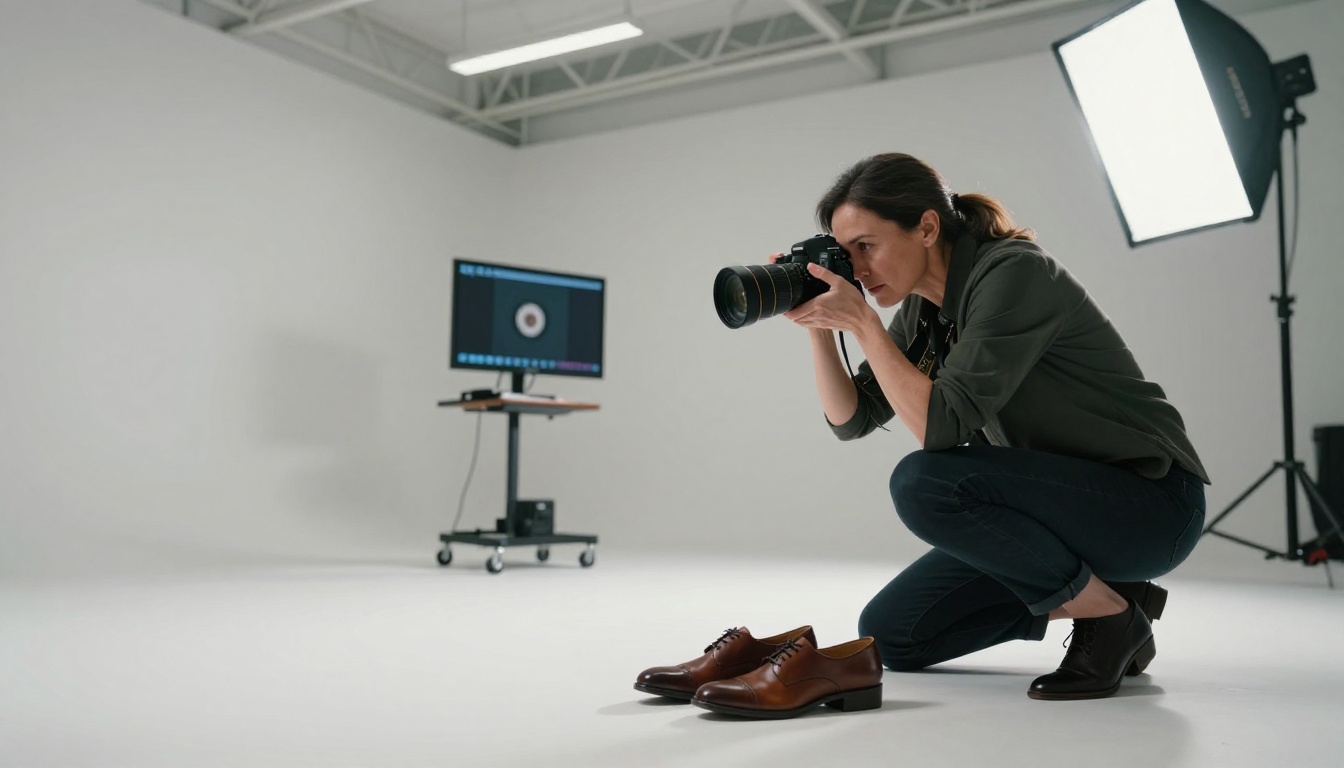
For depth estimation from a single photo, more dramatic lighting actually helps. Shadows carry information about surface curvature and depth. A single strong light source from one side creates the shadows the AI uses to infer three-dimensional form.
What to Avoid
- Moving objects: Any change in the subject between shots will confuse multi-view algorithms
- Featureless surfaces: Plain white or glossy surfaces give the AI nothing to match between frames
- Motion blur: Every image should be shot at a shutter speed fast enough to eliminate blur
- Background clutter: Complex backgrounds can introduce false correspondences in reconstruction
💡 Tip: Placing your subject on a textured turntable and shooting with a consistent camera position while rotating the object gives you precise angular coverage without changing your lighting setup between shots.
Using AI to Add Depth to Your Photos

If your goal is not a printable mesh but a visually rich, dimensionally compelling image, AI image models with image-to-image capabilities offer a faster and more creative workflow. Flux Dev on Picasso IA is one of the most capable tools for this approach.
How Flux Dev's img2img Works
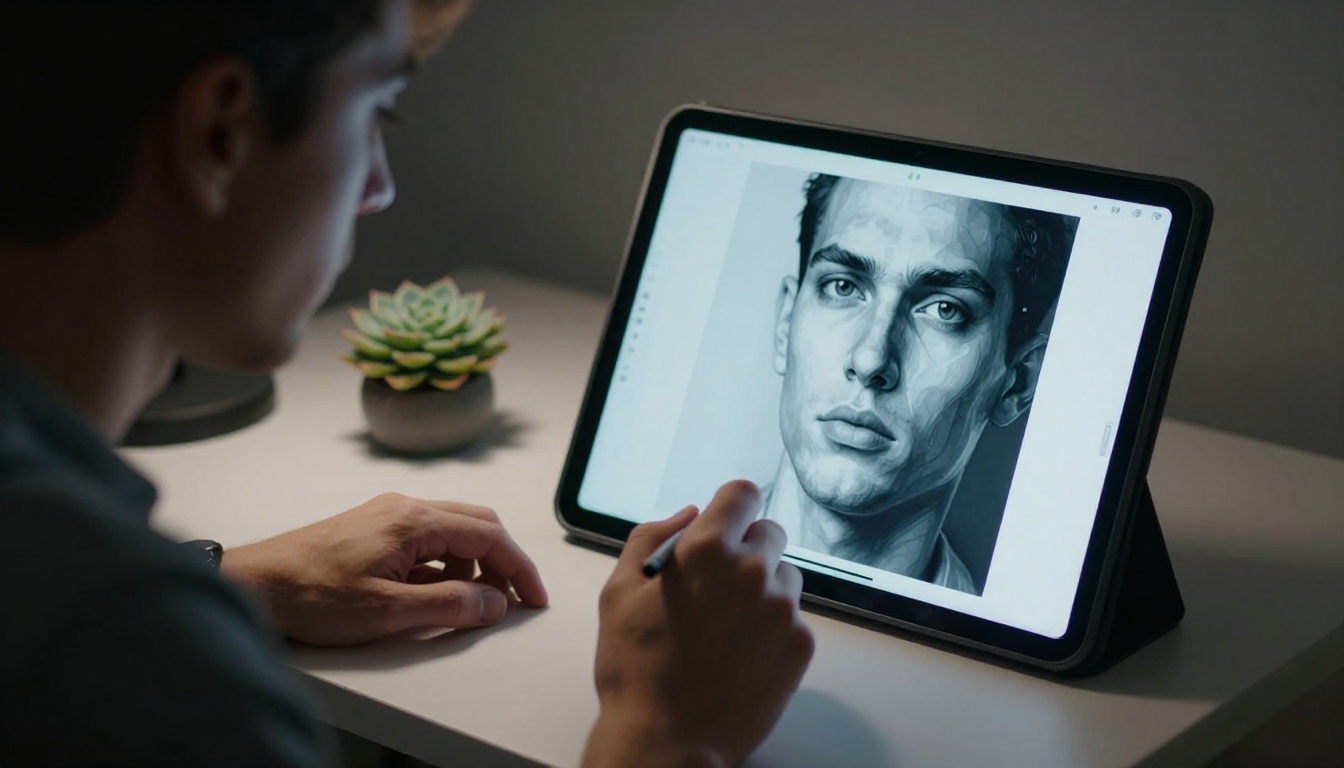
Flux Dev accepts a reference photograph as input and re-renders it according to your text prompt. The model does not reconstruct geometry, but it produces an image that reinterprets the spatial relationships in your photo, adding depth, texture, lighting, and atmospheric detail that were absent in the original. You can take a flat, poorly lit photo of a product and move it toward a fully realized, spatially rich image that reads as dimensional.
The prompt_strength parameter controls how aggressively the model departs from your original photo. A value of 0.4 to 0.6 preserves the composition while improving surface quality and spatial coherence. A value above 0.8 gives the model significant creative freedom to reimagine the scene.
Step-by-Step with Flux Dev
Step 1: Open Flux Dev on Picasso IA
Step 2: Upload your reference photograph using the image input field
Step 3: Write a prompt describing the dimensional qualities you want. Focus on lighting direction, surface texture, and spatial depth. Example: "photorealistic product shot, strong volumetric lighting from upper left, deep shadow on right side revealing surface curvature, 8K detail"
Step 4: Set prompt_strength between 0.45 and 0.6 to preserve the original subject while improving spatial quality
Step 5: Set guidance to 3.5 and num_inference_steps to 35-50 for maximum output fidelity
Step 6: Generate. If the result drifts too far from the original, lower prompt_strength by 0.1 and retry
Stable Diffusion 3.5 Large as an Alternative
Stable Diffusion 3.5 Large brings its own image-to-image pipeline that produces different character from Flux Dev. Where Flux Dev tends toward photorealism with clean, sharp edges, SD 3.5 Large handles stylistic diversity exceptionally well. If your workflow calls for architectural visualization, interior concept work, or any scene where atmospheric rendering matters more than photographic accuracy, SD 3.5 Large is worth running alongside Flux Dev for comparison.
For quick iteration during early concept stages, Flux Schnell produces usable results in under 5 seconds per image. Use it for rapid directional testing before committing to longer Flux Dev or SD 3.5 Large runs.
| Model | Speed | Photorealism | img2img Support | Best Use |
|---|
| Flux Dev | Medium | Very High | Yes | Final quality output |
| Flux Schnell | Very Fast | High | No | Rapid concept iteration |
| SD 3.5 Large | Medium | High, stylistically varied | Yes | Atmospheric scenes |
Upscaling and Polishing Your Output
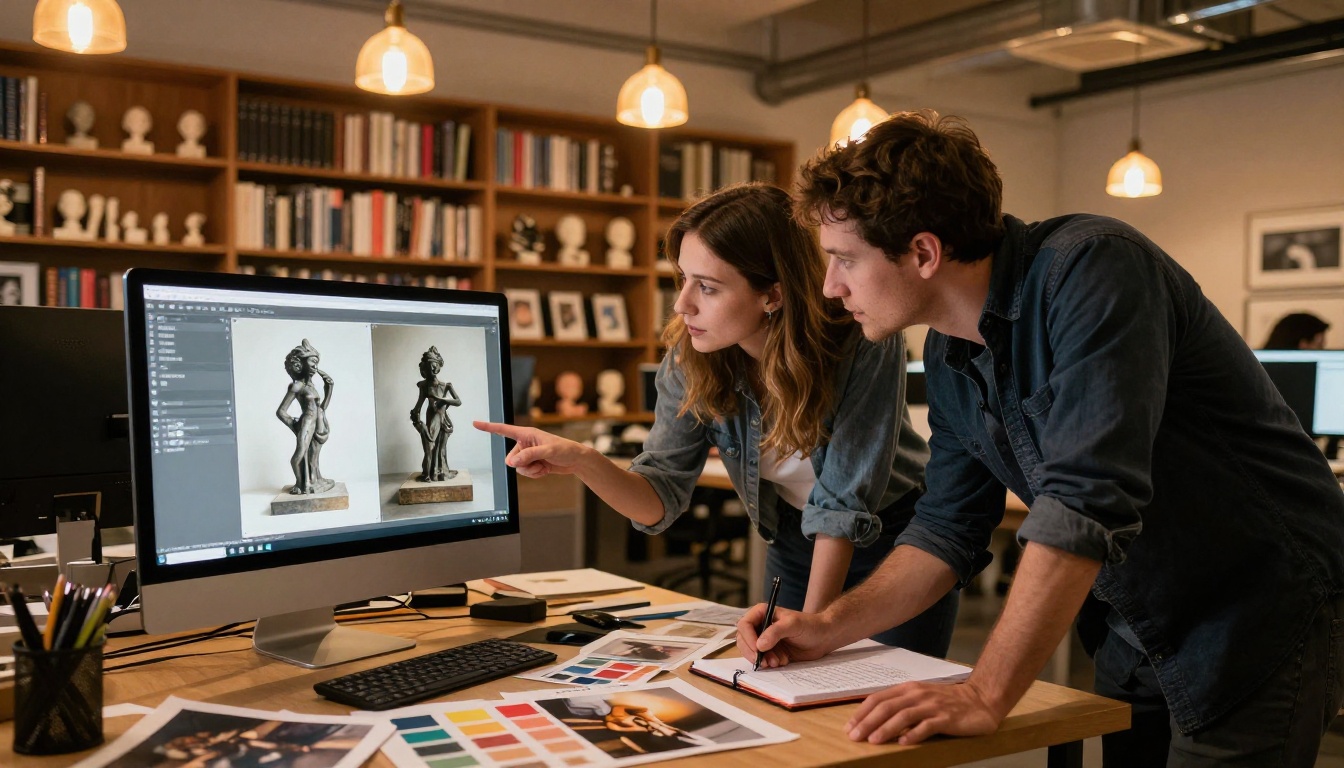
Whether your workflow produces a depth map, a reconstructed mesh render, or an img2img result, upscaling adds the final layer of quality that separates a good result from a great one.
Why Upscaling Matters Here
3D reconstruction outputs and AI re-renders often come out at lower resolutions than you need for print, product packaging, or high-resolution display. More importantly, the reconstruction or rendering process can introduce softness, compression artifacts, and fine-detail loss that upscaling AI specifically knows how to address.
Best Upscalers on Picasso IA
Clarity Pro Upscaler: The top choice for photorealistic outputs. It adds micro-detail like surface grain, fabric weave, and fine material texture while preserving the overall tonality of your image. Particularly strong on portrait and product imagery.
Real ESRGAN: A battle-tested 4x upscaler that handles noisy, compressed, or low-quality inputs well. Good for upscaling renders that have JPEG compression artifacts from the reconstruction pipeline.
Topaz Image Upscale: Offers up to 6x enlargement, the highest factor available on Picasso IA. Use this when you need print-ready resolution from a web-sized source image.
Recraft Creative Upscale: Adds interpretive detail that goes beyond simple upscaling. It fills in plausible texture and surface complexity that was not present in the original. This works well for renders that need more material richness.
💡 Tip: Run your output through Clarity Pro Upscaler before using it in any downstream application. The added micro-detail is the difference between an image that reads as flat and one that reads as genuinely dimensional.
Real-World Applications
Product Design and E-Commerce
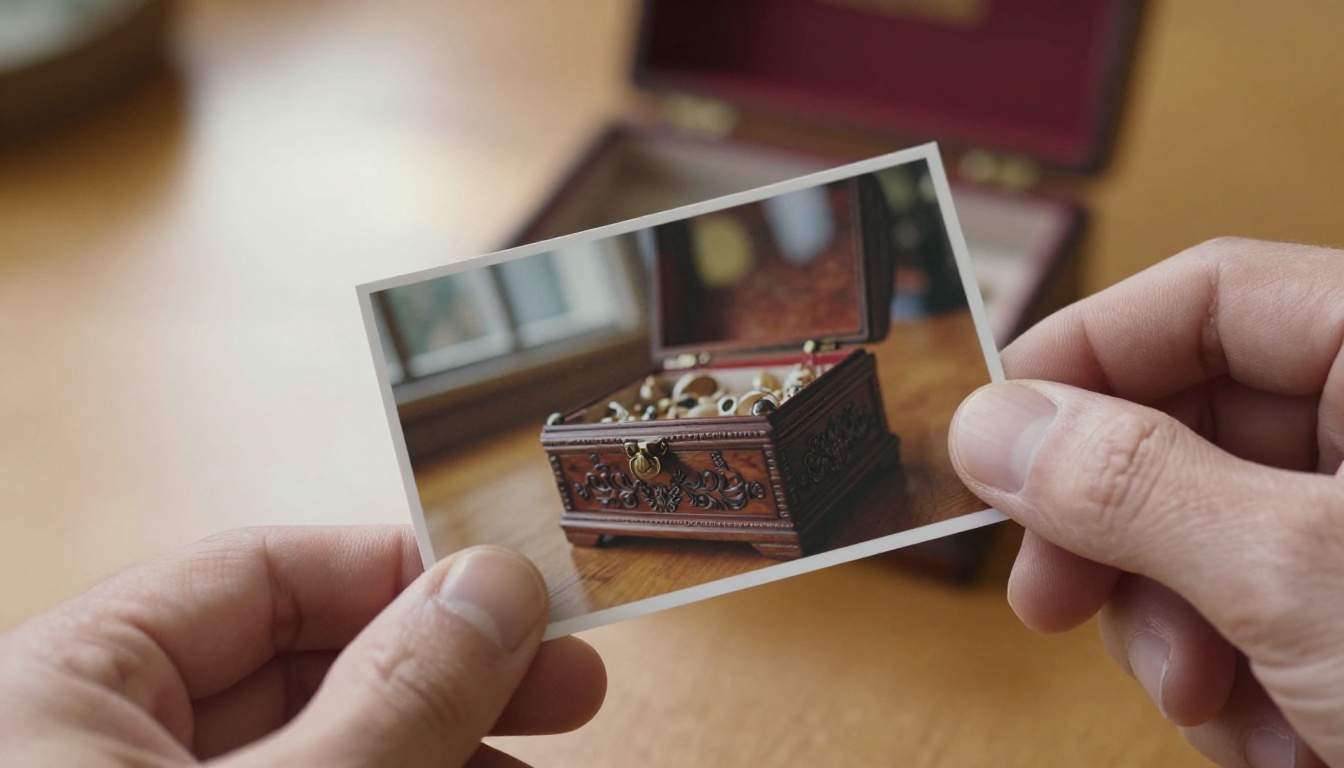
Product teams use photo-to-3D workflows to create interactive product viewers, generate 360-degree renders from photography sessions, and build spatial assets for AR try-on experiences. A single photo session of a new product can produce enough source material for a full 3D asset library.
For e-commerce specifically, the img2img workflow using Flux Dev is valuable for standardizing product imagery across a catalog. You can take photographs shot under different conditions and re-render them all with consistent studio lighting, depth, and surface quality.
Game Assets and VFX
Game studios and VFX houses have used photogrammetry pipelines for years to capture real-world objects, environments, and actors, then convert them to in-engine assets. The same photographs that populate a studio reference library can feed into AI reconstruction tools to produce props, environment pieces, and character references at a fraction of the traditional cost.
Architecture and Spaces
Architects and interior designers use photo-to-3D pipelines to capture existing spaces, convert them to point clouds, and then work with the spatial data in design software. AI depth estimation from single photographs makes it possible to extract rough spatial measurements and proportions from archival photography where no 3D data was ever captured.
Create Your First AI Photo Conversion
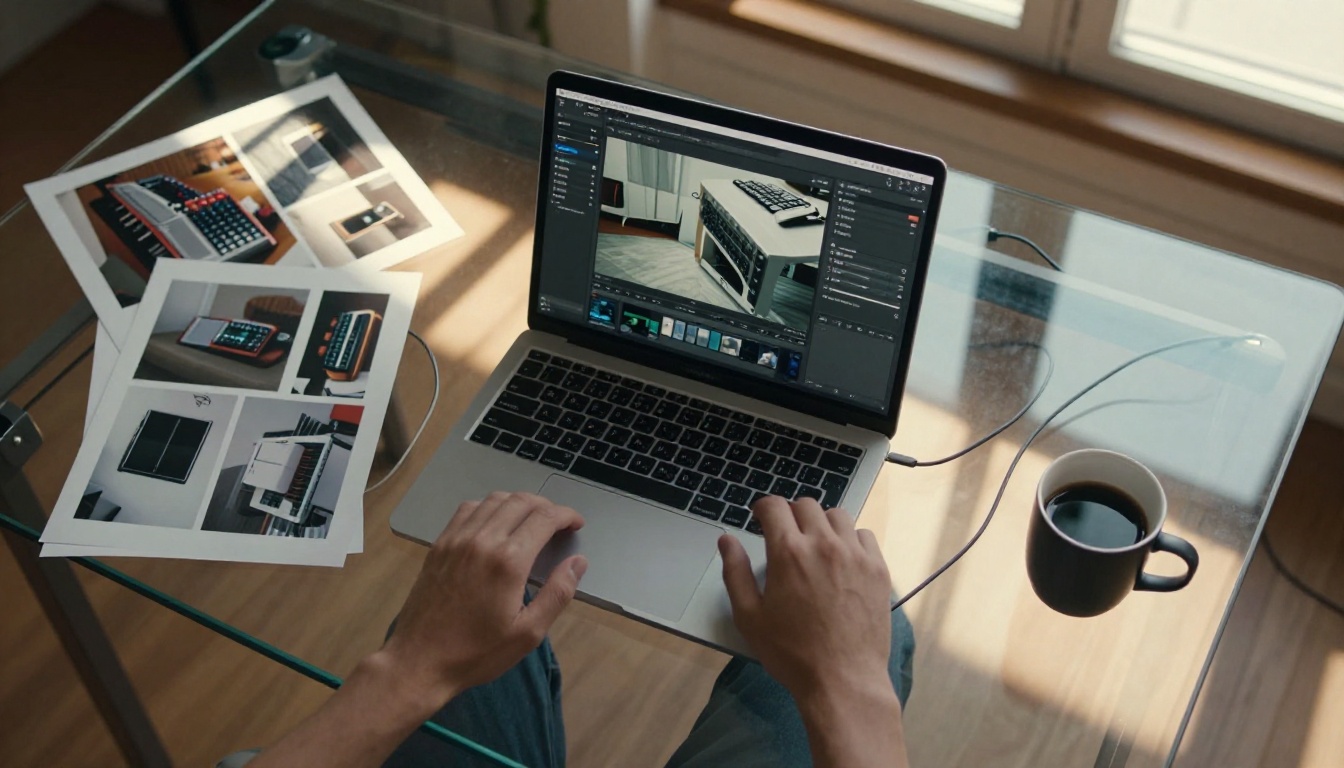
The most practical starting point is the img2img workflow on Picasso IA. You do not need specialized hardware, a controlled studio, or 50 carefully shot photographs. You need one good photo and a clear idea of the spatial quality you want.
Start with Flux Dev and a photo you already have. Upload it, write a prompt describing the depth and lighting you want, and run it with a prompt_strength of 0.5. Compare the result to your original. Run the output through Clarity Pro Upscaler and you have a finished, dimensionally rich image ready for any application.
For more sophisticated reconstruction work, build out your photo capture process first: consistent lighting, full angular coverage, sharp focus throughout. The AI produces remarkable results from well-shot source material, but it cannot manufacture spatial information that was never captured in the first place.
Picasso IA puts the full suite of generation and upscaling tools in one place, with no credit caps or usage limits. Every model in this article is available immediately, no setup required.

Try uploading a product photo, a portrait, or an architectural shot into Flux Dev right now. Describe the depth and dimensionality you want, run a few iterations, and see what comes back. The gap between a flat photograph and a spatially rich asset is now a single prompt away.


