You took the shot. The composition was perfect, the light was right, and the moment was exactly what you wanted. Then you zoomed in and saw the pixelation. Every detail you thought you captured is buried under a layer of blocky, smeared noise that no manual sharpening filter can fix. That used to mean the photo was dead.
AI upscaling has crossed a threshold where it is no longer about making a blurry photo a little less blurry. Modern super-resolution models rebuild missing pixel data from scratch, using patterns trained on millions of real photographs. The result is not just a bigger image. It is a sharper, more detailed version of the photo you thought you had lost, and it takes about ten seconds.
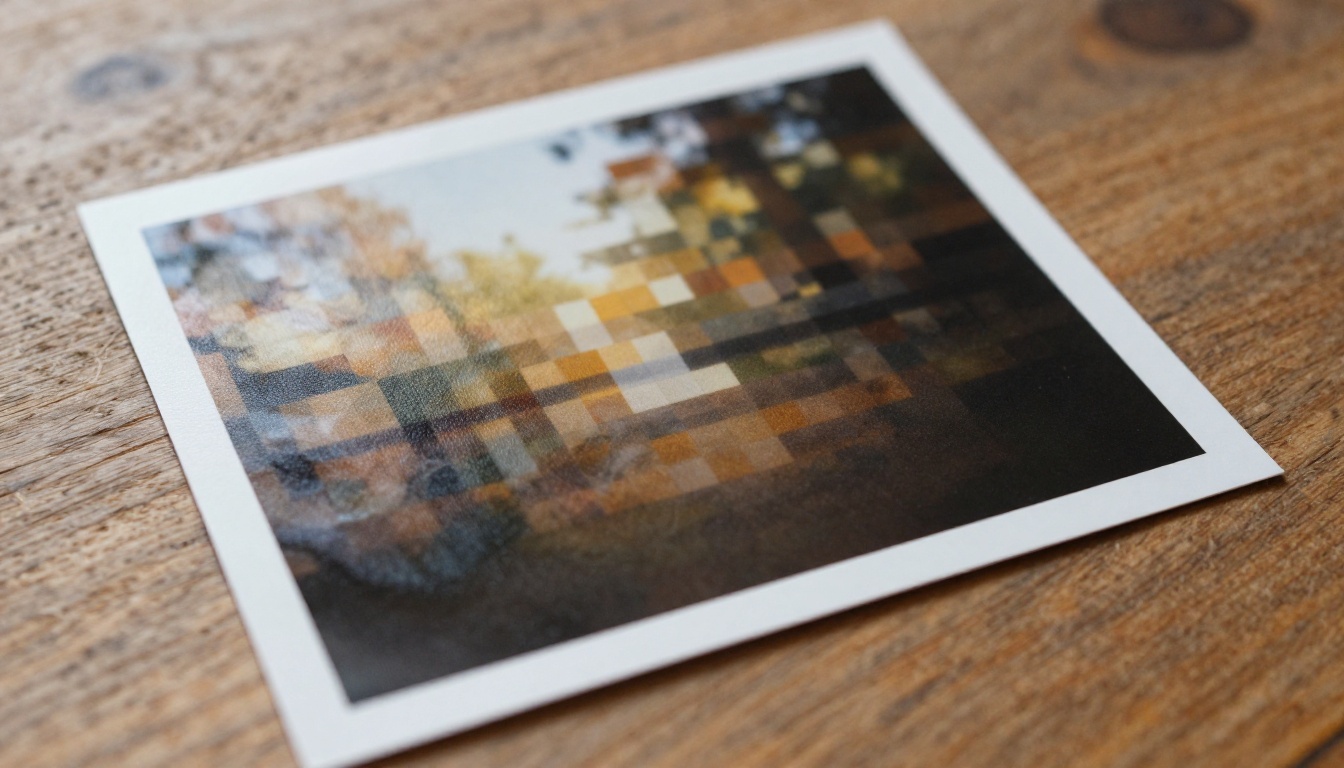
Why Low Resolution Kills Good Photos
The Real Damage Pixelation Does
A 72 DPI image stretched to print size does not just look "a little soft." The individual RGB values in each pixel represent a weighted average of what used to be four, eight, or sixteen separate pixels. When an image is compressed or shrunk and then enlarged again, that averaging compounds. Each generation of resize destroys spatial frequency information that describes fine edges, texture, and depth.
What you see as a blurry photo is actually an image that is missing data. There is no recovery possible through brightness adjustments or unsharp masks because the detail was never stored in the first place. Standard upscaling, which just copies pixel values and interpolates between them, cannot add what was never there.
That is exactly the problem AI solves.
When Cropping Makes It Worse
Cropping a photo to reframe a subject sounds harmless until you do the math. A 12-megapixel photo cropped to 25% of its original area leaves you with only 3 megapixels to work with. Displayed at any size above a phone screen, the loss is obvious. Social media platforms then compress the uploaded file further, stripping another layer of quality before a single viewer sees it.
💡 Rule of thumb: Any crop that removes more than 50% of your original frame will produce noticeable quality loss at standard display sizes. AI upscaling after a heavy crop is not a workaround. It is the only real fix.
How AI Upscaling Actually Works
Super Resolution vs. Simple Interpolation
Traditional upscaling algorithms, like bicubic or Lanczos, estimate new pixel values by looking at their immediate neighbors. They are fast and produce smooth results, but they cannot invent detail. They can only blend what is already there.
Super-resolution AI is different. It uses a convolutional neural network (or a diffusion-based model, in more recent architectures) trained on paired datasets of high-resolution and low-resolution images. During training, the model learns to recognize patterns that typically correspond to real-world textures: the way fabric weaves create a repeating diagonal pattern, the way human skin has a specific frequency of pore distribution, the way foliage at a distance resolves into repeating leaf clusters.
When you feed it a low-resolution image, it does not interpolate. It reconstructs the correct detail based on what it has learned those surfaces actually look like.
| Method | How It Works | Output Quality | Speed |
|---|
| Bicubic | Neighbor averaging | Smooth but blurry | Very fast |
| Lanczos | Sinc filter | Slight edge improvement | Fast |
| ESRGAN | GAN-based super resolution | Sharp, realistic detail | Moderate |
| Diffusion upscaling | Generative detail synthesis | Highest quality | Slower |
What the Model Sees That You Don't
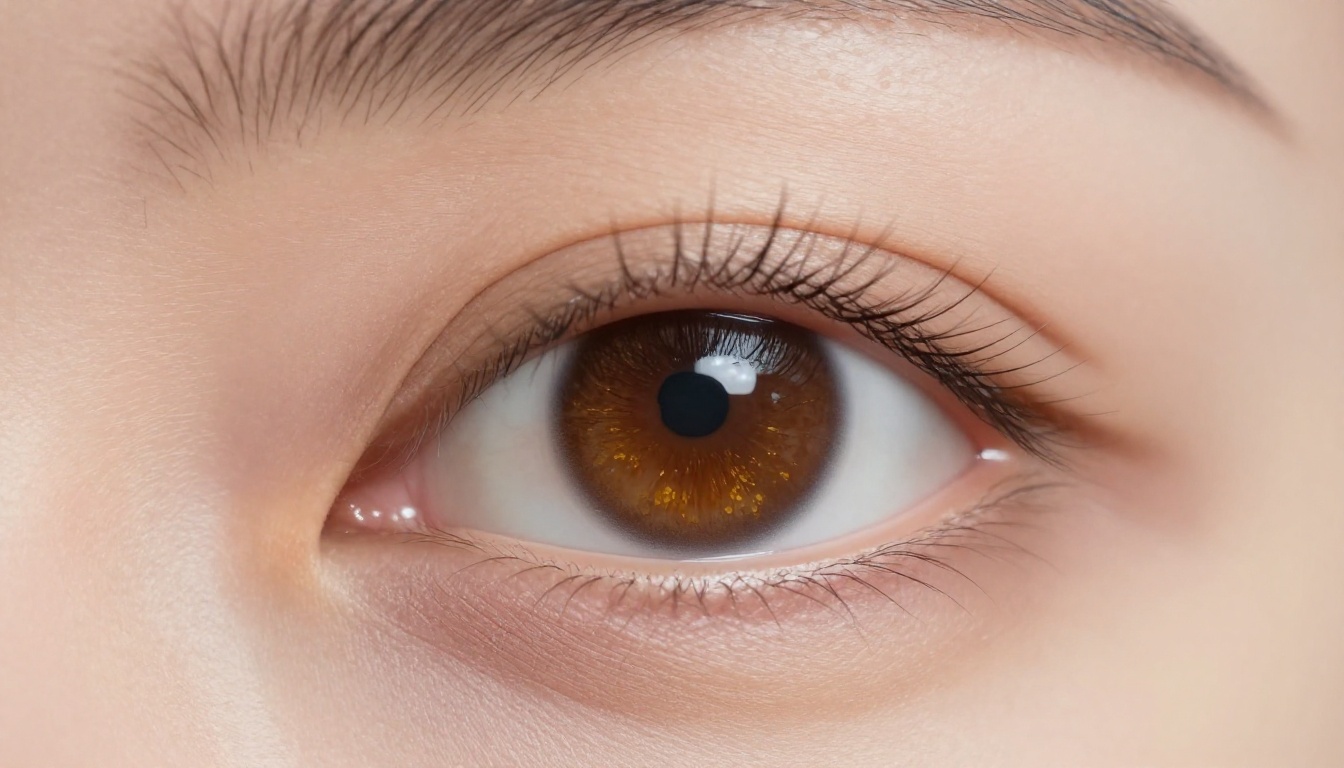
When Real ESRGAN processes a portrait, it is not simply making the image larger. It is identifying the face region, inferring the expected distribution of skin texture at that scale, and painting in the pores, fine hairs, and light catchments that should be there based on its training data.
This is why modern upscalers can produce detail that looks more natural than the original photo. The original camera captured a blurry approximation. The AI has been trained on thousands of sharp photographs of the same subjects and surfaces. In some cases, it produces a more accurate representation of reality than the lens itself did.
The Best AI Upscalers Right Now
For Photos: Clarity Pro and Topaz
Clarity Pro Upscaler is one of the most reliable photorealistic upscalers available. Built on a tuned version of the ESRGAN architecture with additional perceptual sharpening passes, it produces results that hold up under close inspection. Skin, fabric, and architectural surfaces all retain their characteristic texture rather than being smoothed over.
Topaz Image Upscale takes a different approach, supporting up to 6x upscaling with a multi-pass noise reduction stage built into the same pipeline. You upload once, and the output has already had grain and compression artifacts stripped before the resolution pass runs. It is the closest thing to a true one-pass fix for heavily degraded images.
💡 When to use Topaz: If your image has both low resolution and visible JPEG compression artifacts, Topaz's combined noise-reduction-plus-upscale pipeline saves you from running two separate tools.
For Speed: P Image Upscale
P Image Upscale by Prunaai is built for volume. It processes images in roughly one second without sacrificing the core detail recovery that matters for professional output. For content creators who need to upscale product photos, social assets, or batches of client work, this is the practical choice.
For Portraits: Crystal Upscaler
Crystal Upscaler was specifically tuned for portrait photography. Its training distribution is weighted toward facial features, which means it handles the hardest part of portrait upscaling, which is the skin, eyes, hair, and lip detail, with noticeably more accuracy than general-purpose models.
If you shoot people for a living, or if you need to recover a low-resolution headshot for a print publication, Crystal Upscaler is the right tool for that job.
For Creative Work: Recraft Models
Recraft Crisp Upscale prioritizes clean edge preservation. It is ideal for product photography, architecture, and any image where clean, sharp lines matter more than textural depth.
Recraft Creative Upscale adds depth and stylistic detail during the upscaling pass. Rather than simply recovering what was there, it adds plausible detail that fits the mood and style of the image. For creative projects where a photo needs to feel more cinematic, this is a useful creative tool, not just a quality fix.
How to Use Clarity Pro Upscaler on PicassoIA
PicassoIA has super-resolution models built directly into its platform, accessible without installing any software. Here is how to run Clarity Pro Upscaler in one pass.
Step 1: Upload Your Image
Go to the Clarity Pro Upscaler page. Click the upload area or drag your image file directly onto the interface. Supported formats include JPEG, PNG, and WebP. There is no minimum resolution requirement, but images below 256px on the shorter side will see the most dramatic improvement.
Step 2: Set Your Scale Factor
Clarity Pro Upscaler supports 2x and 4x output scaling. For web-quality photos being prepared for print, 4x is the standard choice. For images that are already at decent resolution but need a quality pass, 2x is often sufficient and processes faster.
Scale factor recommendations:
- 2x: Web images going to standard HD displays, social media assets
- 4x: Print preparation, large-format display, heavily cropped photos
You can also adjust the sharpening intensity. Leave it at the default unless you are working with a photo that already has some artificial sharpening applied, in which case reducing the intensity prevents over-sharpening halos from appearing on edges.
Step 3: Review and Download
Once the model runs, the result appears in the output panel. Zoom in to 100% to inspect the fine detail before downloading. Look specifically at:
- Skin or fabric texture: Should show realistic grain, not a smooth painted look
- Edges: Should be sharp without halos or ringing artifacts
- Background detail: Should resolve into recognizable surfaces, not smeared color
If the output looks over-processed, reduce the sharpening slider and run it again. If it looks too soft, increase the detail setting by one step. Most images require no adjustment at all.
💡 Pro tip: For portraits, activate the face restoration option if available. It applies a dedicated face-detail pass after the main upscaling, recovering eyes, lips, and skin texture with much higher precision than the general upscaling pass alone.
Video Upscaling in One Step Too
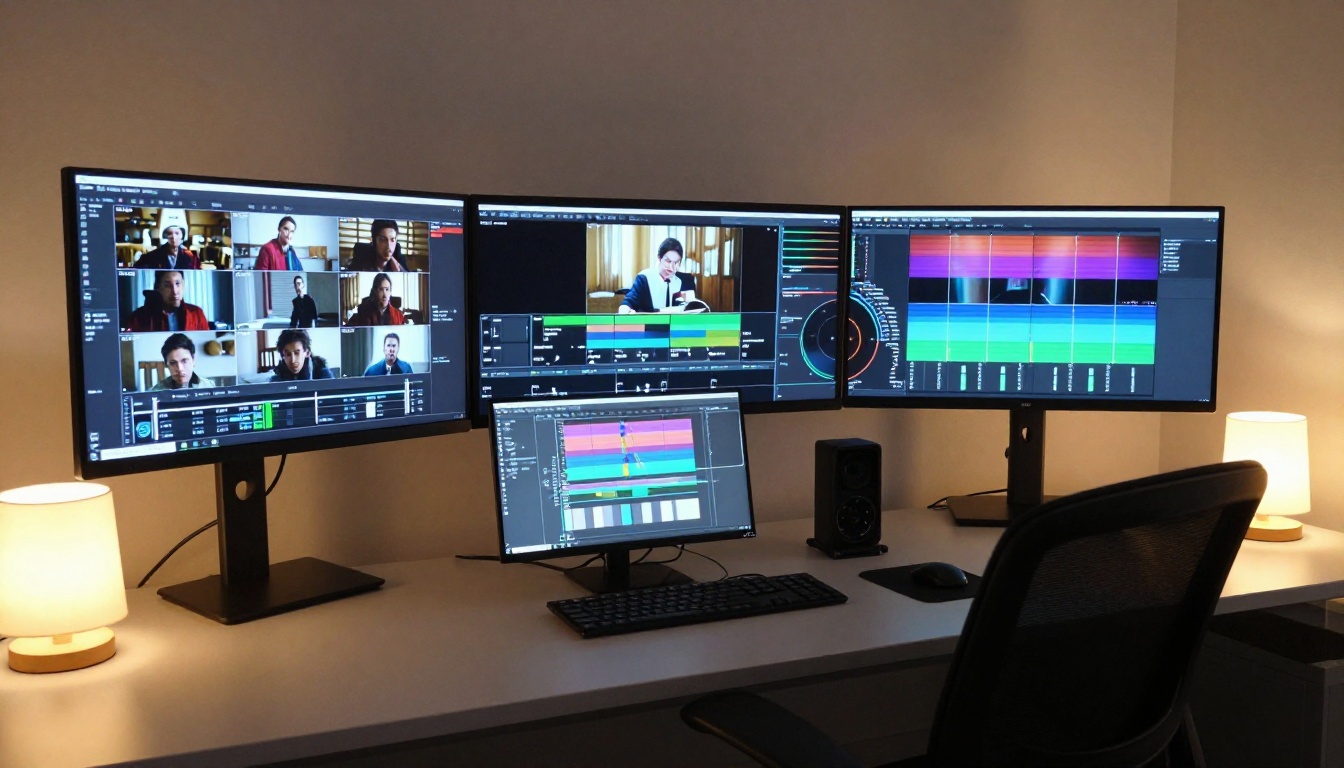
Still images are not the only media that benefits from AI upscaling. Video footage recorded at 1080p can be upscaled to 4K without re-shooting, and footage from older cameras or screen recordings can be dramatically improved with the same one-pass approach.
Crystal Video Upscaler for 4K
Crystal Video Upscaler applies super-resolution processing to video frames with temporal consistency in mind, meaning it avoids the flickering and inconsistent sharpening that plagues frame-by-frame processing.
For interview footage, event videos, or any content originally recorded at 1080p that needs to be delivered in 4K, this is the most accessible solution available without professional post-production software.
Topaz Video Upscale for Pro Footage
Topaz Video Upscale is the professional-grade option, supporting 4K output at up to 120fps. It includes the same combined noise-reduction-and-upscale pipeline found in Topaz Image Upscale, which means archival footage, drone video with compression artifacts, or screen captures with visible macro-blocking all get cleaned in the same pass.
Runway Upscale v1 rounds out the video options for teams already in the Runway ecosystem who want to run upscaling as part of a larger generation and editing workflow.
Upscaling vs. Sharpening: Not the Same
This distinction matters in practice. Sharpening algorithms increase local contrast at edges. They create the appearance of sharpness by making transitions between dark and light areas more abrupt. They do not add information. A sharpened blurry image is a blurry image with halos.
Upscaling, done correctly by a trained AI model, adds actual pixel data based on learned priors about how real surfaces look. The difference is visible:
| Effect | What It Does | When to Use It |
|---|
| Sharpening only | Increases edge contrast | Already-sharp image going to small screen |
| Interpolation upscale | Enlarges without adding detail | When speed is the only priority |
| AI upscale | Rebuilds detail from learned priors | Any image that needs size or quality improvement |
| AI upscale plus denoise | Removes artifacts before rebuilding | Compressed, damaged, or archived images |
When You Need Both
Some images need sharpening after upscaling. The upscaling pass recovers detail, and a mild sharpening pass at the output size makes that recovered detail more visible. Both Clarity Pro Upscaler and Topaz Image Upscale include a sharpening stage at the end of the pipeline, so for most use cases you do not need to open the output in separate software.
The One-Pass Solution
The shift in how these tools are built matters for practical workflow. Older super-resolution systems required you to run noise reduction first, then upscale, then sharpen. Three separate exports, three rounds of quality review, and three opportunities for artifact accumulation.
Current models on PicassoIA collapse that pipeline. You upload once. The model handles the sequence internally. You download one result.

Common Upscaling Mistakes
Starting With a Damaged File
AI upscaling is trained to recover natural photographic detail. It was not trained on JPEG artifacts that appear as blocky color banding around edges, or on watermarks, or on heavy filter effects. When those artifacts are present in the input, the model treats them as real image content and "restores" them at higher resolution.
The result is an upscaled image where the compression artifacts are now sharp and prominent instead of blurry and prominent.
Before upscaling a damaged file:
- Run a light denoise pass first if the image has heavy JPEG artifacts
- Remove any overlaid graphics or watermarks if possible
- If the image has been heavily color-graded, consider whether the grading itself is introducing banding or artifacts
Topaz Image Upscale and Bria Increase Resolution both handle pre-processing internally, making them more forgiving with damaged inputs than models that assume clean input.
Over-Upscaling Small Images
A 100x100 pixel thumbnail is not a good candidate for 4x upscaling. The model has too little information to work with. The output will look sharp from a distance, but close inspection will reveal that the AI has filled in plausible-looking detail that has no relationship to the actual content of the original.
💡 Minimum viable input: For realistic detail recovery, your source image should have at least 400 pixels on its shorter side before upscaling. Below that threshold, the output is generative, not restorative.
For very small images, it is better to run 2x upscaling twice (two passes at 2x) than to run 4x once. Each pass gives the model more information to build from.
General and Batch Upscaling
Google Upscaler handles general 4x image upscaling with strong results across diverse subject matter. For teams processing large batches of product images or archival photos, P Image Upscale processes each image in roughly one second, making it the practical choice for volume work.
Recraft Crisp Upscale excels at product photography and architecture where clean lines matter most, while Bria Increase Resolution covers the up-to-4x range with solid performance on real estate, document, and mixed-content images.
What 6x Upscaling Actually Looks Like
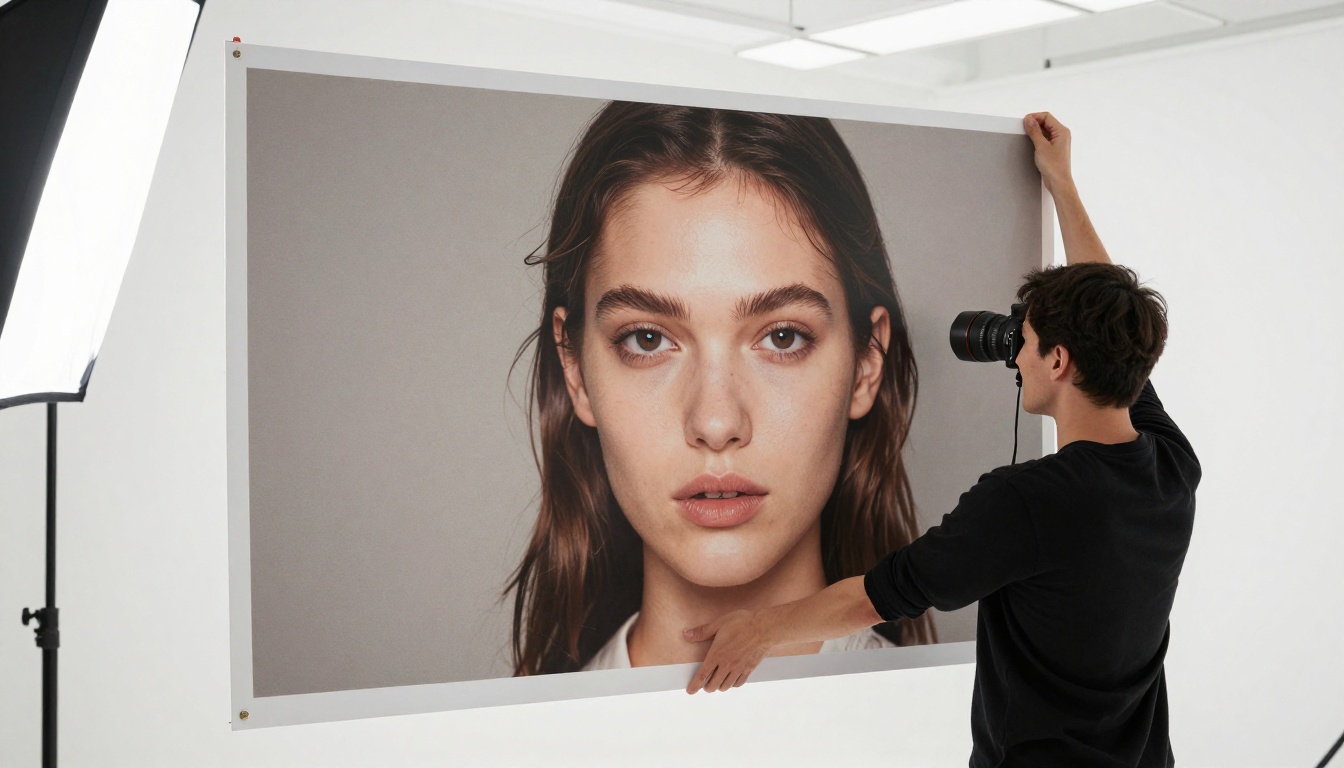
Topaz Image Upscale supports up to 6x scaling, which means a standard 1080p image can be output at 6480x3645 pixels. At that resolution, a single photograph becomes a file suitable for billboard-size printing or large-format display.
The practical use case: photojournalists and real estate photographers frequently work with images that were shot at a lower resolution than a client's final deliverable requires. 6x AI upscaling closes that gap without a reshoot.
Start Upscaling Your Images Now
Every camera has a limit. Every archive has photos that were shot at the wrong resolution, compressed too aggressively, or cropped too hard. AI upscaling does not share that limit because it is not constrained by what the original sensor captured. It is trained on what the world actually looks like.
The models on PicassoIA run in your browser with no installation, no waiting for a local GPU, and no steep learning curve. Whether you are restoring old family photos, preparing product images for a campaign, or delivering 4K video from 1080p source footage, the tools are ready.
Pick your starting point:
Upload a photo right now and see what it should have looked like from the start.


