You uploaded the photo. It looked perfectly fine on your phone screen. But the moment you tried printing it at 16x20 inches, or opened it on a 4K display, the pixels were impossible to ignore. A shot you actually cared about, wrecked by resolution.
AI has fundamentally changed what's possible here. The old approach was simple interpolation: software would estimate what pixels belonged between existing ones, and the result was predictably soft, blurry, and artificial. What the best AI upscaling tools do today is completely different. They don't guess. They reconstruct.
This is a detailed breakdown of how to upscale images without losing quality, which models produce genuinely sharp results, and where most people go wrong.
What "Losing Quality" Actually Means
Before picking a tool, it helps to know what quality loss actually is. Most people use it as a catch-all for "it looks bad," but there are distinct failure modes that demand different solutions.
Three Ways Upscaling Fails
Pixelation is the most obvious: the original pixels become visible as hard-edged blocks. This happens when you simply stretch an image without any interpolation at all.
Blurring is what most traditional upscalers produce. The software smooths over pixel boundaries, which eliminates hard blocks but replaces them with a soft, watercolor haze. Edges lose their sharpness. Skin texture becomes soap. Fine background detail disappears entirely.
Haloing and artifacts are the signature failure of early AI upscalers and aggressive sharpening filters. The algorithm overcorrects, creating bright or dark fringes around edges. Fabric textures turn into repetitive patterns. Human hair fuses into clumps.
Identifying which failure you're dealing with tells you which tool to reach for.
Resolution vs. Detail: Two Different Problems
Here's something most upscaling tutorials skip: resolution and detail are not the same thing. Resolution is a measurement, pixels per inch or total pixel count. Detail is the actual information encoded in those pixels.
A photo taken on a cheap lens at ISO 6400 might technically be 24 megapixels, but noise, diffraction, and optical blur have already destroyed most fine detail. Upscaling can increase pixel count, but it cannot recover information that was never captured. It can only reconstruct plausible detail based on patterns learned from millions of training images.
This is both the power and the limitation of AI upscaling.
How AI Upscaling Actually Works
Traditional bicubic interpolation uses a mathematical formula to estimate new pixel colors based on neighboring ones. It's fast and predictable, but it cannot invent detail, only blend.
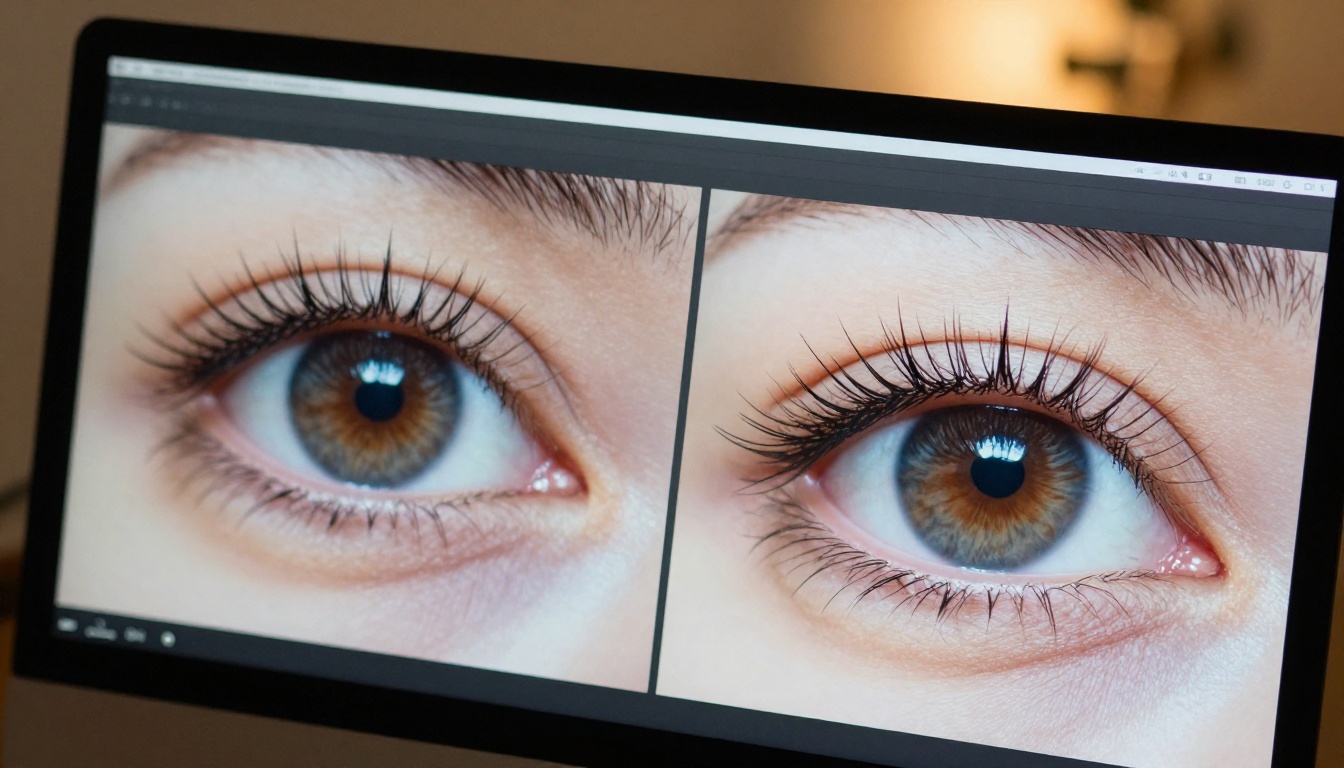
AI super resolution, specifically models built on convolutional neural networks, takes a radically different approach. The model has been trained on pairs of high-resolution and low-resolution images, learning the statistical relationship between the two. When it upscales your photo, it applies patterns learned from thousands of hours of training to reconstruct what the high-resolution version most likely looks like.
The best models go further. They apply perceptual loss functions during training, meaning they're optimized not just for pixel-level accuracy but for how humans perceive sharpness and texture. The results look better to human eyes even when raw pixel measurements don't tell the full story.
What 2x, 4x, and 6x Actually Mean
Upscaling factor refers to linear dimension multiplication. A 2x upscale of a 1000x750 pixel image produces 2000x1500. A 4x upscale produces 4000x3000, roughly equivalent to a 12-megapixel starting point.
| Upscale Factor | Starting Resolution | Output Resolution | Typical Use Case |
|---|
| 2x | 1000x750 px | 2000x1500 px | Social media, web display |
| 4x | 1000x750 px | 4000x3000 px | Print up to 8x10 inches |
| 6x | 1000x750 px | 6000x4500 px | Large format print |
The higher the factor, the more reconstruction the AI must do, relying more on learned patterns than actual captured information.
The Best AI Models for Upscaling Right Now
Not all upscalers are equal. Different models have different strengths depending on subject matter: portraits behave differently from landscapes, and product shots require precise edge preservation. Here's a breakdown of what's available and when to use each.
Clarity Pro Upscaler
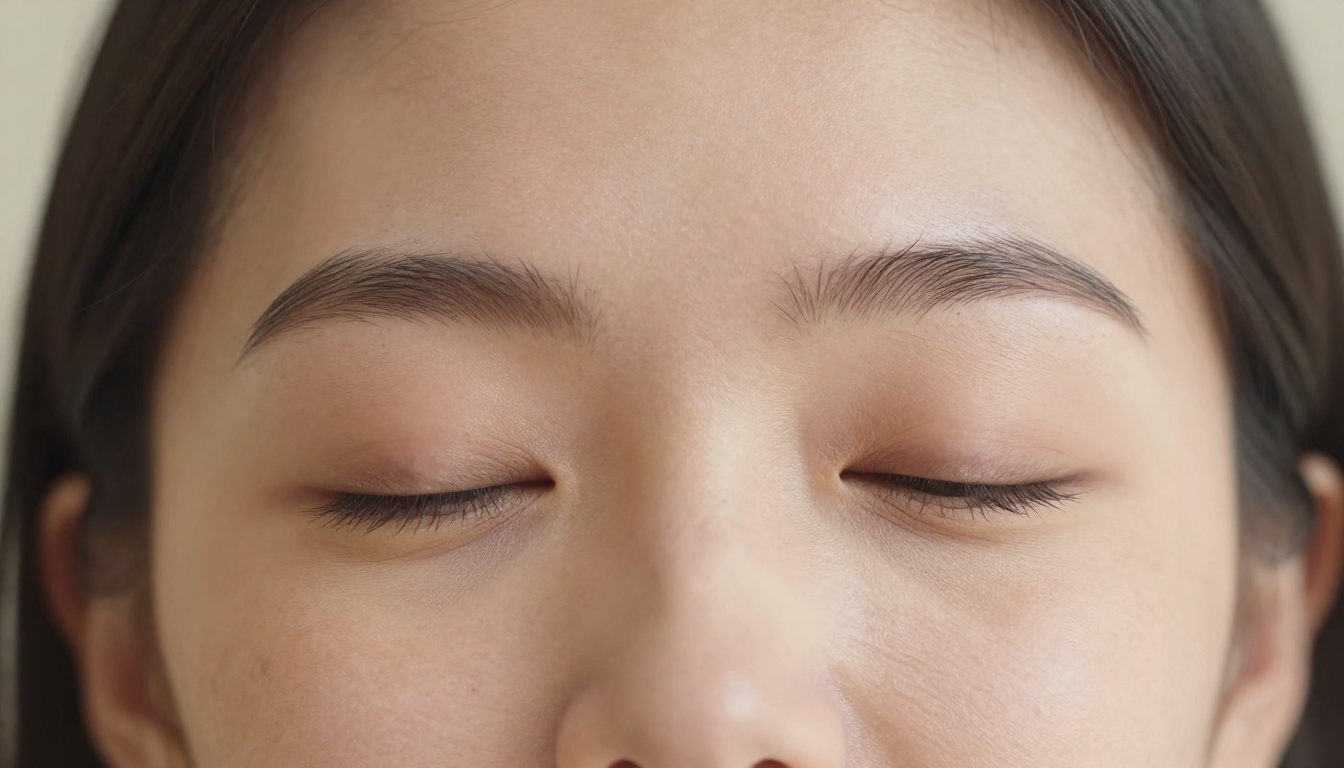
Clarity Pro Upscaler is built specifically for photorealistic output. It's particularly strong with portraits and lifestyle photography because it preserves skin texture without generating the plastic, over-smoothed look that some AI upscalers produce.
Best for: Portraits, fashion, lifestyle photography.
Real ESRGAN
Real ESRGAN is one of the most battle-tested models in this space. It was trained on real-world degraded images, meaning it handles noise, compression artifacts, and blur as part of the upscaling process. Useful when your starting image has issues beyond just low resolution.
Best for: Old photos, screenshots, JPEG-compressed images with visible artifacts.
Google Upscaler
Google Upscaler delivers consistent 4x upscaling with strong preservation of structural detail. It's less aggressive in texture synthesis than some alternatives, making it reliable for technical images where accuracy matters more than perceptual punch.
Best for: Product photography, architectural images, technical documentation.
Topaz Image Upscale
Topaz Image Upscale is the most powerful option for serious output, supporting up to 6x upscaling. Topaz Labs built their model with professional print workflows in mind, so the output holds up under close inspection at large print sizes.
Best for: Large format printing, commercial photography, archival work.
Crystal Upscaler
Crystal Upscaler is purpose-built for portrait and face recovery. If your image has faces with low detail, it reconstructs facial structure and skin texture with notable accuracy. For group shots or old family photos, this is often the right first choice.
Best for: Portrait recovery, face detail, older low-resolution photos.
P Image Upscale
P Image Upscale prioritizes speed without sacrificing too much quality. For workflows where you need to process many images quickly, it provides solid results in a fraction of the time of heavier models.
Best for: Batch processing, social media content, quick turnaround needs.
Recraft Crisp Upscale and Creative Upscale
Recraft Crisp Upscale focuses on clean, artifact-free output with sharp edges. Recraft Creative Upscale takes a different approach, adding plausible detail to create more visually interesting output, which works well for artistic and creative photography.
Best for: Crisp version for clean output; Creative version for artistic photography.
Increase Resolution by Bria
Increase Resolution from Bria offers up to 4x upscaling with strong color fidelity and minimal hallucination artifacts. It performs particularly well on commercial photography where color accuracy is non-negotiable.
Best for: Commercial product shots, brand photography, color-critical workflows.
How to Use Super Resolution on PicassoIA
PicassoIA hosts all the models above in a single platform. No software to install, no Python environments to manage. Here's exactly how to upscale your photos through the platform.
Step 1: Choose Your Model
Go to the super resolution collection and review the available models. For portraits, start with Clarity Pro Upscaler or Crystal Upscaler. For landscapes, product shots, or general photography, Google Upscaler or Real ESRGAN are strong starting points.
💡 Tip: Run two different models on the same image and compare at 100% zoom before committing. Each model makes different trade-offs, and your eyes are the best judge.
Step 2: Upload Your Image
Once you've selected a model, upload your source image. Use the highest quality original file available, not a screenshot or compressed export. If you have a RAW file, export it as a high-quality JPEG (95% or above) or TIFF before uploading. Starting from a heavily compressed file limits what any AI can recover.
Step 3: Set Your Upscale Factor
Most models offer 2x or 4x options. For print use, calculate your target: if you need a 12x16 inch print at 300 DPI, your output needs to be 3600x4800 pixels. Work backwards from there to determine how much upscaling you need. For large format output over 20 inches, Topaz Image Upscale is the only model that goes to 6x.
Step 4: Download and Evaluate
Download your result and open it at 100% in your image viewer. Check these four areas specifically:
- Hair and fur: prone to merging or generating repeating texture patterns
- Fabric texture: can become over-regularized into artificial grids
- Background foliage: trees and grass can develop repetitive fractal artifacts
- Faces: look for unnatural smoothing around eyes and lips
If any of these look wrong, try a different model before using the image.
Which Images Respond Best to AI Upscaling
Not every image is an equal candidate for upscaling. Knowing which types of photos benefit most helps you set realistic expectations and prioritize your time.
Portrait Photography
Portraits are the most common use case, and for good reason: AI models have been trained on enormous datasets of human faces. The reconstruction of skin texture, eye detail, and hair is remarkably accurate with models like Clarity Pro Upscaler and Crystal Upscaler. Even genuinely low-resolution sources, like old film scans or compressed social media exports, can produce print-ready results.
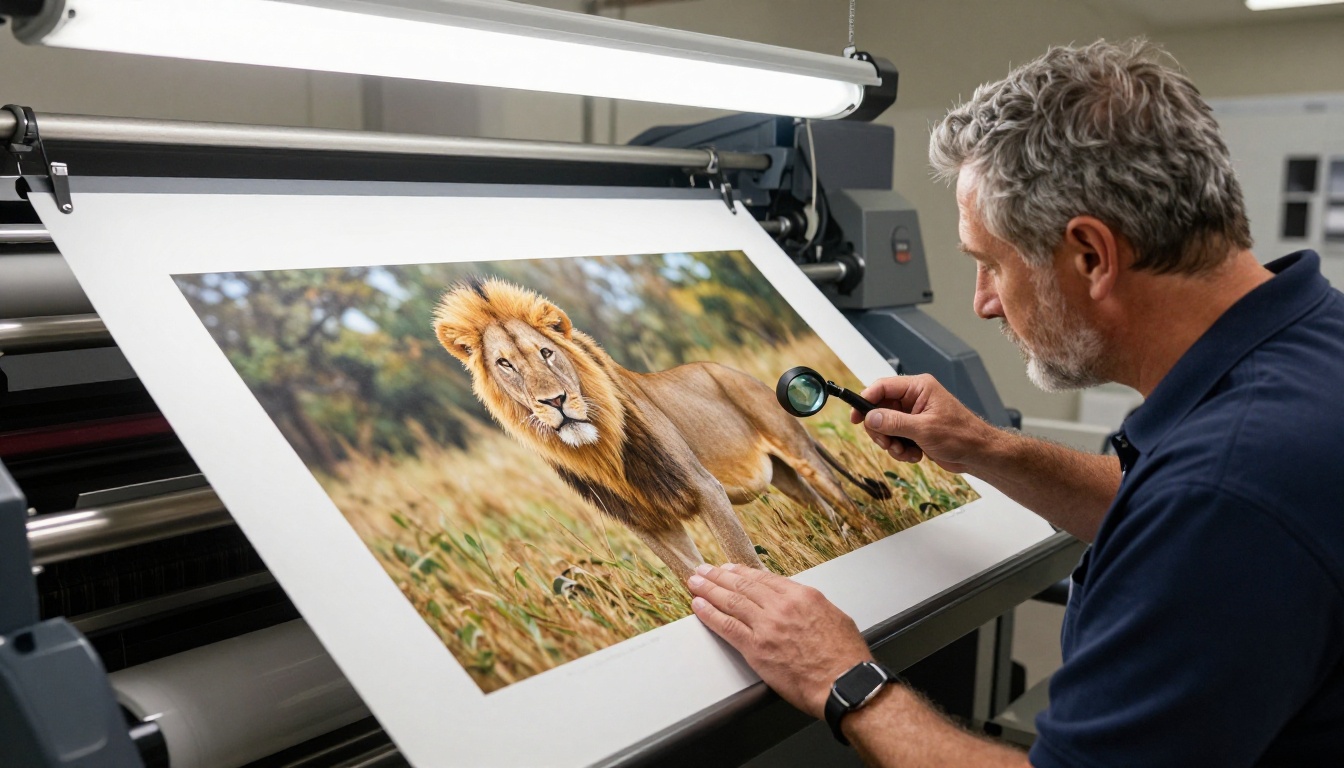
Landscapes and Architecture
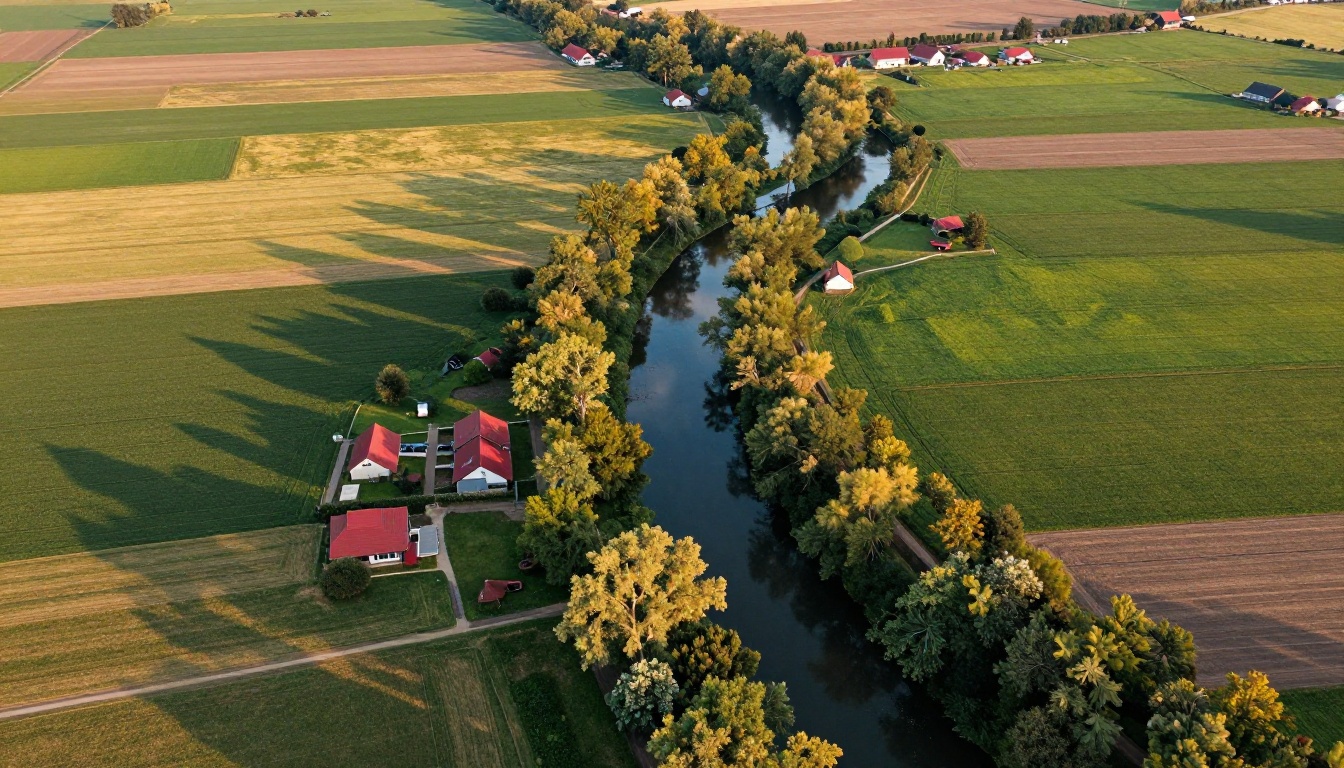
Landscapes contain the high-frequency detail (individual leaves, distant tree lines, rock textures) that traditional upscaling completely destroys. AI models handle this well because they recognize natural textures and reconstruct plausible detail from low-information sources. Google Upscaler and Topaz Image Upscale are particularly strong here.
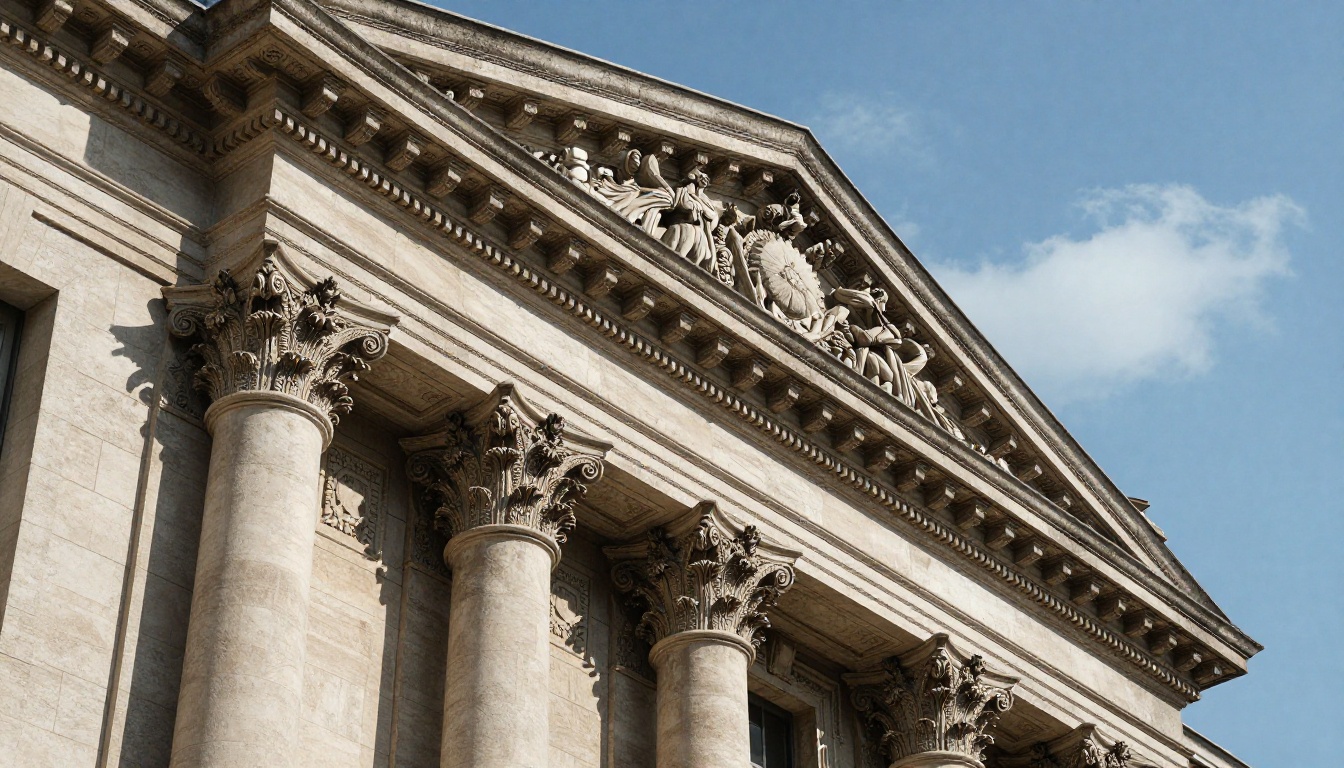
Architecture presents a different challenge: straight lines and geometric detail must be preserved exactly. AI models that are too aggressive with texture synthesis can introduce subtle waviness in what should be perfectly straight edges. For architectural work, prioritize models that emphasize accuracy over creativity.
Product Photography
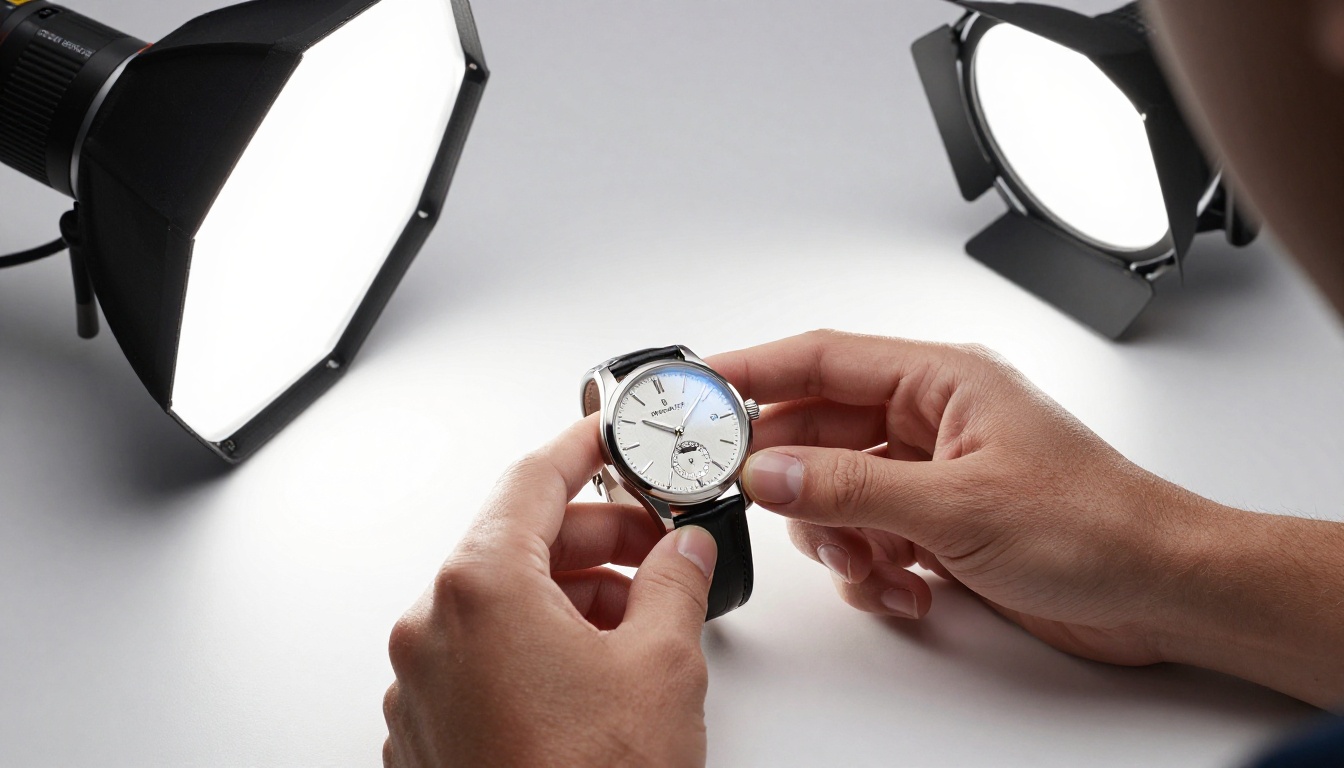
For e-commerce, blurry product images directly impact conversion rates. AI upscaling can rescue shots taken on older equipment or in suboptimal conditions, allowing you to meet platform resolution requirements without a full reshoot.
The critical requirement for product shots is edge preservation. The boundary between a product and its background must remain clean and sharp. Recraft Crisp Upscale and Increase Resolution are reliable choices when edge accuracy matters most.
3 Mistakes That Ruin Upscaled Images
Even with excellent tools, these mistakes produce poor results consistently.
Starting from an already-compressed file. If you upscale a JPEG that has been compressed multiple times (social media download, then saved again, then shared), the AI is fighting against compression artifacts that get amplified in the output. Always start from the best available source file.
Over-upscaling. Going from 500x375 pixels to 6000x4500 in one step asks the model to invent 99% of the information. The result may look sharp at a glance but falls apart under scrutiny. Better to accept that some source images have a ceiling and stop at 4x.
Skipping the 100% inspection. Upscaled images often look excellent at thumbnail size and zoom levels below 50%, then reveal artifacts at full pixel size. Always evaluate output at 100% before printing or publishing.
💡 Worth noting: AI upscaling cannot fix focus blur from poor capture technique. If the source image is soft because the camera missed focus, no upscaler will fix it. Sharpness problems from low resolution are solvable; sharpness problems from optical focus error are not.
Upscaling for Print vs. Screen
The requirements for print and screen are fundamentally different, and this changes which upscale factor you actually need.
For screen use, 72-96 DPI is sufficient. An image displayed on a 1920x1080 monitor only needs to match that pixel count. Upscaling for screen use is mainly about hitting size requirements for specific platforms.
For print, the industry standard is 300 DPI at the final print size. Here's what that requires:
| Print Size | DPI Required | Minimum Pixel Dimensions |
|---|
| 4x6 inches | 300 DPI | 1200x1800 px |
| 8x10 inches | 300 DPI | 2400x3000 px |
| 16x20 inches | 300 DPI | 4800x6000 px |
| 24x36 inches | 300 DPI | 7200x10800 px |
For anything above 16x20, you're in Topaz Image Upscale territory unless your source is already high resolution.
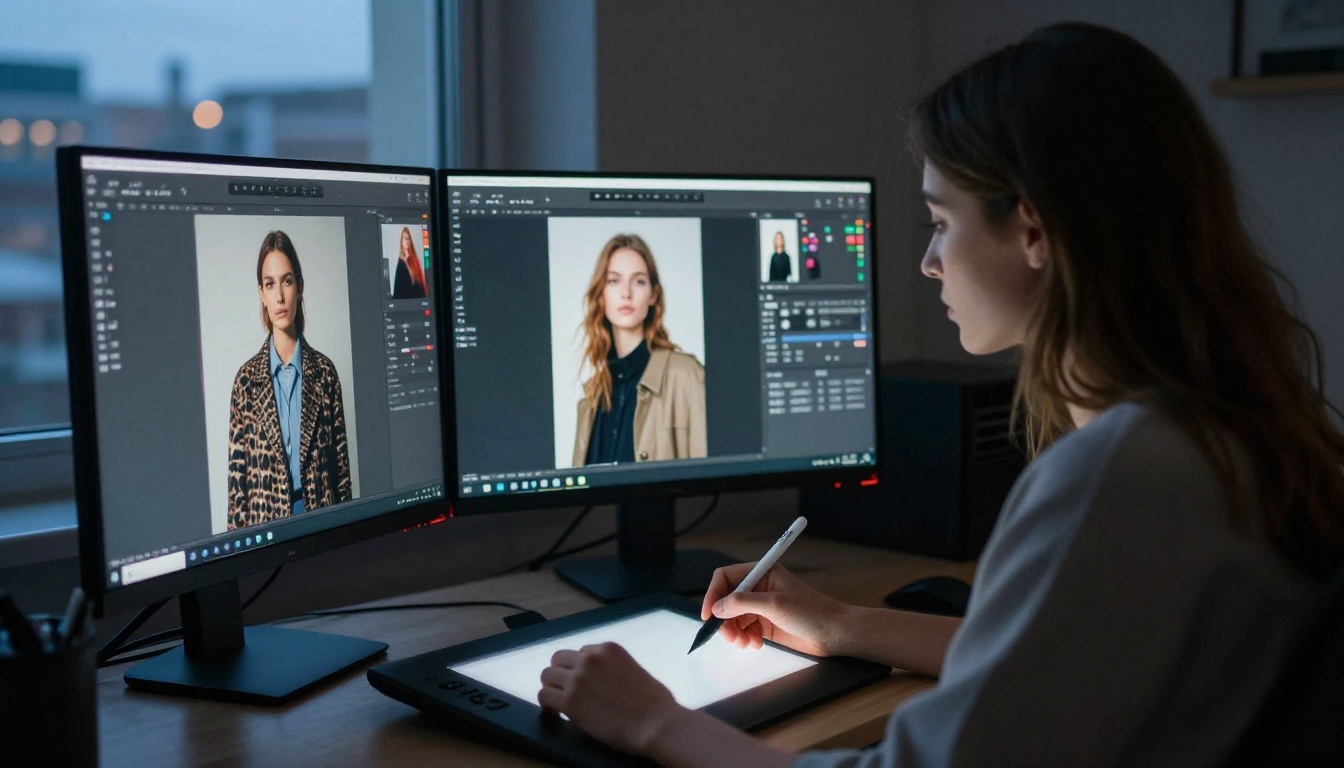
Upscaling is rarely the only step in a professional image workflow. On PicassoIA, you can combine super resolution with other capabilities for more complete results.
Restoration before upscaling: If your source image has noise, scratches, or heavy compression artifacts, running it through an AI restoration pass first gives the upscaler cleaner input to work with. Less noise means fewer artifacts in the output.
Upscaling before background removal: If you need to remove or replace a background, upscaling first produces cleaner edges for the background removal model to work with, especially for complex subjects like hair or fur.
Face restoration after upscaling: After upscaling a portrait, a dedicated face restoration pass can recover additional detail in facial features. This two-step approach often produces better portrait results than either tool alone.
Try It on Your Own Photos
You've seen what's technically possible. The only way to know what works for your specific images is to test it yourself.
PicassoIA gives you access to every model covered here in one place, with no software to install and no per-model subscription fees. Upload a photo you've been frustrated with and run it through two or three of the models above. Compare the results at 100% zoom.
For portraits, start with Clarity Pro Upscaler. For landscapes, try Google Upscaler. For anything headed to print at large scale, Topaz Image Upscale is the place to start.
The gap between what your existing photos are and what they could be is often a single upscaling pass away. The tools are there. The results are real.


