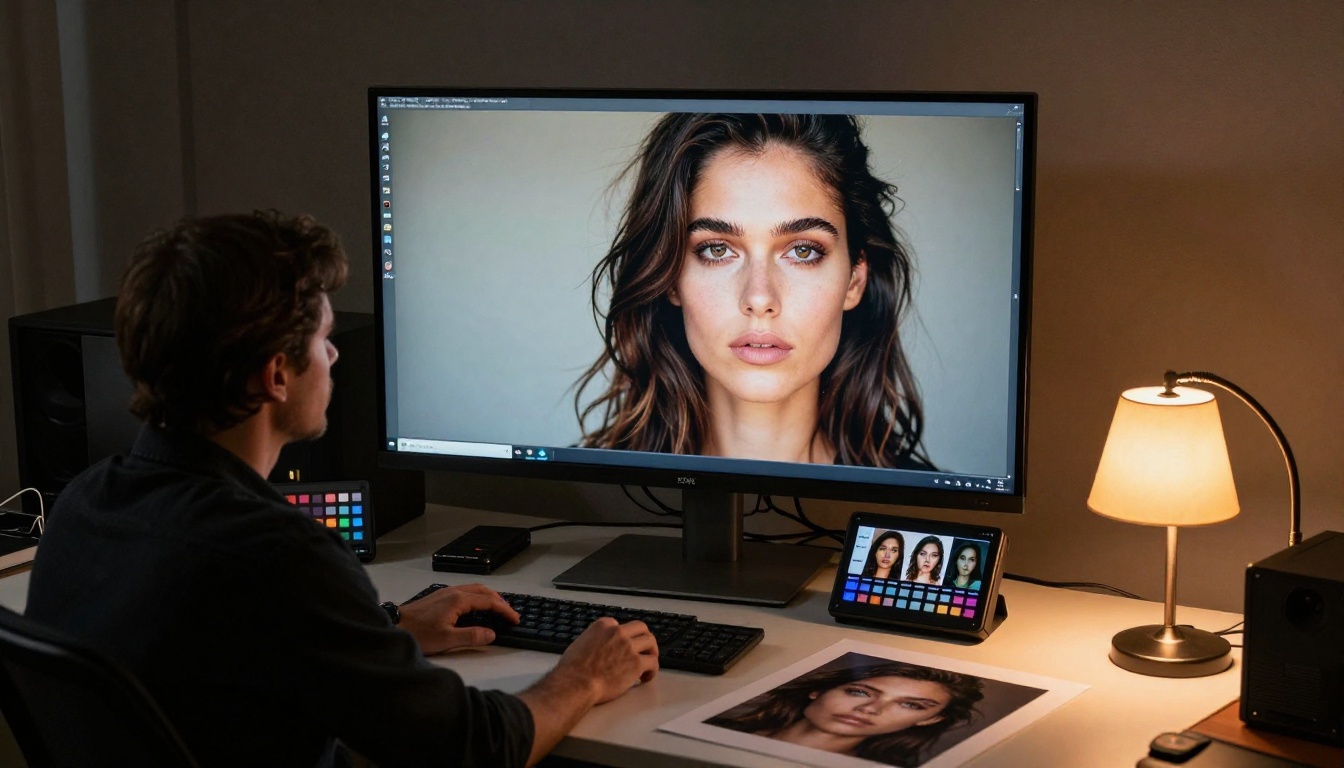
Portrait upscaling is one of those tasks that sounds simple until you actually try it. You drop a 500px headshot into an upscaler, expect 2000px of sharp detail, and instead get a face that looks like it melted slightly, with halos around every hair strand and a forehead that resembles wet clay. The problem is real, it is frustrating, and it is completely solvable once you know why artifacts form in the first place.
This article walks you through the exact causes of upscaling artifacts in portrait photography, which AI models handle faces without distorting them, and how to run a clean 2x to 4x upscale that preserves every skin pore, eyelash, and hair strand exactly as it appeared in the original shot.
Why Portraits Break During Upscaling
Most upscaling algorithms were not designed with faces in mind. They treat all areas of an image equally, applying the same interpolation logic to a brick wall as they do to a human cheekbone. Faces, however, follow very specific anatomical patterns: eyes have bilateral symmetry, skin tones follow gradient curves, and hair strands have directional flow. When a generic algorithm encounters these structures, it either over-smooths them into a waxy surface or introduces false sharpness that creates ringing at the edges.
The Anatomy of a Portrait Edge
The most problematic areas in portrait upscaling are high-contrast boundaries: the edge where hair meets a bright background, the outline of the iris against the white of the eye, and the border between the lip and surrounding skin. These edges are where artifacts are most visible and most destructive to perceived realism.
Traditional bicubic interpolation creates new pixels by averaging neighbors. That works fine in flat areas, but at a boundary between a dark hair strand and a pale background, averaging produces a grayish fringe that reads instantly as artificial. This is the halo artifact, and it is the most common complaint from photographers upscaling portraits.
Why Skin Is Particularly Fragile
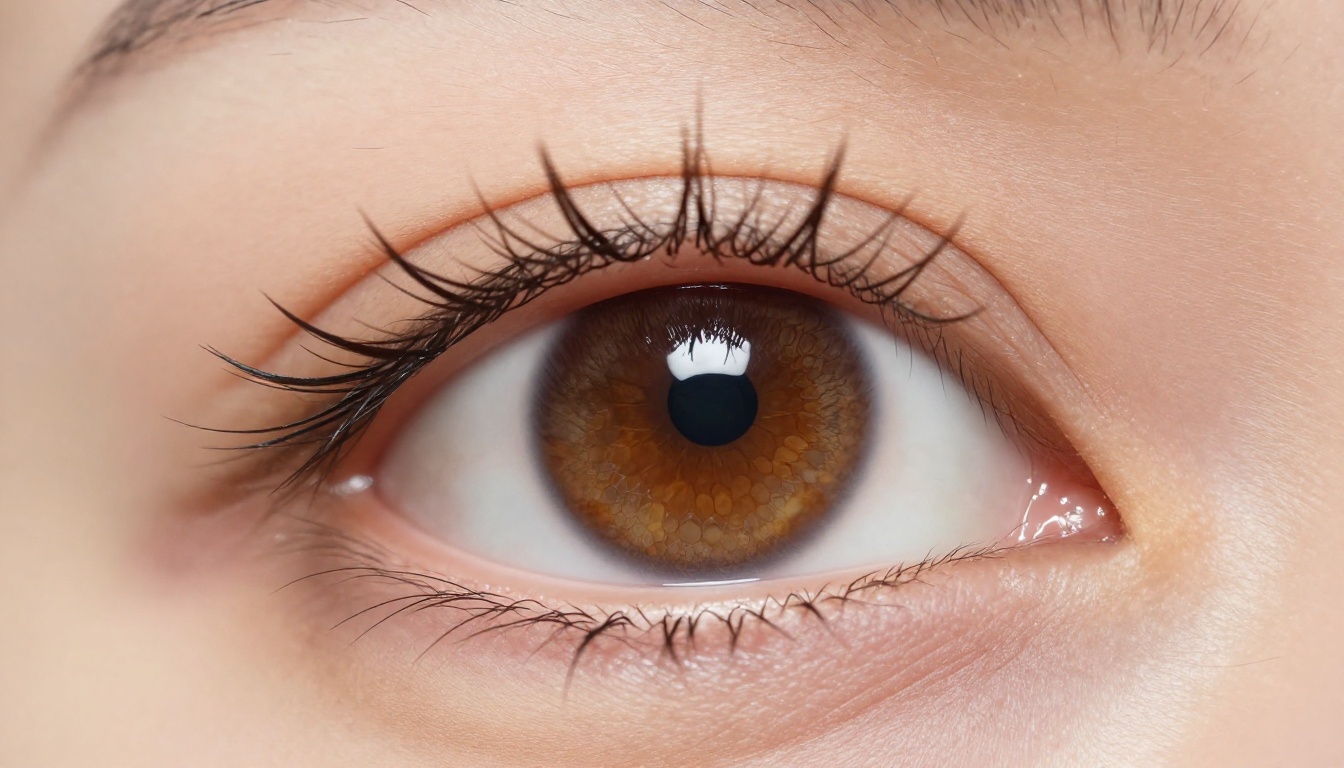
Human skin has a surface structure that sits right in the difficult zone for upscaling: fine enough that low-resolution images cannot capture it, but structured enough that any wrong interpolation is immediately obvious. Pores, peach fuzz, and subtle pigmentation variations all need to be reconstructed from partial information. A generic upscaler fills that information gap by blending, which produces the wax skin effect: technically smooth, biologically unconvincing.
The fix is not better blending. The fix is inference: an algorithm that has seen thousands of real skin textures and can generate plausible pore structures rather than averaging them away.
The 3 Artifact Types You Will Encounter
Knowing which artifact you are dealing with tells you exactly which parameter or tool to adjust.
Halos and Ringing
Halos appear as bright or dark fringe lines around sharp edges. They are caused by oversharpening during upscaling, specifically by algorithms that boost contrast at edges to simulate sharpness. The fix: use an AI upscaler with controllable sharpening output, and keep sharpening at 50% or lower for portrait work. Never apply sharpening globally to a portrait upscale.
Ringing is a related artifact, visible as repeated ghost edges parallel to the main edge, resembling a sound wave pattern. It is typically introduced by frequency-domain processing or aggressive deconvolution sharpening. Avoiding it means selecting models that use spatial domain processing rather than frequency domain operations.
Skin Smearing
This artifact makes skin look like putty: the pore texture disappears and is replaced by an unnaturally smooth surface. It happens when an upscaler uses too much noise reduction in tandem with interpolation. The model decides that fine skin texture is noise and removes it, leaving an uncanny valley effect.
💡 If your result looks like plastic skin: reduce the noise reduction or denoise strength parameter to zero and upscale again. The artifact comes from denoising, not from upscaling itself.
Color Fringing
Purple or green fringes appear along high-contrast edges, particularly where hair meets a bright background. This is chromatic aberration introduced or amplified by the upscaling algorithm. AI-based models trained on optical imagery handle this better than traditional methods because they learn to separate genuine edge color from lens artifact color.
How AI Super Resolution Actually Works
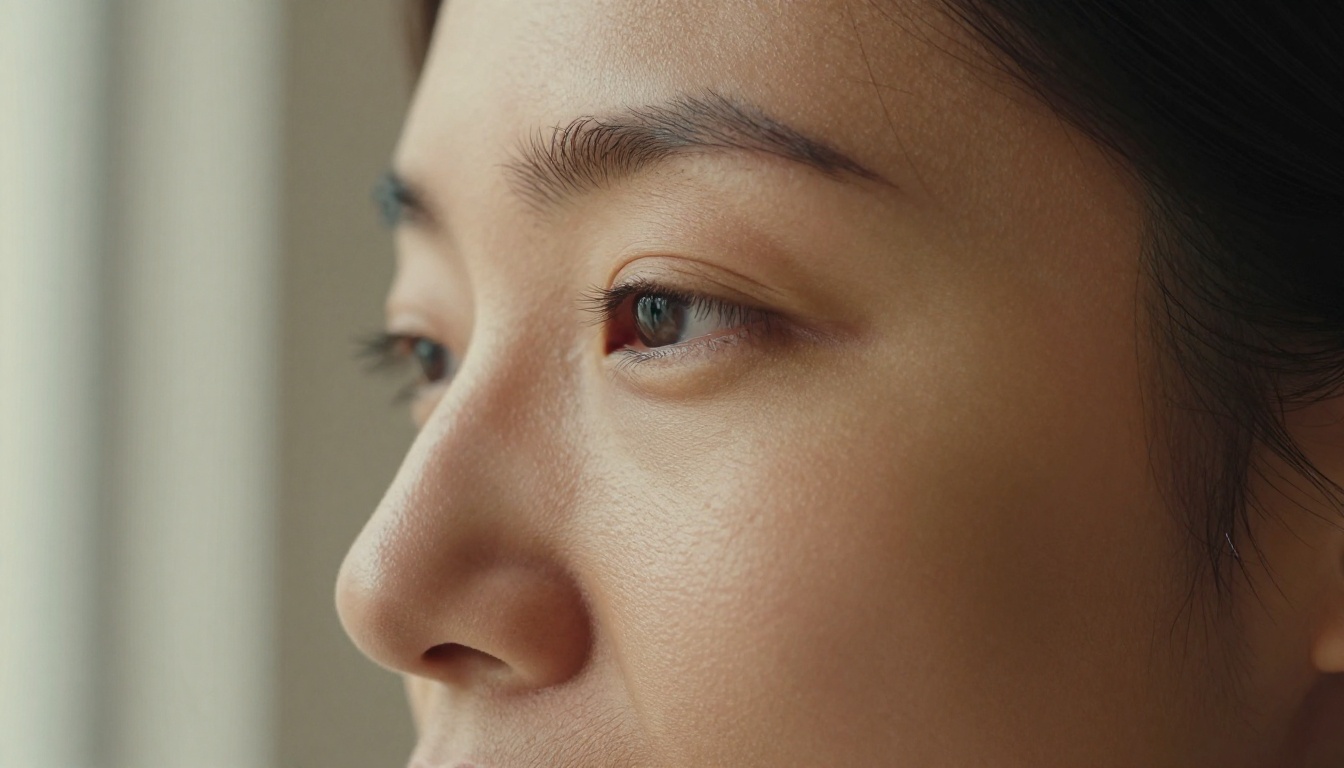
The difference between a generic bicubic upscale and a modern AI upscale is the difference between calculation and inference. Bicubic computes new pixel values mathematically, using surrounding pixels as inputs. AI super resolution uses a neural network trained on millions of image pairs to predict what missing detail should look like.
Deep Learning vs Traditional Interpolation
| Method | Approach | Result on Portraits |
|---|
| Bicubic | Mathematical averaging | Soft, blurry, no texture recovery |
| Lanczos | Frequency filtering | Sharper but prone to ringing |
| ESRGAN | GAN-based inference | Good texture, occasional over-sharpening |
| Diffusion-based | Iterative denoising | Best detail recovery, slower |
| Face-specific CNN | Anatomy-aware inference | Optimal for portraits |
The critical distinction is that diffusion-based and face-specific models generate plausible missing information rather than averaging it. They fill in pores because they have learned what skin pores look like at high resolution, not because surrounding pixels suggest a pore is there.
Why Training Data Determines Quality
An AI model upscales portraits well only if it was trained on portrait data. A model trained primarily on landscapes will handle sky gradients beautifully but will treat skin texture as noise. This is why selecting a model specifically designed for portrait and face upscaling produces dramatically different results from a general-purpose super resolution model.
The models available in the Super Resolution category on PicassoIA have been selected and tested specifically for photorealistic output, with several optimized for facial content.
The Best AI Models for Portrait Upscaling
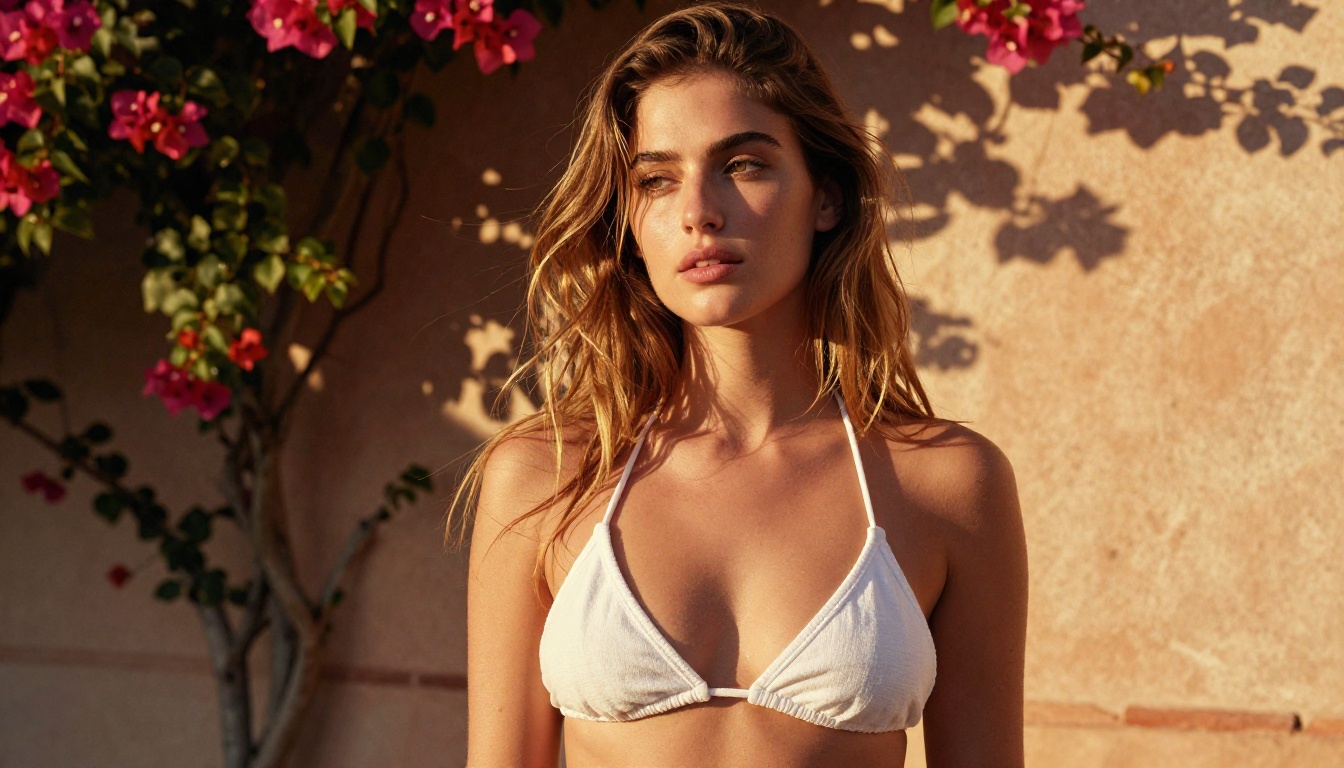
These are the tools that actually produce artifact-free results on human faces, based on their architecture and training focus.
Clarity Pro Upscaler
Clarity Pro Upscaler is one of the most capable portrait-specific upscalers available. It uses a combination of tiled diffusion processing and ControlNet-style conditioning to preserve facial structure while generating high-frequency detail. The result is a face that looks photographed at high resolution rather than digitally enlarged.
Best for: Portrait headshots, beauty photography, skin texture recovery
Scale options: 2x and 4x
Strength: Maintains edge integrity at hair boundaries without introducing halos
Crystal Upscaler
Crystal Upscaler comes from the same developer as Clarity Pro, but is optimized for skin and facial features specifically. The model was trained with an emphasis on preserving the micro-texture of skin while reconstructing fine hair strands directionally.
Best for: Close-up portraits where skin texture is the priority
Scale options: Up to 4x
Strength: Zero wax skin effect, visible pore reconstruction
Topaz Image Upscale
Image Upscale by Topaz Labs offers up to 6x scaling, the highest available in the platform. Topaz Labs built their model with a particular focus on noise handling, which means it can take a slightly noisy original portrait and upscale it cleanly without smearing the noise into large blotches.
Best for: Upscaling older or slightly noisy portraits to very large formats
Scale options: Up to 6x
Strength: Noise-aware upscaling, excellent for film grain originals
Real ESRGAN
Real ESRGAN is the classic AI upscaler that set the standard for generative super resolution. While not face-specific, it performs well on portraits when paired with correct pre-processing. It is the most widely tested model and has the most predictable output characteristics.
Best for: General portrait upscaling, workflow consistency
Scale options: 2x and 4x
Strength: Reliable, well-documented, consistent results across portrait types
Google Upscaler
Google Upscaler uses Google's in-house super resolution research and offers 4x upscaling with strong performance on fine detail recovery. It handles transitional areas particularly well: the region between sharp foreground subject and soft bokeh background.
Best for: Environmental portraits where background bokeh needs to be preserved
Scale options: Up to 4x
Strength: Excellent bokeh preservation, clean subject-to-background transitions
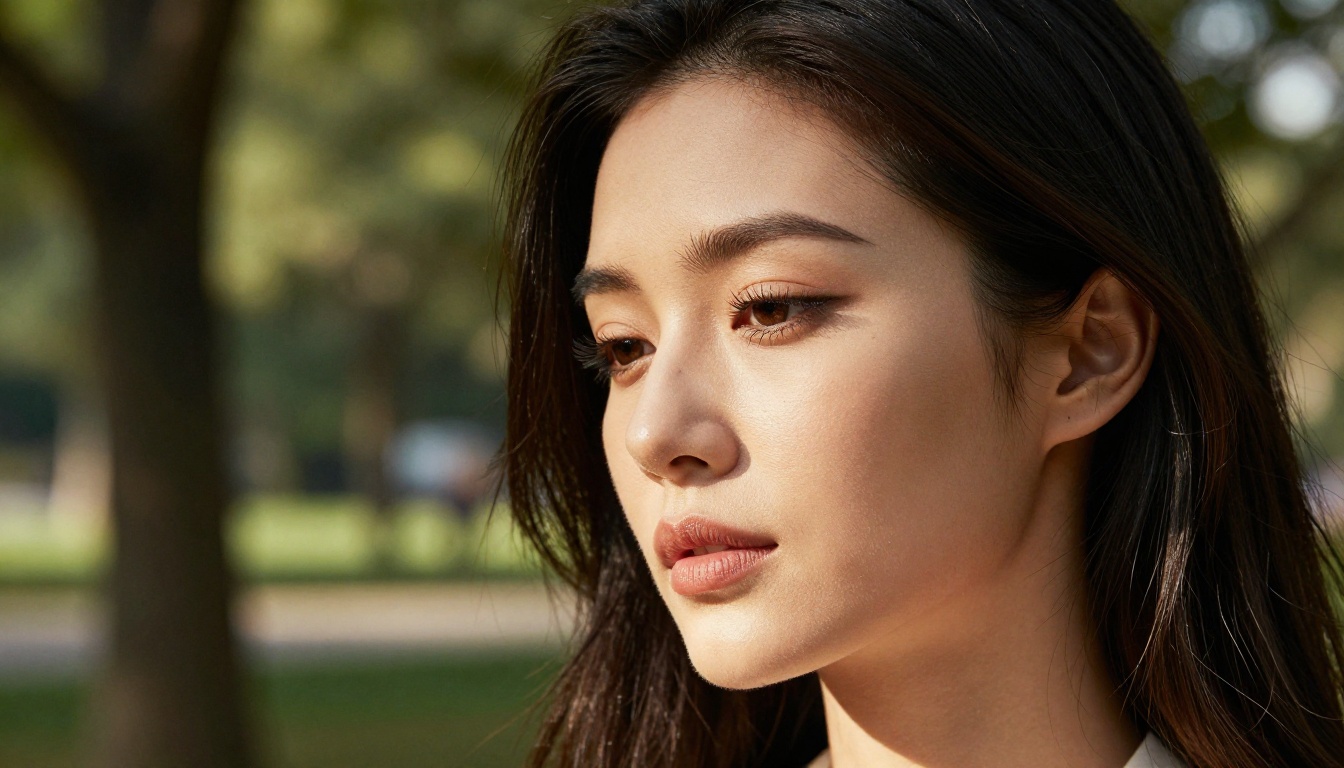
How to Use Crystal Upscaler on PicassoIA
PicassoIA has the Crystal Upscaler available directly in the super resolution collection. Here is exactly how to run a portrait upscale with zero artifacts.
Step 1: Prepare Your Portrait
Before uploading, apply minimal pre-processing to your source image:
- Crop tightly to the face or subject: more context means more non-face area for the model to process, reducing quality on the face itself.
- Do not sharpen the original. If your source already has over-sharpened halos, the upscaler will amplify them.
- Export at maximum quality: use PNG or TIFF if available. JPEG compression artifacts will be upscaled along with the real detail.
Step 2: Upload and Configure
- Open the Crystal Upscaler model page on PicassoIA.
- Upload your portrait using the image input field.
- Select your target scale. For most portrait work, 2x is the sweet spot: you double the resolution while giving the model a manageable inference task. At 4x, processing time increases and quality control is harder to verify.
- Set the creativity parameter low (below 0.3) for portrait work. Higher creativity values introduce detail that may not match the original subject's features.
- Set resemblance high (above 0.8) to ensure the upscaled face matches the original face structure.
Step 3: Verify the Output
After generation, zoom to 100% on the following areas:
- Eye and eyelash boundary: look for halos or ghost edges. There should be none.
- Hairline: individual strands should be visible, not merged into a solid mass.
- Skin surface: you should see fine texture, not a smooth gradient.
- Lip outline: this edge is a reliable halo test. If you see a bright fringe here, reduce the sharpening parameter and regenerate.
💡 Zoom test: At 100% zoom, a good portrait upscale should look like you simply used a better camera. If it looks processed, the parameters need adjustment.
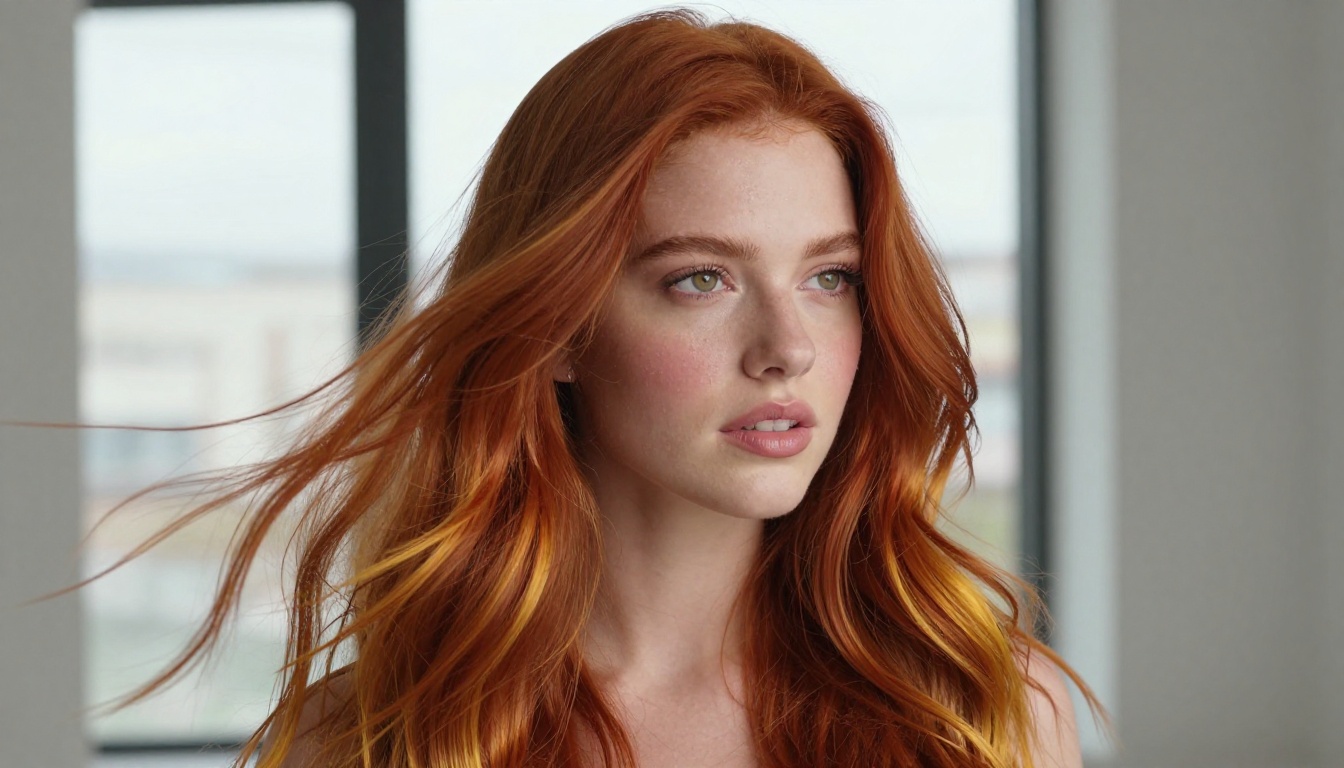
5 Settings That Eliminate Artifacts
These are the parameter decisions that separate clean upscales from broken ones.
Keep Sharpening Below 50%
Every upscaling model has an output sharpening parameter. For portraits, set this lower than you think necessary. Portraits need edge clarity but not edge contrast. High sharpening makes the image look crunchy rather than sharp.
Match Scale to Resolution Gap
If your original is 800px and your target is 1600px, use 2x. Do not use 4x and expect the model to generate three times as much information as exists in the source. The larger the scale factor beyond what the source resolution can support, the more the model is hallucinating rather than reconstructing.
Use Tiled Processing for Large Portraits
Models like Clarity Pro Upscaler support tiled processing, which divides the image into segments and processes each separately. For portraits larger than 1200px on the input side, enable tiling to prevent the model from losing fine detail on the ears, hairline, or chin by compressing the full face into a single inference pass.
Configure Face Recovery Separately
Some models, including P Image Upscale, include a dedicated face recovery pipeline that runs alongside the general upscale. This applies face-specific reconstruction to detected facial regions while using standard super resolution for backgrounds. Enable it for headshots. Disable it for full-body portraits where the face is small, since it can over-process small faces at long focal lengths.
Denoise Before Upscaling
If your source portrait has visible noise (grain from high ISO or sensor limitations), remove it first using a dedicated denoising tool, then upscale the clean result. Upscaling a noisy image amplifies the noise pattern and creates large blotch artifacts. Recraft Crisp Upscale handles light noise well, but heavy grain benefits from a dedicated noise pass first.
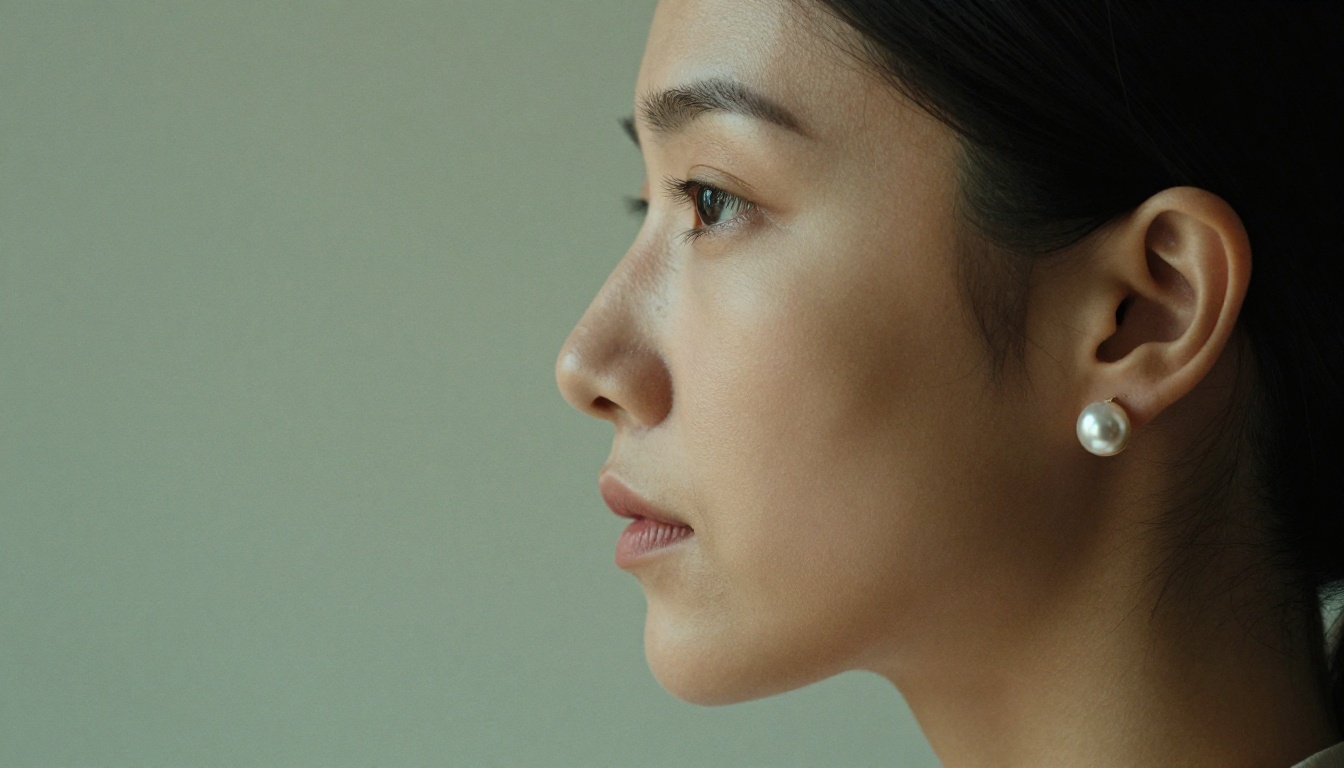
Portrait Upscaling Model Comparison
What to Do After Upscaling
The work does not stop at the upscaler output. A clean portrait upscale benefits from a careful post-processing pass.
Selective Sharpening on Eyes Only
After upscaling, apply a mild sharpening pass masked to the iris and eyelash area only. This draws the viewer's attention to the eyes without introducing halos at the hairline or skin boundary. In Photoshop or Lightroom, use a luminosity mask to isolate the eye region.
Color Grading After Upscaling
Apply your color grade after the upscale, never before. Color grading changes the pixel value distribution of the image, which can affect how the AI model interprets fine detail. A desaturated or high-contrast pre-process can mislead the model into treating shadow areas as noise and smoothing them.
Check at Print Resolution
If your upscale is for print, view the output at the actual print resolution (pixels per inch at the intended print size) rather than at screen zoom levels. Artifacts that appear significant at 200% zoom on screen may be invisible at the print viewing distance.
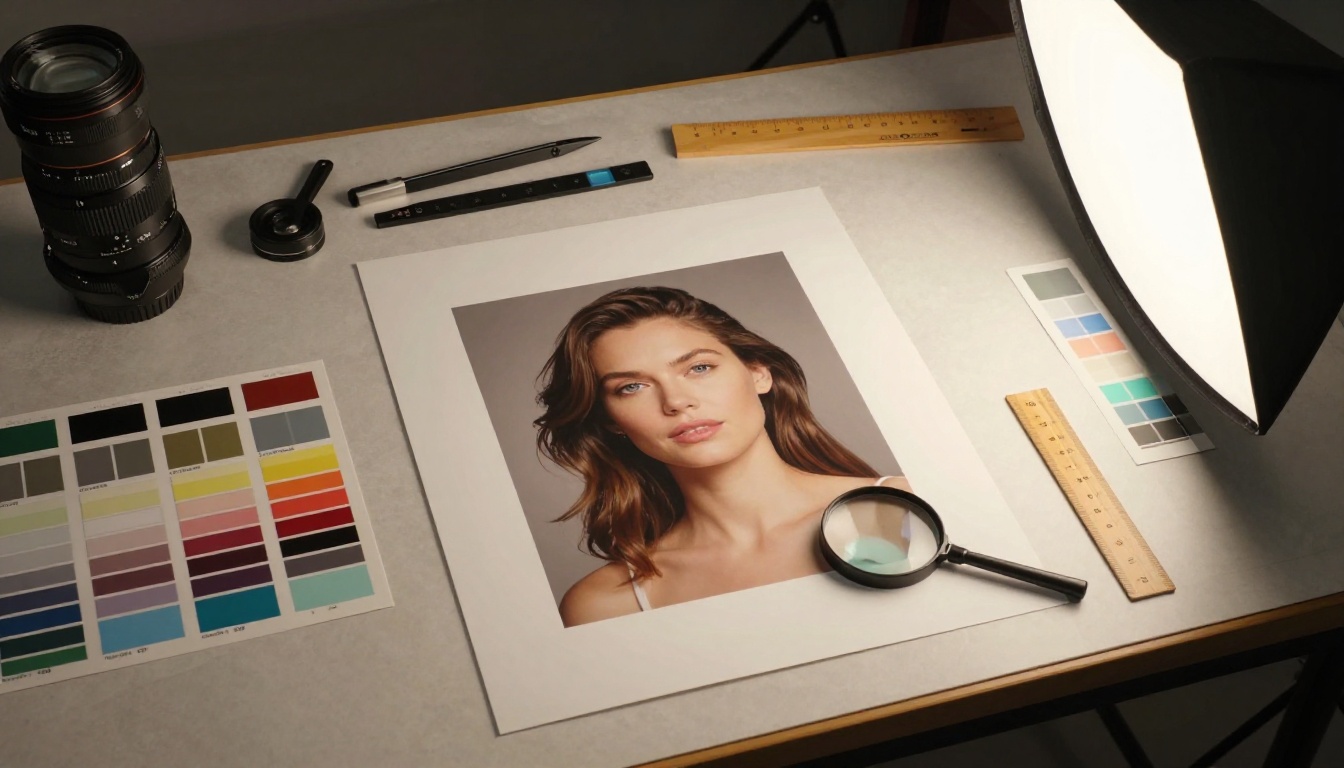
3 Common Mistakes to Avoid
Upscaling a JPEG Multiple Times
Each JPEG encode introduces compression artifacts. Upscaling a JPEG upscale means the model attempts to reconstruct detail from an image that already has block artifacts baked in. Always upscale from the original, highest quality source available. If you only have a JPEG, use a JPEG artifact removal tool first, then upscale.
Expecting 4x to Look Like a Native 4x Image
An upscaled image is always an inference, not a recording. A portrait photographed natively at 4x the resolution will always contain genuine optical information that no upscaler can generate from a 1x source. Set realistic expectations: AI upscaling gives you a very convincing simulation of higher resolution, not an actual higher resolution capture.
Running Auto-Sharpen After Upscaling
Most photo editing software applies automatic sharpening when you resize or export. After an AI upscale, this auto-sharpen is additive and creates the exact halo artifacts you were trying to avoid. Disable auto-sharpen in your export settings when working with AI-upscaled portraits.
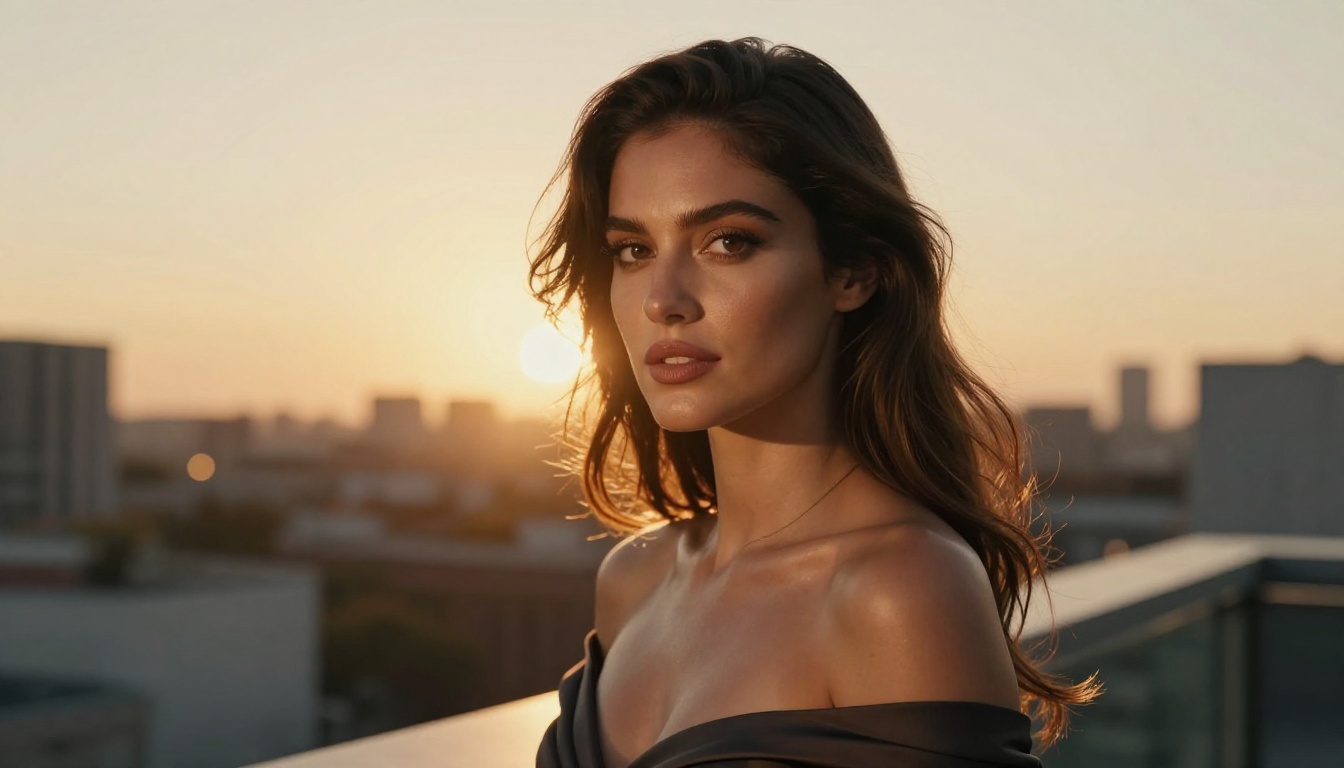
Start Upscaling Your Portraits Today
Every portrait you have ever shot at lower resolution than you wished for is a candidate for AI upscaling. The technology works, the tools are accessible, and the difference between a 500px headshot and its 2000px AI-upscaled version is the difference between a profile picture and a printable portrait.
PicassoIA puts nine different super resolution models in one place, each tested on real portrait imagery. Start with Crystal Upscaler for face-specific work, move to Clarity Pro Upscaler for editorial beauty shots, and use Topaz Image Upscale when you need the maximum 6x scale for large format printing.
Upload your first portrait, run it at 2x with low creativity and high resemblance settings, zoom to 100% on the eyes, and see what artifact-free portrait upscaling actually looks like in practice. The results will change how you think about your entire back catalog of portraits.


