Portrait upscaling sounds simple until you open the result and find a face that looks like melted wax covered in digital static. Skin becomes a smooth blob, eyes lose their iris detail, hair turns into a smeared gradient, and edges get ringed with white halos. This happens because most upscaling tools were never designed to handle the complexity of a human face. But the right AI models, configured correctly, can take a 512px portrait and deliver something that looks like it was shot on a medium format camera.
Why Portraits Are the Hardest Images to Upscale
Not all subjects respond to upscaling the same way. A landscape shot can survive aggressive upscaling because trees and grass have forgiving, irregular textures. A face is different. The human visual system is exquisitely tuned to detect facial anomalies, which means even subtle artifacts in a portrait are immediately obvious in a way that the same artifacts in a building shot would not be.
The biology behind your intolerance for face errors
Humans have a dedicated region in the brain, the fusiform face area, that processes faces at a neurological level separate from general object recognition. This is why a slightly off-looking portrait triggers discomfort instantly, while a slightly off-looking chair goes unnoticed. When AI upscaling smears an eyelid, over-smooths a cheekbone, or halos a jawline, your brain registers it before your conscious mind does.
What "artifact-free" actually means
An artifact-free upscale is not just a sharper image. It means:
- No ringing: No white or dark halos along high-contrast edges like eyelashes and the hairline
- No plastic skin: Skin retains micro-texture, pores, and natural tone variation
- No color banding: Smooth gradient transitions without stair-stepping in shadow areas
- No over-sharpening: Detail that reads as natural, not aggressively processed
- Correct anatomy: Eyes stay symmetrical, lips retain their natural shape, ears hold their cartilage detail
The 5 Worst Artifacts in Portrait Upscaling
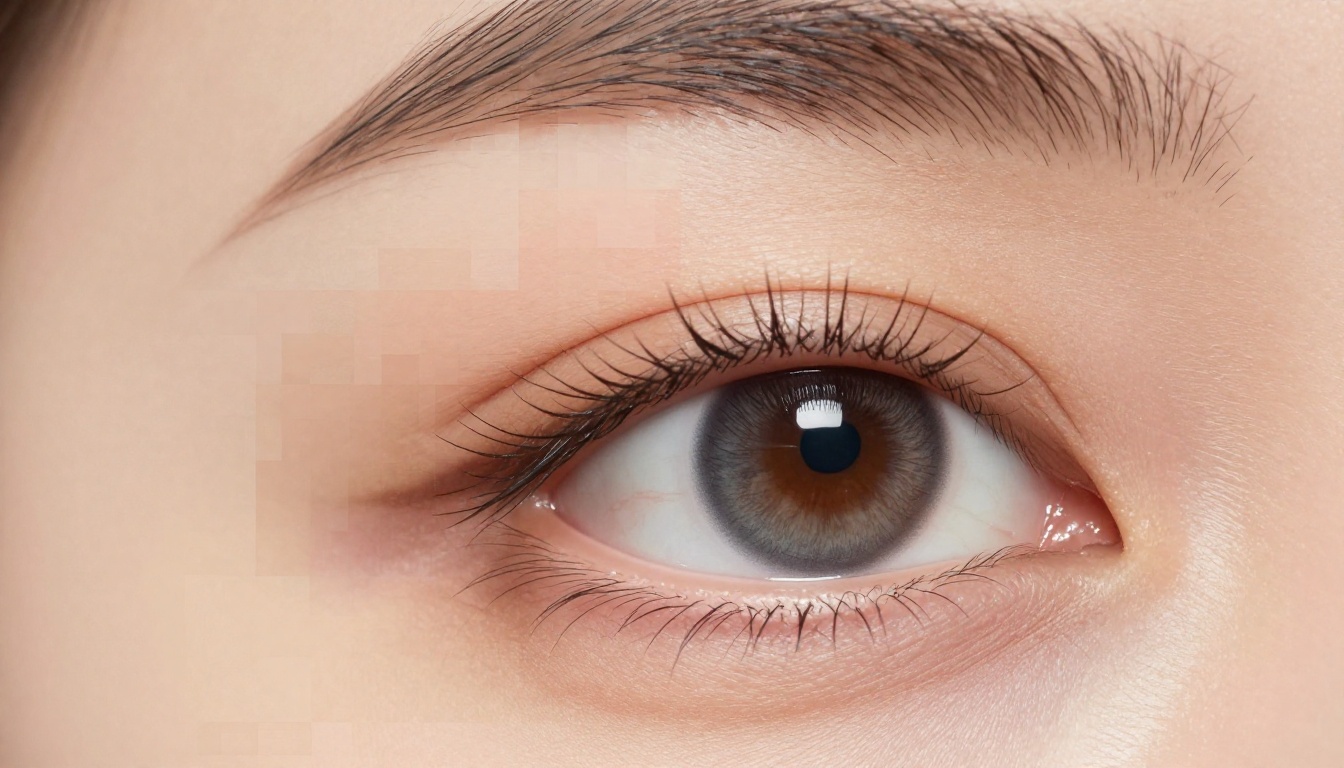
Before picking a tool, you need to know what you are fighting. Different upscaling algorithms produce different types of failure. Recognizing them helps you choose the right settings and know when a result is acceptable versus when to re-run.
| Artifact | What It Looks Like | Common Cause |
|---|
| Ringing / Halo | White or dark edge fringing around hair and eyes | Oversharpening in the frequency domain |
| Plastic Skin | Smooth, pore-free skin that looks airbrushed | Over-denoising prior to upscaling |
| Staircase Edges | Diagonal edges appear like a pixel staircase | Nearest-neighbor or bilinear interpolation |
| Color Fringing | Colored edges around high-contrast areas | Chromatic aberration amplified by upscaling |
| Eye Smear | Iris pattern becomes a blurred circle | Loss of high-frequency detail in small features |
💡 Tip: The most common mistake is running the upscaler with denoising too high. Noise removal before upscaling destroys the micro-texture that makes skin look real. Always denoise after upscaling, not before.
How AI Upscaling Actually Works on Faces
Traditional upscaling, like bicubic or Lanczos, works by mathematically interpolating pixel values. It produces smooth results but is terrible at inventing detail that was not there. A 200px eye stays a 200px eye; it just gets bigger and blurrier.
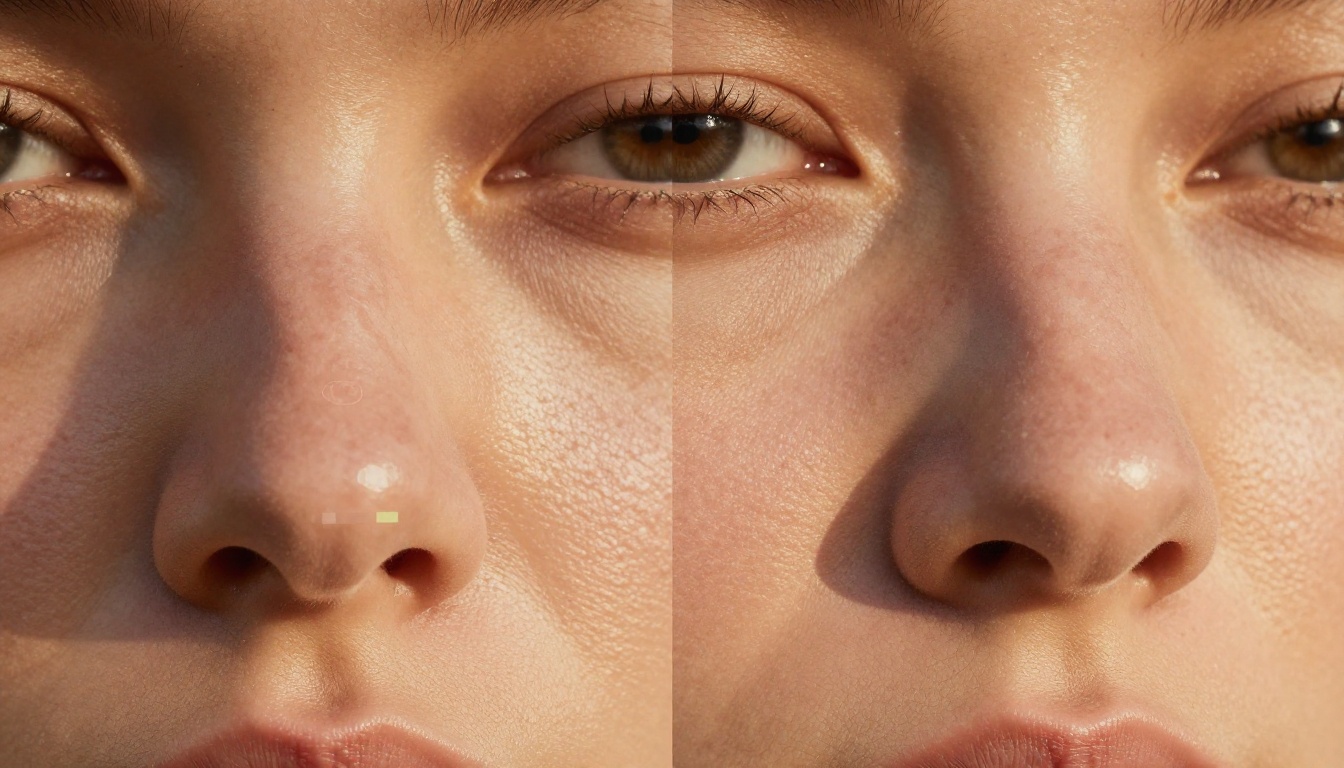
Modern AI upscalers work completely differently. They use generative prior knowledge, meaning they have been trained on millions of high-resolution faces and know what a real eye, pore, or eyelash should look like at high resolution. When they encounter a blurry eye, they do not just enlarge it. They reconstruct what it should look like based on learned facial anatomy patterns.
What happens at the pixel level
When a portrait-trained AI upscaler processes a face, it works through several layers of analysis:
- Segments the image into facial regions: skin, eyes, lips, hair, background
- Applies different reconstruction strategies to each region
- Uses face-specific prior knowledge to restore natural skin texture
- Sharpens edges only where high-frequency detail is expected
- Blends the synthetic detail with the original pixel data at a weighted ratio
This weighting between original and generated detail is called fidelity vs. creativity, and it is the most important setting you will encounter in any serious upscaling model.
Why traditional upscaling destroys skin
Traditional algorithms see a blurry cheek and produce a larger, equally blurry cheek. AI sees a blurry cheek and infers the texture that belongs there based on surrounding context, the direction of light, and learned skin anatomy. The difference is not subtle at 4x upscale. It is the difference between a photo and a painting.
The Best Models for Portrait Upscaling
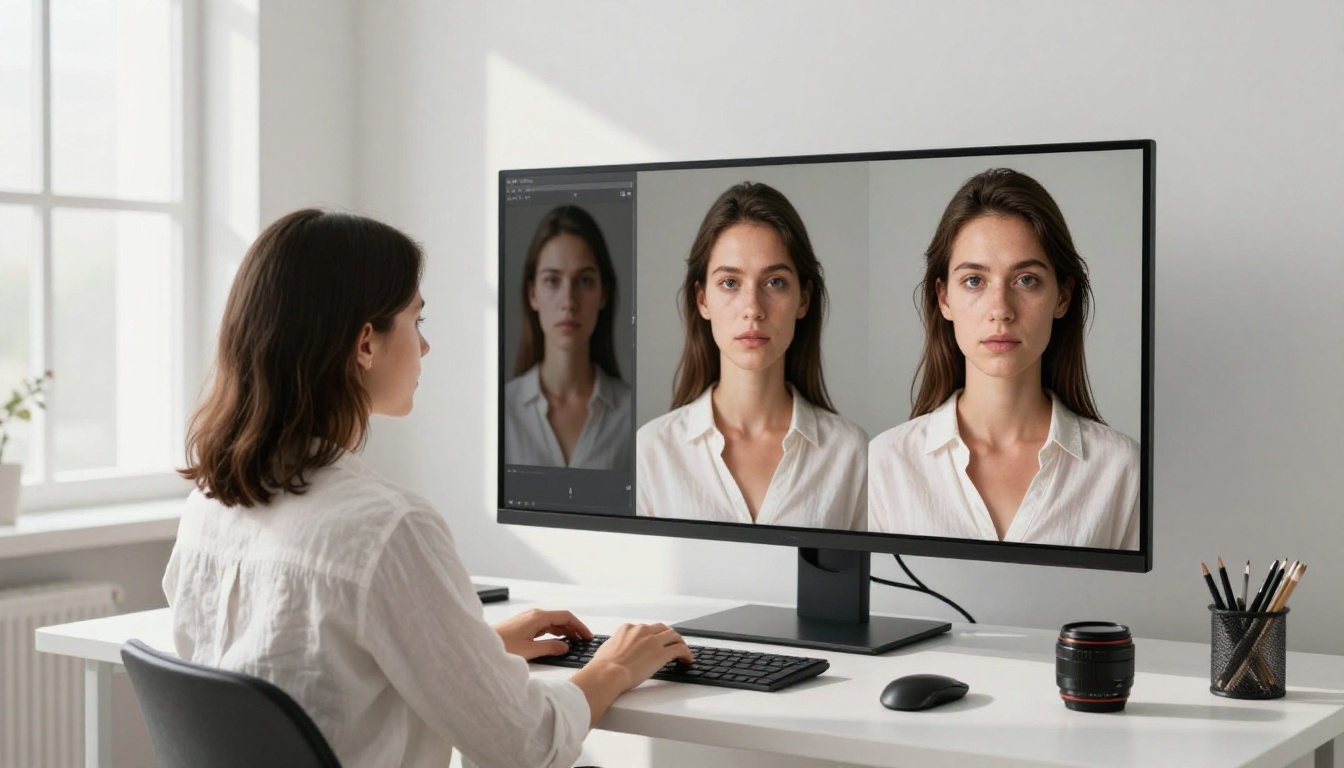
PicassoIA offers several specialized upscaling models, each with distinct strengths for portrait work. Here is how they compare and when to use each one.
Clarity Pro Upscaler
Clarity Pro Upscaler is built for photorealistic upscaling with an emphasis on controlled detail generation. It uses a diffusion-based approach that adds texture progressively rather than all at once, which prevents the over-sharpened look that plagues simpler models.
Best for: High-fidelity portraits where you want precise control over how much creative detail is added.
Parameters:
- Creativity: 0.2-0.4 for portraits. Higher values add skin detail; above 0.6 risks hallucination of features
- Resemblance: 0.7-0.9 to preserve the subject's actual facial features
- Scale: Start at 2x, evaluate, then apply 4x if the first pass is clean
Crystal Upscaler
Crystal Upscaler is specifically optimized for portrait subjects, including faces, hair, and fine skin detail. It handles the tricky transition zones between skin and hair edges better than most general-purpose upscalers, making it the go-to model for headshots and beauty photography.
Best for: Portraits where the hairline, eyebrow edges, and fine facial hair are critical to the result.
Topaz Image Upscale
Image Upscale by Topaz Labs offers upscaling up to 6x, the highest scale factor available on the platform. It uses Topaz's proprietary neural engine, trained on an exceptionally diverse dataset of real photography.
Best for: Pushing a small source image to very large print or display sizes where 4x is not sufficient.
Warning: At 6x, even strong AI upscalers start to speculate heavily on missing detail. Use a high resemblance setting and review eyes carefully before finalizing any 6x result.
Real-ESRGAN
Real-ESRGAN is the classic open-source workhorse. It is fast, reliable, and excellent for 4x upscaling of photographic content. Unlike diffusion-based models, it runs in a single forward pass, which makes it predictable and consistent across large batches.
Best for: Batch processing many portraits where throughput matters more than peak quality.
💡 Tip: For portraits specifically, use the realesrgan-x4plus model variant. The anime variant was trained on illustrations and will give photographs an uncanny smoothed look.
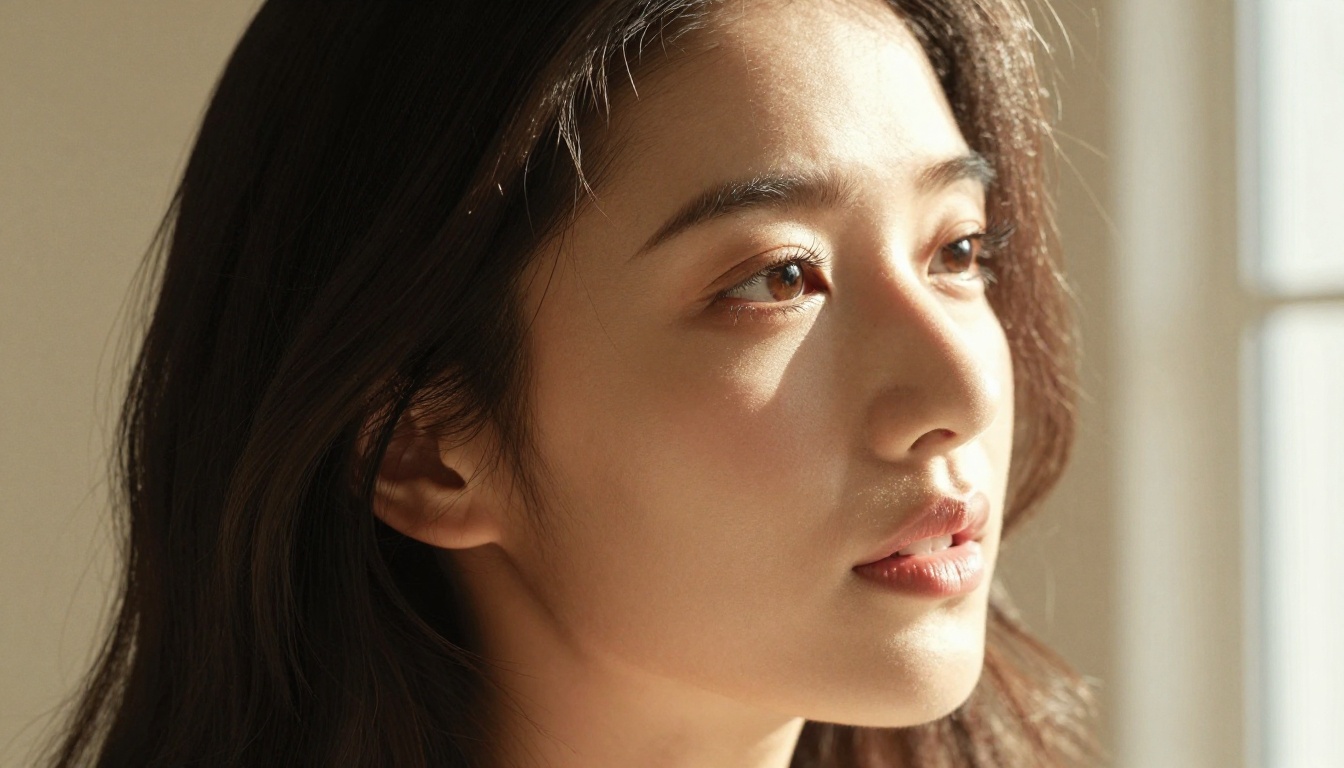
P Image Upscale
P Image Upscale delivers results in under a second with surprisingly sharp output for its speed. It is an excellent choice for rapid iteration when you want to preview upscaling results before committing to a slower, higher-quality run.
How to Upscale Portraits on PicassoIA
Here is the exact step-by-step workflow for getting artifact-free portrait upscaling results.
Step 1: Prepare your source image
Before upscaling, your source image needs to be in good shape. Upscaling amplifies everything, including problems that were barely visible at small sizes.
- Remove heavy JPEG compression first: If your image has severe block artifacts from compression, run it through Recraft Crisp Upscale at 1x scale to smooth them before proper upscaling.
- Crop tightly: Upscalers allocate compute evenly across the whole image. A portrait with a large background wastes capacity on empty space when you want it concentrated on the face.
- Check orientation: Portrait-specific models perform best on vertically oriented face images. Landscape-cropped faces can sometimes produce asymmetric texture results.
Step 2: Choose your model
Step 3: Set your parameters
For diffusion-based upscalers like Clarity Pro and Crystal:
- Scale factor: Start with 2x. Only go to 4x if the 2x result is already clean.
- Creativity / detail strength: 0.2-0.35 for portraits. This is the single most critical setting.
- Resemblance / fidelity: 0.75-0.9. Lower values give the AI more freedom; higher values preserve the subject's exact features.
- Denoising: 0.1-0.2 maximum. Anything above this is where plastic skin originates.
Step 4: Evaluate the result at 100%
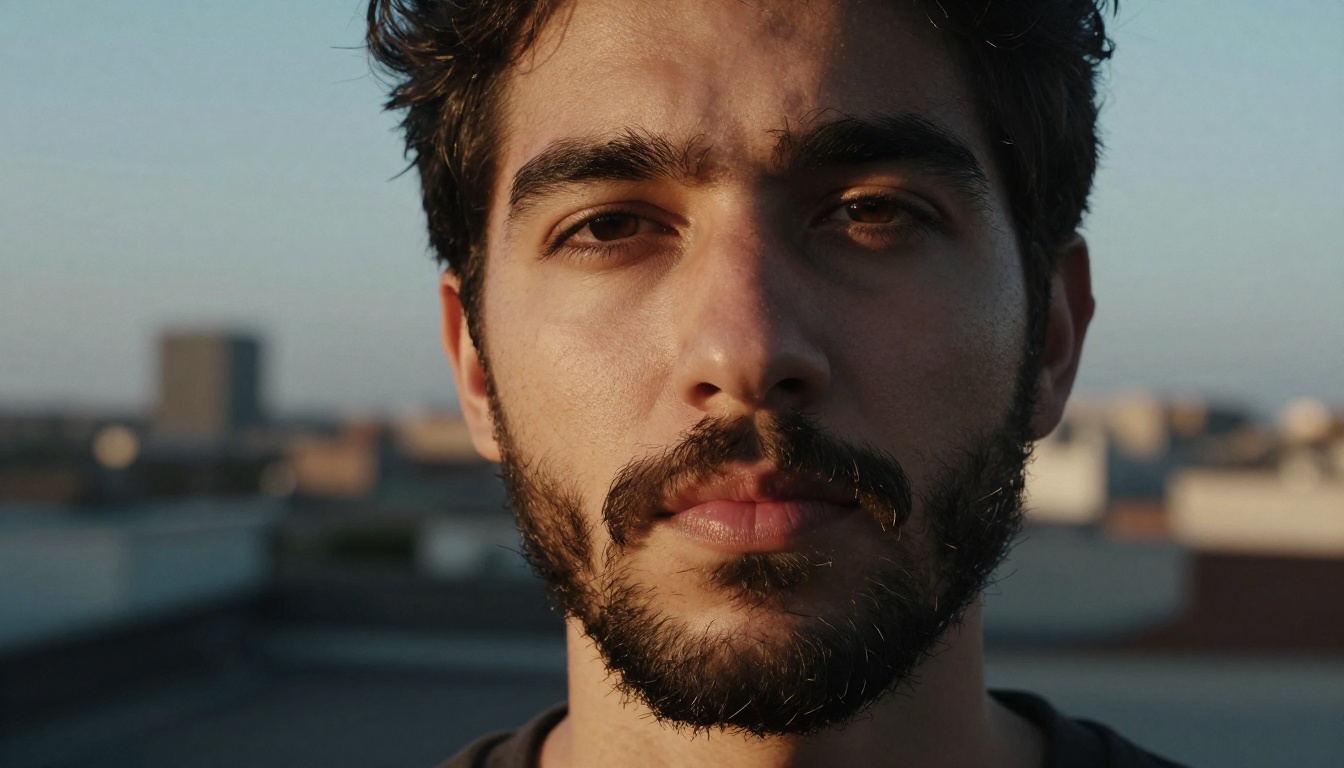
After the upscale completes, zoom to 100% and check five specific areas:
- Eyelashes: Are individual lashes distinguishable, or are they merged into a dark smear?
- Iris: Does the eye show natural iris texture, or is it a flat colored circle?
- Nose bridge: The nose bridge and nostrils are the first places halos appear. Check this area carefully.
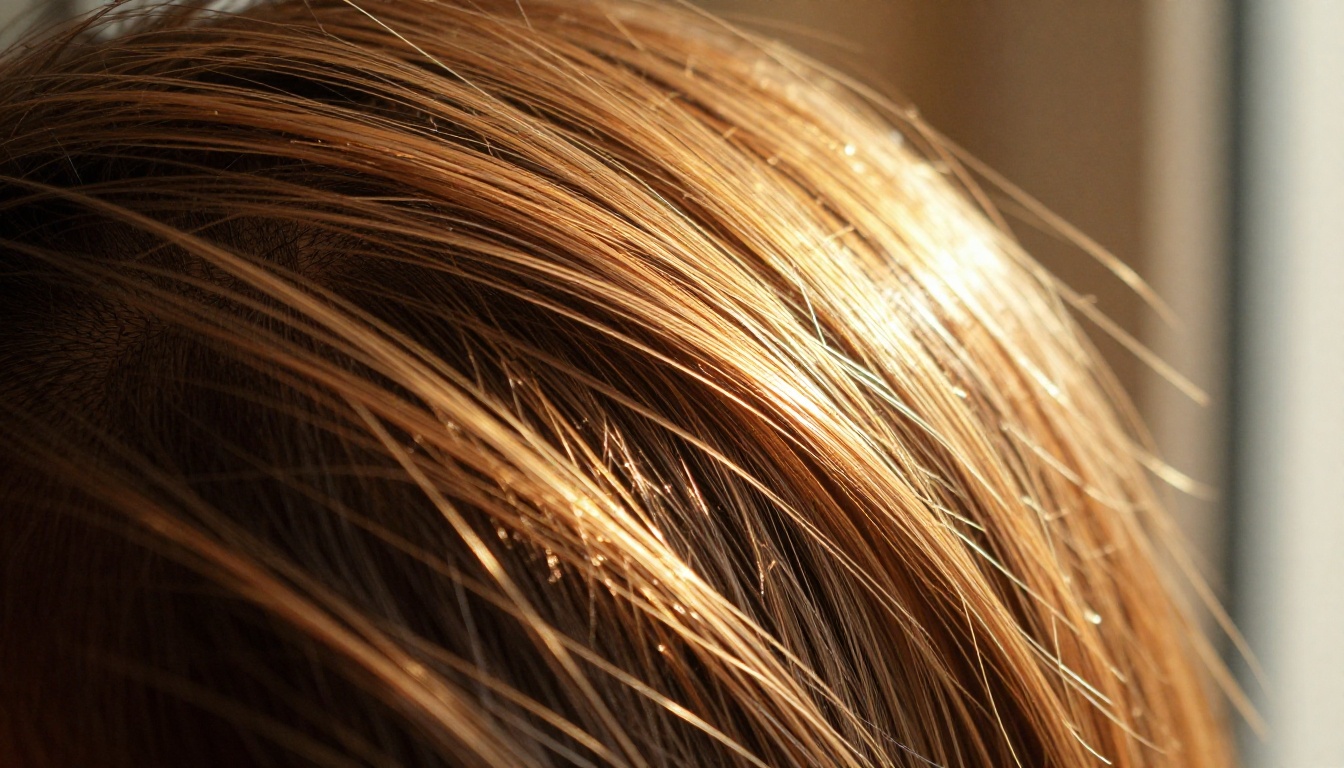
- Hairline: Fine baby hairs should be present, not merged into a single solid edge.
- Lip boundary: The cupid's bow and lip corners should be sharp without ringing artifacts.
If any of these fail, lower creativity by 0.05 and re-run from the original source.
Settings That Kill Artifacts
Three settings produce the majority of upscaling artifacts on faces. Getting these right eliminates 80% of problems before they appear.
Denoising strength
This is the most misunderstood setting in portrait upscaling. People assume removing noise before upscaling will give a cleaner result. The opposite is true. Skin has natural micro-variation in tone and texture. That variation looks like noise to a denoising algorithm, but it is what makes skin look real and tactile.
Rule: Set denoising to 0.1-0.15 on diffusion upscalers. If noise removal is needed, apply it lightly after upscaling is complete.
Creativity vs. fidelity
Higher creativity means the model invents more detail. At 0.3, it adds realistic skin texture where none existed in the original. At 0.7, it may change the shape of an eyebrow, alter the exact tone of the iris, or add texture that was not in the source. For portrait work with identifiable subjects, you want the person to still look like themselves after upscaling.
Rule: Keep creativity at 0.35 or below for faces with identifiable subjects. Reserve higher values for anonymous portraits where visual quality matters more than exact likeness.
Scale factor strategy
Going from 2x to 4x is not just double the work. It is quadruple the pixel count, and every speculative pixel the AI generates is itself being enlarged. Errors compound.
Rule: Use two-pass upscaling for large scale factors. Run 2x first, review the result, then run 2x again to reach 4x. Each pass starts from a higher quality input than a single 4x jump would.
What to Expect: Real-World Results
Here is an honest breakdown of what different input qualities will yield after proper upscaling.
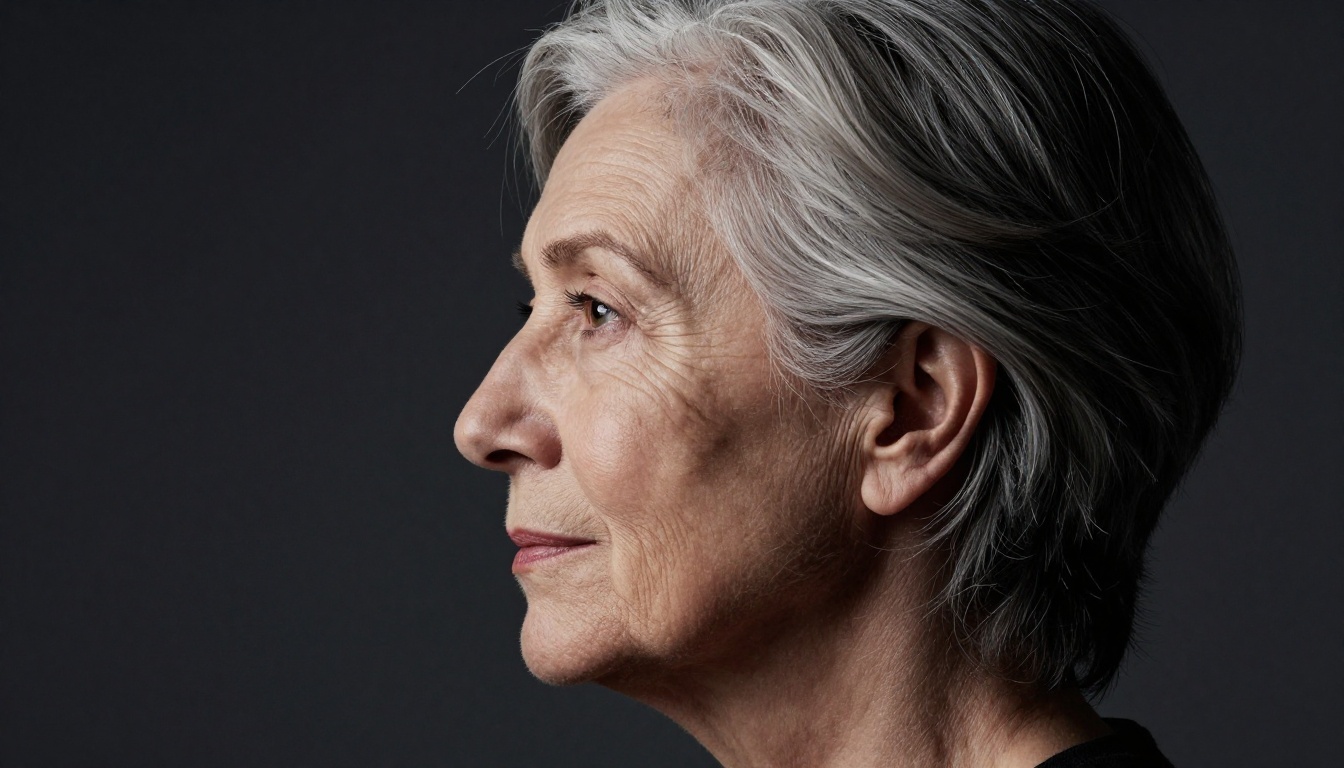
Good source (750px+ face, minor blur):
With Clarity Pro Upscaler at 4x, expect print-quality results. Skin texture is natural, eyes are sharp, halos are minimal to zero. This is the sweet spot where AI upscaling genuinely looks better than the original.
Average source (300-750px face, JPEG compression):
Run Recraft Crisp Upscale first to smooth compression artifacts, then apply Crystal Upscaler at 4x. Results are very good but require creativity at 0.3 or below to avoid over-generation.
Poor source (under 300px face, heavy artifacts):
Manage expectations. AI upscaling is not face reconstruction from nothing. For badly degraded images, consider Recraft Creative Upscale, which takes more creative license but can produce a visually attractive result even from heavily damaged source material.
Scanned film photos (analog grain, chemical aging):
Google Upscaler handles analog film grain particularly well. It recognizes the difference between film grain and digital noise and treats them appropriately, preserving the character of the original while removing deterioration.
💡 Tip: For scanned family photos from the 1970s-90s, scan at the highest resolution your scanner supports before upscaling. A 600dpi scan gives the AI far more to work with than a 300dpi scan, and the quality difference in the final upscale is significant.
3 Common Mistakes That Ruin Portrait Upscaling
Running 4x on the first pass
Jumping straight to 4x forces the AI to speculate across a massive scale jump from the very beginning. The errors compound across all four times the pixel count. Two consecutive passes of 2x produces noticeably better results in most cases because each pass starts from progressively higher-quality input.
Using an illustration-trained model on photos
Real-ESRGAN has multiple model variants with very different behaviors. The anime and illustration variants smooth and simplify detail in a way that produces an uncanny, over-processed look on real photography. Always select the photo-optimized variant when working with portrait images.
Not cropping before upscaling
Upscalers process the entire image with equal weight across every region. If your portrait shows a person centered in a large background, the model allocates significant compute to sky, walls, and floor. Crop to the face plus a small contextual border before upscaling for better detail allocation where it matters.
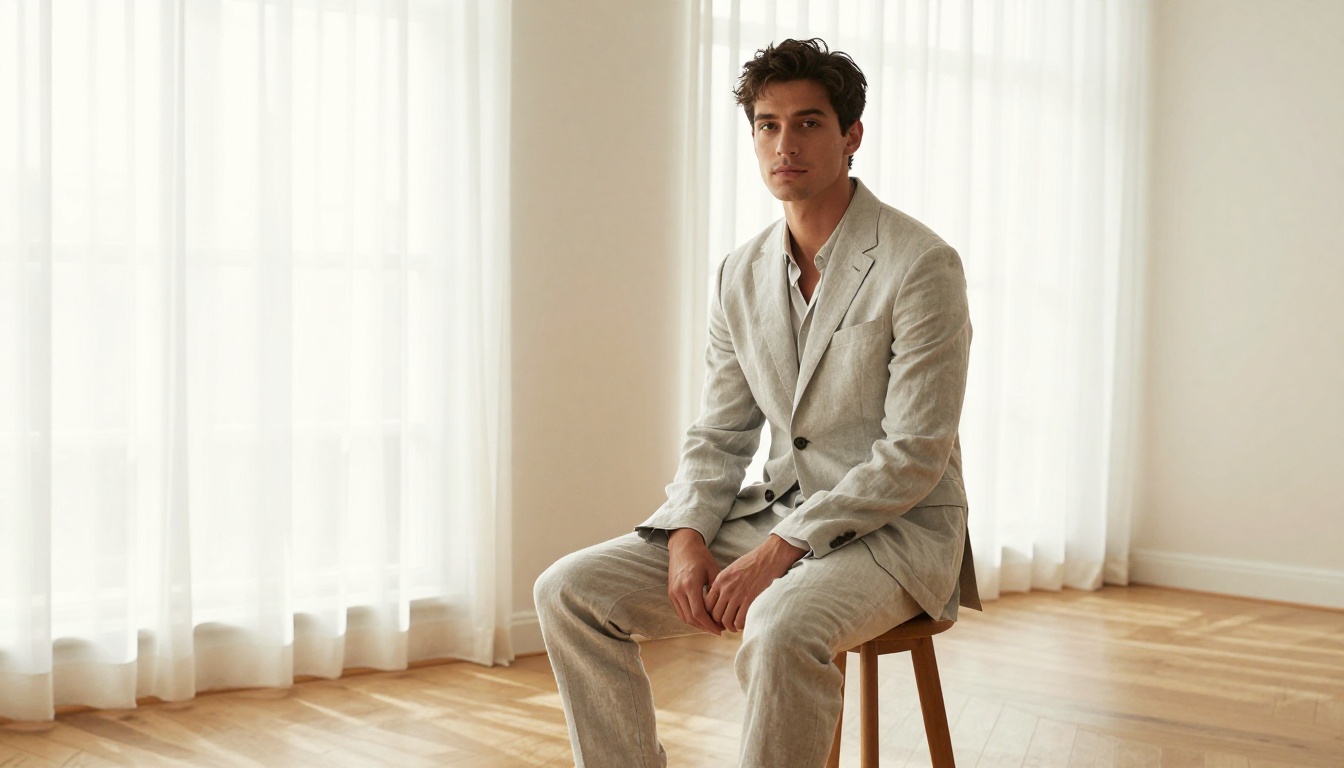
Try It on Your Own Portraits
The difference between a 512px portrait and a properly upscaled 2048px version is the difference between a thumbnail and something genuinely usable. Whether you are restoring an old family photo, preparing headshots for large-format print, or upscaling AI-generated portraits to display quality, the right model with the right settings does the heavy lifting in seconds.
The workflow is repeatable: prepare your source, pick the model that matches your input quality, set creativity conservatively, and evaluate the result at 100% zoom before finalizing. For most portrait work, Clarity Pro Upscaler and Crystal Upscaler will cover the vast majority of cases.
Upload your first portrait to PicassoIA, run it through at 2x, and see what the AI reveals that was hidden inside the original pixels. The detail that was always there, waiting for enough resolution to exist.


