Nano Banana Pro changes what's possible when you work with AI images. It doesn't just generate pictures from text. It renders them at up to 4K resolution, accepts up to 14 reference images alongside your prompt, and delivers output in JPG or PNG without watermarks. If you've ever felt like AI image results look "almost right" but never quite real enough, this model was built to close that gap.
This article breaks down every setting, every parameter, and every prompt strategy you need to get consistent, high-quality results from Nano Banana Pro on PicassoIA.
What Nano Banana Pro Actually Does
Nano Banana Pro is a text-to-image model that accepts a written description and converts it into a sharp, detailed image. What separates it from most free alternatives is its output ceiling: you can generate at 1K, 2K, or 4K resolution, which means the images are print-ready and usable in professional contexts, not just good enough for a social media post.
The model processes both your text prompt and any reference images you provide simultaneously. It doesn't treat them as separate instructions. Instead, it blends the visual language from your references with the semantic meaning of your text to arrive at a result that reflects both.
More Than Just Another Text-to-Image Tool
Most text-to-image tools let you type a sentence and click generate. Nano Banana Pro goes further. The reference image input, which accepts up to 14 images at once, lets you build a visual library around your prompt. You can point the model toward a specific color palette from one photo, a specific composition style from another, and a specific subject appearance from a third.
This makes it practical for real work. Designers use it to prototype visual concepts before committing to a full production shoot. Social media managers drop a prompt in during a campaign sprint and get several variations to choose from. Product teams use it to mock up packaging and environments without booking a studio.
What it does well: High-resolution output, reference image blending, wide aspect ratio support, no watermarks, no coding required.
The Resolution Advantage
At 4K, Nano Banana Pro output can be dropped directly into print layouts, website hero sections, or large-format displays without upscaling artifacts. Most free AI image generators cap output at 512x512 or 1024x1024. The ability to start at 4K without post-processing is significant for anyone producing materials that will be seen at full size.
If you need to push resolution even further, PicassoIA's super-resolution models can upscale output with detail enhancement, but in most cases the native 4K from Nano Banana Pro is more than sufficient.
Setting Up Your First Generation
Accessing the Model
Open Nano Banana Pro on PicassoIA. You'll see a text input field at the top, an optional image upload section below it, and a set of output configuration options on the right side of the panel. No account setup is required to run a first generation, though creating a free account saves your history.
Writing Your First Prompt
Before touching any settings, write your prompt. This is where most people lose time, not in the settings, but in the description they feed the model.
A basic first prompt might look like this:
"A woman in her thirties wearing a white linen shirt, standing in a sunlit kitchen, looking out the window, morning light, photorealistic, 4K"
That covers: subject, clothing, environment, action, lighting, style, and quality target. Each of those pieces pulls the output in a specific direction. The more of them you include, the less the model has to guess.
After writing the prompt, set your Resolution to 2K for a first run. It generates faster and still gives you a clear read on whether the composition and subject are right. Move to 4K once the result looks good at 2K.
How to Write Prompts That Work
The prompt is the core input. Everything else, resolution, aspect ratio, reference images, adjusts the output around what the prompt establishes. If your prompt is weak, no setting will fix it.
The Anatomy of a Strong Prompt
A strong prompt for Nano Banana Pro has six components:
| Component | What It Controls | Example |
|---|
| Subject | Who or what is in the image | "a young woman with short dark hair" |
| Context | Where the scene takes place | "in a modern coffee shop" |
| Action / Pose | What the subject is doing | "reading a paperback book" |
| Lighting | Mood and visual feel | "warm late afternoon sunlight from the left" |
| Style | Rendering quality and type | "photorealistic, RAW photography" |
| Technical detail | Resolution, grain, lens feel | "85mm f/1.8, Kodak Portra 400 grain" |
You don't need all six in every prompt. But the more you include, the more precisely the model can follow your intent. Short prompts produce generic results. Specific prompts produce specific images.
Prompt Examples That Deliver
Here are three prompts with different goals, each structured to extract a specific result from Nano Banana Pro:
Portrait photography:
"Close-up portrait of a man in his forties with salt-and-pepper hair, warm smile, wearing a navy blue crew-neck, soft studio lighting from above, shallow depth of field, photorealistic, 50mm lens, Kodak Portra 400"
Product shot:
"A white ceramic coffee mug on a pale oak surface, steam rising, morning window light from the right casting a soft shadow to the left, minimalist composition, editorial photography style, 4K, photorealistic"
Landscape:
"Rolling vineyard hills in late September, golden hour light, rows of vines in deep perspective, warm amber and terracotta tones, overcast but lit sky, wide angle, photorealistic, 8K landscape photography, Fujifilm Velvia"
Each prompt is specific. Each one gives the model a visual target rather than a concept. That's the difference between getting something usable on the first run versus spending 20 minutes iterating.
What to Avoid in Your Prompts
- Vague descriptors: "beautiful", "amazing", "stunning" add no information. Replace them with specific details about what makes something look beautiful.
- Contradictory instructions: "dark room, bright natural light" will produce inconsistent results every time.
- Overloading the subject: More than two or three people in a scene increases complexity and reduces quality noticeably.
- Abstract concepts without visual anchors: "emotion", "power", "freedom" need a physical manifestation in the description to render well.
Using Reference Images the Right Way
One of the features that sets Nano Banana Pro apart is the ability to attach up to 14 reference images. This isn't just for visual inspiration. The model reads these images as structured input and uses them to steer the output toward the visual language they establish.
When to Add Reference Images
Add reference images when your text description can't fully communicate what you want. Lighting setups, specific architectural styles, particular color palettes, and complex compositions are all easier to show than to describe.
For example, if you want an image to match the lighting quality of a specific indoor shoot you've done before, upload two or three frames from that shoot alongside your text prompt. The model picks up the quality and direction of the light and applies it to the new scene.
Feeding Multiple References
When using multiple reference images, keep them consistent in style. If you feed three images from three completely different visual contexts, the model has to average them, and the result is usually muddy.
Best approach: Use multiple images that share a common thread, whether that's similar lighting, similar subject matter, or a similar palette. The model performs best when the references reinforce each other rather than pull in different directions.
Practical tip: Use a photo you took yourself as a reference to anchor the model to your specific visual style. The output will carry qualities of your photography without you needing to describe them in words.
Resolution and Aspect Ratio Settings
Choosing the Right Resolution
Nano Banana Pro offers three resolution options: 1K, 2K, and 4K.
| Resolution | Best For | Generation Time |
|---|
| 1K | Quick concept checks, thumbnails | Fastest |
| 2K | Social media, web use, iteration | Moderate |
| 4K | Print, large format, hero images | Slowest |
Start at 1K or 2K when you're testing a new prompt. The composition, lighting, and subject will be clear enough to evaluate at lower resolution, and you won't spend extra time waiting for a 4K render if the prompt needs adjustment. Once the result reads correctly at 2K, switch to 4K for the final output.
Aspect Ratio for Every Format
Nano Banana Pro supports 11 aspect ratio presets. The most commonly used:
- 16:9 for website banners, YouTube thumbnails, and presentation backgrounds
- 9:16 for Instagram Stories, TikTok covers, and mobile wallpapers
- 1:1 for profile images, Instagram feed posts, and print squares
- 4:3 for standard photography framing and print layouts
- 21:9 for cinematic widescreen compositions and large-format banners
Select your ratio before generating. Generating at 16:9 and cropping to 9:16 afterward loses quality and crops the subject unpredictably. Set the right format from the start.
3 Common Mistakes People Make
Too Vague, Too Fast
The most common mistake is typing three words, hitting generate, and expecting a specific result. Nano Banana Pro is capable, but it's not psychic. A prompt like "woman in a city" gives the model too many directions to choose from. You'll get something technically correct but stylistically generic. Take two extra minutes to build out the prompt and the result improves dramatically.
Ignoring the Safety Filter Setting
The safety filter has three levels: block_low_and_above (strictest), block_medium_and_above (moderate), and block_only_high (most permissive). The default is block_only_high.
If your prompts are being unexpectedly blocked or generating incomplete images, the filter may be catching keywords in your prompt that it interprets as borderline. In those cases, check your prompt wording first. Rephrase anything that could be misread. If the prompt is clearly benign and still being blocked, you may be hitting a language sensitivity in the model rather than a genuine content issue.
Skipping Reference Images
Many users ignore the reference image input entirely and rely only on text. This works, but it misses one of the model's strongest capabilities. For anyone working on consistent branding or producing images that need to match an existing visual library, the reference input is where most of the control lives.
How to Use Nano Banana Pro on PicassoIA

Nano Banana Pro is available directly on PicassoIA with no installation required. Here's the full workflow from open to output:
Step 1: Open the model
Go to Nano Banana Pro on PicassoIA. The interface loads in the browser with no sign-in required for a first generation.
Step 2: Write your prompt
Type a detailed, specific description in the prompt field. Include subject, environment, lighting, and style. Aim for at least 20 words for a first run.
Step 3: Add reference images (optional)
Click the image upload area and attach 1 to 14 reference photos. Use images that share a visual style rather than mixing unrelated sources.
Step 4: Set your aspect ratio
Choose from the 11 presets based on where the image will be used. When in doubt, 16:9 works for most digital applications.
Step 5: Set your resolution
Choose 2K for iteration, 4K for final output.
Step 6: Choose output format
JPG for web and social use. PNG for design work, layered files, or any output that might need transparency.
Step 7: Generate and evaluate
Click generate. When the image appears, check composition and lighting first. If both are right, the detail and sharpness are usually there at 4K. If the composition is off, adjust the prompt and regenerate before moving to higher resolution.
Parameter Tips for Better Results
- Set
safety_filter_level to block_only_high for the widest creative range
- Reuse the same prompt with slight wording changes to generate close variations without losing the visual direction
- Add "photorealistic" and a specific film emulation such as "Kodak Portra 400" or "Fujifilm 400H" to any portrait prompt to add tonal warmth and a natural texture that reads as photographed rather than generated
What Makes the Output Look Real
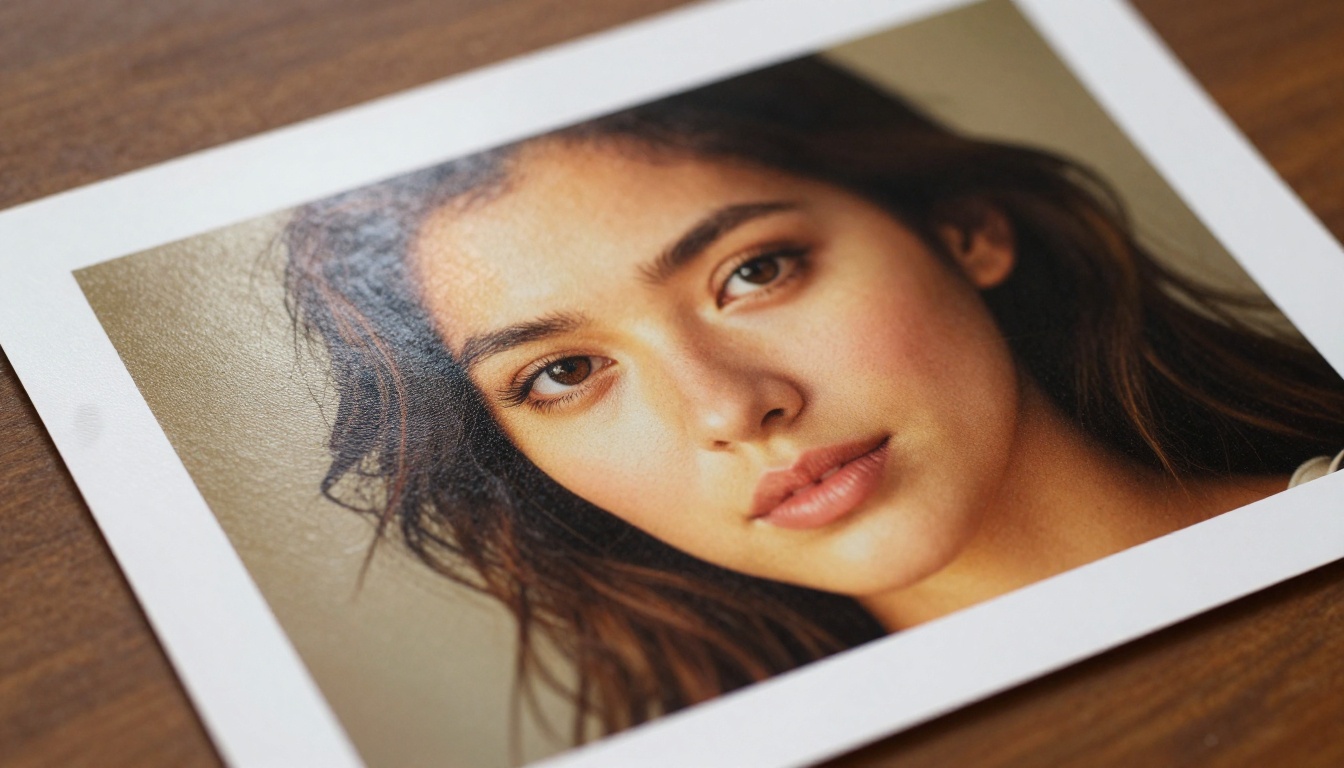
The gap between AI images that look generated and AI images that look photographed usually comes down to three things: lighting specificity, texture detail, and compositional logic.
Lighting specificity means telling the model exactly where the light comes from, what quality it has (hard vs. soft, warm vs. cool), and how it falls on the subject. "Natural light" is vague. "Morning light from a window to the left, casting a soft shadow across the right side of the face" is specific and gives the model a real direction to work with.
Texture detail means describing what surfaces look like up close, whether that's the grain in a wooden desk, the weave in a fabric, or the skin texture of a portrait subject. Nano Banana Pro at 4K can render these textures with extraordinary fidelity if you tell it to.
Compositional logic means your description should make physical sense. If you describe a scene in a way that couldn't exist in real space, the model will approximate it, and the result will look off. Think like a photographer setting up a shot, not like someone describing a painting.
If you need to fix or adjust specific areas after generation, tools like the PicassoIA Image Editor Pro let you inpaint, replace objects, or refine details without starting from scratch.
Output Quality by Prompt Depth
| Prompt Depth | Resolution | Reference Images | Typical Result |
|---|
| 3 to 5 words | 1K | None | Generic, low specificity |
| 15 to 20 words | 2K | None | Solid composition, limited texture |
| 30 to 50 words | 4K | None | High quality, professional-grade |
| 30 to 50 words | 4K | 3 to 5 related refs | Consistent, branded, near-photographic |
The pattern is clear. Depth in the prompt and quality in the reference images are the two levers that matter most. Resolution is the multiplier that converts a well-structured prompt into print-ready output.
Start Creating Your Own AI Images
You now have everything you need to produce high-quality AI images with Nano Banana Pro. The next step is practice. Open the model, write a detailed prompt for something specific in your work right now, whether that's a product, a portrait, a scene, or a concept, and run it at 2K. Evaluate the result against the prompt. Adjust, add a reference image, and run it again.
The gap between your first result and your fifth is significant. Most of it comes from learning how precisely to describe what you actually want visually. Every iteration teaches you something about how the model interprets your words, and that knowledge compounds fast.
PicassoIA gives you access to Nano Banana Pro alongside a library of over 90 text-to-image models, including PicassoIA Image for rapid iteration and PicassoIA Image Editor Pro for post-generation editing. Open the platform, pick a subject, and see how close to real you can get.


