A recruiter spends a few seconds on your profile before deciding whether to read further, and the first thing they see is a small round picture. If that picture is a cropped vacation snapshot, a blurry selfie or an empty grey silhouette, you lose attention before your experience gets a chance. A LinkedIn AI photo generator free of charge fixes that problem in minutes, without a photographer, a studio booking or a new blazer. This article shows how these tools work, what "no login" really means, which example styles suit which jobs, the exact sizes to export, and the photo rules that keep your profile believable.
What a LinkedIn AI Photo Generator Does
An AI headshot generator takes a text prompt, a reference photo, or both, and produces a portrait that looks like it came from a professional shoot. Instead of renting lights and a backdrop, you describe the lighting, the clothing and the background, and the model paints those pixels with realistic skin, fabric and depth of field.
How the tools work
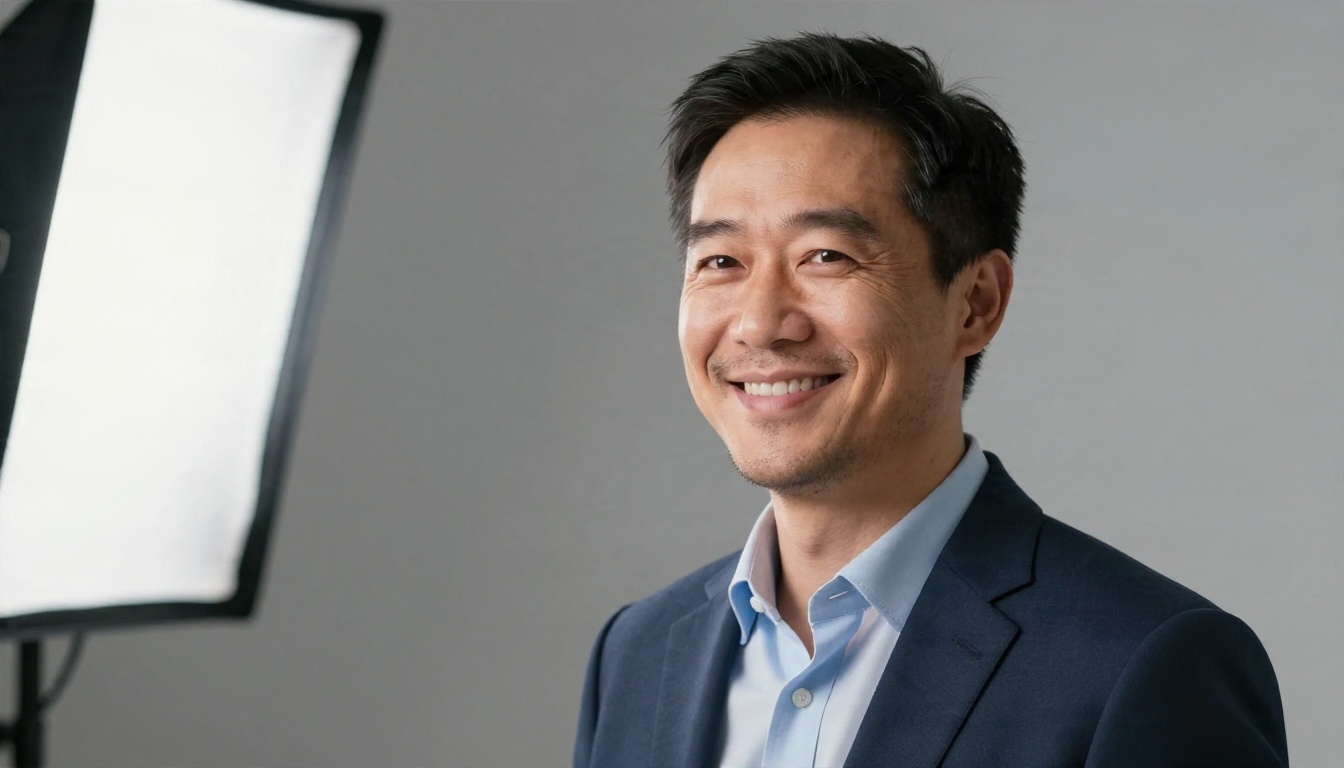
There are two common routes. The first is text to image: you write a prompt such as "man in his forties, navy jacket, soft grey studio backdrop, 85mm lens" and the model invents a person. That is useful for placeholder photos, mock profiles, team pages and design work. The second is image to image editing: you upload a real photo of yourself and ask the model to change the background, fix the lighting or swap the outfit while keeping your face intact. For a personal profile, the second route is the one that matters, because the picture should still look like you.
Models such as Nano Banana handle both generation and editing, which is why they show up so often in headshot workflows. For photorealistic skin and clean studio lighting, Seedream 4.5 is another strong pick.
Free versus paid
Most paid headshot services charge per pack and return a fixed set of styles. Free generators give you more control, because you write the prompt yourself and can run as many variations as you like. The trade-off is effort: you pick the best result, crop it correctly and check it for odd details such as warped earrings or asymmetric collars.
💡 Tip: Generate at least 8 to 10 variations before choosing. The best frame is rarely the first one.
No Login: What It Really Means
Searches for "no login" and "no sign up" come from people who want a result right now, without an email, a password or a verification step. That is a fair wish, but the phrase hides a few different situations.
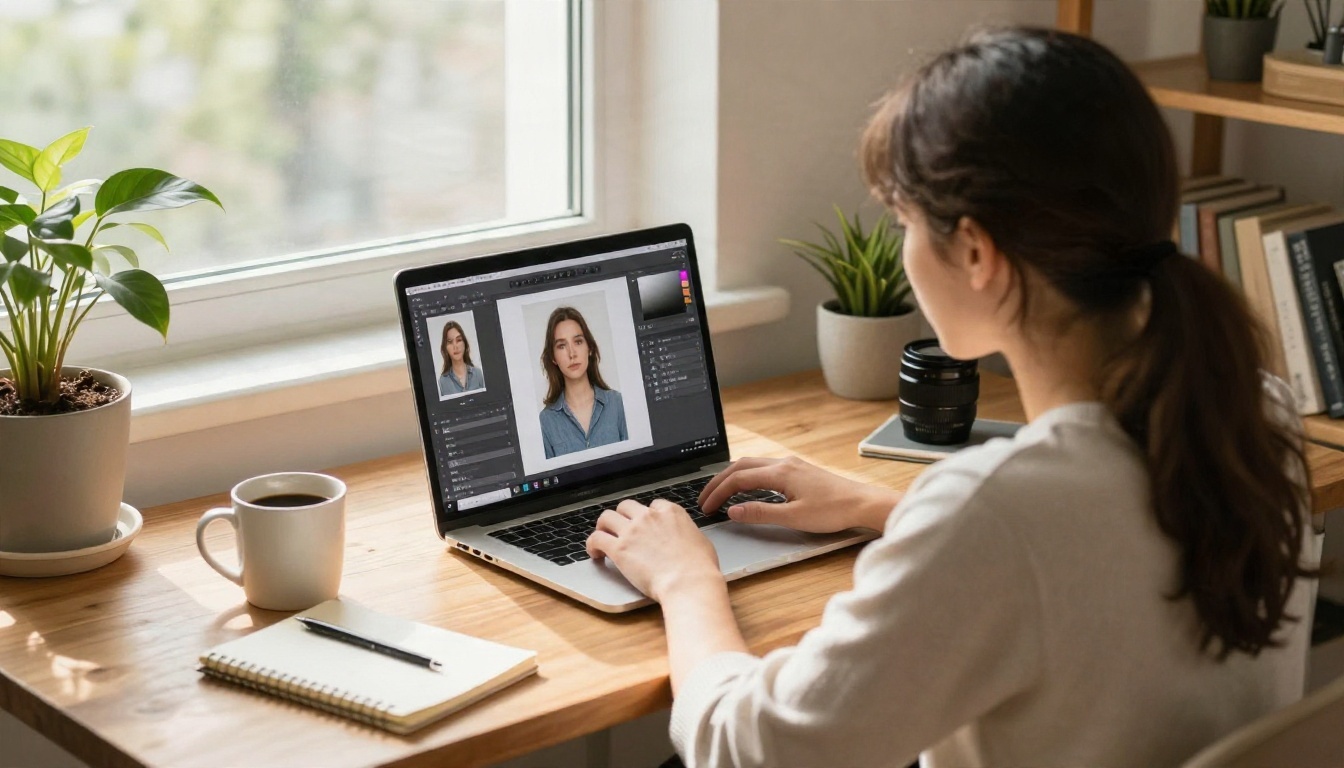
Why people skip sign-ups
Three reasons come up again and again. People do not want another account. They do not want marketing emails. And they worry that handing over an email means handing over a face photo that will be stored somewhere. Those concerns are reasonable, and they deserve a straight answer.
| What a tool says | What it can mean |
|---|
| No login | You can generate without an account, often with daily limits or a watermark |
| No sign up | Same as above, but results may be lower resolution |
| Free forever | Usually a trial with caps, or an ad-supported tier |
| Unlimited | Usually tied to a specific model or plan, so read the terms |
Privacy checks before upload
Before you upload a selfie anywhere, spend a minute on three checks:
- Storage: does the service say how long it keeps uploaded photos?
- Training: does it say whether your face may be used to train models?
- Deletion: can you remove your images yourself?
If a site answers none of these, treat it as public. A safer habit is to generate from text first, then use editing models only on photos you are comfortable sharing. On PicassoIA, PicassoIA Image Editor Pro offers unlimited generations, which makes it handy when you want to iterate many times on the same portrait without counting credits.
💡 Tip: Whatever tool you use, check the account and privacy pages yourself before uploading a photo of your face. Policies change, and "no login" never means "no rules".
Wrong dimensions are the quiet reason many headshots look soft or oddly cropped. LinkedIn displays your picture inside a circle and at several sizes, so a sloppy export shows up everywhere from search results to comments.
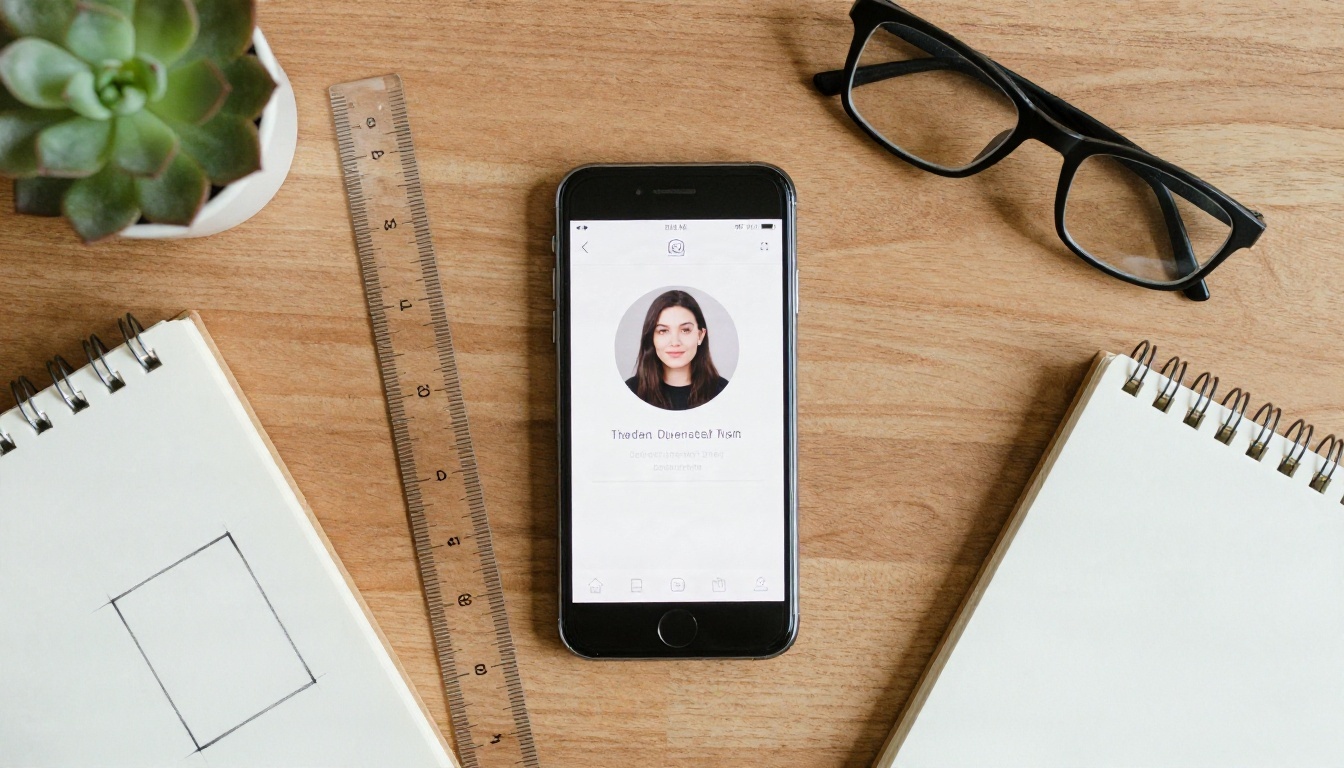
Profile photo dimensions
Most size references recommend a square 1:1 image of 400 x 400 pixels, saved as JPG or PNG, with a file size up to about 8 MB. Some references list a lower minimum, and LinkedIn does not appear to publish one fixed official spec for personal photos, so treat 400 x 400 as a widely used target rather than a law. My advice is to generate a larger image, then crop square and export at 800 x 800 or higher. The platform will scale it down, and the extra pixels keep faces sharp on high density screens.
Because the photo is shown as a circle, keep your face centered with a little air above the head. Anything near the corners will be cut away.
Banner dimensions
The personal background banner is usually quoted at 1584 x 396 pixels, a 4:1 ratio. File size limits are quoted as 8 MB in most places, though a few references say 3 MB, so exporting below 3 MB is the safe choice. On desktop your profile picture overlaps the lower left of the banner, so keep text and logos away from that corner.
| Asset | Recommended size | Ratio | Format | Safe file size |
|---|
| Profile photo | 400 x 400 px minimum | 1:1 | JPG or PNG | Under 8 MB |
| Personal banner | 1584 x 396 px | 4:1 | JPG or PNG | Under 3 MB to be safe |
| Post image | 1200 x 627 px | 1.91:1 | JPG or PNG | Under 5 MB |
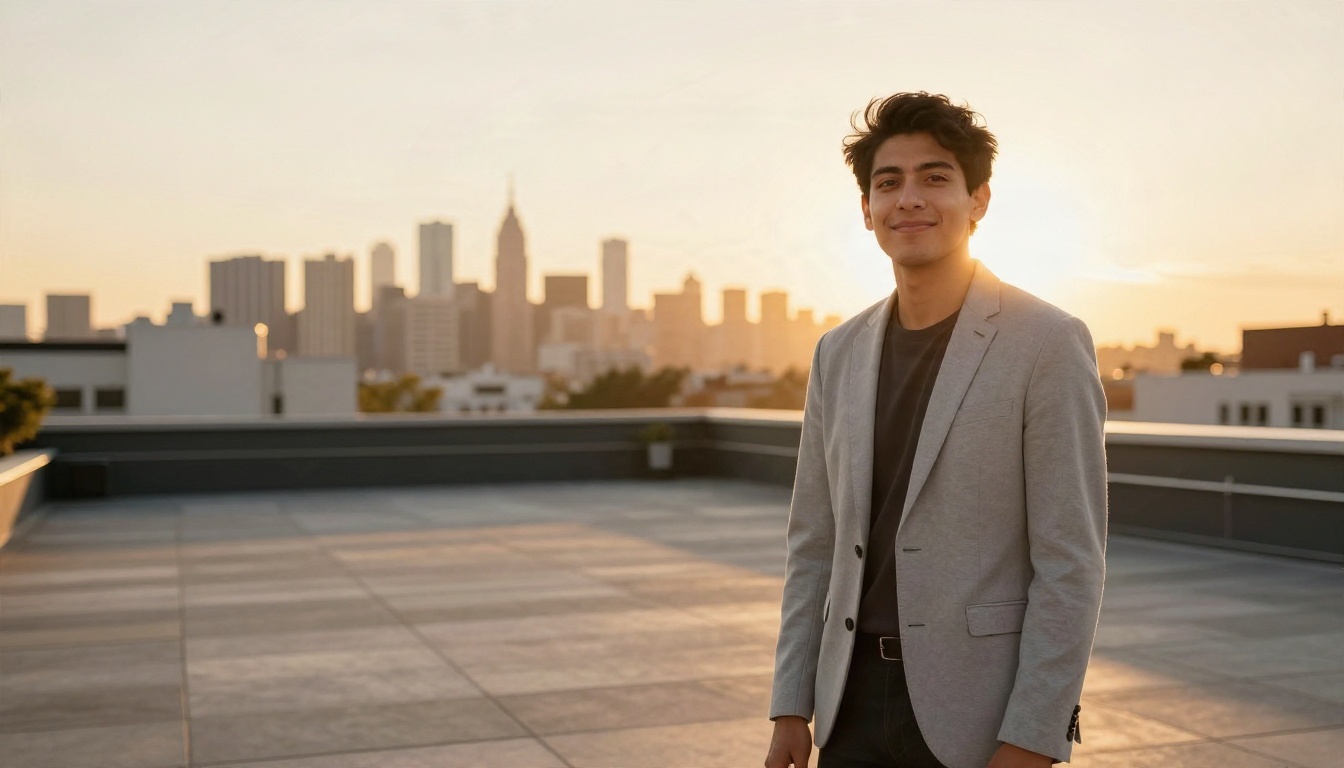
When you generate a banner, ask for a wide scene with empty space on one side. A prompt like "wide panoramic composition, subject on the right, soft blurred skyline on the left" gives you room for a headline or simply a calmer look.
Photo Rules Recruiters Notice
A good generator makes it easy to break the unwritten rules of a professional profile. Following them matters more than the tool you pick.
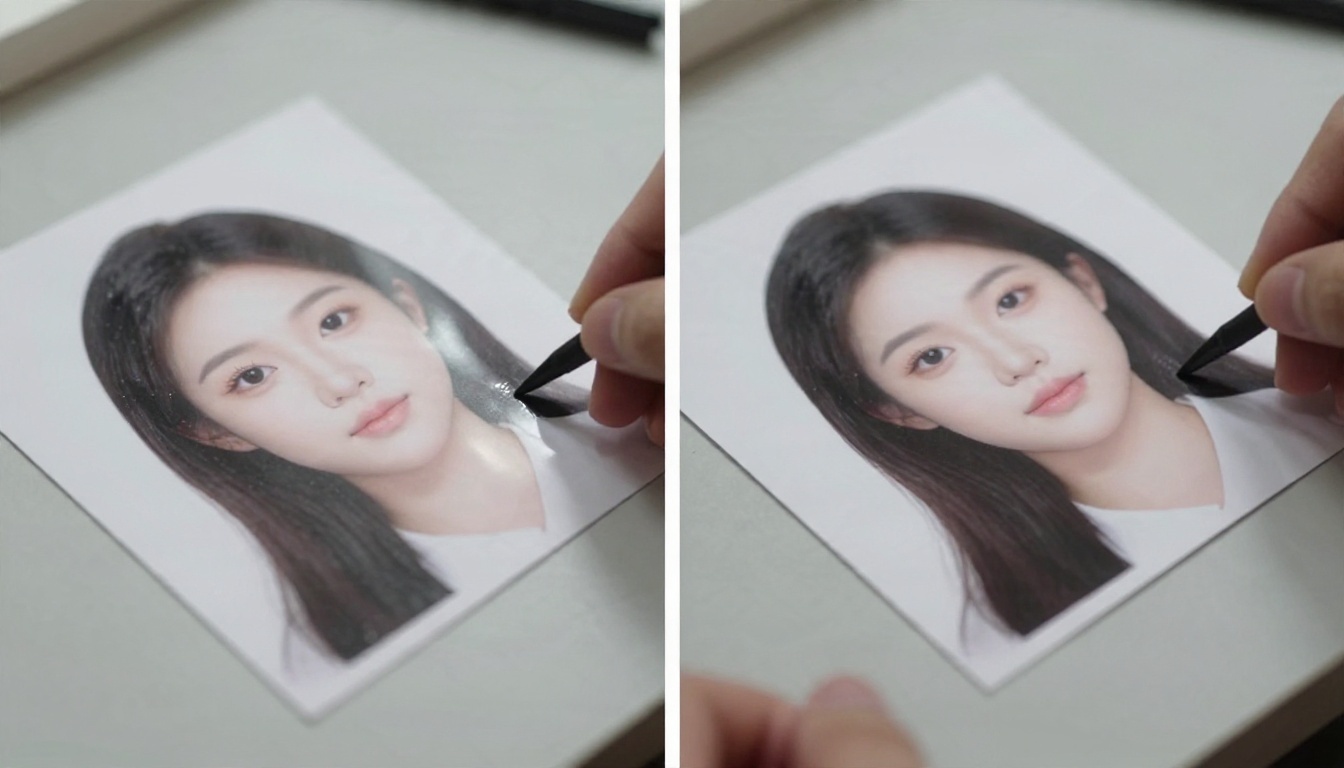
Show your real face
LinkedIn expects the profile photo to show you, and people who meet you later will compare your picture with your face. A profile photo that has been rebuilt from scratch with an invented person is a trust problem and can break the platform's rules. Use AI to polish your own photo: fix the background, soften harsh shadows, clean up the outfit. Do not change the shape of your face, your age or your features.
Lighting, framing, background
- Light: soft, directional daylight from a window beats flash every time.
- Framing: head and shoulders, filling about 60 percent of the frame.
- Eyes: open, in focus, looking at the lens.
- Background: quiet and slightly blurred. A bright office, a plain wall or a soft outdoor scene all work.
- Clothing: what you would wear to a client meeting in your industry.
Common mistakes
- Over smoothing the skin. Visible pores and fine lines read as honest. Waxy skin reads as fake.
- Mismatched hands and jewelry. If an earring or collar looks strange, regenerate.
- Cropping too wide. At thumbnail size, a full body shot turns into a dot.
- Stock smile. A relaxed, closed mouth smile looks more natural than a wide grin.
- Outdated photo. If you would not be recognized at an interview, the picture is too old or too edited.
💡 Tip: Shrink your final image to 64 x 64 pixels on your screen. If you can still read the expression, it works in search results and comment threads.
Headshot Examples by Profession
Different careers call for different looks. The examples below show how lighting, clothing and background change the message without changing the person.
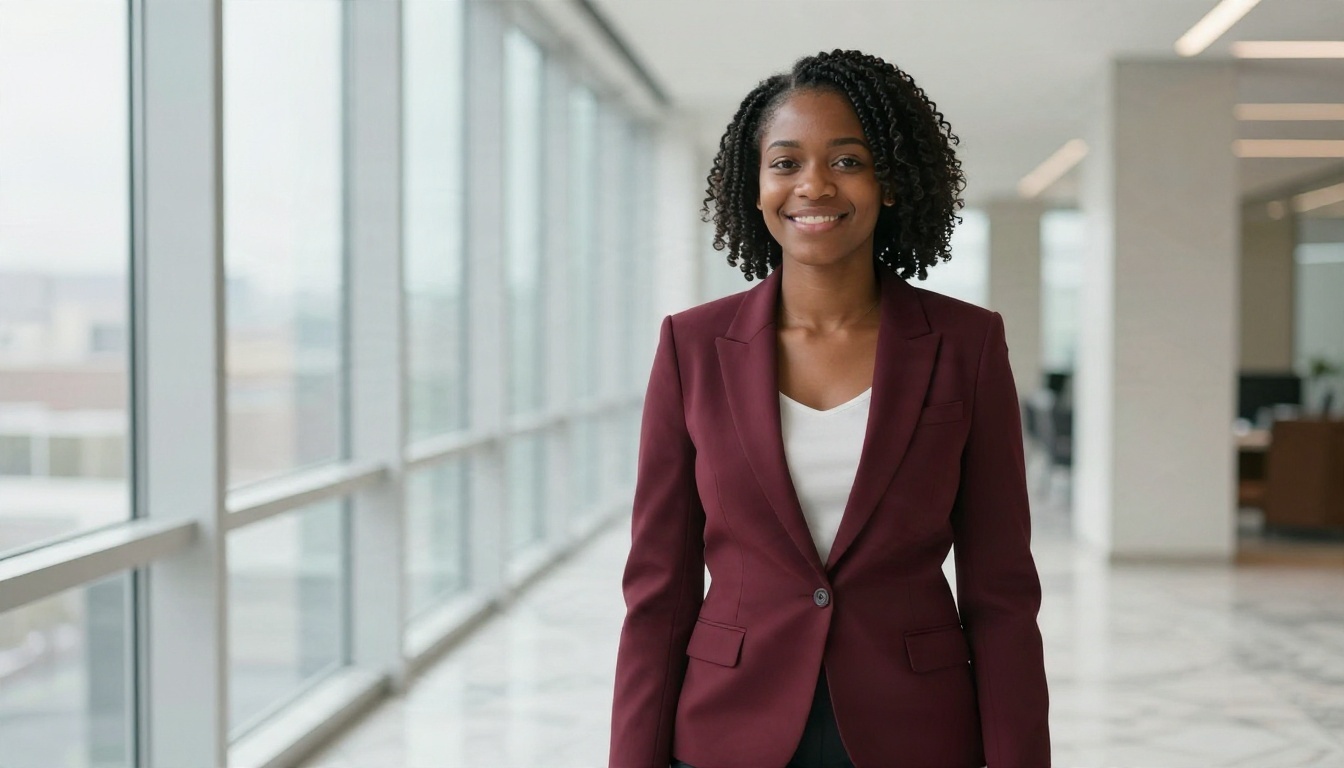
Corporate and finance
Think tailored blazers, white or pale blue shirts and a neutral office or lobby behind you. Cool, even light and a straight posture signal reliability. A low camera angle adds a touch of authority, which suits managers and consultants.
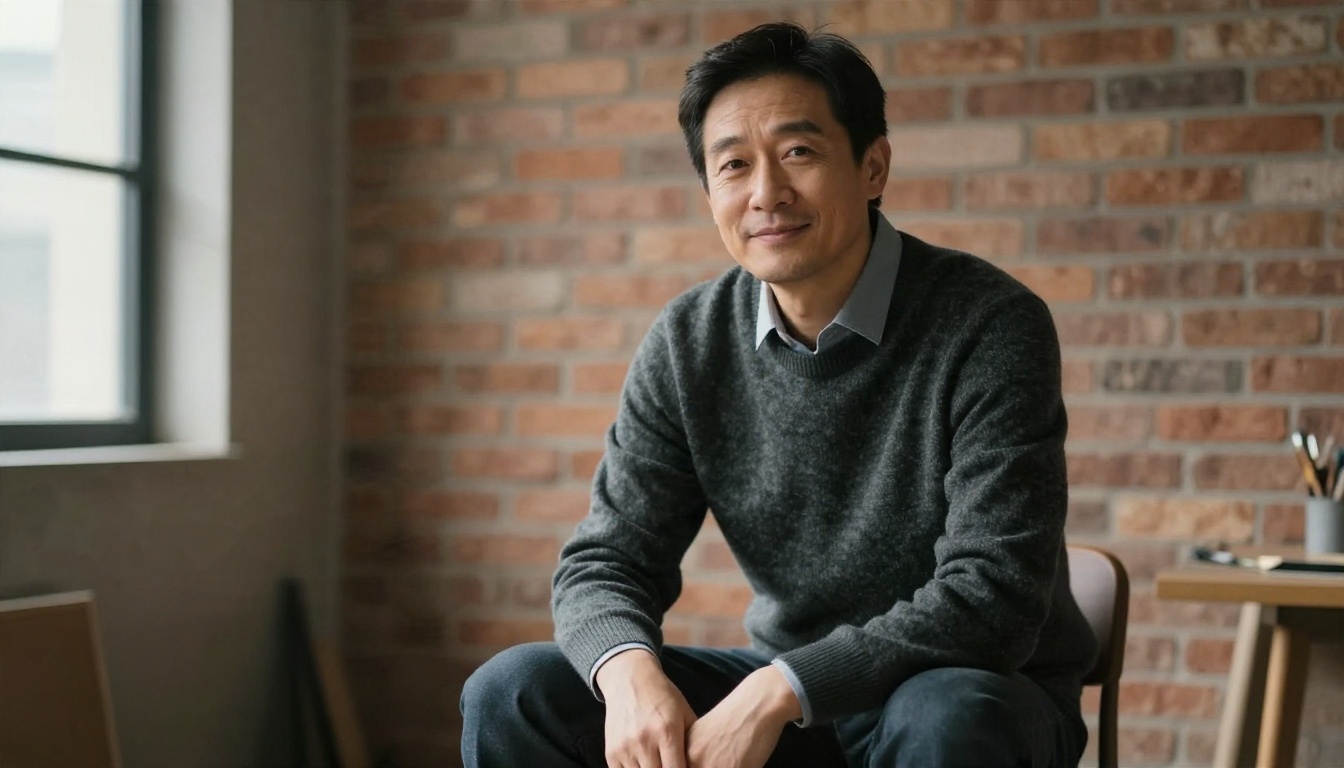
Creative and freelance
Designers, photographers, writers and consultants can relax the dress code. A knit sweater, an exposed brick wall and warm window light tell clients you are approachable and have taste. Keep the background tidy, since clutter distracts from the face.
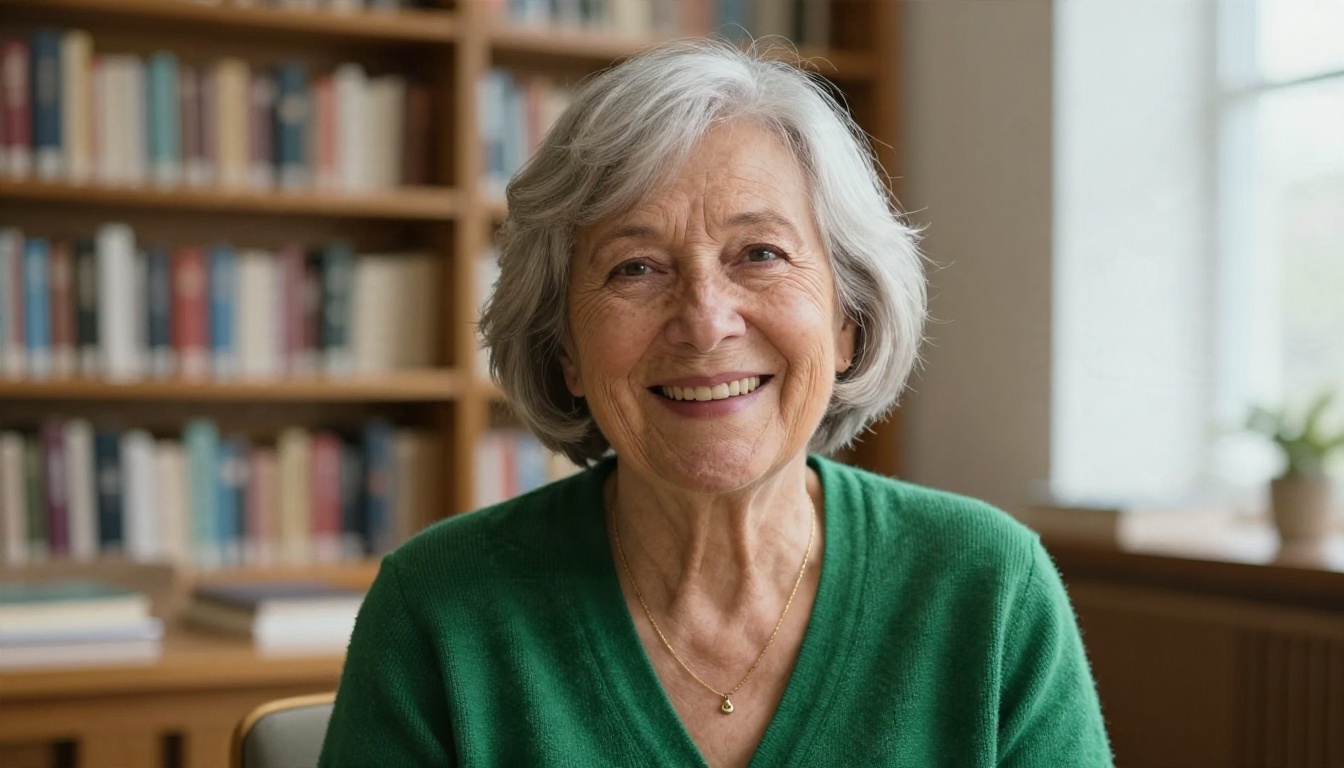
Senior leaders
Executives and board members tend to benefit from warmth. A candid half laugh, soft daylight and a calm setting such as a library or meeting room suggest experience without stiffness. Natural wrinkles and gray hair are assets here, so ask the model to keep them.
A coworking or startup setting suits founders and product people. The three quarter pose and the busy but blurred background show a connected, modern professional.
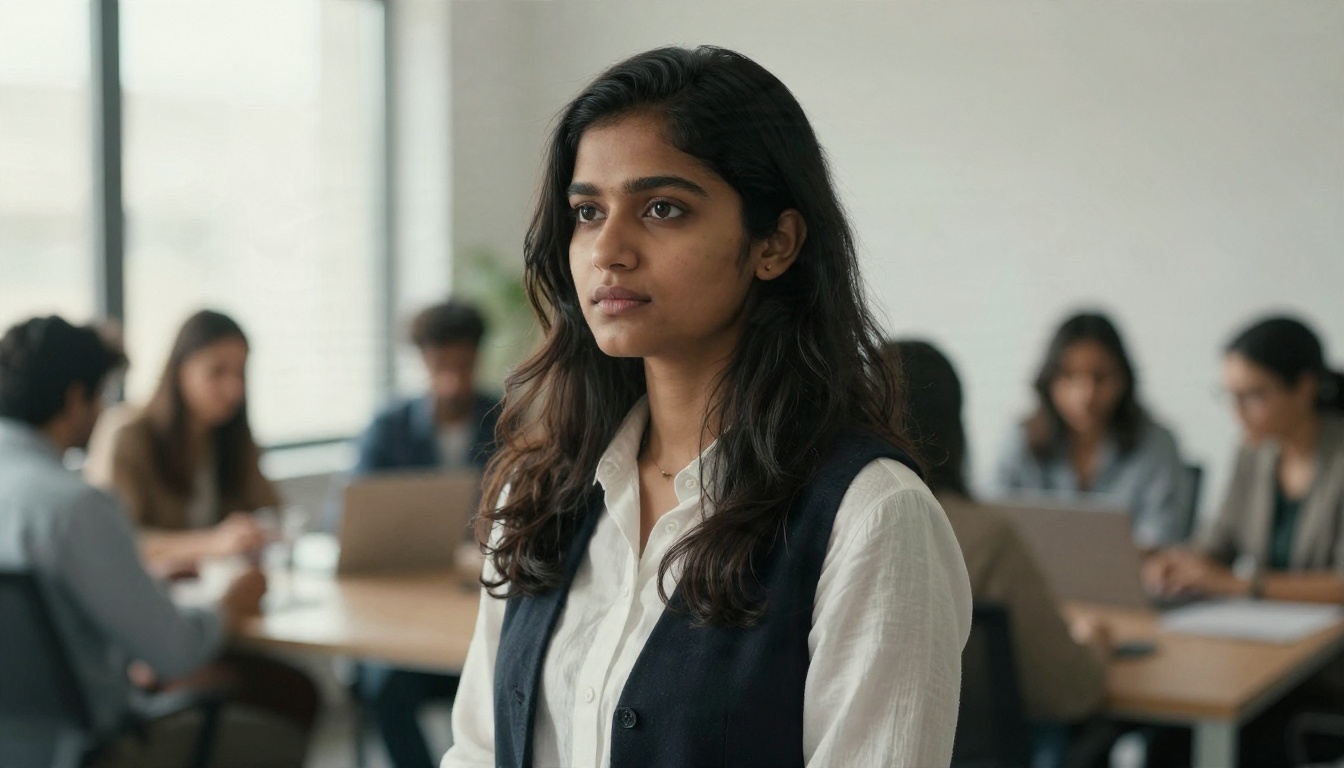
Prompts That Produce Believable Headshots
The difference between a plastic portrait and a convincing one is almost always the prompt. Specific camera and light details push the model toward photographic realism.
A prompt formula
Use this order and keep each part short:
- Subject: age range, expression, pose.
- Clothing: fabric and color.
- Background: setting and how blurred it is.
- Light: direction and softness.
- Camera: lens length, aperture, film look.
- Texture: skin pores, fabric weave, light film grain.
Sample prompts
"Woman in her thirties, relaxed closed mouth smile, charcoal blazer over white blouse, bright modern office softly blurred behind her, soft morning window light from the left, 85mm f/1.8 lens, visible skin texture, light film grain, natural colors."
"Man in his forties, navy jacket, light blue shirt, plain grey studio backdrop, large softbox from the right, 85mm f/2, realistic stubble and skin detail."
"Wide banner photo, city rooftop at golden hour, subject on the right, empty space on the left, 35mm lens, warm rim light."
Add "no text, no logos, no watermark" at the end to avoid stray lettering. Avoid style words such as "digital art" or "3D", because they push the result away from a real photographic look.
Best PicassoIA Models for Headshots
Here is where each model fits in a headshot workflow.
A simple workflow: generate or edit in Seedream 4.5 or Nano Banana Pro, refine details in Image Editor Pro, then export a square crop.
Fix and upscale
Small touches finish the job. If your background is distracting, Generate Background swaps it for a clean scene, and Remove Background gives you a clean cutout to place on a solid color. If you want a fresh look for your hair, Change Haircut can preview a style before you commit to the salon. When the image is a little soft after cropping, P Image Upscale or Clarity Pro Upscaler bring back sharpness so the picture holds up on large monitors.
💡 Tip: Keep a plain, unedited copy of your photo. If a result looks wrong, you can start again from the original instead of stacking edits.
Make Your Own Headshot Today
You now have what you need: a realistic idea of what "no login" can mean, the pixel sizes to export, the rules that protect your credibility and a prompt formula that works. The fastest way to see the result is to try it.
Open PicassoIA, pick a model such as Seedream 4.5 or PicassoIA Image Editor Pro, and paste one of the sample prompts above. Change the clothing, the window light or the background for your industry, generate a handful of versions, then crop the best one to a square and upload it. Ten minutes of experimenting can give you a profile picture that makes people want to read what comes next. Start with one prompt, compare the results, and keep refining until the person in the photo looks like the best day of your working week.


