Your metaverse identity starts with a single photo. In 2027, the gap between a mediocre default character and a photorealistic, personalized avatar is not talent or budget. It is knowing which AI tool to use. This article breaks down exactly how to make 3D avatars for the metaverse with AI, from the technology behind it to a step-by-step tutorial you can run right now.
The old 3D modeling barrier
Three years ago, creating a custom 3D avatar meant learning Blender, ZBrush, or Maya. A single character could take 40+ hours to model, texture, rig, and export. Most people settled for generic platform defaults because the alternative required serious technical skill and hundreds of hours.
AI changed the equation. Where traditional 3D workflows require building geometry from scratch, modern AI avatar generators analyze a photo and reconstruct your face, skin tone, and proportions as a stylized or photorealistic character in seconds.
What sets quality avatars apart
Not all avatars are equal. The ones that stand out in any virtual world share three traits:
- Likeness accuracy: the avatar actually looks like you
- Style coherence: clothing, skin, and proportions feel intentional
- Platform readiness: the output format works in VRChat, Decentraland, or wherever you are headed
Cheap or generic AI avatars typically fail on the first point. They produce a vaguely human result that shares your hair color but little else. The tools in this article solve that problem.
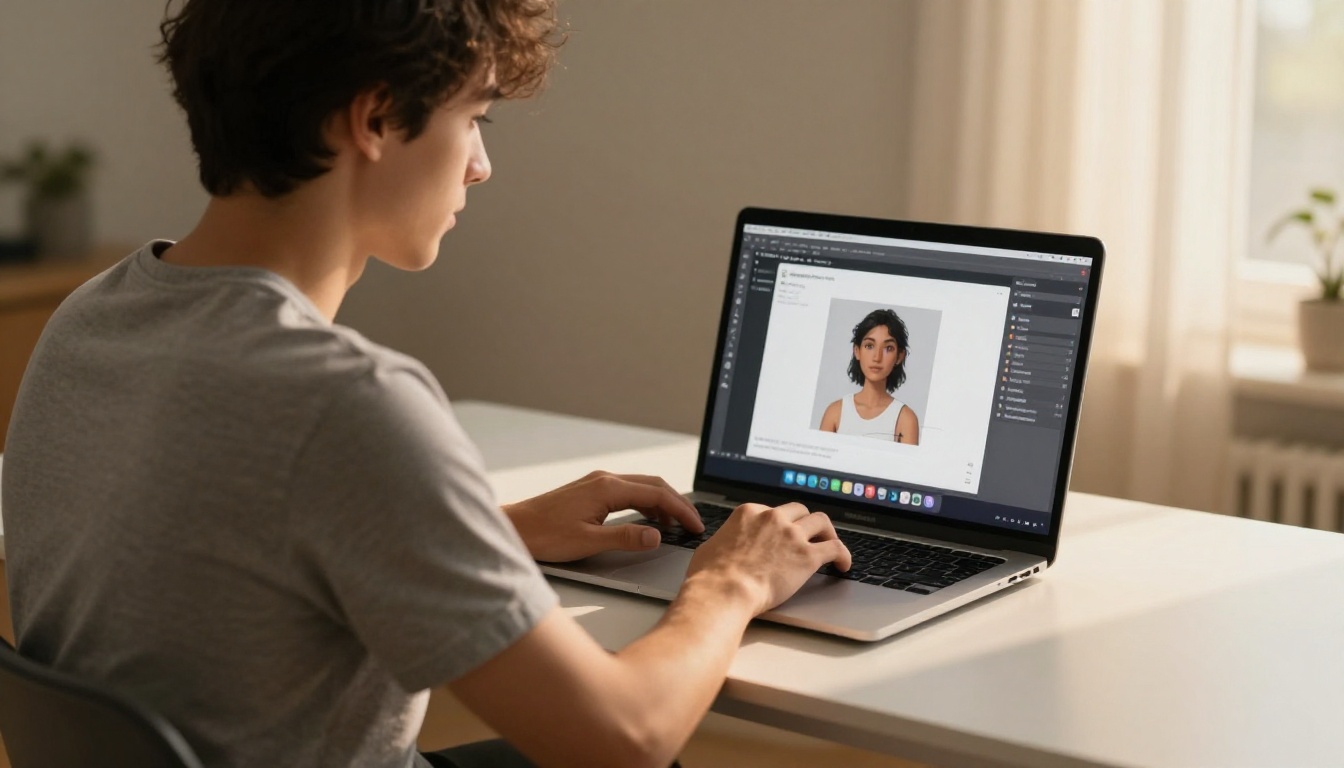
How AI Turns a Photo into an Avatar
Face mapping and diffusion models
The core technology behind most AI character design tools combines facial detection, embedding, and diffusion-based image synthesis. Here is what happens when you upload a photo:
- A face detection model locates and crops your key facial landmarks: eyes, nose, jawline, brow ridge
- An embedding network converts these into a numerical vector, your unique "face code"
- A diffusion model uses that vector as a conditioning signal, generating a new image that preserves your features while applying the target avatar style
This is why modern tools can produce a stylized warrior, a sleek sci-fi character, or a professional headshot that still looks unmistakably like you. The face code stays stable across style changes.
Why photorealism raises the stakes
The metaverse in 2027 is not all cartoon characters and low-poly models. Social platforms, virtual offices, and event spaces increasingly require photorealistic avatars that read as credible digital humans. This demand has pushed AI avatar tools to improve facial fidelity rapidly over the past 18 months.
💡 Tip: For the best results, start with a well-lit, front-facing photo with minimal background clutter. The AI has more facial data to work with, which directly improves likeness accuracy.
Before the tutorial, here is a quick comparison of the top options available today:
For pure metaverse character creation from a photo, AI Avatars is the fastest path. For building a full character identity across multiple scenes and outfits, pairing it with Portrait Series gives you a full digital identity package.
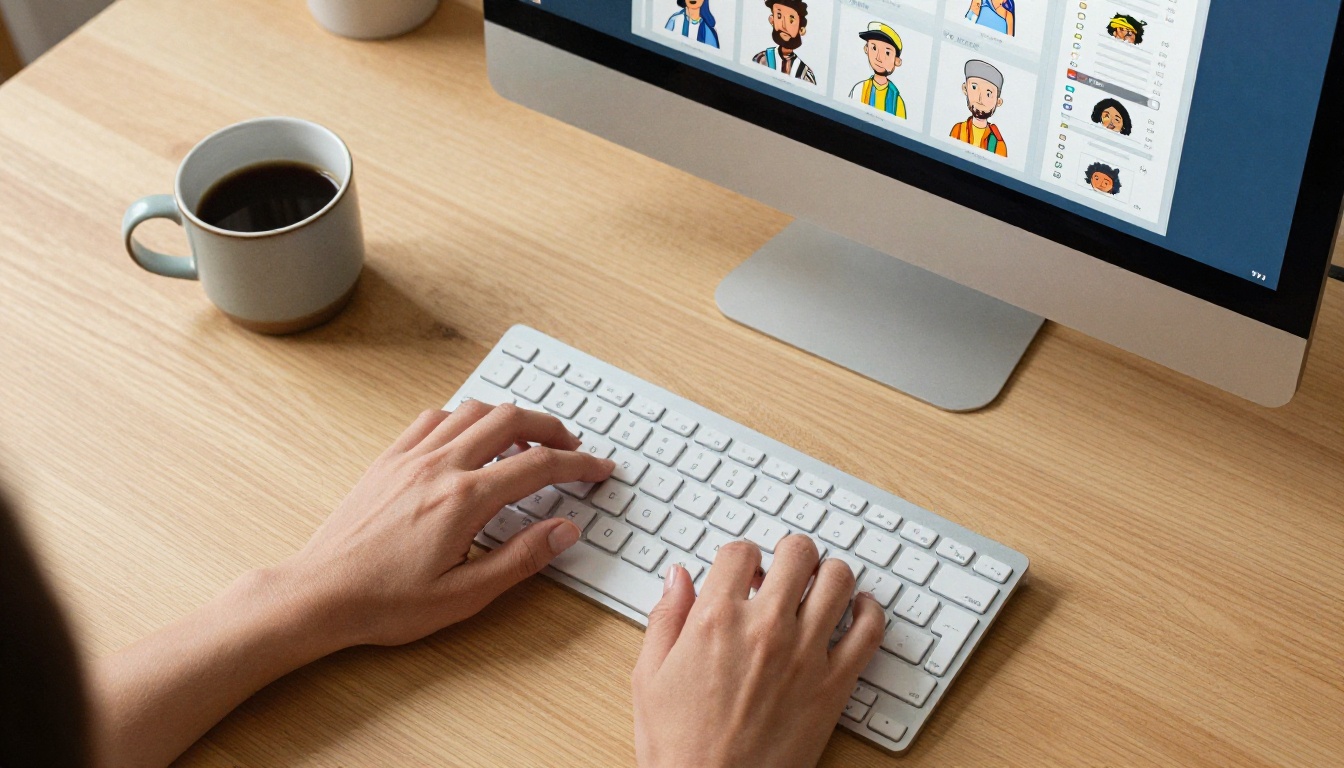
How to Use AI Avatars on PicassoIA
The AI Avatars model on PicassoIA is built specifically for generating AI avatars from face photos. It takes one input image and produces a set of stylized character outputs that preserve your likeness. Here is how to use it from start to finish.
Step 1: Prepare your source photo
Photo quality is the single biggest variable in your output. Follow these requirements:
- Resolution: minimum 512x512 pixels, ideally 1024x1024 or higher
- Lighting: even, natural, or soft frontal light. Hard shadows across the face reduce accuracy
- Angle: straight-on or 5-15 degrees off-center. Profile shots do not work well
- Background: plain or low-contrast. This helps the model focus on your face
- Expression: neutral or a soft smile. Open mouth expressions can distort avatar outputs
💡 Tip: A recent smartphone photo taken near a window in daylight works better than most studio shots. Natural light gives the model more facial texture data to work with.
Step 2: Upload and configure
- Open the AI Avatars model page on PicassoIA
- Click Upload Image and select your source photo
- In the style selector, choose from options like: Warrior, Fantasy Character, Sci-Fi Operative, Professional Headshot, or Metaverse Ready
- Set your output resolution (1024x1024 for most metaverse platforms)
- Click Generate
The model produces multiple variants per run. Most generations finish in under 30 seconds.
Step 3: Refine and export
Once you have a result you like:
- Use Flux Kontext Dev to make specific edits: swap the outfit, adjust hair color, or change the background while keeping the face locked
- Use Qwen Image Edit Plus for fine retouching: skin cleanup, lighting corrections, or clothing detail changes
- Export in PNG with transparency if the platform supports it, or JPEG for platforms that do not
💡 Tip: Keep your original source photo and the generated avatar in the same folder. You will need the source again when creating outfit or scene variants later.
Building a Full Character Identity
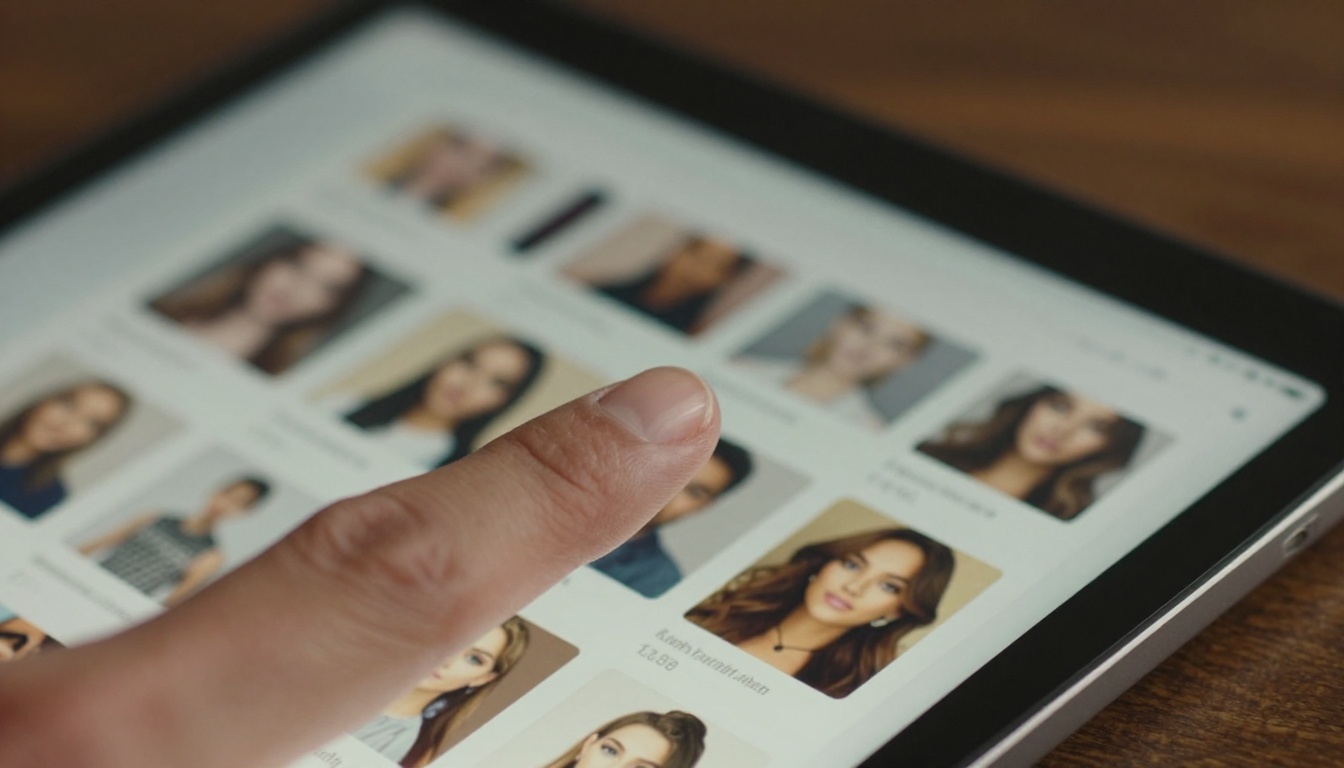
Creating one avatar is just the start. A strong digital identity for the metaverse needs multiple looks: casual, formal, fantasy, and everyday. Here is how to build that out with the tools available on PicassoIA.
Face to Many Kontext for style variants
Face to Many Kontext takes a portrait photo and generates that same face in completely different art styles, character types, or settings. You can produce a photorealistic version, a stylized variant, and a sci-fi operative look, all from the same source photo.
This is how NFT avatar collections are typically built. One face, dozens of stylistic layers applied on top.
Portrait Series for scene consistency
Once you have a core avatar, they need to look consistent across different contexts. Portrait Series generates a set of portraits of the same character across different lighting conditions, settings, and angles, all locked to the same identity.
This matters for virtual world avatars that appear in multiple places: your profile photo, your in-game character card, and your social header should all read as the same person.
Flux Kontext Dev for precise edits
Sometimes you need surgical control. Flux Kontext Dev lets you describe changes in plain text and applies them to an existing image while preserving everything you do not mention. Change the jacket color, remove glasses, swap a background, or add a specific accessory without regenerating from scratch.
Combined with P Image for rapid iteration, this workflow gets you from raw avatar to polished digital identity in a fraction of the time traditional editing would take.

Where to Use Your AI Avatar
Platforms that accept custom avatars
Not every metaverse platform accepts custom avatar uploads, and requirements vary significantly. Here is what you need to know:
| Platform | Custom Avatar Support | Accepted Format | Resolution |
|---|
| VRChat | Full custom avatars | VRM, FBX | Up to 4K |
| Decentraland | Custom wearables | GLB/PNG | 1024x1024 |
| The Sandbox | Custom voxel avatars | VXM, PNG | 512x512 |
| Spatial | Photo-based avatars | PNG/JPG | 800x800+ |
| Horizon Worlds | Limited customization | In-platform only | N/A |
| Ready Player Me | Full photo import | PNG/JPG | 512x512+ |
For most users starting out, Ready Player Me is the easiest entry point. It accepts a photo directly and converts it into a cross-platform 3D avatar that works in hundreds of apps. Pair your AI-generated avatar image with Ready Player Me's photo import for a full pipeline.
NFT avatar collections and digital identity
The intersection of AI avatar generation and NFT collections is one of the most active creative spaces in 2027. Tools like Face to Many Kontext and Ideogram Character make it practical for independent creators to build consistent, high-quality character sets at scale.
The critical factor is character consistency: every item in a collection must share recognizable visual DNA. Ideogram Character was built specifically to solve this problem.
3 Mistakes That Kill Your Avatar Quality
Using a low-resolution source photo
This is the most common mistake. An avatar is only as detailed as its source material. If you feed the AI a 200x200 pixel crop from a social media thumbnail, you get a blurry, imprecise result regardless of how good the model is. Always start with the highest resolution photo you have.
For professional results, use a photo that is at least 1024 pixels on the shortest side. Smartphone cameras from the past five years are more than capable of this.
Ignoring platform export requirements
A beautiful AI avatar that cannot be imported into your target platform is worthless. Before spending time generating and refining, check the format and resolution requirements of every platform you plan to use.
VRChat requires a fully rigged 3D model in VRM or FBX format. A PNG image, no matter how good, will not work there without additional 3D software processing. Know your target before you start.
Skipping the refinement step
The first generation is rarely the final output. Using Flux Kontext Dev or Qwen Image Edit Plus to make targeted edits after the initial generation dramatically improves the final result. Treat the first output as a draft, not a finished product.
The setup that prevents all three
Getting consistent, high-quality results across multiple avatar generations comes down to process:
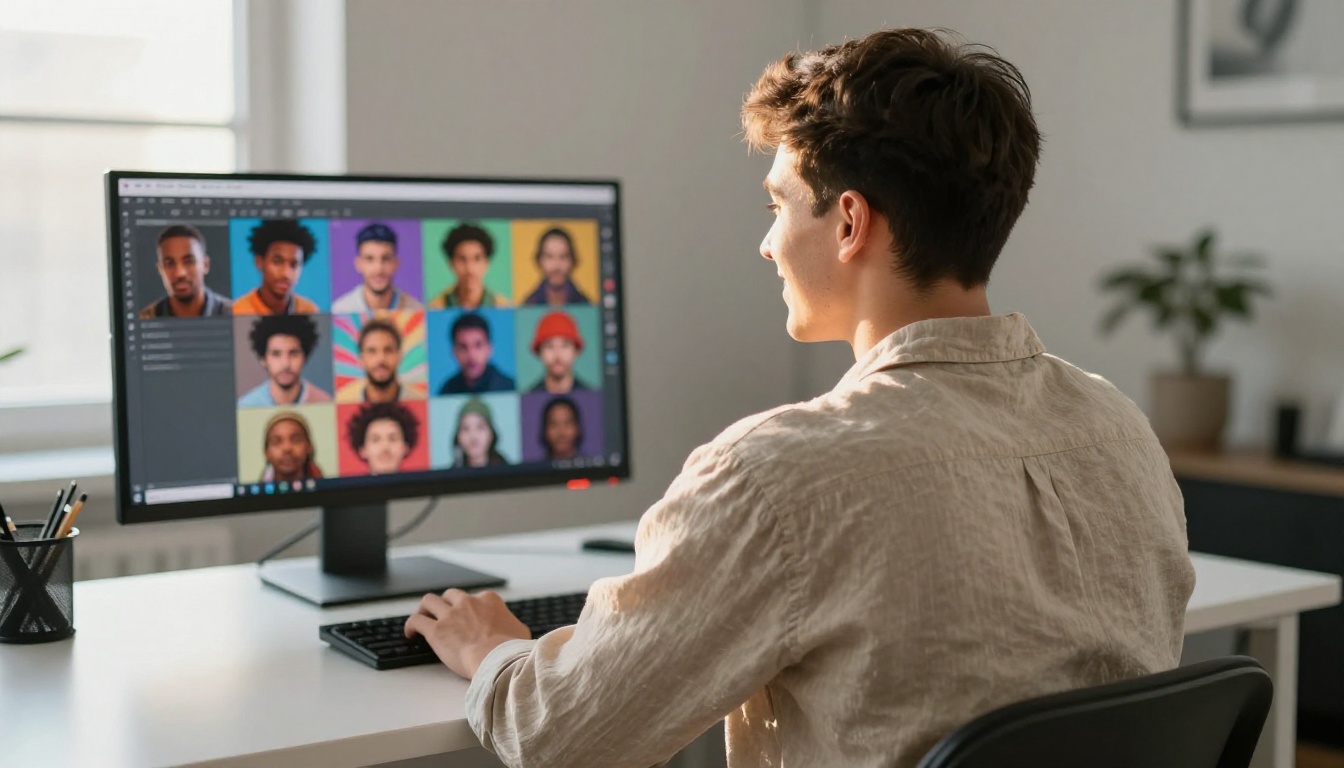
- One canonical source photo: pick the best photo you have and use it every time. Switching source photos between generations breaks consistency
- Fixed style parameters: note exactly which model settings produced your favorite result and replicate them
- Version control: save every variant you generate, numbered and labeled. You will want to compare them and often return to earlier versions
- Batch generation: run multiple variants in a single session rather than one at a time over days. This keeps style drift minimal
💡 Tip: Use P Image when you need rapid iteration at high speed. It generates in under one second, making it ideal for the early exploration phase when you are testing prompts and styles before committing.
Your Digital Identity Is One Photo Away
The tools are all there. A single photo, a clear style direction, and 30 seconds of generation time is all it takes to have a custom AI avatar ready for any virtual world.
Start with AI Avatars on PicassoIA. Upload your best photo, pick a style, and generate your first set. From there, use Face to Many Kontext to build out style variants, Portrait Series to establish your cross-scene identity, and Flux Kontext Dev to dial in the details.
Every major virtual world is waiting for a version of you that actually looks like you. Take 30 seconds and create it.
Create your avatar now on PicassoIA