Most people don't realize the photo they want as their 4K wallpaper is only 800 pixels wide. They drop it onto a 3840x2160 desktop and it looks like it was scraped from a 2005 forum post. Blurry, stretched, and painful to look at for eight hours a day. The good news: AI doesn't just scale images up, it reconstructs them. And the results on a true 4K display are genuinely remarkable.
The Real Problem with Small Images at 4K
The pixel math problem
A 4K display has 3,840 x 2,160 pixels. That's 8,294,400 individual light-emitting dots, all demanding content. A typical smartphone photo from five years ago might be 1,200 x 675 pixels: 810,000 pixels total. To fill a 4K screen, that image needs to be stretched by a factor of over 10x in area. Traditional algorithms fill the missing pixels by averaging neighbors, which produces a soft, gray blur where there should be sharp texture.
The technical term is "interpolation artifacts." The human eye term is just "blurry and terrible."
What 4K actually demands
For an image to look genuinely crisp at 3840x2160, it should start at around 1920x1080 minimum, ideally 2560x1440 or higher before upscaling. Any lower, and you're asking the algorithm to do too much invention. AI-based super-resolution is far better at that invention than legacy methods, but even AI works better when it has more source material to analyze.
Pro tip: If your source image is under 500px wide, consider running it through an AI denoiser or sharpener first, then upscale. Two-step processing often beats one-step brute-force upscaling.
The pixel density calculation is simple: divide your target resolution by your source resolution to get the required scale factor. A 960x540 image going to 3840x2160 needs exactly 4x linear upscaling. Most super-resolution models handle that without breaking a sweat.
How AI Upscaling Actually Works
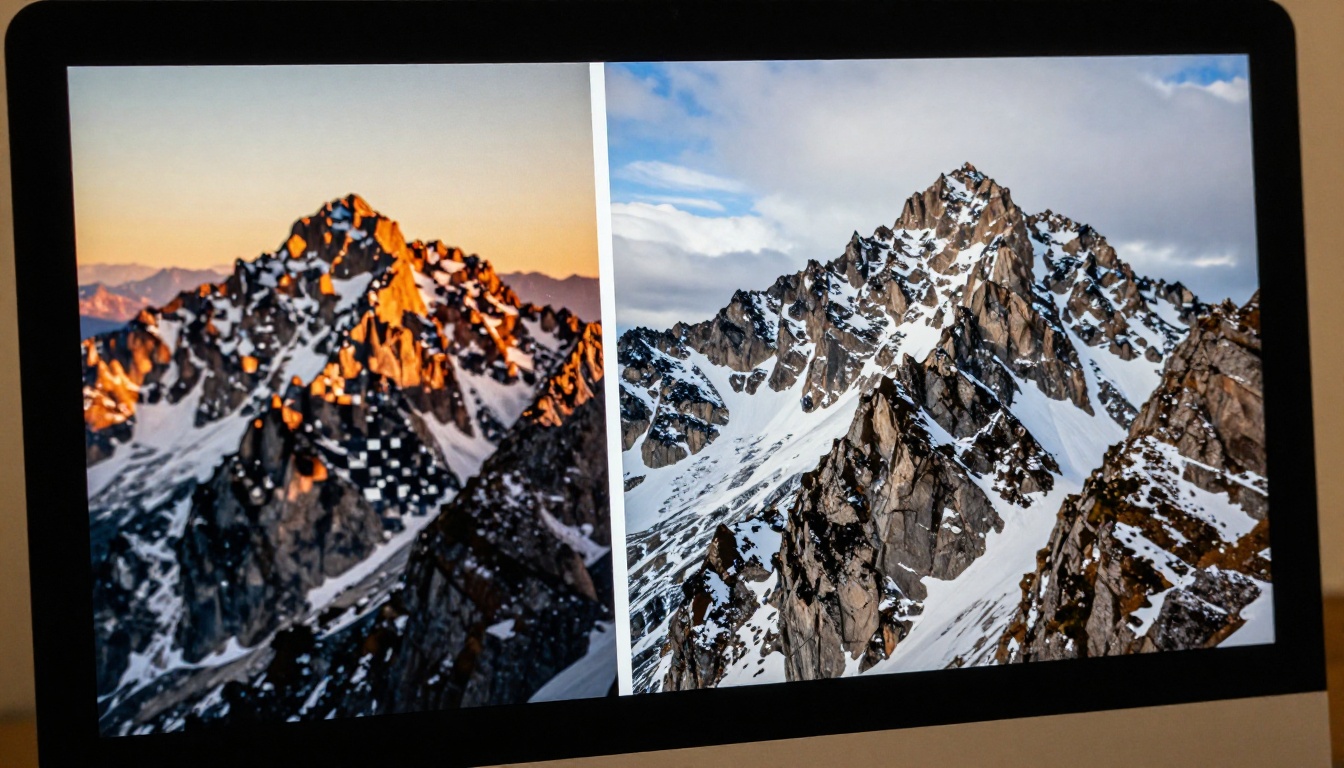
Neural networks vs. old algorithms
Classic upscaling (bicubic, Lanczos) works on a simple mathematical principle: given surrounding pixel values, estimate a new value in between. It creates no new information. It just smoothly interpolates what already exists, producing a slightly blurry but at least non-pixelated result.
AI upscaling is categorically different. Models like Real ESRGAN were trained on millions of high-resolution and low-resolution image pairs. The neural network learned what details should exist in a given texture based on context, whether that's pores on skin, grain on wood, or rough bark on a tree trunk. When it encounters a small image, it doesn't average pixels. It predicts missing detail based on patterns it has seen thousands of times before.
The practical difference is massive. Where bicubic produces a smeared gradient, a trained super-resolution model produces believable individual strands of hair, identifiable city windows, and readable cloud formations.
What gets reconstructed vs. what gets invented
This is the honest answer nobody gives you: AI upscaling does invent detail. It doesn't recover original high-resolution data that was never there. What it does is produce a plausible, statistically likely reconstruction based on the context of your image.
For wallpaper purposes, this is perfect. You don't need forensic accuracy. You need a beautiful image that holds up at arm's length on a monitor. Where this matters is in upscaling text or small faces. Text that's too small in the source may upscale into plausible-looking but wrong characters. Faces can go uncanny if the model hallucinates incorrect feature proportions.
For landscape wallpapers, nature shots, and architectural photography, AI upscaling is virtually indistinguishable from native 4K content on most screens.
The Best AI Models for 4K Wallpaper Upscaling
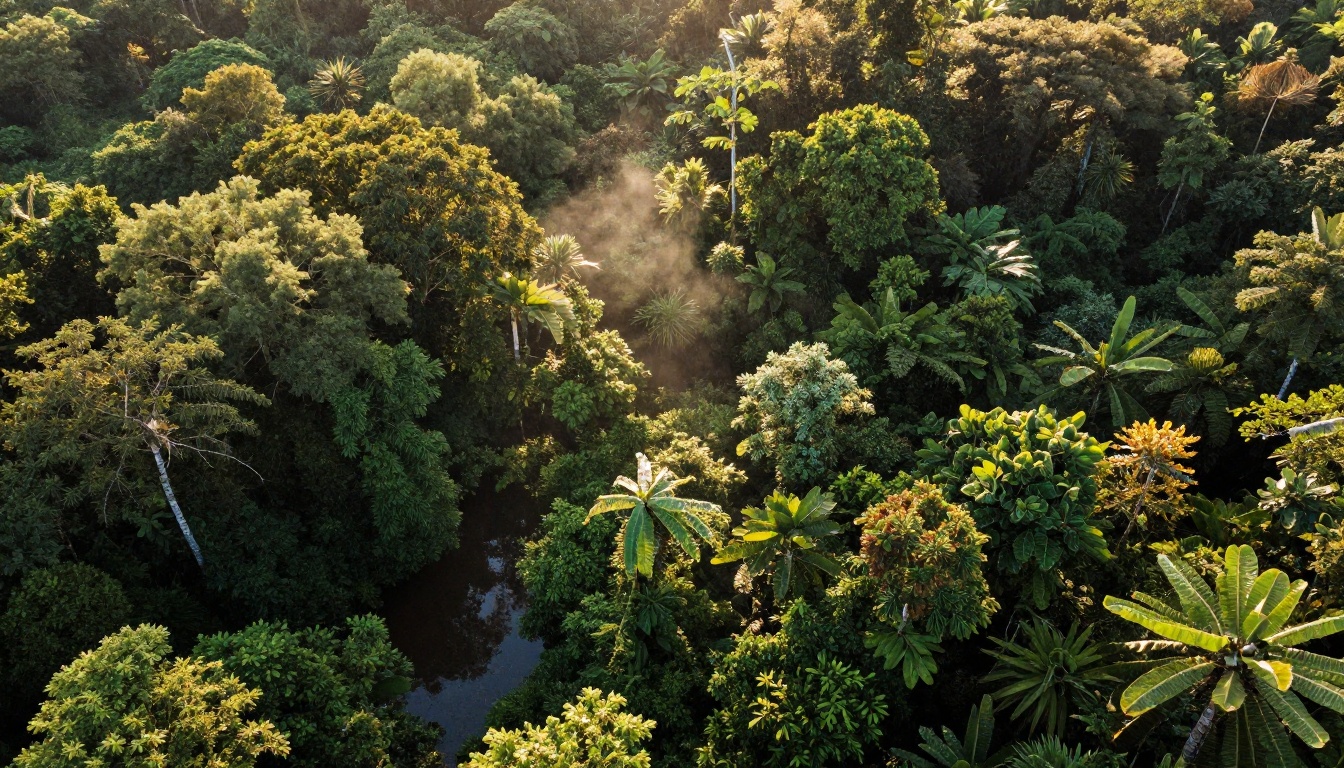
Not all upscalers are equal. Different models excel at different subject matter. Here's how the major options compare:
Clarity Pro Upscaler: the detail specialist
Clarity Pro Upscaler is built for photorealistic enhancement. It handles complex textures remarkably well: fabric weave, skin pores, water ripples, and stone surfaces all come out looking genuinely sharp rather than AI-smoothed. For portrait photography you want to use as a wallpaper, it's the strongest option in the lineup.
Google Upscaler: fast and reliable at 4x
The Google Upscaler is your go-to for landscape photography and general-use images. It upscales up to 4x without introducing harsh sharpening halos or unnatural texture. It runs fast, handles JPEG compression artifacts decently, and produces output that sits right on the line between "looks like 4K" and "is 4K."
Topaz Image Upscale: when you need 6x
Topaz Image Upscale is what you reach for when your source is truly tiny and you need dramatic enlargement. Going from 720p to 4K is a 3x linear upscale. If your source is 480p, you need over 4x. Topaz handles that range with the least visible artifacting of any model available.
Crystal Upscaler: purpose-built for faces
Crystal Upscaler is specifically tuned for faces and portraits. It restores skin texture and facial detail in a way that general-purpose models struggle to match. For glamour photography or portrait wallpapers, this model produces results that can pass as native high-resolution captures.
Step-by-Step: Making 4K Wallpapers on PicassoIA
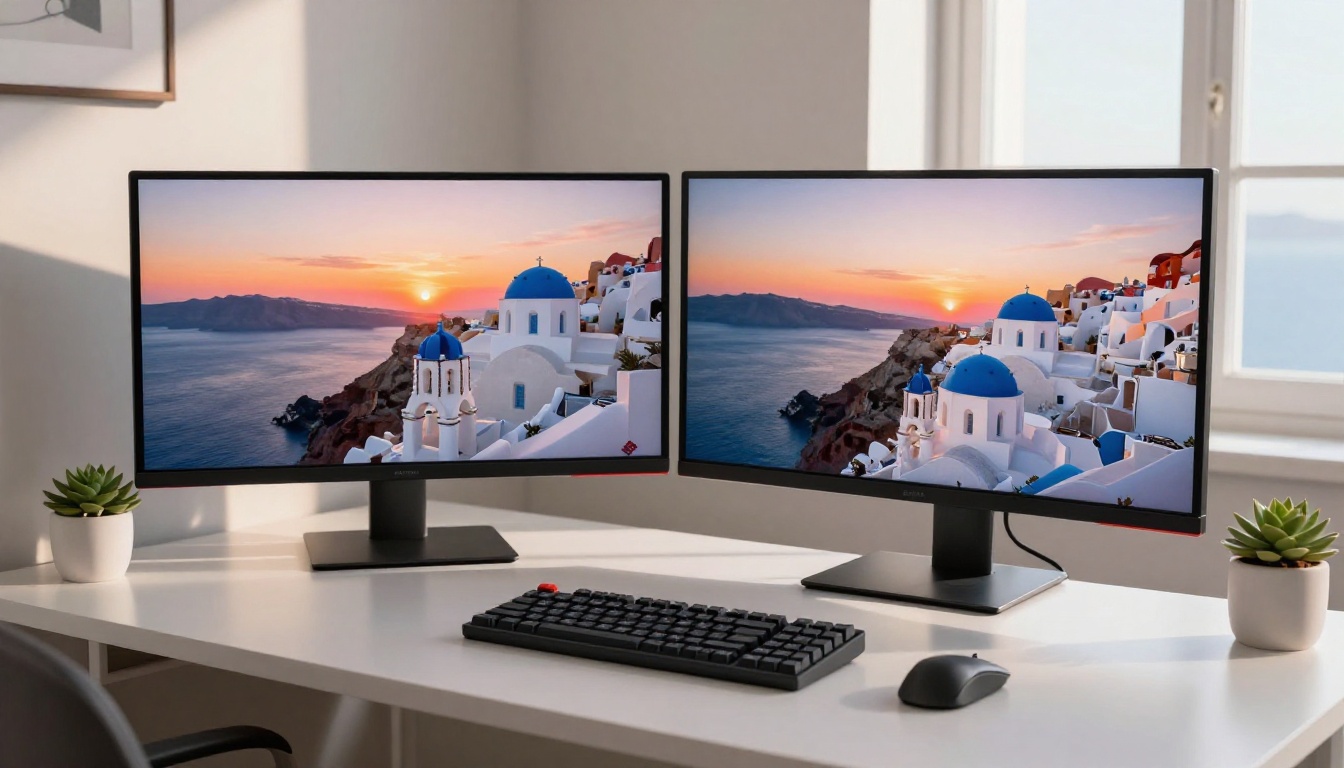
PicassoIA has nine super-resolution models available, all accessible without software installation. Here's the full workflow from small image to desktop-ready wallpaper.
Step 1: Evaluate your starting image
Before uploading anything, assess your source. Open it in a photo viewer and zoom to 100%. If it's already visibly blurry at native size, run it through an AI sharpener or denoiser first. The cleaner the input, the better the upscaled output.
Format tips:
- PNG is preferred over JPEG (no compression artifacts to amplify)
- If you only have a JPEG, check for heavy compression blocks in flat areas like sky or skin before proceeding
- Images shot in bright daylight upscale better than indoor or high-ISO shots due to lower baseline noise
Step 2: Choose your model based on subject
Head to the Super Resolution collection on PicassoIA. Match your model to your content type:
Step 3: Set the correct scale factor
Most models offer 2x, 3x, and 4x options. For a 1920x1080 source, a 2x upscale gets you to 3840x2160 exactly: that's native 4K. For smaller sources:
- 1280x720 source: use 3x to reach 3840x2160
- 960x540 source: use 4x to reach 3840x2160
- Under 800px wide: use Topaz Image Upscale at 4-6x, then crop to 16:9 if needed
Step 4: Download and apply
Once the model finishes, download the upscaled image. Right-click your desktop, set it as wallpaper, and select "Fill" or "Fit" in your OS display settings. On a true 4K monitor, it should render pixel-perfect with no visible stretching or blurring.
Tip: If you notice sharpening halos on straight lines or edges, try Recraft Crisp Upscale instead. It prioritizes natural edge smoothness over aggressive sharpness, which reads better on large screens.
Which Images Work Best
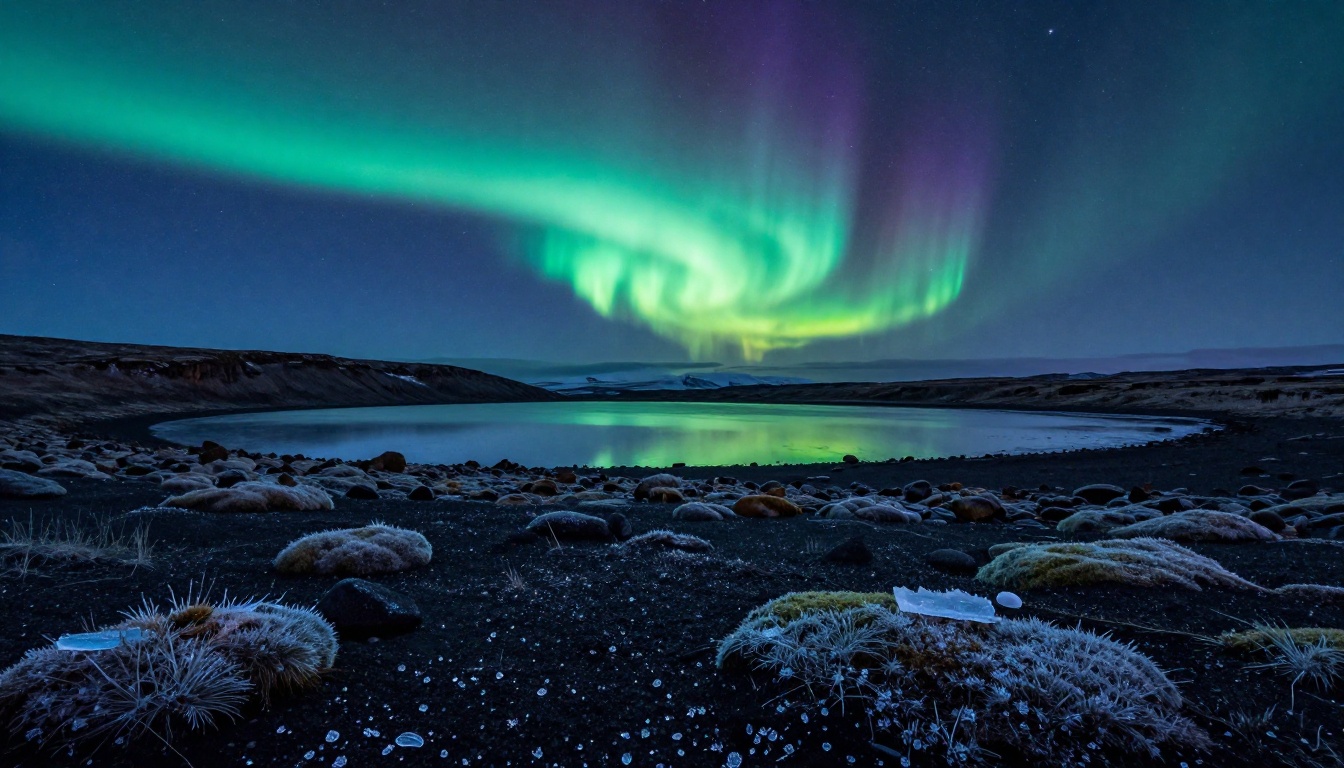
Landscapes and nature photography
Landscapes are the ideal upscaling subject. Sky gradients, distant mountains, forests, and water all have organic texture that AI reconstructs convincingly. The neural network has seen millions of mountain range photos and knows exactly what granite texture and snowpack look like at high resolution. Even a 720p landscape photo can become a genuinely impressive 4K wallpaper with the right model.
The image above is a perfect example: individual grains of volcanic sand, frost-covered moss catching light, subtle star trails in the deep blue sky. That level of detail is where AI upscaling earns its reputation.
Portrait and glamour photos
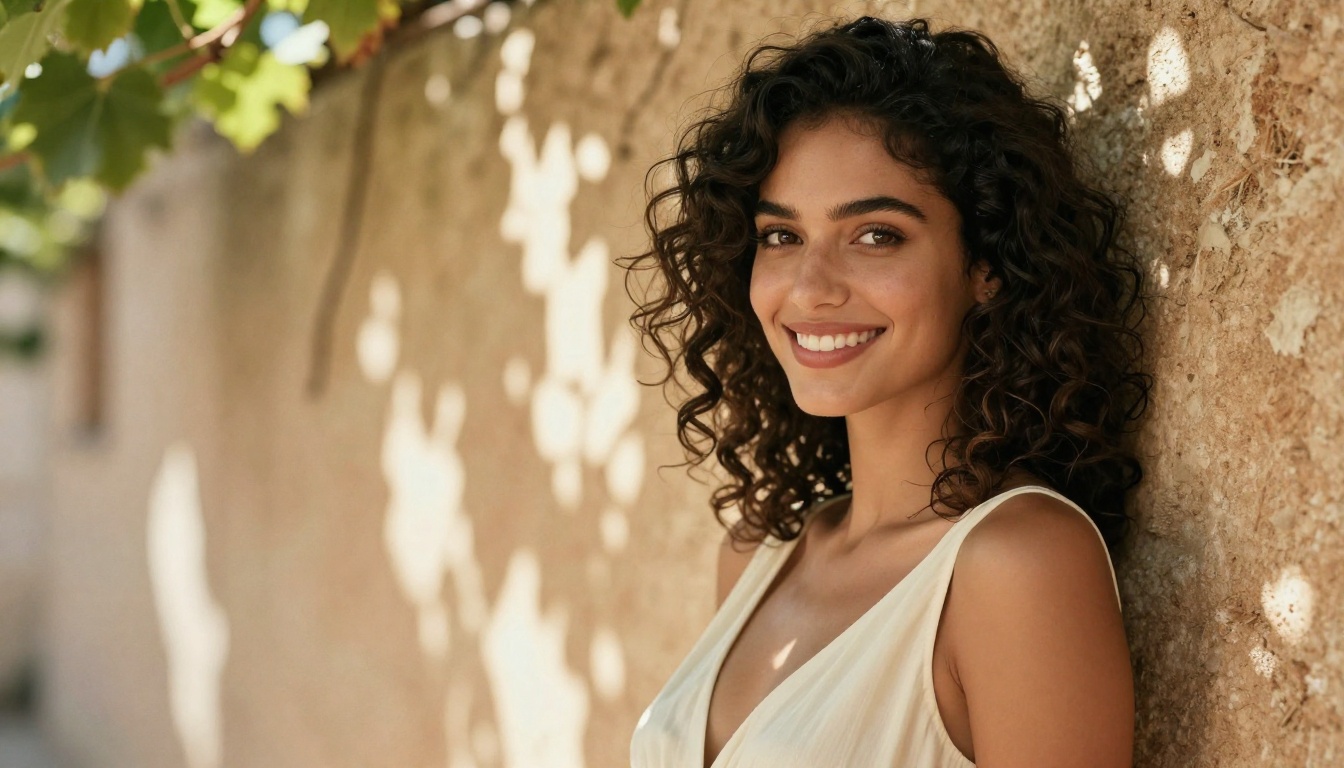
Portrait photos upscale beautifully when the face is large enough in the frame. For close-up and medium shots, AI models can reconstruct individual hair strands, skin pores, and eye detail with remarkable accuracy. The Clarity Pro Upscaler and Crystal Upscaler are purpose-built for this.
Where portrait upscaling can go wrong: very small faces (under 100px tall in the source) often get hallucinated features. For wallpapers featuring people, try to source images where the subject occupies at least 30-40% of the frame height.

City and architectural photography
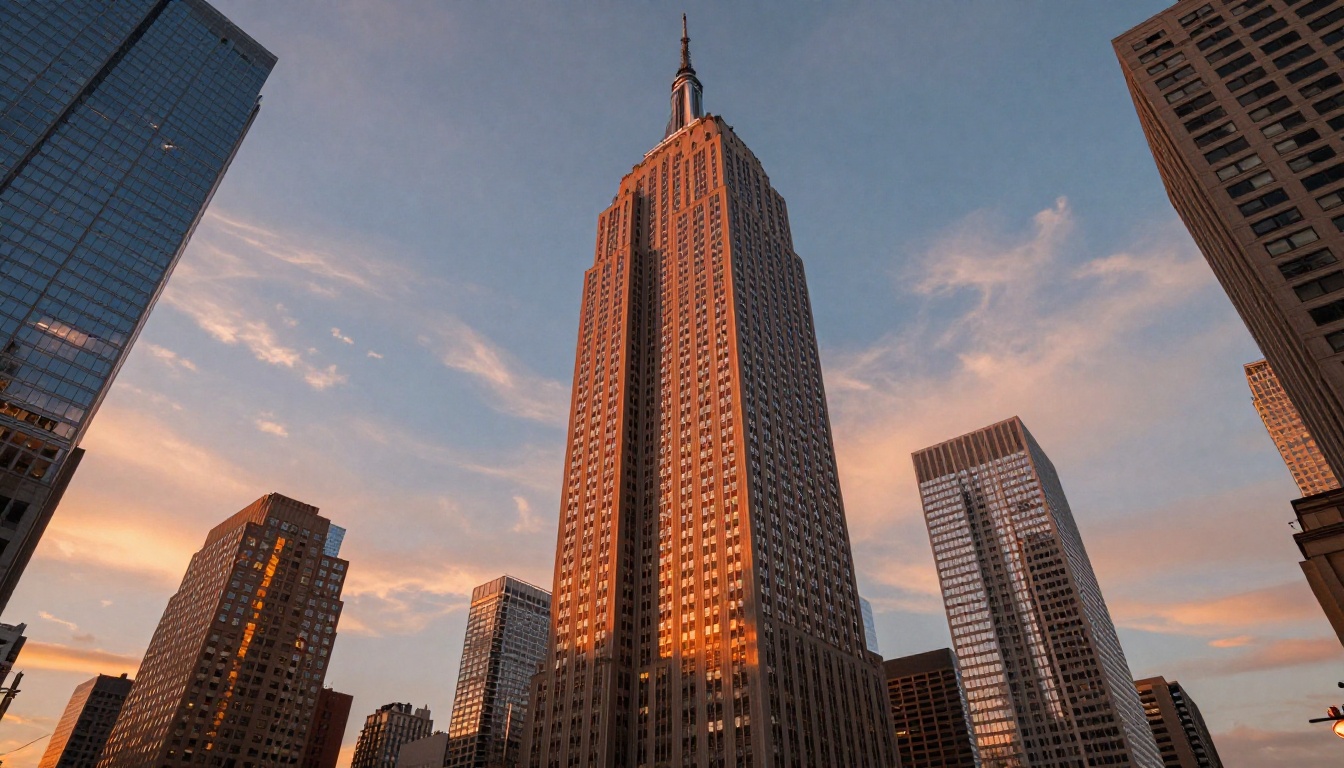
City skylines are a mixed bag. The repeating geometric patterns of windows and facades are actually helpful for AI models since they're highly predictable textures. What can trip things up is strong JPEG compression on the source, which introduces blocky artifacts that get amplified during upscaling.
For architectural photography, Topaz Image Upscale tends to perform best because it's especially strong at preserving straight lines and hard edges, which matter more in urban environments than in natural scenes.
Resolution Numbers You Actually Need
A lot of confusion comes from mixing up display resolution, image resolution, and DPI. Here's what matters for wallpapers specifically:
| Screen Type | Resolution | Total Pixels | Min Source for 2x Upscale |
|---|
| Full HD (1080p) | 1920 x 1080 | 2,073,600 | 960 x 540 |
| 2K / QHD | 2560 x 1440 | 3,686,400 | 1280 x 720 |
| 4K UHD | 3840 x 2160 | 8,294,400 | 1920 x 1080 |
| 5K (iMac) | 5120 x 2880 | 14,745,600 | 2560 x 1440 |
| 8K UHD | 7680 x 4320 | 33,177,600 | 3840 x 2160 |
The "Min Source" column assumes a 2x upscale. If your source is smaller, increase the scale factor. Most models cap at 4x; Topaz Image Upscale goes to 6x.
3 Mistakes That Ruin Your Upscale
Feeding heavily compressed JPEGs directly to the upscaler
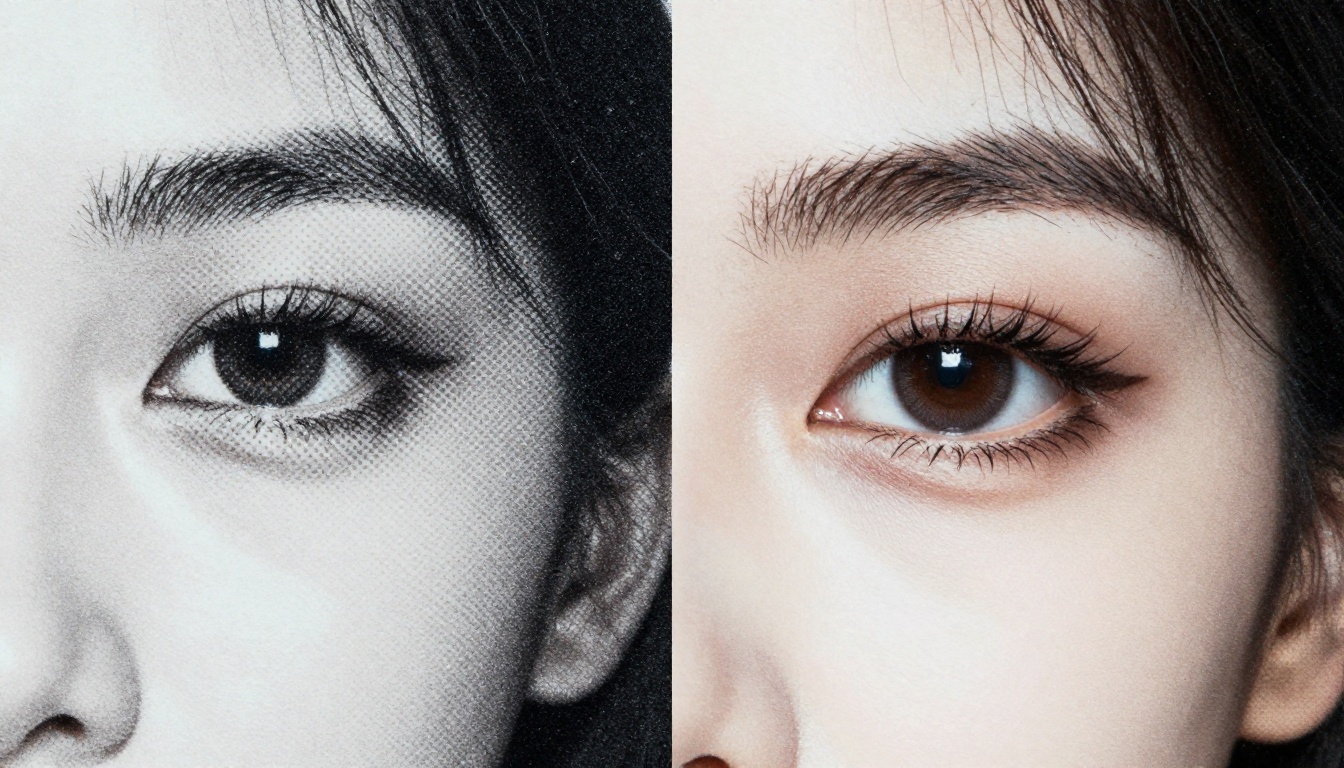
JPEG compression creates block artifacts: pixelated 8x8 pixel squares that appear especially in flat color areas like sky or skin. When an AI upscaler encounters these, it often sharpens and enlarges them rather than removing them. The result looks worse than the source.
The fix: run your image through Recraft Creative Upscale with its AI restoration mode first, or use a dedicated denoiser. Once the compression artifacts are smoothed out, run the actual upscale on the cleaned version.
Using the wrong model for your subject
Putting a portrait through a model optimized for line art, or sending an architectural photo to a skin-texture-focused portrait model, produces obvious visual errors. The texture synthesis is wrong for the content type.
Match your model to your subject using the table above. When in doubt, Google Upscaler is the most general-purpose option and will produce acceptable results on nearly any subject.
Skipping noise reduction before upscaling
Camera noise (especially from high-ISO shots) upscales just like detail does: it gets enlarged and enhanced. A slightly grainy 720p photo becomes a very noticeably grainy 4K image. Run a noise reduction pass first, particularly for nighttime or indoor photography where ISO 3200+ was used.
The Bria Increase Resolution model has built-in noise handling, making it a strong single-step option for high-ISO source material.
AI Beyond Upscaling: Build Wallpapers from Scratch
Super resolution is one piece of what's possible. If you want to build a wallpaper from scratch rather than upscaling an existing photo, the workflow extends much further:
Outpainting lets you expand the canvas of a photo beyond its original borders. Got a portrait-oriented shot you want as a landscape wallpaper? Outpainting fills in the sides intelligently based on the existing image context.
AI Image Restoration handles damaged, old, or heavily compressed photos. Scanned film photos, old family prints, and low-quality web images all respond well to restoration before upscaling. This two-step approach (restore, then upscale) consistently outperforms a single upscale on degraded source material.
Text to Image generation lets you create a custom 4K wallpaper from scratch using a text description. With 91 image generation models on PicassoIA, you can describe exactly the scene you want and generate it at high resolution without any upscaling required.
Batch Processing a Wallpaper Collection
If you have a folder of old photos you want to convert to 4K, the faster models like P Image Upscale are designed for throughput. They trade some maximum quality for significantly faster processing time, making it practical to upscale 20-30 images in a single session.
For a personal wallpaper collection, here's a suggested batch workflow:
- Sort images by subject type (landscapes, portraits, cityscapes)
- Run each category through its appropriate model from the table above
- Review outputs at 100% zoom before applying as wallpaper
- For any that look soft, re-run through Clarity Pro Upscaler for a second pass
A second upscaling pass on an already-upscaled image can add meaningful detail, particularly in a conservative 2x-to-2x scenario where each pass stays within the model's optimal operating range.
What to do with outputs that still look wrong:
Start Creating Right Now
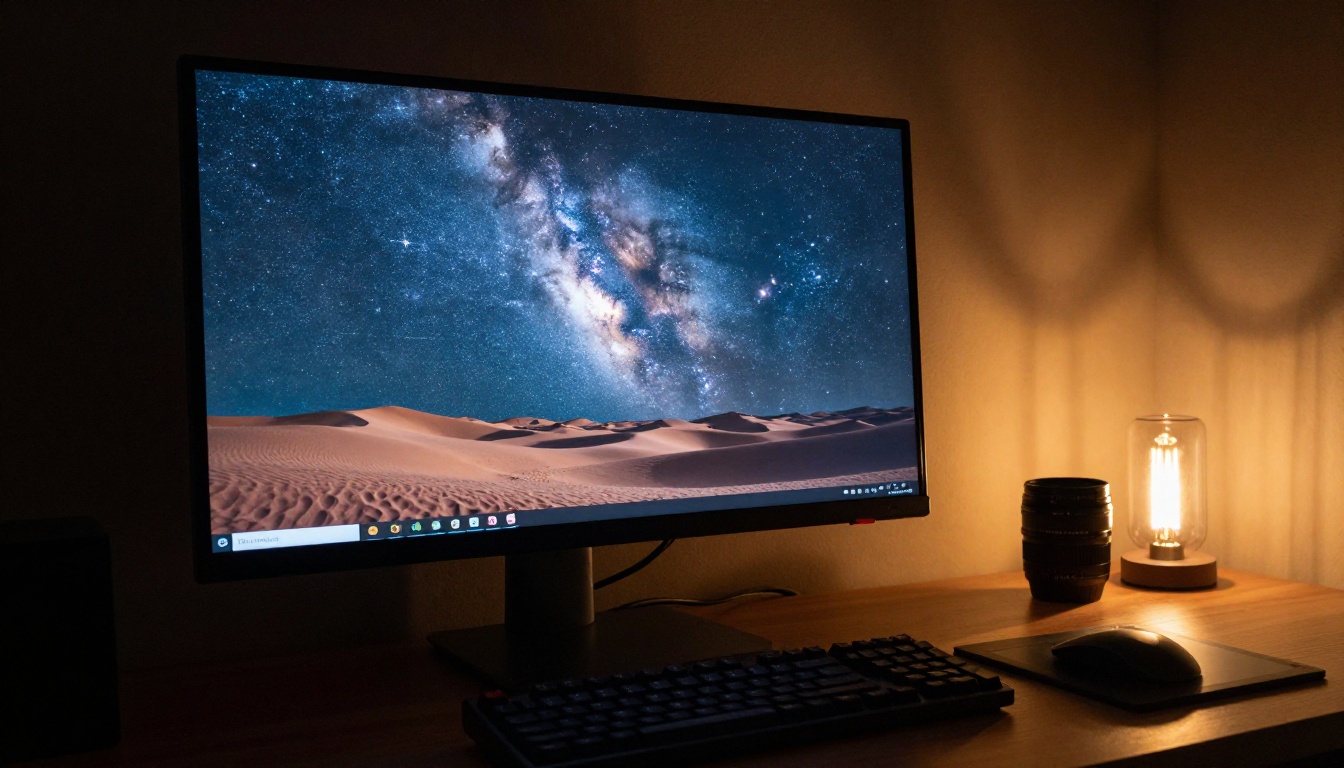
You don't need a professional camera, a 4K stock photo subscription, or Photoshop. Every photo on your phone, every downloaded 1080p image, every scanned print sitting in a shoebox can become a genuine 4K wallpaper with the right AI model.
The nine super-resolution models on PicassoIA cover every use case: from fast batch processing with P Image Upscale to detailed portrait work with Crystal Upscaler, and maximum enlargement with Topaz Image Upscale.
Start with Google Upscaler for general photos. Move to Clarity Pro Upscaler for portraits. Reach for Topaz Image Upscale when you need maximum enlargement.
Pick an image. Run it through. See what 4K actually looks like on your screen, with your own photo.


