How to Make Avatars in 3D with AI: Realistic Results in Minutes
Creating a photorealistic 3D avatar used to take days of 3D software work and hundreds of dollars. Today AI generates them in minutes from text alone. This article shows which models work, how to prompt for real depth, and what industries are using 3D avatars right now.
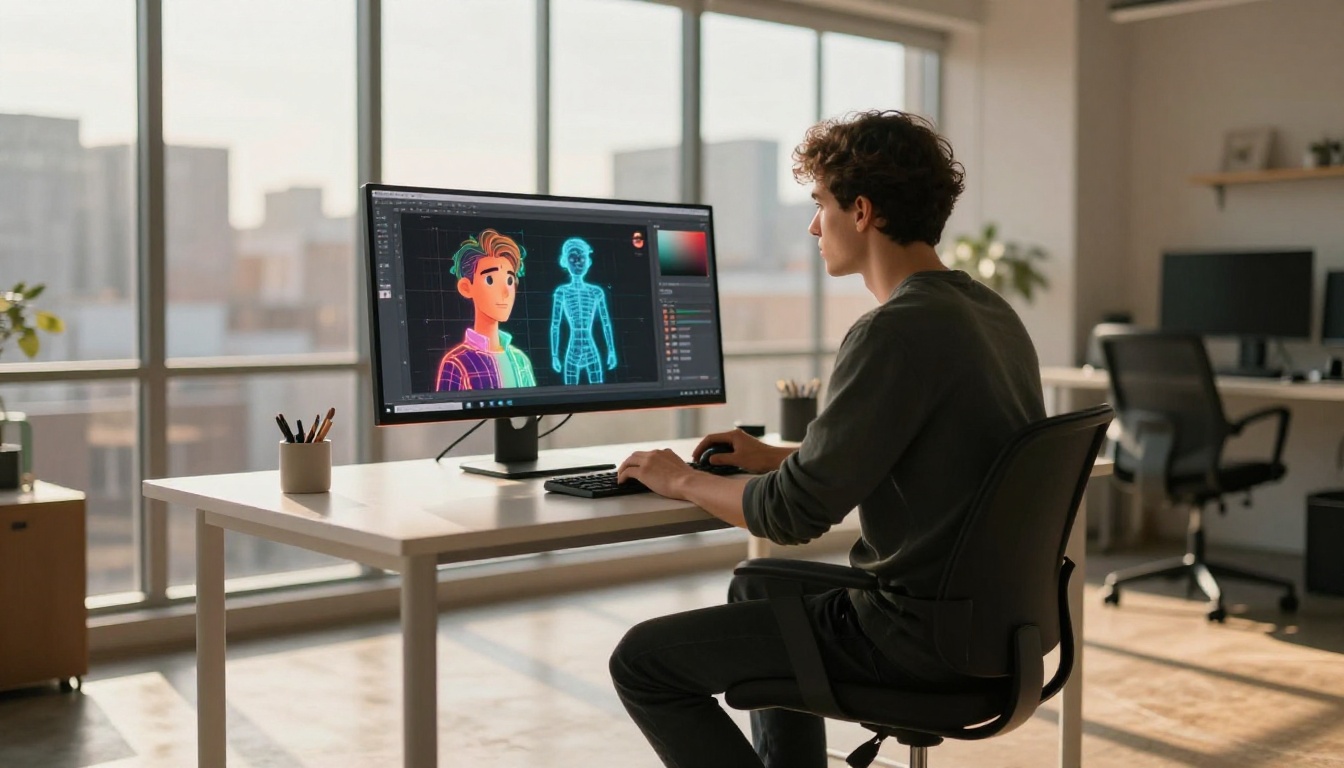
Creating a photorealistic 3D avatar used to mean hiring a 3D artist, waiting days for renders, and spending hundreds of dollars on software licenses. In 2027, an AI model can do it in under two minutes from a single text prompt. The gap between wanting a 3D avatar and actually having one has essentially closed, and the quality is genuinely impressive.
What a 3D Avatar Actually Is
Before jumping into tools, it helps to be precise about what "3D" means in this context. A lot of AI-generated portraits look dimensional and realistic, but they are still flat images. A true 3D avatar has geometry: it can be rotated, animated, and dropped into engines like Unreal or Unity. What AI offers today sits on a spectrum between highly realistic 2D portraits with strong depth cues and actual exportable 3D mesh outputs.
For most people asking how to make avatars in 3D with AI, the honest answer is this: a photorealistic portrait with convincing depth, lighting, and three-dimensional form delivers everything they actually need. Full mesh exports are a bonus for a specific subset of use cases.
2D vs 3D: The Real Difference
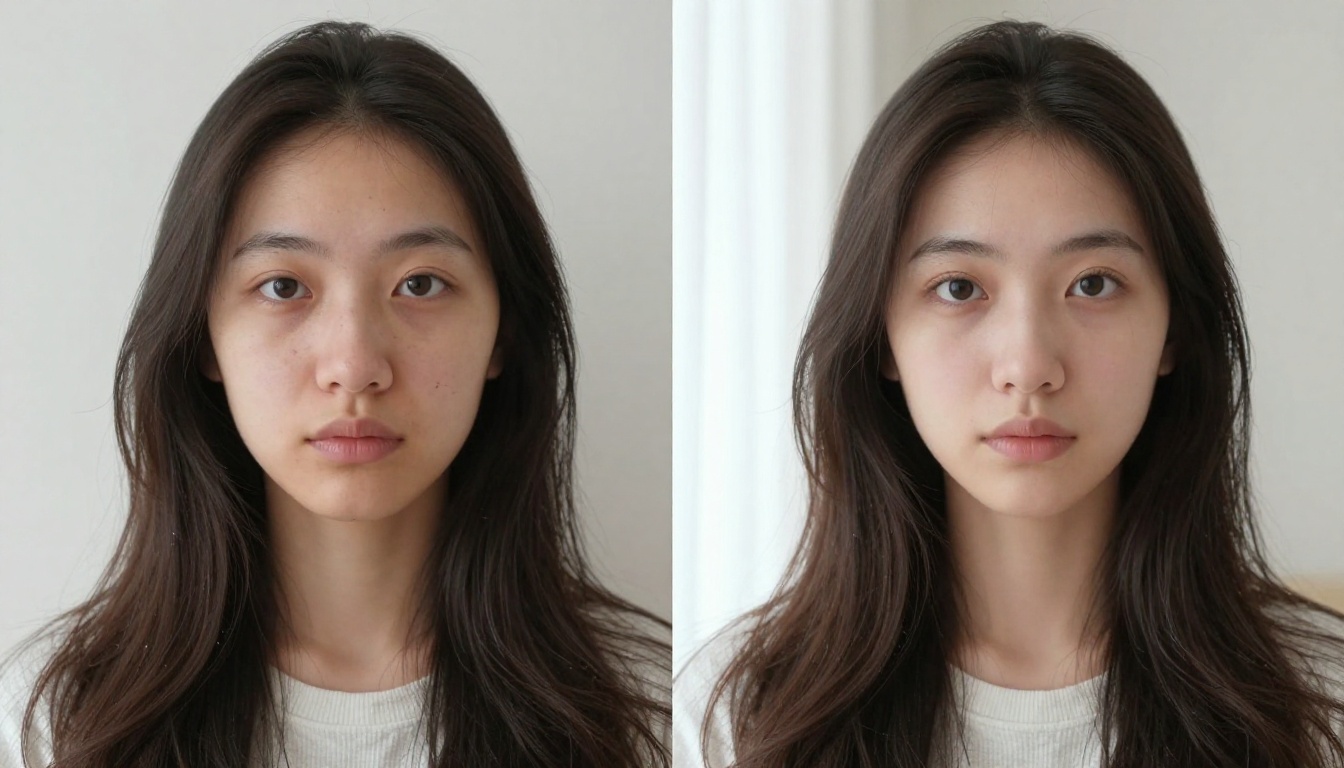
The practical line is this: if you need to animate or rotate the character inside a game engine, you need geometry. If you need a profile picture, social avatar, branding asset, or character reference sheet, a hyper-realistic AI portrait delivers everything a traditional 3D render would, often with better photographic quality and in a fraction of the time.
Use Case
What You Actually Need
AI Can Deliver?
Profile picture or social avatar
Realistic portrait
Yes, immediately
Game character concept art
Detailed character reference
Yes, high quality
In-engine animated character
Actual 3D mesh geometry
Partial, via mesh pipelines
Brand mascot or persona
Stylized or realistic portrait
Yes, multiple styles
Virtual influencer or creator
Consistent photorealistic face
Yes, with seed locking
Print-ready character sheet
High-res detailed portrait
Yes, with upscaling
Why Realism Is Now Within Reach
The quality jump happened because two things improved simultaneously. First, diffusion models became dramatically better at understanding spatial relationships, skin texture, and lighting physics. Second, training datasets expanded to include millions of high-quality portrait photographs, giving models a deep reference for how faces actually look across three dimensions under different light conditions.
The result is striking: prompts that describe lighting direction, camera lens specifications, and surface texture now produce images that genuinely fool the eye into reading real depth and geometry.
AI Tools That Create 3D Avatars Today
There are two main routes to a photorealistic 3D-looking avatar with AI: text-to-image generation and photo-to-avatar transformation. Both routes are fully available on PicassoIA without needing to install any software.
The Text-to-Image Route
This is the most flexible approach. You write a detailed description of your character, and the model generates the image from scratch. The quality ceiling is very high, but you need to know how to prompt for depth and dimension rather than just appearance.
On PicassoIA, the AI Avatars model is purpose-built for exactly this workflow. It has been specifically trained and fine-tuned for character portrait generation, meaning you get strong facial geometry, natural skin tones, and consistent results without needing to engineer every parameter from scratch yourself.
For maximum photographic realism with the highest level of fine detail, Flux 1.1 Pro is the benchmark model in this category. It handles skin texture, individual hair strands, and complex lighting with exceptional accuracy. It also handles long, detailed prompts without losing coherence or dropping important elements.
Photo-to-Avatar Workflows
If you want a 3D avatar based on an actual person, whether yourself or a character you have already designed in broad strokes, the workflow involves using a reference photo alongside image-to-image or face-conditioning techniques. You feed the model an existing face as a reference point, then prompt it to generate a refined, photorealistic version with specific lighting, depth, and texture properties.
Flux Schnell handles fast generation for iteration cycles, letting you test dozens of variations before committing to a final render. When you find the result you want, run it through PicassoIA's super-resolution pipeline to add 2x to 4x detail for high-resolution output.
The AI Avatars model on PicassoIA is the most direct path to a high-quality 3D-looking avatar. Here is exactly how to get the best results from it, step by step.
Step 1: Open the Model and Choose Your Settings
Navigate to the AI Avatars model page. Set your aspect ratio based on your intended use: 1:1 for profile pictures and social avatars, 16:9 for full character shots or banner images, 3:4 for portrait-orientation character sheets.
💡 Tip: If you plan to use the avatar across multiple platforms (profile photo, banner, concept sheet), generate in 16:9 first and crop the variations after. You preserve more compositional detail this way.
Step 2: Write a Prompt That Describes Physics, Not Style
This is where most people lose significant output quality. Vague prompts produce flat-looking results. The model responds to specificity about spatial and physical attributes rather than aesthetic labels.
Weak prompt:
Portrait of a woman, 3D style, realistic
Strong prompt:
Close-up portrait of a young woman, photorealistic, subsurface skin scattering,
visible pore texture, individual hair strands, catchlight in eyes, rim lighting
from upper left at 30 degrees, 85mm lens shallow depth of field, Kodak Portra 400
film grain, slight facial asymmetry, 8K resolution
The difference is whether you are describing what the output should look like or what physical conditions produced it. The second approach tells the model about lighting angle, lens focal length, and film stock. It then generates an image that is consistent with those physical realities, which produces depth as a natural consequence.
Step 3: Use Negative Prompts to Eliminate Flat Artifacts
The AI Avatars model accepts negative prompts. Use them to explicitly exclude the elements that flatten a portrait:
cartoon, illustration, painting, flat frontal lighting, overexposed,
blurry, low quality, 2D, anime style, sketch, watercolor, digital art
This steers generation away from the vast pool of illustrated and stylized training references and keeps output grounded in photographic realism.
Step 4: Iterate on Seed and Lighting Direction
Generate 3 to 4 variations with the same prompt but different seeds. Lighting angle is the single biggest variable affecting the sense of dimensionality in a portrait. Try these lighting descriptors and compare results side by side:
volumetric morning light from left at 35 degrees
dramatic chiaroscuro single-source window light from right
butterfly lighting from directly above with soft fill
golden hour backlight with rim, slightly underexposed
rembrandt lighting, triangle shadow on cheek
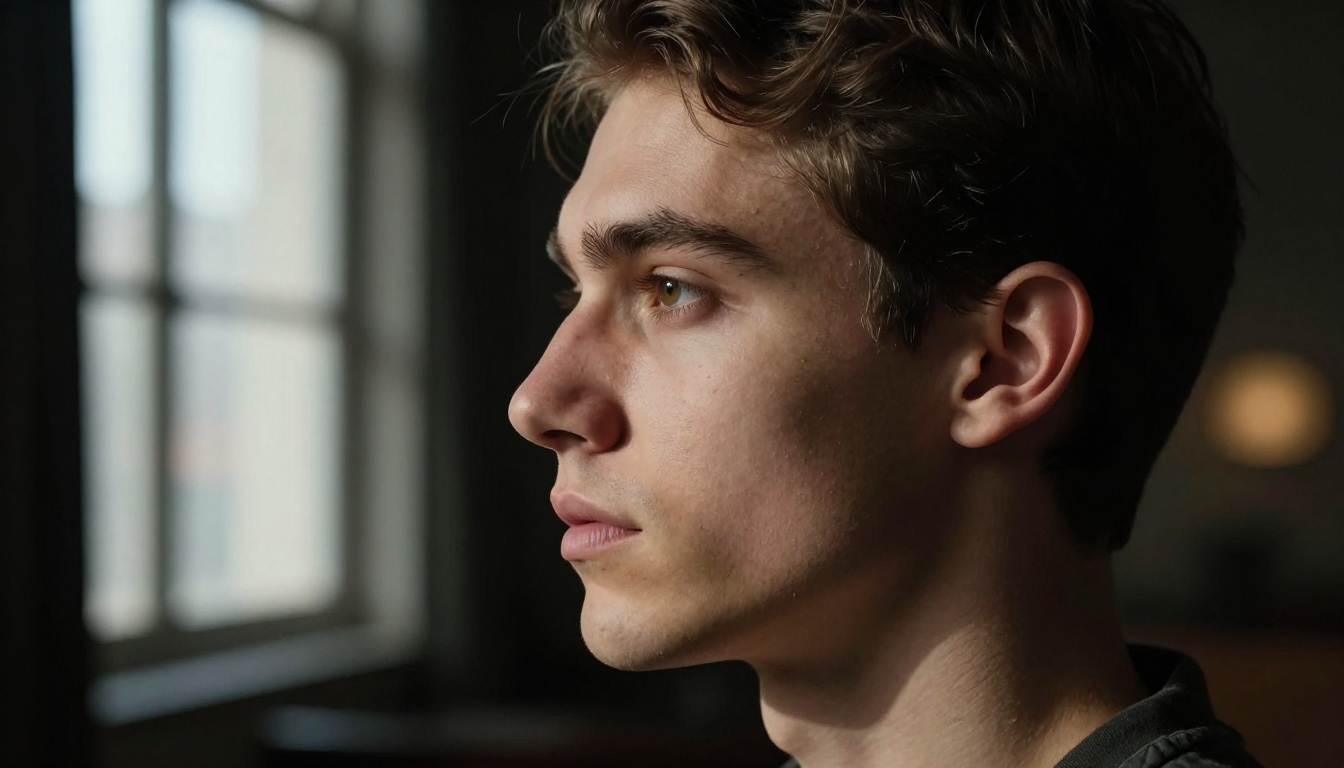
Each creates a fundamentally different reading of the face geometry. The same facial structure looks dramatically more three-dimensional under raking side light than under flat frontal light. Once you find the seed and lighting combination you want, lock that seed and vary only costume, background, or expression for consistent character iterations.
Getting Better Results Every Time
After running large volumes of avatar prompts, clear patterns emerge about what actually moves the quality needle.
Prompting for 3D Depth
Three elements create the perception of depth in a flat image: lighting direction, focus falloff, and surface texture. Include at least two of these explicitly in every prompt you write.
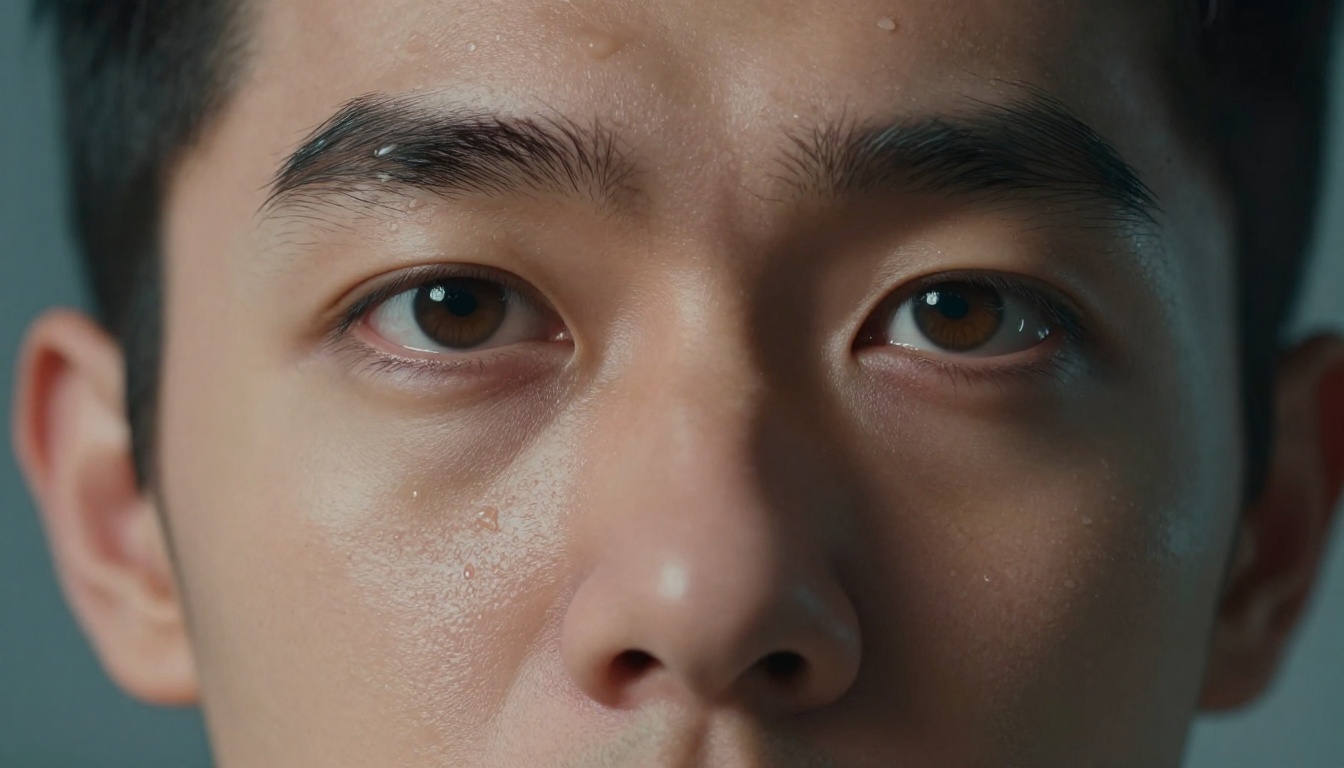
Lighting direction forces the model to shade around geometry. Focus falloff through shallow depth of field (specifying a wide aperture like f/1.4 or f/1.8) creates a near-far distance relationship. Surface texture descriptions (pores, stubble, fabric weave, individual hair strands) give the viewer micro-variation to read as genuine three-dimensional surface.
💡 Tip: The term "subsurface scattering" comes from 3D rendering and describes how light penetrates translucent materials like skin. Diffusion models have internalized this term from rendering documentation in their training data. Including it reliably improves skin realism because the model associates it with high-quality photorealistic reference images.
Lighting That Adds Dimension
Lighting Type
Effect on Depth Perception
Prompt Term
Hard side light (90°)
Maximum face depth, strong shadows
hard directional light at 90 degrees
Rembrandt lighting
Classic portrait depth, dramatic shadows
rembrandt lighting, triangle cheek shadow
Butterfly lighting
Adds cheekbone definition
butterfly lighting from directly above
Rim or backlight
Separates subject from background clearly
rim light from behind, slight backlight
Flat frontal light
Minimal depth, face reads as 2D
(avoid for 3D effect)
Common Mistakes That Cost Quality
Describing aesthetic style instead of physical conditions: "3D render style" tells the model about appearance. "Hard side light at 90 degrees, 85mm f/1.8" tells it about the physical reality of the shot. Physical descriptions win every time.
Short prompts on complex subjects: Faces contain enormous detail. More specific physical constraints give the model more to work within and produce more consistent, detailed results.
Ignoring camera lens specifications: Focal length changes face geometry rendering significantly. 85mm compresses features for natural portrait proportions; 35mm introduces perspective distortion that reads as more environmental.
Not iterating: The first result is rarely the best one. Run 4 seeds minimum, identify the strongest facial geometry, and refine the prompt from that specific output.
Real Use Cases for 3D Avatars
Gaming and Virtual Worlds
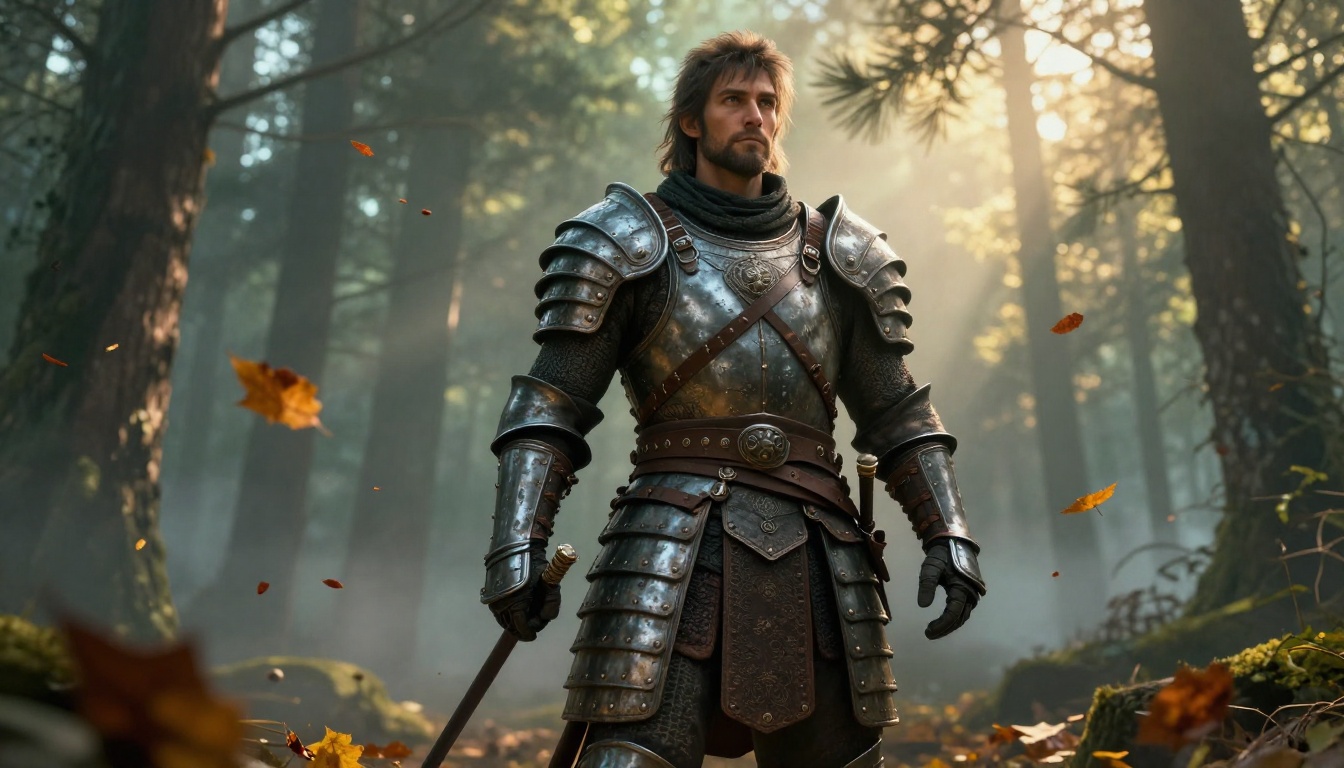
Character design for games has traditionally required a concept artist, a 3D modeler, and a rigger working in sequence over days or weeks. AI collapses the concept phase to an afternoon. You can generate 20 character variations quickly, pick the strongest design, and hand it to a 3D artist with a clear, detailed visual brief rather than a vague written description.
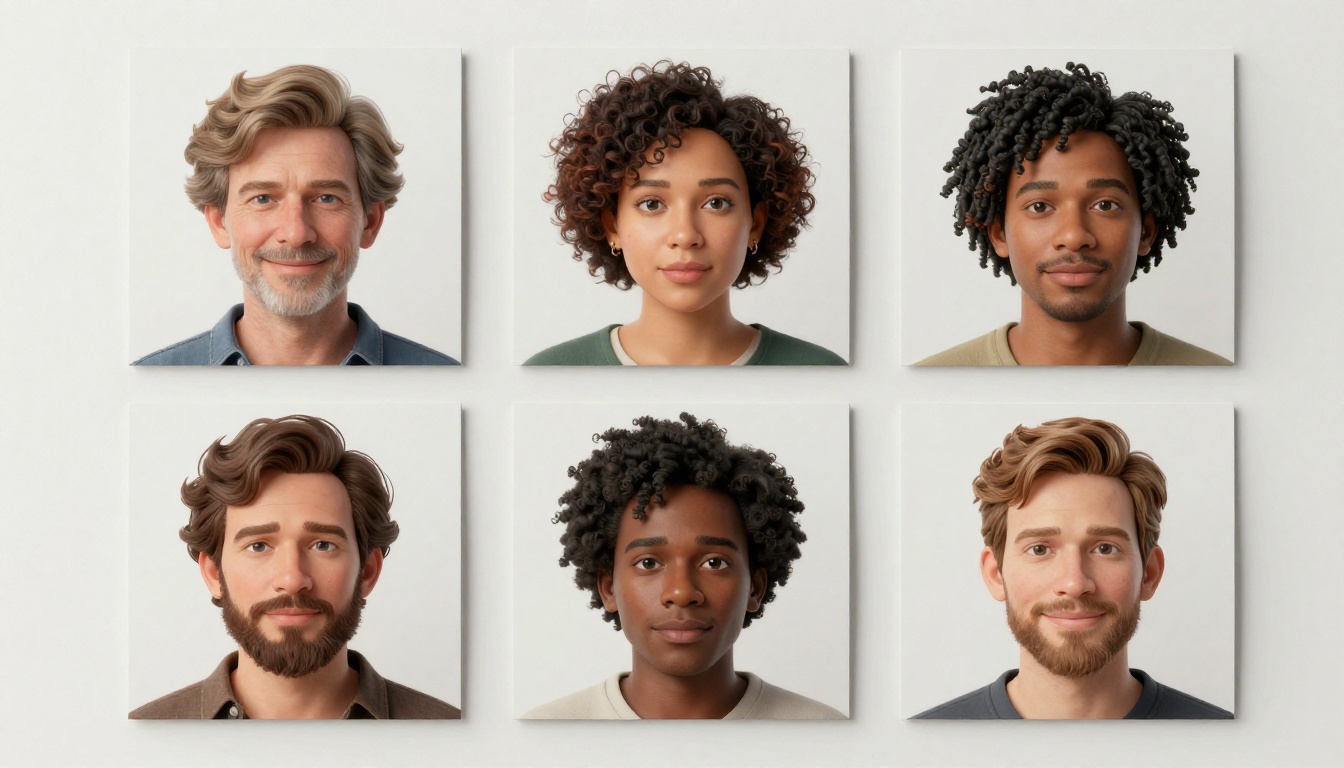
For indie developers and solo creators, AI avatars effectively become the character roster for early development. With Flux 2 Pro, you can maintain visual consistency across a full cast of characters by keeping core prompt elements stable while varying only distinguishing traits like age, costume, hairstyle, and lighting mood.
💡 Tip: For a consistent character across multiple scenes, lock your seed once you find a face structure you like. Then vary only the costume description, background environment, or emotional expression in subsequent generations. The face geometry stays stable.
Professional and Business Use
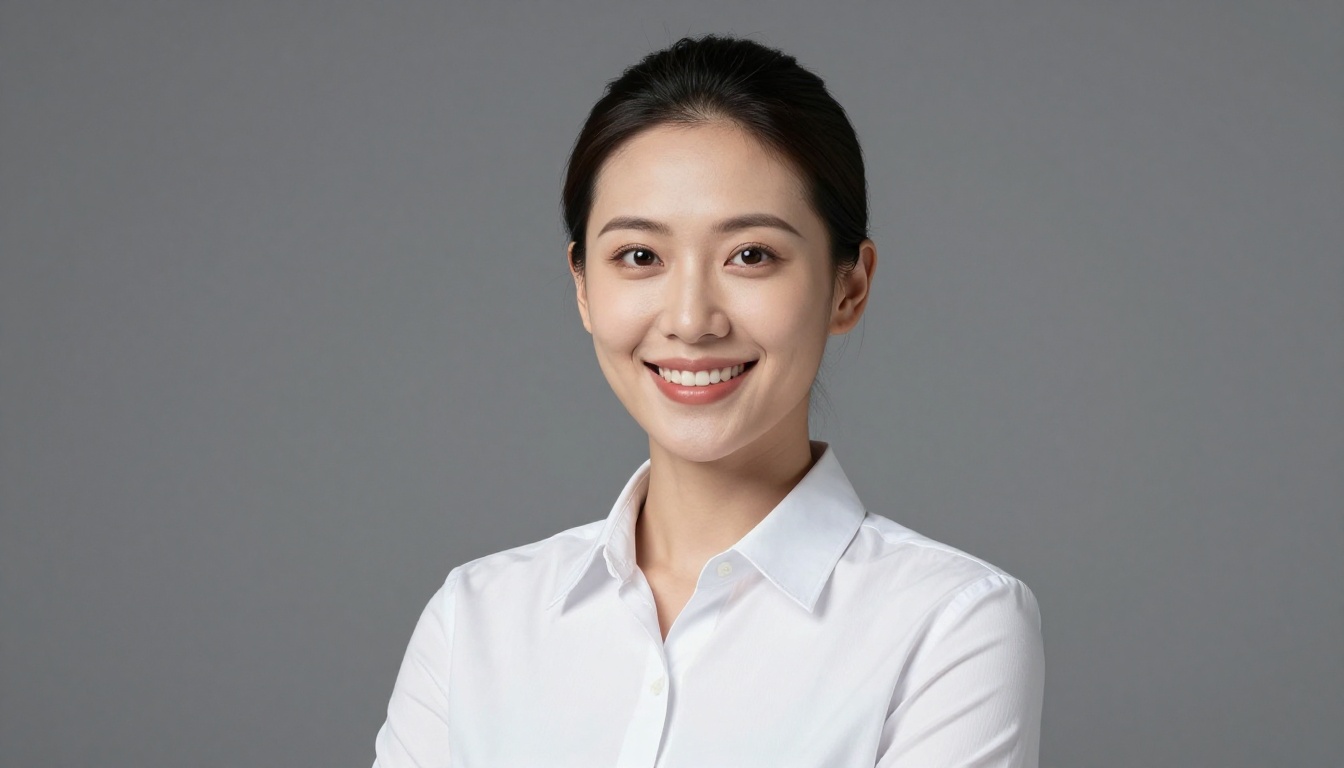
AI-generated professional avatars are increasingly replacing traditional stock headshots across corporate contexts. Teams use them for internal directories, press kits, website team pages, and social profiles. The advantage is complete control: appearance, lighting, attire, and expression are all determined by the prompt rather than by scheduling constraints, photographer availability, or physical location.
The workflow on PicassoIA is straightforward. The AI Avatars model produces professional-grade headshots on demand. Run the output through a super-resolution upscale for print-ready resolution when needed for press materials or physical merchandise.
Social Media and Personal Branding
A consistent visual identity is important for creators and brands building an audience across platforms. An AI-generated 3D avatar serves as a recognizable persona without the privacy implications of publishing a real photograph. Every element is under your control: age, style, lighting, expression, background setting, and seasonal variation.
With Flux Krea Dev on PicassoIA, the photographic quality reaches a point where most viewers cannot distinguish the output from a real photograph. That level of realism matters when building a brand that needs credibility and visual authority.
What You Can Do Beyond the Avatar
Creating the initial avatar image is the starting point. PicassoIA provides several additional tools that extend what you can do with the output once you have it.
Upscaling for Print Quality
Generated images at standard resolution work well for all screen-based uses. For print materials such as business cards, merchandise designs, event banners, or high-resolution advertising, run the output through PicassoIA's super-resolution models. They infer fine detail rather than simply scaling pixels, adding genuine texture and clarity. Hair, skin micro-detail, and fabric texture all benefit significantly from this pass.
Creating Variations Without Starting Over
Once you have a character you are satisfied with, use Flux Redux Dev to generate image variations while preserving the core visual identity. This is particularly useful for showing the same character in different outfits, seasonal settings, or emotional states without losing facial consistency across the set.
For brand mascots and recurring characters used in marketing, this variation workflow saves significant time compared to re-prompting from scratch each iteration. The character stays recognizable while the context, mood, and presentation change as needed.
Create Your Own 3D Avatar Right Now
The models covered in this article are all available today on PicassoIA. No waitlist, no 3D software installation, no design background required. The AI Avatars model is the fastest path in, and Flux 1.1 Pro delivers the highest photorealistic quality when detail is the priority.
The biggest factor separating good results from great results is the prompt. Write physically descriptive prompts that specify lighting angle, lens focal length, film stock, and skin texture. Three minutes of careful prompt writing produces dramatically better output than thirty seconds of vague descriptions.
The workflow is simple: pick your character concept, write a physically detailed prompt, run 4 seeds, pick the strongest geometry, refine once. PicassoIA provides the models, the infrastructure, and the upscaling pipeline to take you from initial idea to a polished, print-ready avatar without leaving the platform.
Start with the AI Avatars model and see what you can build today.