The first 5 seconds of any video carry more weight than the next 5 minutes. A slow fade-in with clunky text? Already losing viewers. A crisp cinematic pull-back with sharp color grading and deliberate motion? That's a hook. For years, that kind of opening was locked behind expensive production teams and After Effects expertise. Not anymore.
AI visual effects models have collapsed the barrier between bedroom creators and broadcast studios. You don't need a motion graphics artist. You don't need a $5,000 plugin suite. What you need is a clear vision, the right workflow, and access to the right models. This breakdown covers exactly that.
Why Intros Still Make or Break a Video
Attention spans are not shrinking. They're just getting more selective. Viewers scroll fast and decide instantly whether something is worth their time. The intro is the audition.
A cinematic intro does three things in rapid succession:
- Sets the tone of everything that follows
- Signals production quality to the viewer's subconscious
- Creates emotional anticipation that makes them want to stay
The problem with most intros is they're built around templates. AI changes that. Instead of picking from a library of stock motion graphics, you're describing exactly what you want and getting something original on the first render.
The Real Cost of a Bad Opening
A bad intro doesn't just lose a viewer. It also trains the algorithm to show your content to fewer people. Most platforms measure early watch time as a signal of content quality. If viewers drop off in the first 10 seconds, your reach drops proportionally.
This is why the opening is a business problem, not just an aesthetic one.
What "Cinematic" Actually Means
People throw this word around loosely. In practice, cinematic means:
- Shallow depth of field with intentional focus pulls
- Motion that feels intentional, not random zoom or pan
- Color grading that creates mood rather than just correcting exposure
- Pacing that matches the emotional rhythm of the content
- Sound design that underlies everything
With AI generation, you control most of these through prompts. That's the skill to develop.
The AI Models That Power Visual Intros
Not every AI video model is built for cinematic intros. Some are optimized for animation, others for realism, others for speed. Here's how the landscape breaks down.
For Establishing Shots and Wide-Angle Openers
Wide, sweeping establishing shots are the most classic cinematic intro format. Kling v3 Video excels here. Its motion coherence at 1080p makes it a reliable choice for prompts that describe large-scale environments: cities from above, coastal cliffs at dawn, empty stadiums at night. The model handles complex camera paths well.
Wan 2.7 T2V is the workhorse alternative. You get 1080p output, reliable motion, and it handles more creative prompt interpretations. Great when you want something less predictable and more editorial.
For Portrait and Subject-Driven Openers
When your intro centers on a face, a product, or a specific subject, the model choice shifts. Pixverse v6 handles subject-focused shots with built-in audio capability, which matters when you want the intro to land with synchronized sound. Its handling of face detail and expression is notably strong.
Hailuo 2.3 deserves serious attention here. Its motion rendering at the subject level is clean and avoids the blurriness issues that still haunt lower-tier models when subjects move close to camera.
For Motion-Heavy Openers with Effects
If your intro concept involves fast cuts, transitions, or dramatic camera movement, Gen 4.5 by Runway is built for cinematic motion specifically. It processes temporal coherence better than most, which means fast-moving elements don't turn into visual noise.
Kling v2.6 is the other contender in this category. Its strength is translating abstract motion descriptions into coherent video, which is exactly what you need when writing prompts for dynamic visual effects intros.
For Full Production with Audio
Veo 3 from Google generates video with native synchronized audio, including ambient sound, music stems, and sound effects. For a cinematic intro where audio design is baked into the output rather than layered in post, this model changes what's possible in a single generation.
Sora 2 similarly brings text-to-video with synced audio, though it leans toward narrative scene construction rather than pure visual effects work.
How to Build a Cinematic Intro from Scratch
The workflow breaks into four stages: concept, generation, selection, and post-processing. Most people skip the first stage and wonder why their results feel generic.
Stage 1: Write the Shot
Before you touch any tool, write your shot like a cinematographer would brief a camera operator. This is not a sentence like "a city at night." This is:
"Low-angle shot looking up at glass skyscrapers from street level at blue hour, mist drifting at knee height, bokeh streetlights in background, slow upward tilt as cloud shadow passes over buildings, 35mm lens, Kodak Vision3 grain, natural depth of field."
That level of specificity separates good results from remarkable ones. The more visual geometry you provide, the more the model has to work with.
Stage 2: Generate Multiple Variants
Never judge AI video from a single generation. Run the same prompt three to five times. The stochastic nature of these models means you'll often get one version that clearly outperforms the others in motion quality or atmosphere. This is normal and expected.
💡 Pro tip: Use a fixed seed when you find a composition you like, then vary individual parameters to iterate from that baseline rather than starting cold each time.
Stage 3: Select on Motion Quality First
When reviewing renders, prioritize motion quality before aesthetics. A shot that looks slightly underexposed but has perfect cinematic movement is more salvageable than one with beautiful composition and stuttering motion. Color, brightness, and even some saturation issues are fixable. Poor temporal coherence is not.
Stage 4: Post-Processing Matters
Even the best AI-generated footage benefits from post-processing. Specifically:
- Color grading to add warmth or coolness based on your brand tone
- Speed ramping to match cuts to music or narration
- Sound layer to add depth even if the model generated no audio
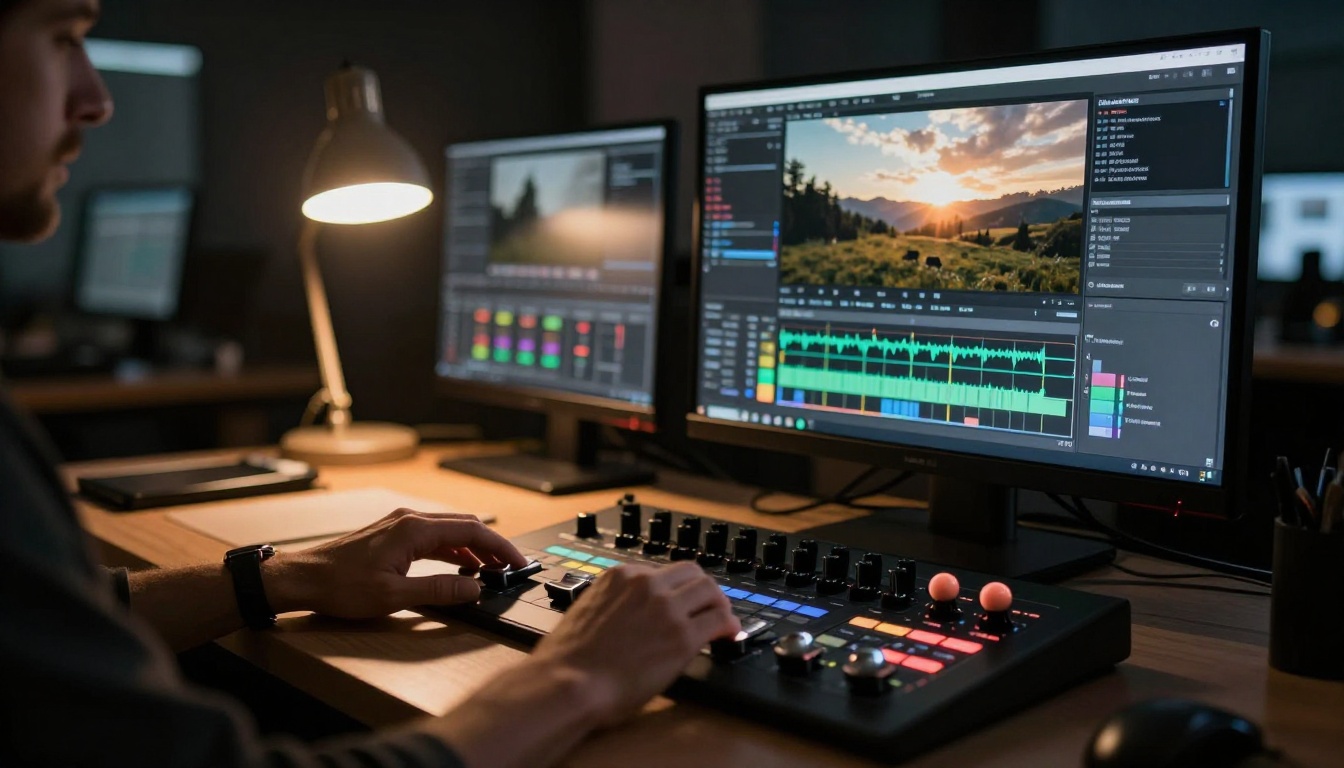
For color grading, DaVinci Resolve has a free tier that handles this well. Apply a cinematic LUT as a base, then adjust highlights and shadows to match the mood you described in your original prompt.
Lighting, Motion, and Camera: The Trio That Sells the Shot
These three elements are what separate a competent AI-generated shot from one that reads as genuinely cinematic. Each deserves specific attention in your prompt.
Lighting Direction and Quality
Always specify a light source. "Dramatic lighting" is useless. "Volumetric amber light from the upper left at 45 degrees" is a direction the model can work with. Three lighting setups that reliably produce cinematic results:
- Golden hour rim lighting: Subject is backlit with warm orange-gold, small frontal fill light, background bokeh.
- Single source dramatic: One hard light source casting strong shadows. Think noir, interrogation scenes, intense close-ups.
- Blue hour ambient with warm practicals: Cool sky ambient balanced by warm building or street light practicals. Perfect for establishing shots.
Camera Movement Descriptions
Video models respond well to specific motion language:
- "Slow dolly push toward subject" (forward motion, controlled)
- "Upward tilt from ground level" (reveals environment progressively)
- "Slow circular orbit around subject" (shows full 3D space)
- "Static shot with subtle breathing motion" (adds life without distraction)
Avoid vague language like "camera moves around." The model has no spatial anchor to interpret that meaningfully.
Depth of Field as a Storytelling Tool
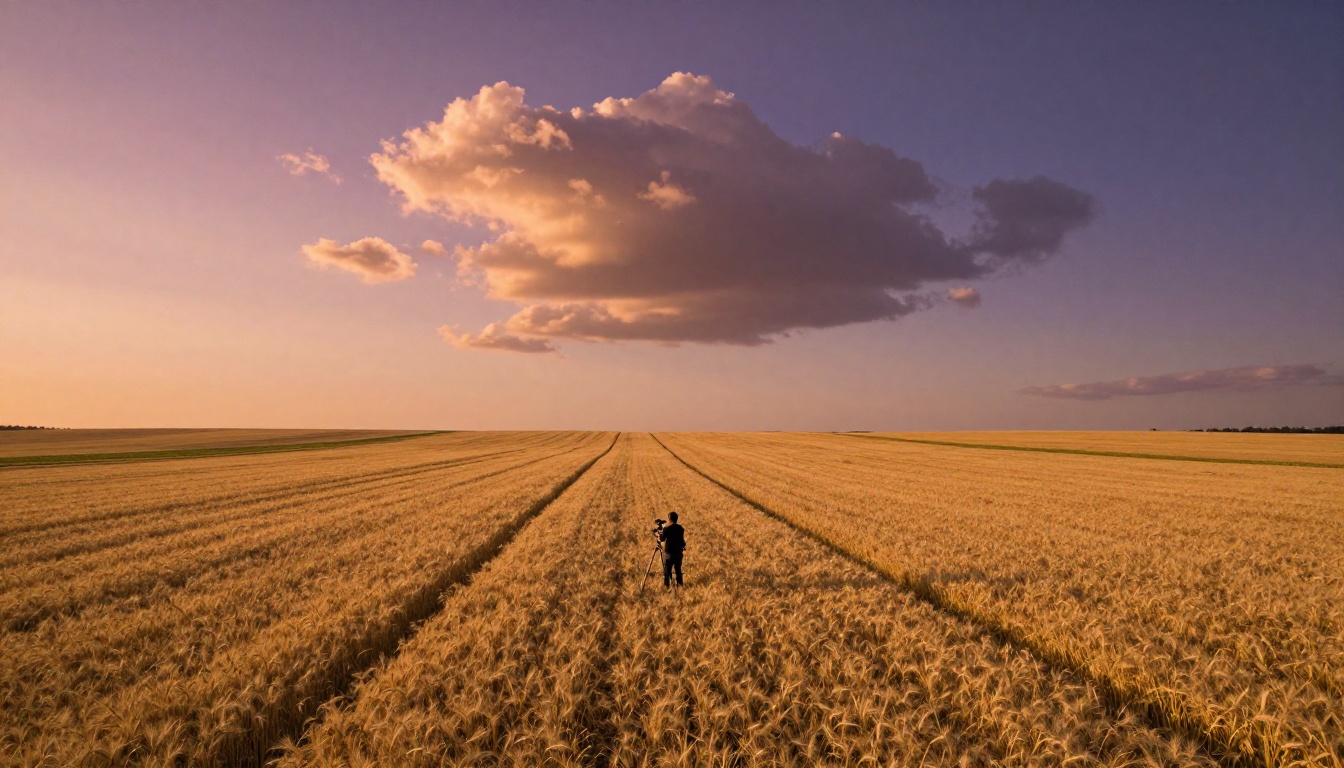
Shallow depth of field does more than look professional. It directs attention. When you specify a 50mm or 85mm prime lens in your prompt, most modern AI video models understand what that implies for depth of field behavior. The foreground stays tack sharp. The background melts into soft bokeh.
💡 Shot type by lens: 24mm for epic wide establishing shots, 50mm for natural human-scale perspectives, 85mm for cinematic portraits with compressed backgrounds.
Color Grading Your AI Intro Like a Pro
Color grading is where good intros become unforgettable ones. Raw AI output typically looks too clean, too saturated, or too evenly exposed. Professional color grading adds:
- Lift in shadows for a lifted, film-like black point
- Warm highlights for an organic, emulsion feel
- Desaturation in midtones to make colors feel controlled rather than blown out
- Halation effect on bright elements to simulate film blooming
LUTs Worth Using
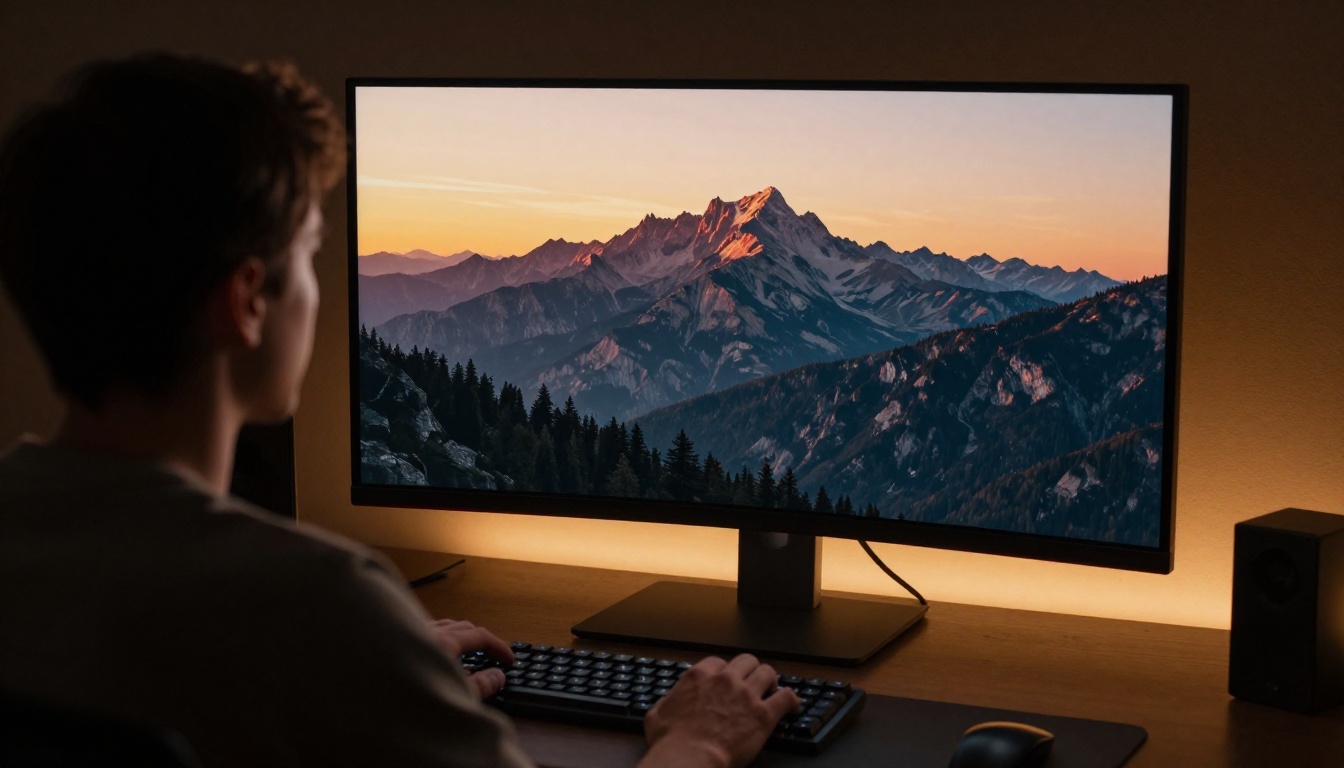
LUTs (Lookup Tables) are single-click color transformations applied to footage. For cinematic intros, two styles work particularly well:
| LUT Style | Effect | Best For |
|---|
| Teal-Orange | Classic Hollywood blockbuster contrast | Action, drama, commercial |
| Matte Fade | Lifted blacks, faded highlights | Documentary, fashion, editorial |
| Day for Night | Shifts daylight to a dark, moody blue | Thriller, narrative, music video |
| Warm Film | Amber midtones, grain texture | Brand videos, creative content |
Free LUT packs are widely available. The goal is not to use them as-is, but as a starting point to grade around.
When to Add Film Grain
Film grain is the single fastest way to make AI-generated footage look less artificial. Apply it as a final step, after color grading. Grain strength should be subtle: typically 10-20% opacity in most editing applications. Heavier grain works for intentionally stylized or vintage-aesthetic intros.
3 Common Mistakes That Ruin AI Intros
Most failed AI intros come from the same handful of errors.
Mistake 1: Generic Prompts
"A cinematic shot of a person walking in a city" generates generic output because it has no visual specificity. The model fills in the blanks randomly. Write shots, not descriptions. Every element of the frame should be intentional in your prompt before you hit generate.
Mistake 2: Wrong Model for the Task
Using a model optimized for animation when you want photorealistic footage, or using a slow, high-quality model when you need fast iterations. Know what each model is built for and match it to your use case. The model comparison table above is a starting point.
Mistake 3: No Audio Consideration
Many creators generate a visual intro and then scramble to find music that fits. The result is jarring because the visual pacing was never designed around the audio. Either use a model like Veo 3 that generates native audio, or choose your music track first and build the visual rhythm around it.
Animating Stills into Intro Sequences
Not every cinematic intro needs to start as a video generation. A compelling photorealistic still image can be the starting point for a powerful animated opener.
The workflow: generate a high-quality image with strong cinematic composition, then feed it into an image-to-video model. Wan 2.7 I2V takes any image and animates it with controlled motion, preserving the original composition while adding life. Kling v2.6 Motion Control gives you direct influence over what moves and how, which is particularly useful for intros where you want precise control over camera and subject motion.
This two-step workflow gives you more control over the initial composition than going straight to text-to-video, and the starting image acts as a visual anchor that keeps results consistent across multiple generations.
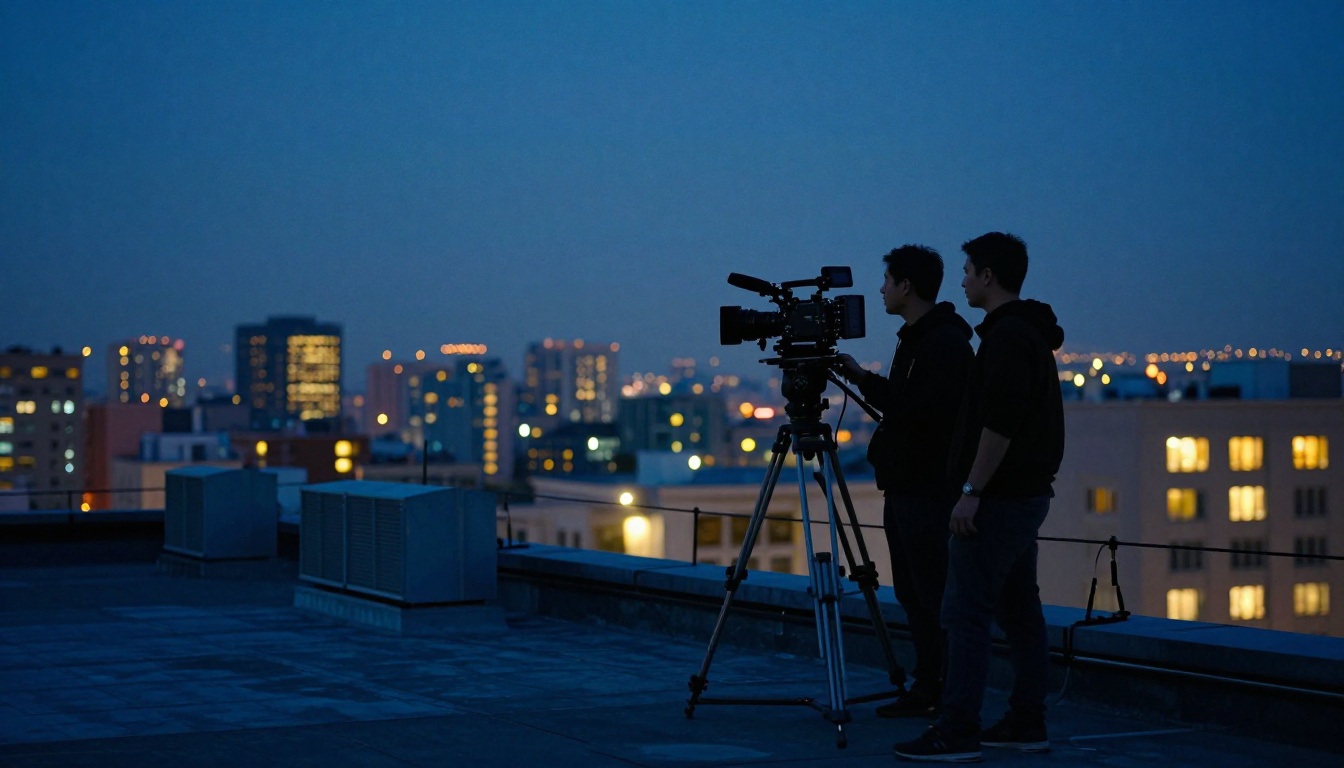
Different platforms have different relationships with intros. A YouTube long-form video can sustain a 10-15 second intro. An Instagram Reel gets 2-3 seconds before viewers scroll. A TikTok opener needs to be the entire hook in the first frame.
This affects both model choice and prompt strategy:
- Long-form (YouTube, Vimeo): Slower reveals, building tension, room for ambient sound design. Use higher-quality models like LTX 2 Pro for 4K output.
- Short-form (Instagram, TikTok): Fast cuts, immediate impact. Use Pixverse v6 or Kling v3 Video for speed and visual punch.
- Branded content: Consistency matters more than spectacle. Develop a visual language (specific color palette, camera height, motion style) and apply it across every generation.
Aspect Ratio Planning
Most cinematic intros are shot in 16:9 for standard widescreen. But 2.35:1 anamorphic widescreen adds an immediate cinematic letterbox effect that many creators overlook. If your platform supports it and you want that film-screen feel, specify "anamorphic aspect ratio, letterbox format" in your prompt. Most current models will honor it.
The Workflow in Practice: A Real Example
To make this concrete, here's how a full workflow looks from concept to output:
Concept: A luxury fragrance brand wants a 10-second opener for a product campaign. Mood: intimate, sensory, slow-burn.
Shot description: "Extreme close-up of a glass perfume bottle on a dark marble surface, single candle flame reflecting in the curved glass, slow rack focus from bottle to out-of-focus background candlelight, warm amber and deep shadow color palette, 100mm macro lens, shallow depth of field, Kodak Portra 400 grain, no text."
Model choice: Kling v2.6 for the motion precision on a small, specific subject.
Post-processing: Slight desaturation, lifted blacks, warm highlight toning, subtle grain at 15% opacity.
Audio: Either use Veo 3 to regenerate with native ambient sound, or layer a soft low-end music bed over the finished clip.
The output from this workflow is indistinguishable from a controlled studio shoot, at a fraction of the cost and time.
Start Creating Your Own AI Cinematic Intros
The technical barrier to professional intros is effectively gone. What remains is craft: the ability to see a shot before you prompt it, the patience to iterate rather than settle, and the judgment to know when something is working.
Start with one strong shot concept. Write it with the specificity a cinematographer would use to brief a camera operator. Pick the model that matches your output format and audience platform. Generate, select on motion quality, grade in post. That sequence, repeated deliberately, produces results that look nothing like what most people imagine is possible from a browser-based AI tool.
The models available right now on the platform are the same ones professional studios are using for previsualization, content campaigns, and short-form production. The gap between a compelling cinematic intro and a forgettable one is now almost entirely about creative direction, not technical access.
💡 Pick a concept you've been sitting on. Write the shot. Choose a model from the table above. Your first generation is one prompt away.