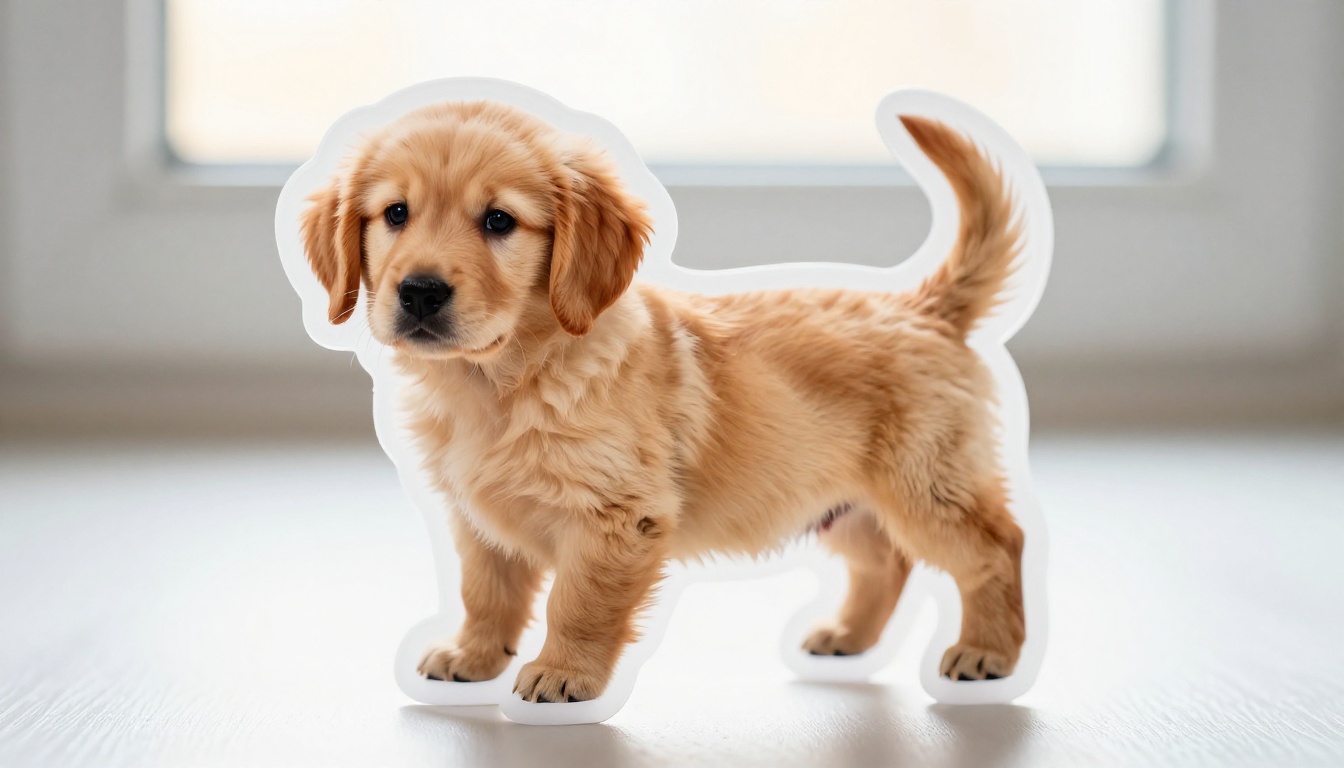
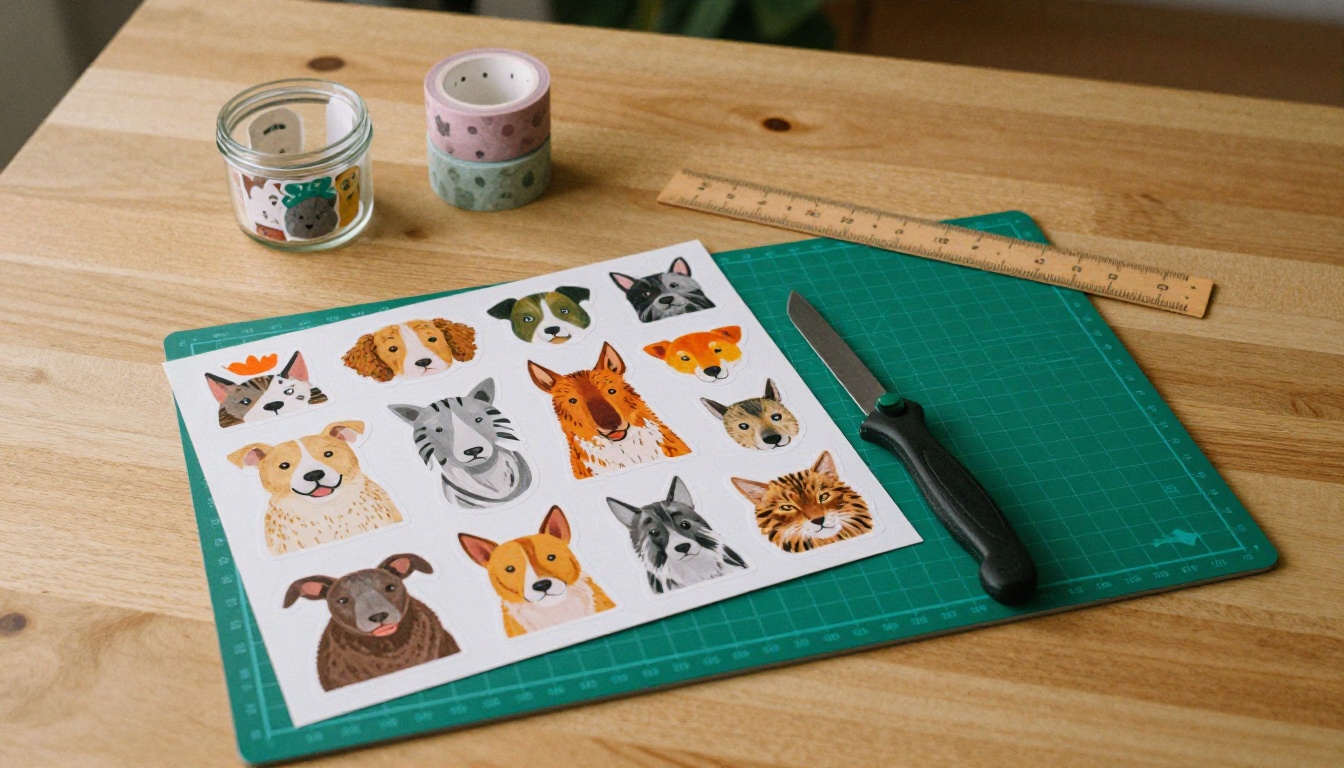
If you've ever tried cutting sticker artwork by hand, you know exactly when it goes wrong. The scissors slip on a tight curve, the craft knife drifts on a long straight edge, and that carefully designed character sticker ends up with a ragged white halo that no amount of re-cutting can fix. AI background removal eliminates this problem entirely, and the precision it delivers is better than anything achievable with a steady hand and a magnifying glass.
This is the workflow that professional sticker makers now use: photograph or generate your artwork, strip the background with AI, export a clean PNG, print. Four steps. Results that look like they came from a professional print studio.
What Actually Makes a Sticker Cutout "Clean"
The word "clean" gets used loosely. In practical sticker-making terms, it means one specific thing: a transparent background with sharp, anti-aliased edges and zero fringe from the original background color.
The Edge Fringe Problem
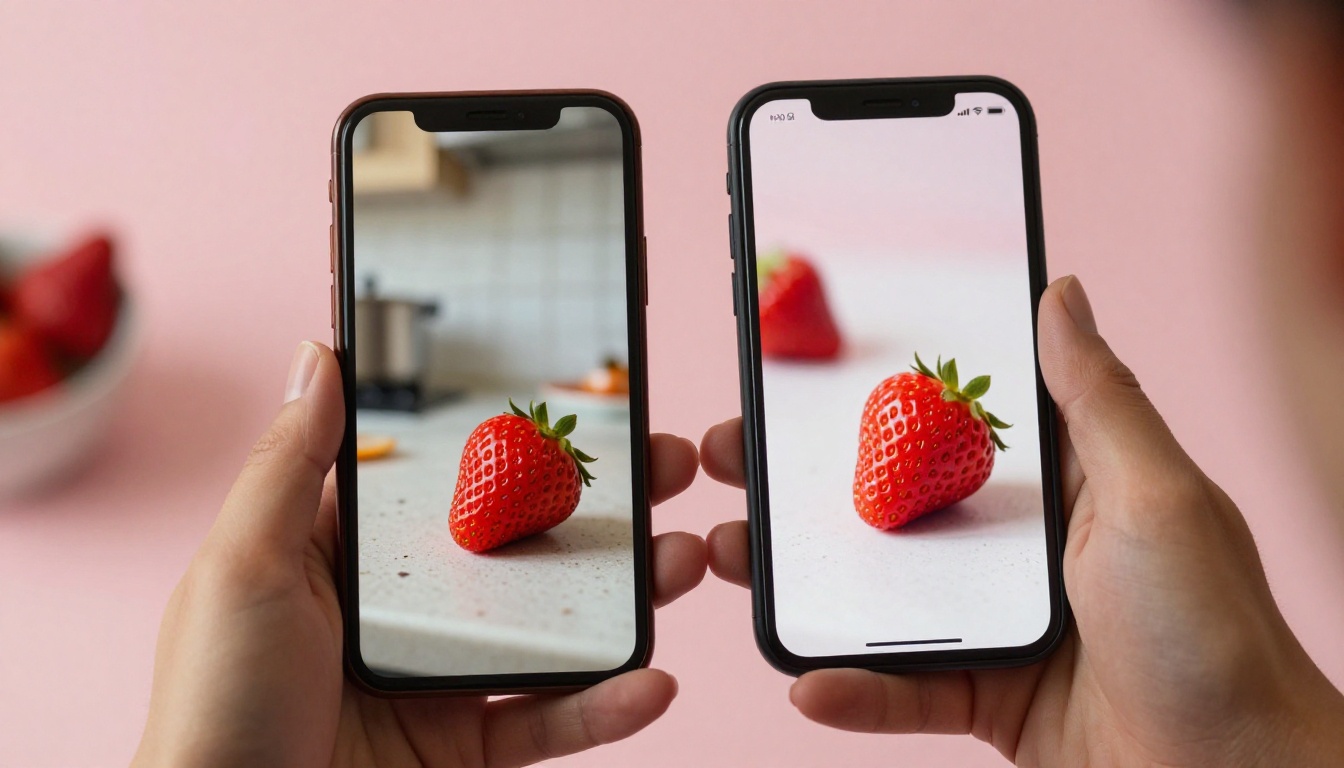
When you photograph any subject, the pixels at the edge of that subject are not purely subject or purely background. They're a blend. Your camera's sensor captures transitional pixels containing color data from both sides of the boundary. This is called edge bleed or fringe, and it's the reason DIY cutouts often look like they have a ghost outline around them.
The issue is most visible on:
- Curly or fine hair (strands pick up ambient background color)
- Fur and feathers (semi-transparent tips mix with background)
- Translucent fabrics like lace, chiffon, or mesh
- Glasses with clear lenses
- Any subject shot outdoors where sky blue or green grass bleeds into the edge
Manual selection in photo editing software forces you to handle every one of these pixels by hand. A skilled designer might spend 45 minutes getting a portrait's hair right. AI handles the same image in under three seconds.
Why Print Amplifies Every Flaw
A 2-pixel fringe that's invisible at 100% zoom on your screen becomes glaringly obvious at 300 DPI on glossy sticker paper. Printing magnifies edge artifacts. This is why professional sticker printing services require clean alpha channels with hard, defined transparency, especially for kiss-cut and contour-cut formats where the cutting machine follows the exact edge of your subject.
A clean cutout also gives you full control over finishing. Once your subject sits on a transparent background, you can place it on any color, add a white border for classic die-cut style, layer it into a sticker sheet, or scale it to any size without creating new artifacts.
How AI Background Removal Actually Works
The technology inside tools like the Remove Background model is called semantic segmentation. This is fundamentally different from the older edge-detection approach used by traditional software selection tools.
Old Method vs. AI Method
Traditional background removal tools look for contrast. They search for places where pixel values change sharply and assume that change marks a boundary. This works adequately on simple images with high-contrast edges, but it fails completely on complex subjects because contrast alone does not tell you what belongs to the subject.
AI segmentation looks for meaning. It was trained on millions of images and learned to recognize what objects are, not just where their edges are. When it processes a photo of a cat, it identifies that the cat's fur, whiskers, and semi-transparent ear tips all belong to the subject, even where colors blend into the background. It builds a precise pixel-level mask based on semantic understanding.
What the Model Analyzes
| Analysis Layer | What It Does |
|---|
| Object Recognition | Identifies the main subject type (person, pet, product, food) |
| Boundary Mapping | Traces the precise perimeter at sub-pixel level |
| Hair and Fur Refinement | Preserves individual strands including semi-transparent tips |
| Shadow Analysis | Determines whether shadows belong to subject or scene |
| Alpha Channel Generation | Produces smooth transparency gradients at soft edges |
This layered analysis is why the results look clean on subjects that previously required professional retouching to cut correctly.
Subjects AI Handles Exceptionally Well
Some subject types that used to require specialist skills are now trivially solved:
- Portrait hair in any lighting condition, including backlit subjects where hair glows
- Animal fur including thick coats, fluffy tails, and whiskers
- Plant stems and foliage with complex overlapping shapes
- Product photography against any background color
- Food with irregular organic shapes like croissants, fruits, or salads
The Step-by-Step Sticker Cutout Workflow
Here's the exact process from source image to print-ready PNG.
Step 1. Prepare Your Source Image
Your output quality is capped by your input quality. Before uploading anything:
- Resolution: Use images of at least 1000x1000px for small stickers. For anything 3 inches or larger, start at 3000px minimum on the long side.
- Format: Use JPG for photos, PNG for illustrations with existing transparency.
- Lighting: Even, flat lighting with minimal harsh shadows gives the AI more accurate color data to segment. Dramatic side lighting creates shadow areas that can confuse edge detection.
- Background: Any background works, but high contrast between subject and background produces sharper edges. A plain white, gray, or contrasting solid color behind your subject is ideal when you control the shoot.
💡 Shooting specifically for sticker use? Place your subject on a light gray background and light it from two sides to eliminate shadows. The AI will produce a near-perfect mask with zero cleanup needed.
Step 2. Upload and Remove
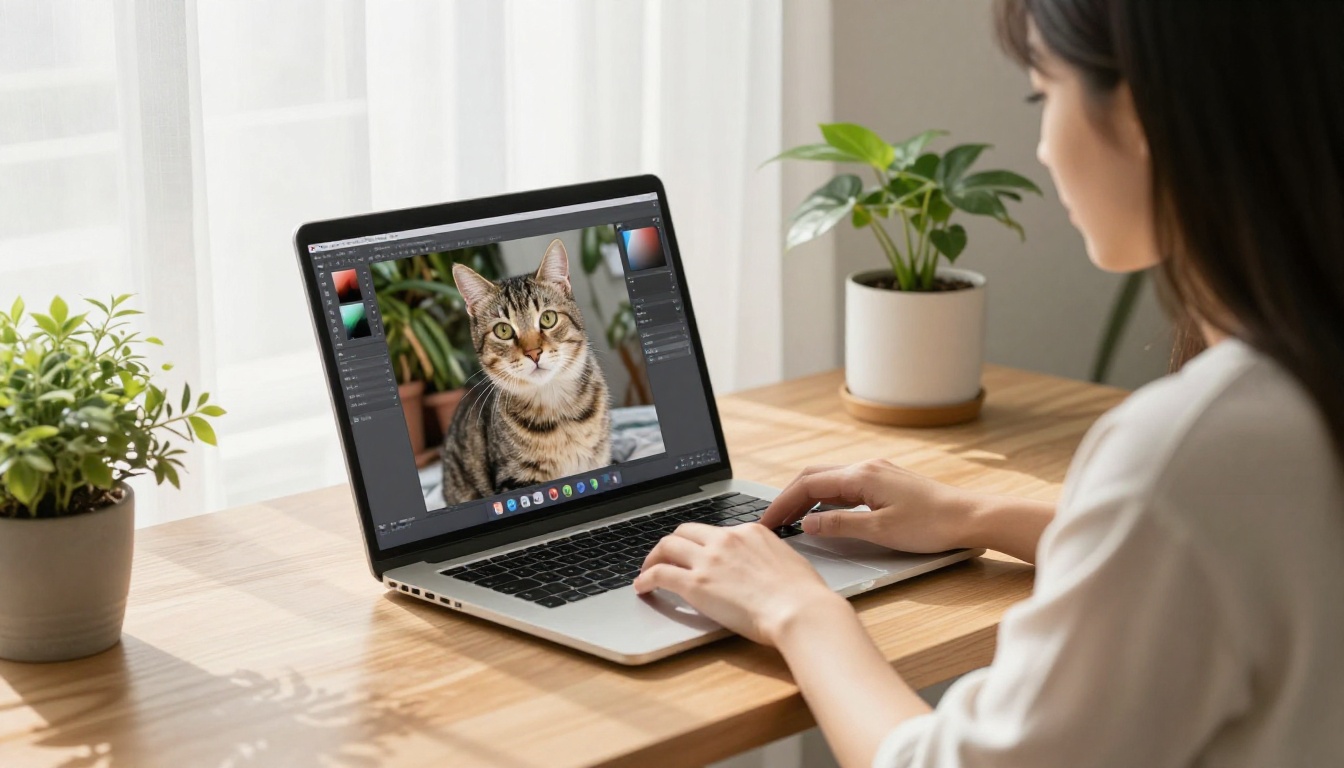
Upload your image to the Remove Background tool. Processing takes 1 to 3 seconds for most images. The output is a PNG file with a fully transparent background, preserving:
- Full original color accuracy in the subject
- Smooth anti-aliased edges
- Gradient transparency on soft edges like hair tips and fur ends
- The original resolution and embedded DPI data
Step 3. Check and Refine
For most images, the output is print-ready immediately. For complex cases, check these specific things:
Color fringe: Look for any remaining background color bleeding at the edges. This appears as a thin colored outline around your subject. Fix by slightly contracting the selection mask or using a decontaminate colors option in your editing software.
Missing fine detail: If thin hair strands or fur tips were removed, the AI may have been overly conservative. This is rare with modern models, but fixable by painting back into the alpha channel.
Rough outline on geometric subjects: Hard-edged objects like products sometimes get slightly rough curves. A tiny Gaussian blur applied only to the alpha channel smooths this immediately.
Partial removals: If part of the subject was removed (common with subjects wearing camouflage or background-matching colors), manually restore those areas in the alpha channel.
Step 4. Add Your Sticker Border
Before exporting, decide on your edge style:
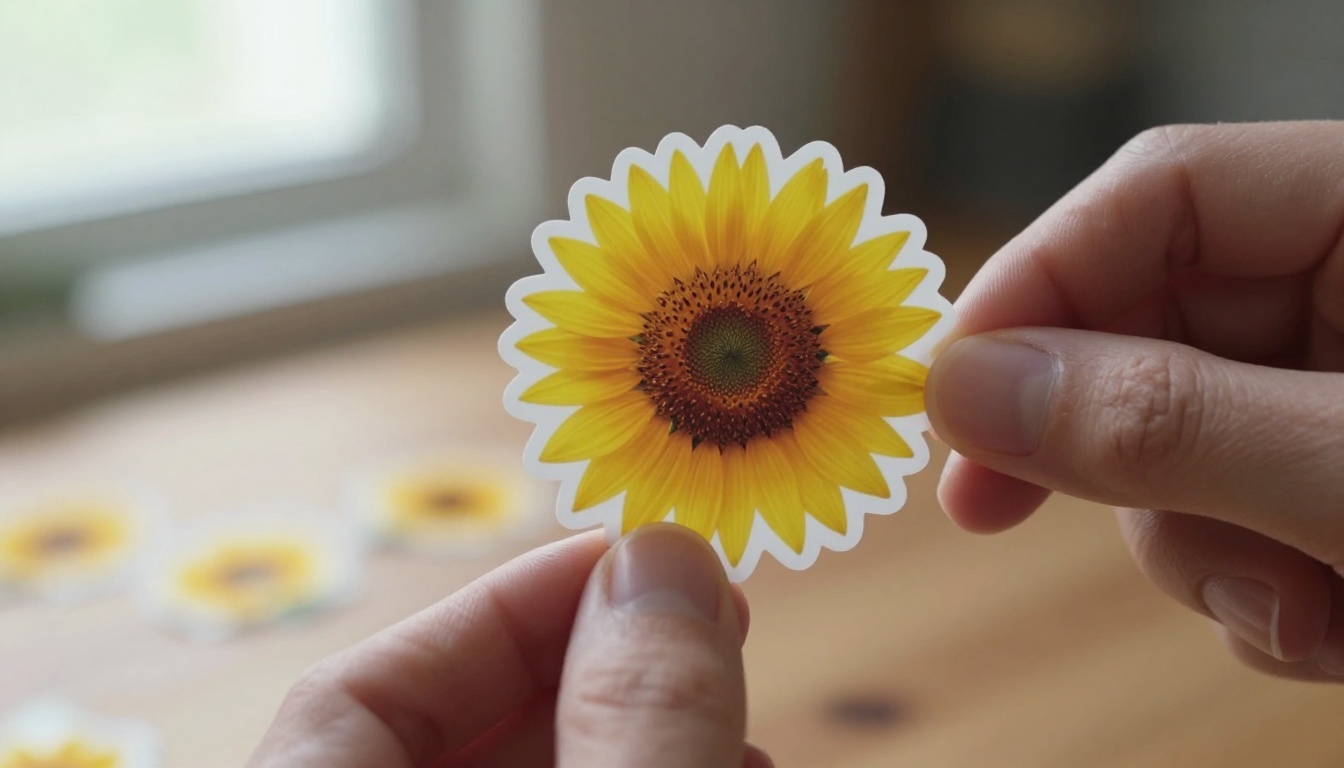
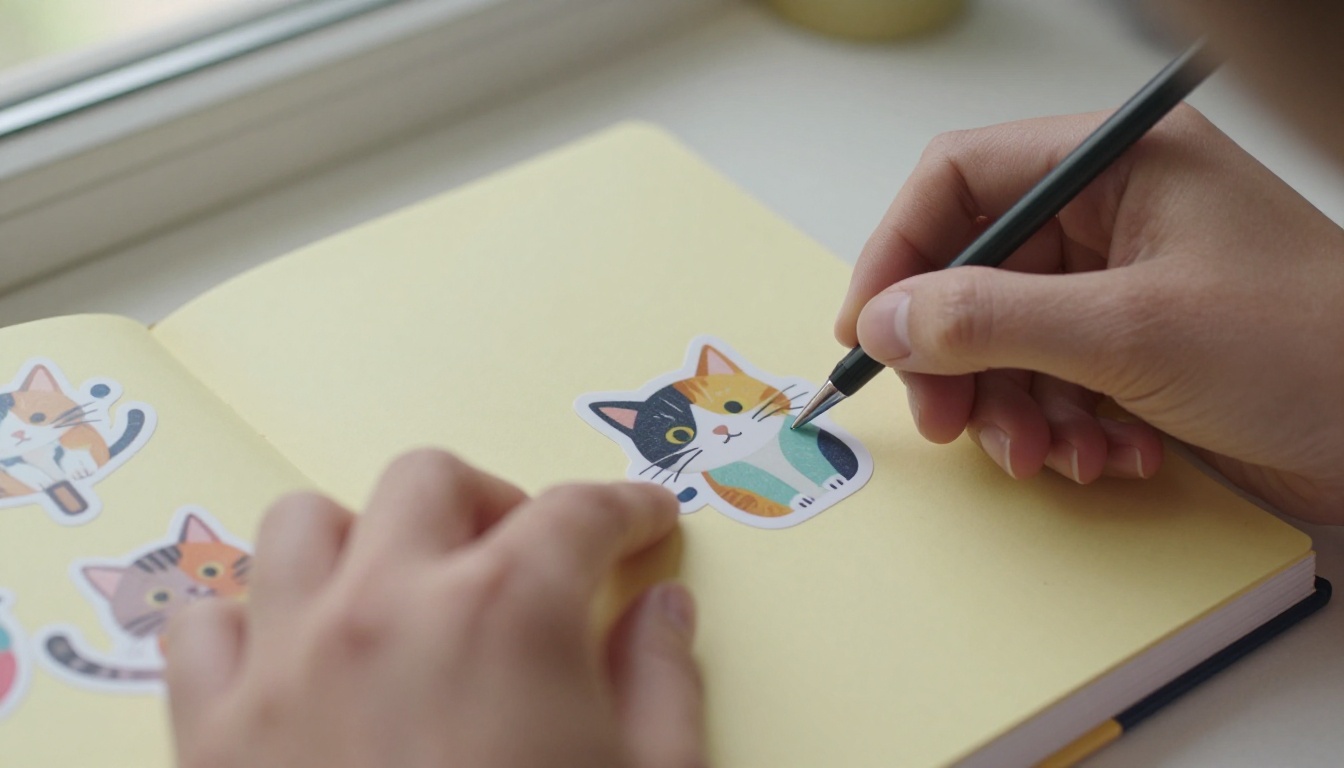
Transparent cutout: The print goes right to the cut line. Modern and premium-looking. Works best on holographic or foil sticker papers.
White border: Add a 3 to 5px white stroke around the subject. This is the classic sticker look. The white border creates visual separation between the sticker and whatever surface it's placed on. Most sticker printing services recommend this for orders under 4 inches.
Step 5. Export for Print
- Format: PNG-24 (not PNG-8, which degrades edge quality)
- DPI: 300 minimum for standard stickers, 600 for small or detailed work
- Color space: sRGB for home printing; convert to CMYK before sending to a commercial print shop
- Bleed: Add 1.5 to 2mm of canvas on all sides for commercial printing
- File size: Most print services accept up to 50MB PNG files
Which Images Work Best
Photos vs. Digital Illustrations
Both work well with AI background removal, but the behavior differs:
Photographs have complex, natural edges with real-world lighting variation. The AI has extensive training data for photographic subjects and handles them with exceptional precision, particularly for people, pets, and products.
Digital illustrations often have flat, uniform colors with hard geometric edges, which are trivially easy for AI to segment. The risk with illustrations is color matching: if the illustration uses the same colors as the background, the AI cannot reliably separate them. Always give illustrated subjects a clearly contrasting background color before running removal.
💡 If you're generating sticker artwork with an AI image generator, include "plain white background" or "solid [color] background" in your prompt. The removal step will be instant and perfect every time.
Color Combinations That Cause Problems
Most failures in AI background removal come from specific color situations:
- White or light subjects on white backgrounds (white cats, white products, wedding dresses)
- Glass or transparent objects where the background is visible through the subject
- Very dark subjects on dark backgrounds, especially in low-light photography
- Subjects shot in direct matching-color light (golden subject under golden lighting in a golden-toned scene)
The fix for every one of these is the same: add contrast before removing. Place a contrasting backdrop, adjust lighting, or do a quick color grade before the AI processes the image.
Sticker Paper Types and What They Need
Your cutout file requirements shift depending on the sticker paper you use. Getting the edge style wrong for the paper type wastes a whole print run.
| Paper Type | Surface | Edge Style | Minimum DPI |
|---|
| Matte white | Flat, no reflection | White border recommended | 300 |
| Glossy white | Shiny, reflective | White border or bleed | 300 |
| Holographic | Prismatic rainbow | Transparent cutout preferred | 300-600 |
| Clear vinyl | See-through | No white border needed | 300-600 |
| Kraft brown | Textured paper | White border essential | 300 |
| Waterproof vinyl | Durable, outdoor | Any edge style | 300 |
Clear stickers are particularly demanding on cutout quality because any edge artifacts become visible against whatever surface the sticker is applied to. With transparent sticker material, your PNG edge is the sticker edge. The AI cutout must be flawless.
Common Mistakes That Ruin Sticker Prints
Using JPEG as the export format. JPEG does not support transparency. Your clean cutout becomes a white or black rectangle when placed on other surfaces. Always export as PNG.
Scaling up after removal. If your source image was 500px wide and you scale the cutout to 3000px for printing, you get blurry results. Remove the background at source resolution, then resize the original if needed.
Skipping print bleed. Sending a perfectly-sized sticker without bleed to a commercial printer means the cut line may fall inside your artwork. Add 1.5 to 2mm extra canvas on all sides.
Removing background from heavily compressed images. JPEG compression creates block artifacts at edges that confuse the AI and produce speckled or dotted outlines. Use the highest quality source available, and if you only have a compressed JPEG, apply a slight denoise pass before removal.
Expecting AI to fix bad photography. Motion blur, deep shadows, and significant underexposure degrade AI edge quality. The model works with the data present. A well-exposed, sharp photo produces a sharp cutout. A blurry photo produces a blurry cutout.
Not checking the result at 100% zoom. Most edge problems are invisible at thumbnail size and obvious at full resolution. Always check your cutout at 100% zoom before sending to print.
Building a Full Sticker Pack
Single stickers are satisfying. Sticker packs are how hobbyists become sellers.
Setting Up a Consistent Batch Workflow
- Curate before processing. Select your final 12 to 20 images before running any AI removal. Changing the selection after processing wastes time.
- Standardize source resolution. Process all images at the same resolution so every sticker in the pack prints at a consistent proportional size.
- Unified lighting across the batch. If you're shooting originals, use the same setup for every image. Visual cohesion across a sticker pack is what makes buyers want the whole set.
- Systematic file naming.
pack01_sticker_001.png through pack01_sticker_012.png makes layout assembly and print ordering straightforward.
- Template the layout. Build a reusable sticker sheet template in your preferred software. Drop each cutout in, apply uniform white borders, export. Doing this once and repeating it saves enormous time on future packs.
Themes That Work
The top-performing sticker pack categories have strong visual cohesion and serve a specific audience:
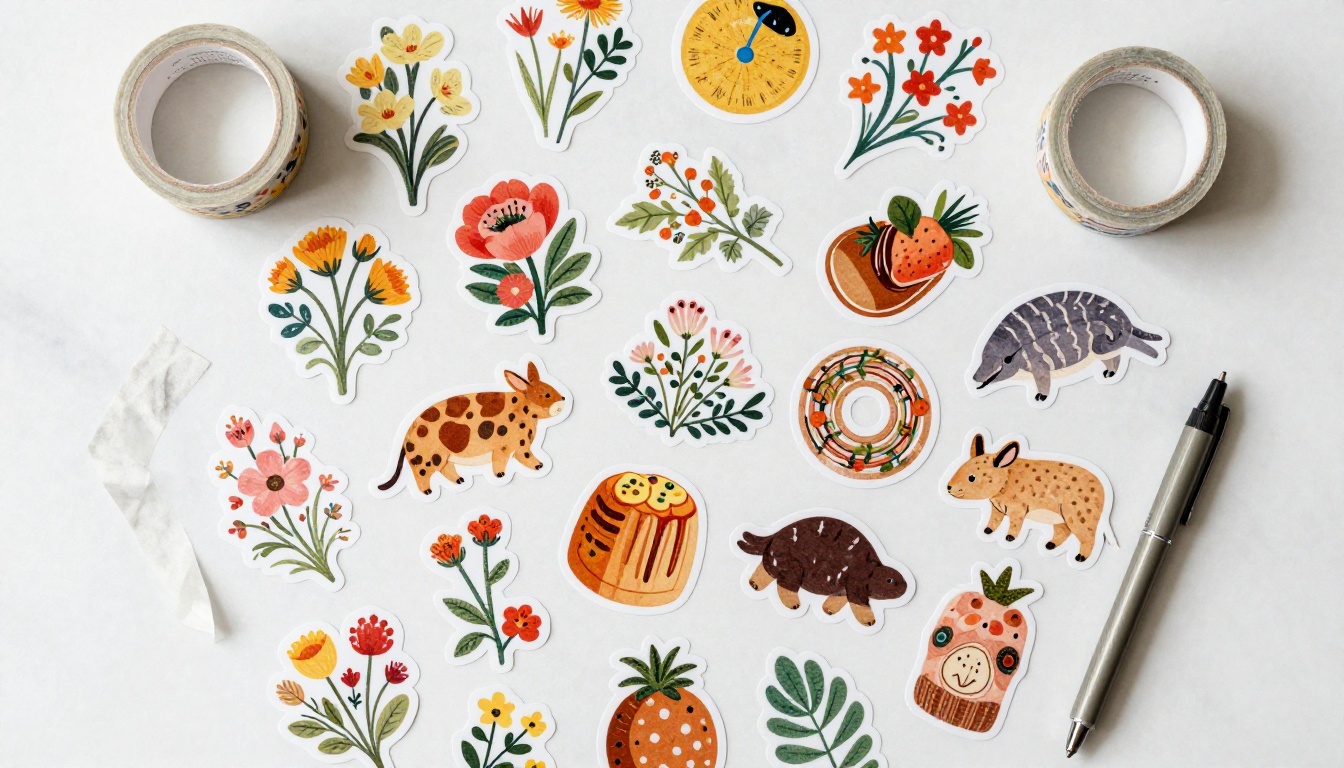
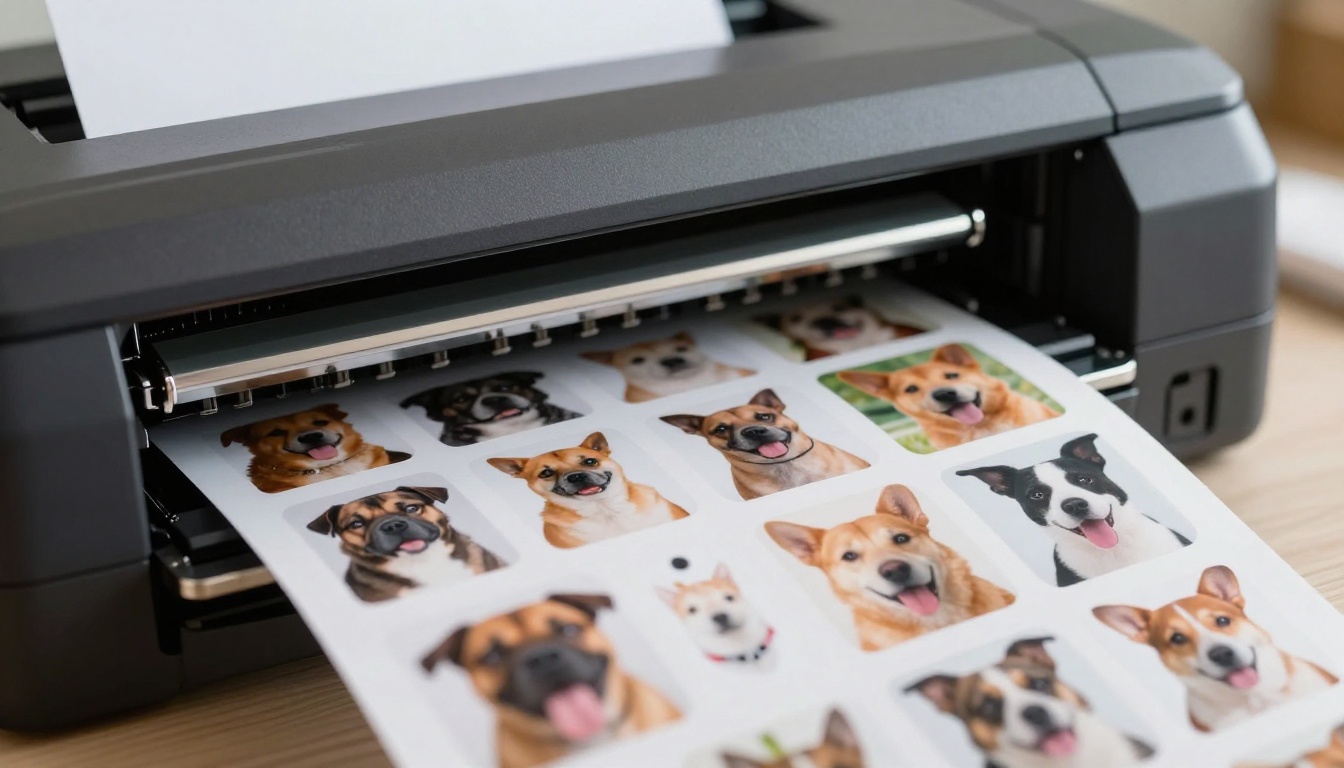
- Pet portraits: Custom stickers made from personal pet photos are the top-selling sticker category online. Every pet owner wants one.
- Food and drink: Coffee cups, pastries, ramen, cocktails. The aesthetic food category is huge in journaling and planner communities.
- Nature and botanicals: Mushrooms, pressed flowers, tropical leaves, insects.
- Characters and mascots: Original illustrated characters with consistent design language across the set.
- Seasonal collections: Holiday sets, seasonal themes, and event-specific designs that sell in short windows.
💡 One theme, 12 stickers, unified color palette outperforms a random selection of 12 unrelated stickers in every resale context. Buyers want the feeling of a complete, curated set.
Try It With Your Own Images
The workflow described here is available right now. The Remove Background tool processes your image in seconds and returns a print-ready PNG with no design skills required.
Pick a subject you already have a good photo of: a pet, a product, a plant, a piece of food. Upload it, let the AI handle the edge work, and see what comes back. Most people are surprised by the first result because the edges are cleaner than anything they've produced manually, and it took three seconds.
From there, add a white border, confirm the resolution, and you have a sticker design ready to send to any print service. The whole process from source photo to print-ready file takes under ten minutes for a first-time user.
Your first sticker pack starts with a single cutout. Run one image through the process, hold the physical sticker in your hands when it arrives from the printer, and you'll immediately understand why everyone making custom stickers has moved to this workflow.
The craft knife stays in the drawer.