Double exposure has been one of the most emotionally charged visual effects in photography since the 1850s. Two worlds collapsed into one frame, a face dissolving into a forest, a body becoming a city skyline, skin merging with ocean waves. For over a century, creating it required a darkroom, precise timing, and a lot of failed film rolls. Then came software layers, which made it accessible but still demanding. Now AI makes the whole process possible in minutes, and it adds something neither the darkroom nor traditional software could: motion.
The ability to make double exposure videos with AI is genuinely new territory. You are not just blending two static images. You are blending two animated worlds, letting a forest sway inside a silhouette, letting ocean waves crash within the contours of a face, letting a galaxy slowly rotate inside a human form. The results feel like something between fine art photography and cinema, and the workflow is simpler than most people expect.
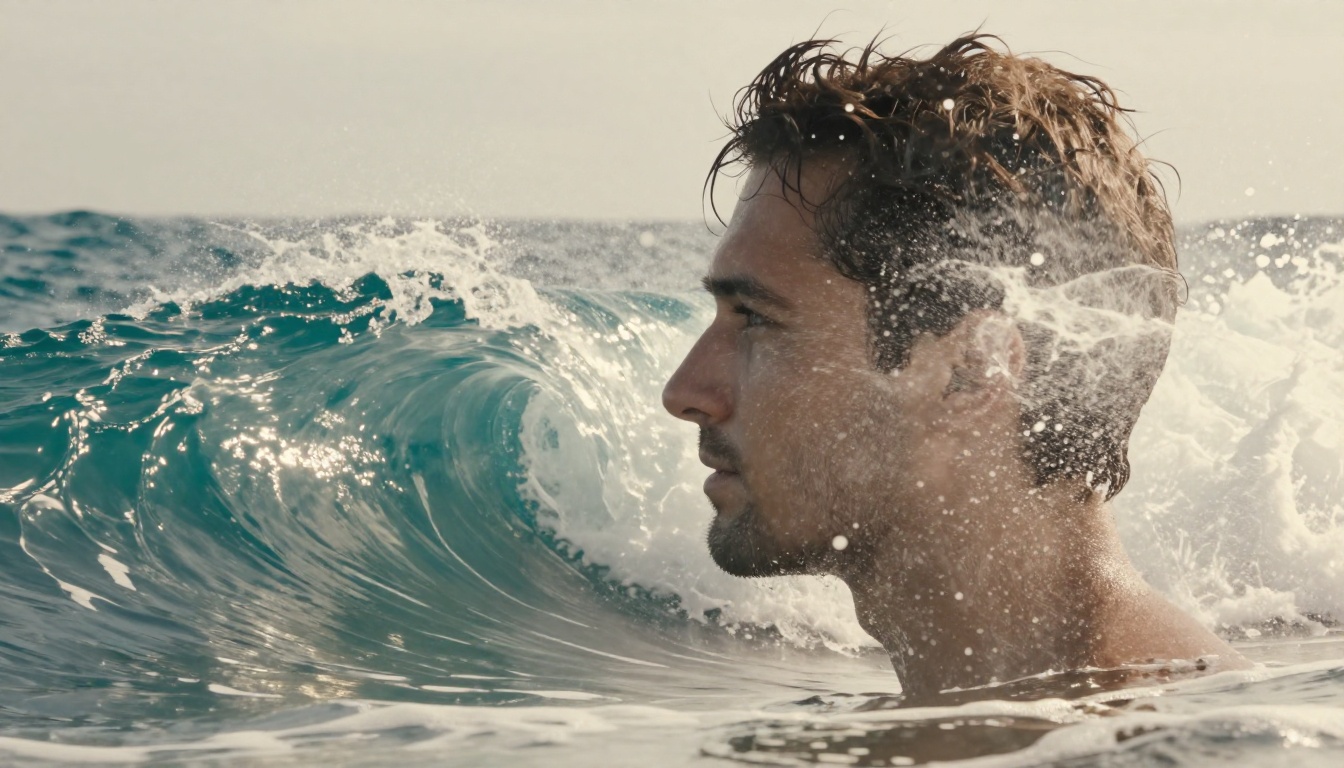
What Double Exposure Actually Does
At its core, double exposure is a blending technique. Two visual elements occupy the same spatial coordinates, with their tonal values interacting to create a third, composite image. In traditional photography, this happened by exposing the same film frame twice. In digital work, it happens through layer blend modes, most commonly Screen, Multiply, or Overlay.
The physics behind the effect
When you place a light background image against a dark silhouette and use Screen blending, the lighter pixels of the background show through the darker areas of the silhouette. The edges hold where the silhouette is medium-toned. This interaction creates the characteristic look: a recognizable subject that seems to be made of something else entirely.
The effect works best when:
- The foreground subject has strong, clear edges (a portrait against a white or light grey backdrop)
- The background element has rich internal detail and good tonal range (forests, cities, water, sky)
- The color temperatures either complement each other or contrast intentionally
Why motion changes everything
A still double exposure is striking. A moving double exposure is hypnotic. When the interior world animates, swaying branches casting dappled light across a cheekbone, waves rolling through the outline of a shoulder, stars drifting across a torso, the viewer cannot look away. Motion creates narrative tension. The static subject and the living interior world pull against each other in a way that generates emotion that static imagery simply cannot reproduce.
This is exactly what AI video generation models are now capable of producing.
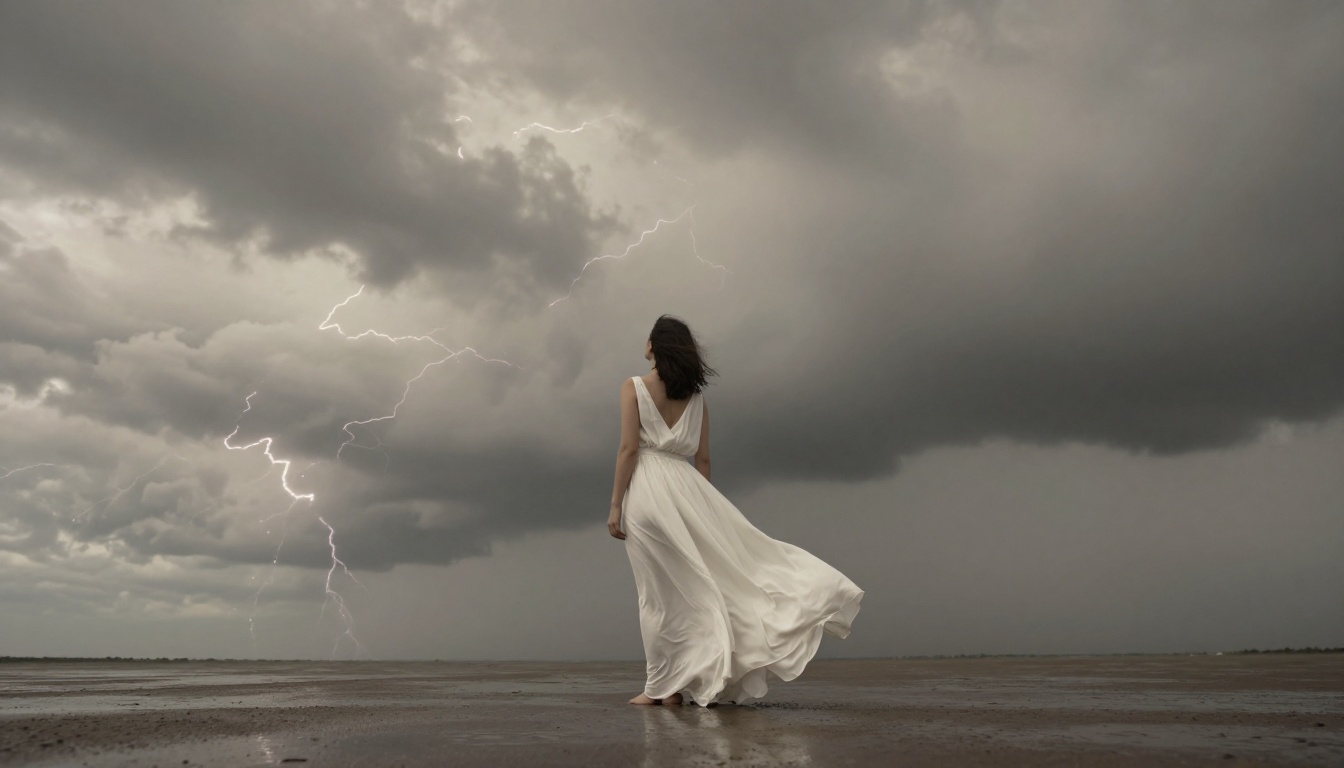
How AI Changed the Workflow
Before AI video tools, creating a double exposure video required you to shoot clean green screen footage, remove the background in post-production software, import an animated background clip, apply blend modes in a timeline editor, color grade both layers to match, and export. That process took hours for an experienced editor.
From hours to seconds
Current AI models collapse that workflow dramatically. The most significant change is in background removal. Tools like Video Remove Background eliminate the need for green screen entirely. You feed in any footage of a person or subject, and the AI produces a clean matte with edge-accurate separation, including hair strands and soft fabric edges that would take hours to rotoscope manually.
From there, AI video generation handles the other half of the equation. Instead of sourcing stock footage of a forest or ocean, you can generate exactly the interior world you imagine, with the precise color palette, motion speed, and atmosphere you need.
What AI handles automatically
| Task | Traditional Method | AI Method |
|---|
| Background removal | Manual rotoscoping or green screen | Video Remove Background |
| Interior world footage | Stock library search | Text-prompt generation |
| Color matching | Manual grade | Prompt-controlled color palette |
| Motion speed control | Timeline keyframes | Prompt description |
| Output upscaling | Manual export settings | Video Increase Resolution |
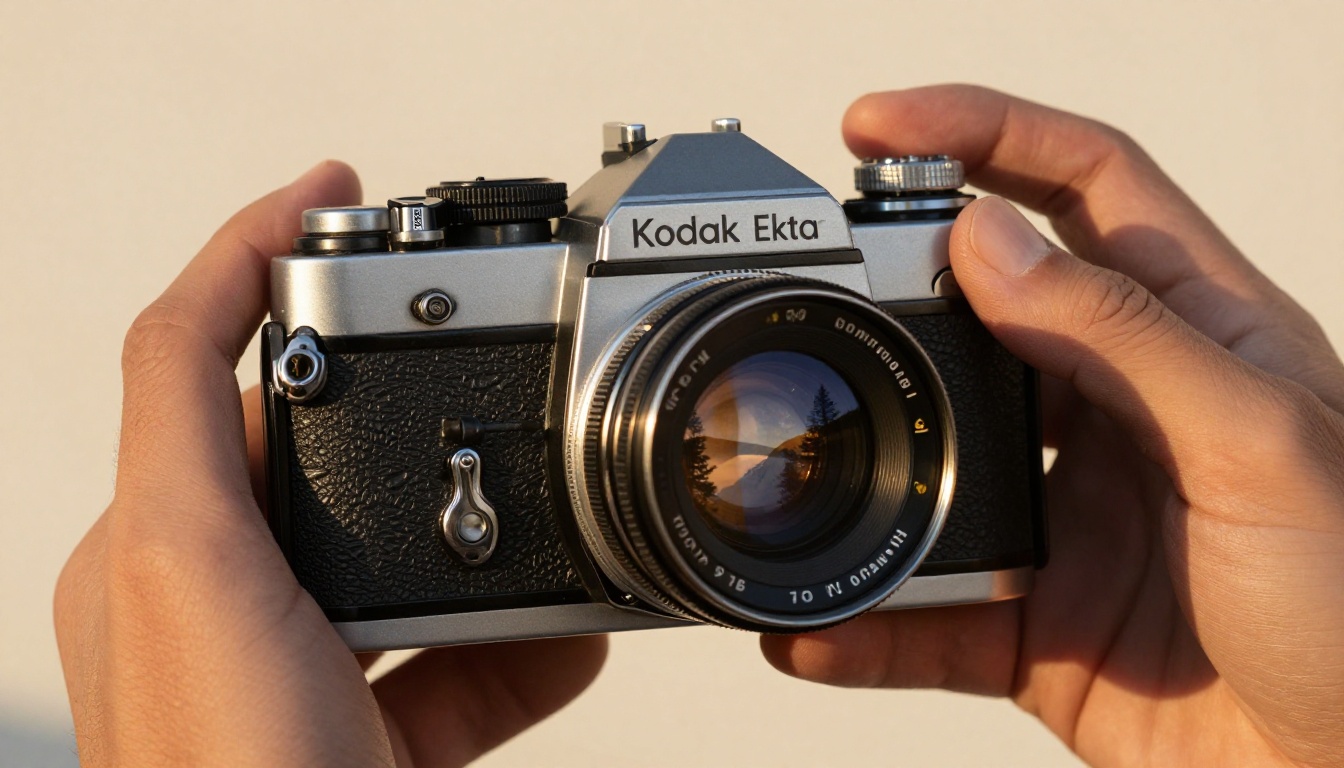
The AI Models That Power This
Understanding which models do what helps you build the right workflow for your specific creative goal.
For generating the interior world
Wan 2.7 I2V is particularly effective for animating a still image into the moving background layer of your composite. Feed it a photograph of a forest, a wave, or a galaxy, and it produces fluid motion that looks natural rather than algorithmic. The 1080p output has enough resolution to hold up inside a close-crop silhouette.
Kling v3 Video generates cinematic motion from text prompts, making it ideal when you want a very specific atmospheric interior: slow fog rolling through pine trees, embers rising from a fire, or Northern Lights shifting overhead. Its motion physics are significantly more realistic than earlier models, which is critical when the interior world needs to read as believable inside a human outline.
Pixverse v5 handles effects-rich scenarios well, including water, flame, and particle motion. If your double exposure concept involves dramatic elemental content, liquid cascading through a silhouette or smoke filling a face shape, Pixverse's particle rendering produces results with strong visual impact.
For those who want audio-synced video content, Seedance 2.0 generates videos with built-in audio, which can add a sonic dimension to your double exposure piece, rainfall inside a silhouette that you can actually hear.
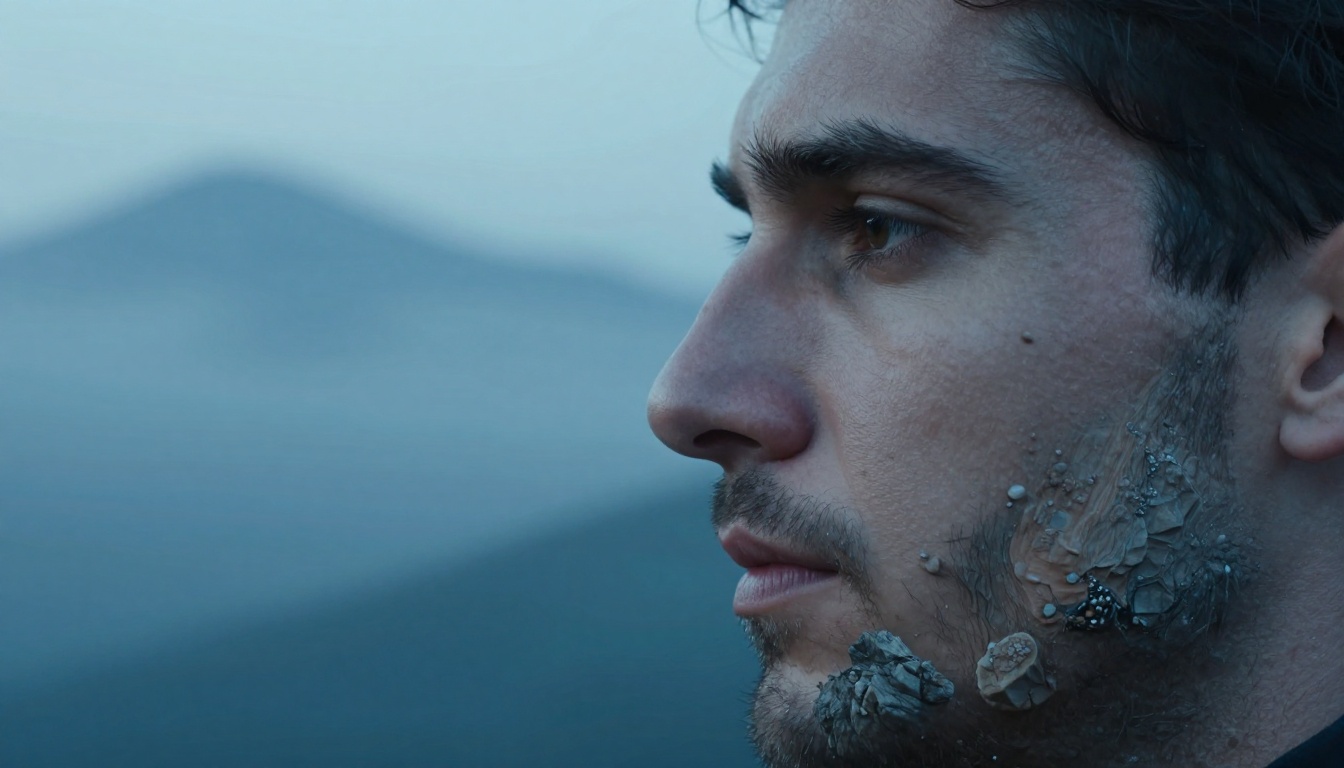
For clean subject isolation
Robust Video Matting is the precision tool when edge quality is paramount. It produces alpha mattes with sub-pixel accuracy, meaning the boundary between your subject and the interior world will look intentional rather than rough. For close-up portrait composites where every hair strand needs to carry the internal image, this is the model to use.
Video Remove Background handles more casual footage efficiently. Shot a video of someone walking in front of a plain wall? This tool separates them cleanly enough for compositing without any manual cleanup.
For final refinement
Once your composite is built, Real ESRGAN Video upscales the output to 4K, recovering detail lost in the blending process. Lucy Edit 2 lets you make text-driven corrections to any section of the final video without re-rendering the whole composition.
Build Your First Double Exposure Video
Here is a concrete workflow you can follow from start to output.
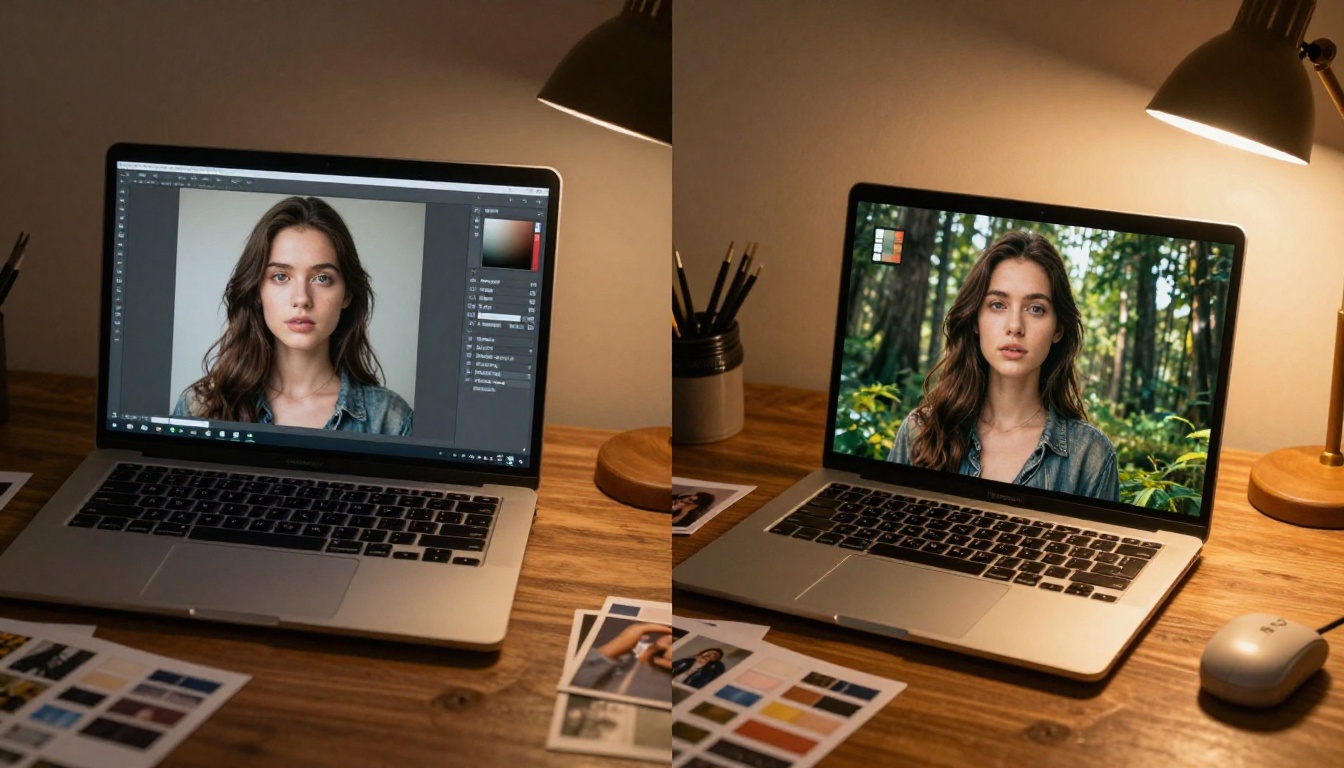
Step 1: Choose and isolate your subject
Start with either a still portrait or a short video clip of your subject. Strong contrast between the subject and background makes isolation easier. A person filmed or photographed against a light or neutral background will give you the cleanest matte.
Run the footage through Video Remove Background to strip the background. What you get back is your subject layer with a transparent background ready for compositing.
💡 Tip: The cleaner your original footage, the better your final composite. Film in even, diffused light with no strong shadows crossing the subject's edges.
Step 2: Generate your interior world
Write a text prompt describing the inner landscape you want. Think in terms of:
- Motion character: slow and meditative, fast and chaotic, looping and rhythmic
- Tonal palette: warm golden greens for forest, cool blue-grey for ocean, deep violet for space
- Atmospheric density: thick fog, crystal clear, hazy backlight
Use Wan 2.7 T2V for landscape footage generated entirely from text, or Wan 2.7 I2V if you already have a reference image you want animated.
Generate the interior clip at a slightly longer duration than your subject footage. This gives you room to trim and time the motion so it feels deliberate rather than arbitrary.
Step 3: Composite and blend
This step is where the double exposure effect happens. In most video editing applications, place the isolated subject layer above the interior world layer. Set the subject layer's blend mode to Multiply if the interior world is lighter, or Screen if the interior world is darker. The result is the interior world visible through the silhouette of your subject while the background remains clean.
For an AI-native approach, Modify Video lets you restyle and blend two video elements using text prompts, removing the need for manual layer management entirely.
💡 Tip: If the composite feels too transparent, reduce the opacity of the subject layer slightly or add a second copy of the subject on top with very low opacity set to Normal blend mode. This reinforces edge definition.
Step 4: Color grade and output
The most common mistake in double exposure work is neglecting the color grade. Two videos generated separately will have slightly different color temperatures and saturation levels. Unifying them visually is what makes the composite feel like a single artistic decision rather than two separate clips placed together.
Adjust the color temperature of the interior world to match or intentionally contrast the subject. Cool interiors against warm subjects create tension. Monochromatic treatments (desaturating both layers to a single color cast) create elegance.
Finish with Video Increase Resolution to upscale to 4K or 8K for maximum output quality.
Which Combinations Work Best
Not all double exposure pairings are equal. Some combinations have proven to resonate visually, while others tend to read as cluttered.
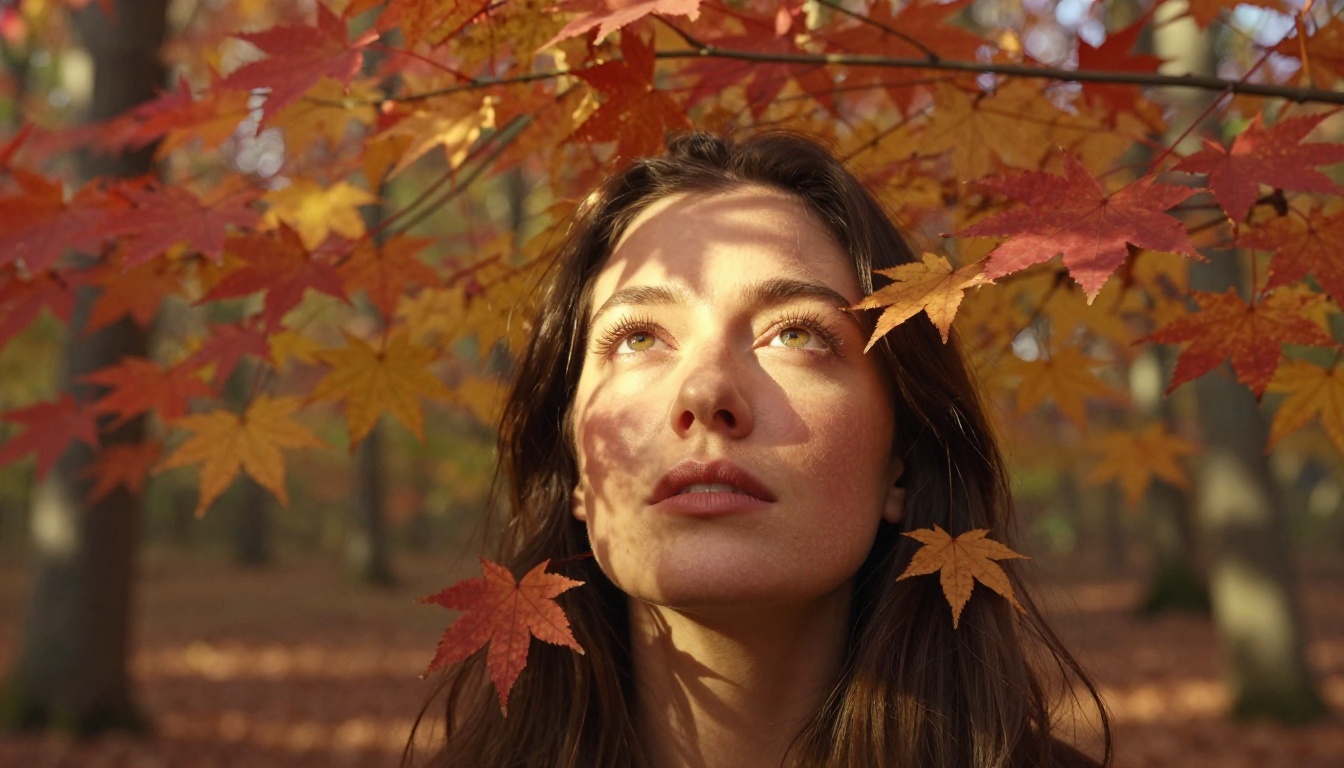
Portrait and Forest
The most classic combination. Human faces have enough tonal variation (light forehead, darker eye sockets, mid-tone cheeks) to create natural windows for forest light to come through. Golden hour forests work especially well because the warmth flatters skin tones. Use Kling v3 Video to generate slow wind movement in the foliage for a meditative result.
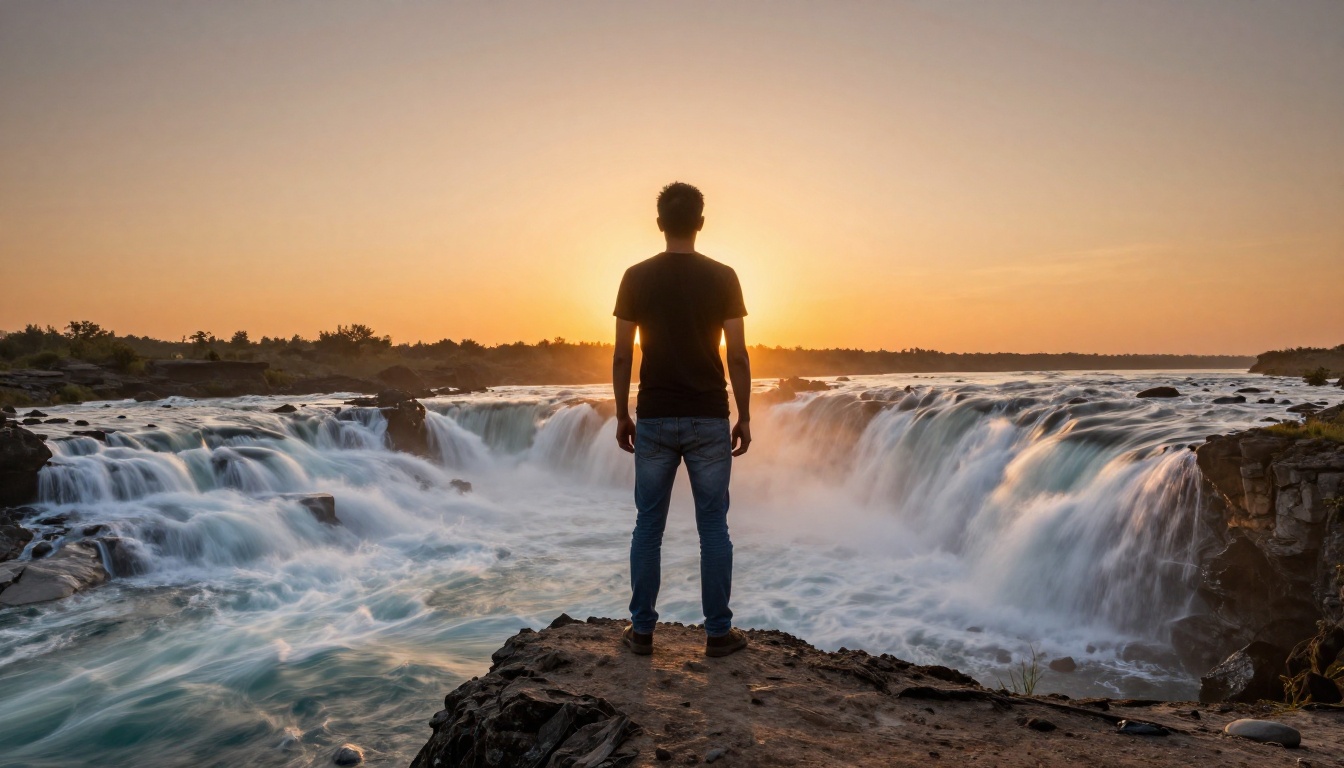
Silhouette and Cityscape
A full-body silhouette against a city at night is a high-contrast pairing that rewards time-lapse style interior footage. The movement of traffic light trails through the body shape creates strong visual rhythm. Hailuo 02 generates cinematic 1080p city footage with detailed ambient motion that works well in this context.
Face and Ocean
Water is the most visually dynamic interior world for a portrait. Waves have natural rhythm that draws the eye across the face repeatedly. Use Wan 2.7 I2V to animate a reference ocean photo with controlled wave direction so the motion tracks intentionally across facial features.
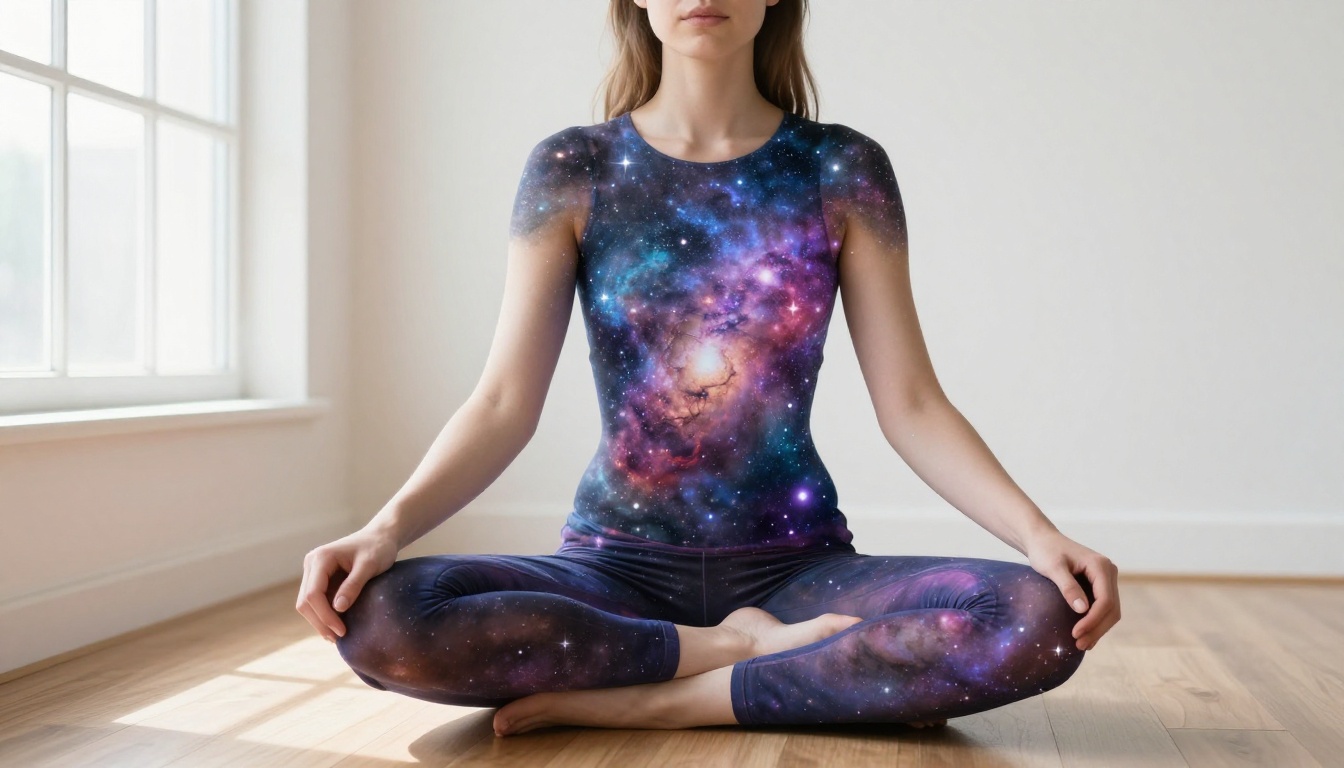
Body and Galaxy
The human body at full length has proportions that mirror cosmic structures naturally. Spine as Milky Way, ribcage as star cluster. Kling v2.6 produces slow, steady cosmic motion that holds the viewer's attention over a longer clip duration.
What Separates Good from Great
Most double exposure videos fail for the same reasons. Knowing these pitfalls ahead of time saves you from generating several rounds of corrections.
Contrast is everything
The interior world needs to be significantly lighter than the silhouette for Screen blending to work, or significantly darker for Multiply blending. Mid-tone-heavy interior footage will produce a muddy composite where neither element is readable. Generate your interior world clips with strong highlights or strong shadows, not both competing at the same time.
Motion direction matters
If your subject faces left in frame, the interior world's primary motion should move in the same direction, into the face rather than away from it. Counter-directional motion fights the viewer's eye rather than leading it. Set your direction in the prompt by describing it explicitly: "waves rolling left to right," "birds flying toward camera," "fog drifting upward."
Color temperature rules
Monochromatic double exposures are almost always more sophisticated than full-color ones. When both layers share the same dominant hue, the blend feels intentional. Desaturate both clips to a single tonal family (warm amber, cold blue-grey, deep teal) before compositing, or generate the interior world with a specific color palette from the start using prompt color descriptions.
💡 Tip: The most striking double exposure work uses black-and-white or duotone palettes. It eliminates color competition between layers and forces the viewer to focus on form and motion instead.
Start Creating on Picasso IA
Everything in this workflow is accessible directly through Picasso IA's model collection. You do not need separate subscriptions, different platforms, or local software installations. The background removal, video generation, compositing assistance, and upscaling all run through a single interface.
Start with a portrait, pick an interior world that feels emotionally connected to what you want to say, and let the AI handle the technically demanding parts. The creative decisions, which worlds to merge, which colors to privilege, how fast the interior motion should move, those remain entirely yours.
The results consistently surprise people who try it for the first time. There is something about seeing a living world inside a human silhouette that triggers a specific kind of wonder. With the models available today, that feeling is accessible without the years of technical practice it once required.
Pick a model, write a prompt, and see what lives inside your frame.


