Fire refuses to behave. That is what makes it so compelling in photography and film, and what makes it so frustrating to produce on demand. A single convincing flame requires precise combustion, the right fuel, ideal lighting conditions, and a camera operator willing to work close enough to the heat. Smoke is even less predictable. It drifts, dissipates, and changes density based on humidity, wind speed, and temperature. For decades, creating fire and smoke effects meant either hiring a pyrotechnics crew, renting expensive simulation software, or painstakingly compositing VFX footage frame by frame. AI has changed the math on all of that. Today, you can describe a burning scene in plain language and receive a photorealistic image in under ten seconds.
Why Real Fire Photography Costs Too Much
Practical fire photography demands safety protocols, permits, and experienced crew. A single controlled burn on a commercial set costs thousands of dollars before a single frame is captured. Post-production compositing through tools like After Effects or Nuke requires specialized skills and often licensed VFX assets that run hundreds of dollars per clip.
Even photographers with studio budgets face the same core problem: fire is a live element that cannot be repeated identically. The exact color temperature, smoke volume, and ember scatter of one take will never match the next. This inconsistency means more takes, more fuel, and more risk. For independent creators, short film productions, or social media content studios, the cost is simply prohibitive.
The permit problem compounds this. Many municipalities require fire department standby for any open-flame photography, adding personnel costs and scheduling constraints that can push a single shoot day over budget before the first test shot.
💡 The AI advantage: A text-to-image model generates fire that is repeatable, adjustable, and available at any hour without permits or fire extinguishers.
How AI Models Process Fire Visuals
Current AI image models are not simulating combustion physics. They are pattern-matching against billions of fire photographs and learning the statistical relationship between fire descriptions and visual output. When you write "campfire with heavy smoke at night," the model retrieves the visual memory of thousands of similar images and synthesizes a new one based on those patterns.
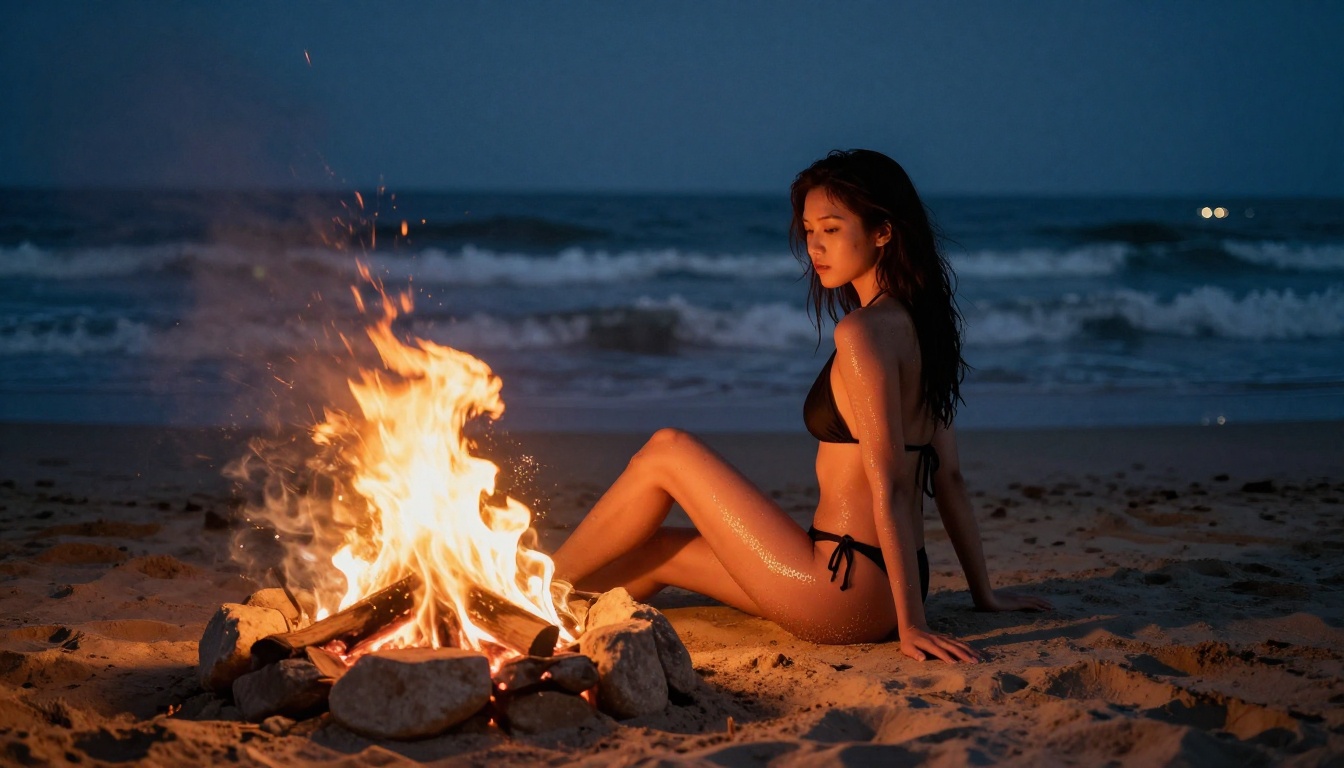
This matters because it explains both the strengths and the limits of the approach. AI fire excels at several specific things that are difficult to achieve even with practical effects. Color gradients from white-hot centers to deep amber edges are reproduced with remarkable accuracy. Light interaction between flames and nearby surfaces, including skin, fabric, and metal, reflects the actual physics of how fire-colored light falls on different textures. Environmental context such as night sky silhouettes, water reflections of flames, and heat shimmer above burning surfaces are handled with consistency that would require hours of careful compositing to match.
The reason comes down to training data volume. Fire appears in an enormous proportion of documentary, news, and artistic photography. The model has effectively "seen" fire in every conceivable situation, from birthday candles to burning buildings, and learned how each context changes the visual character of the flames.
| AI Fire Strength | Why It Works |
|---|
| Flame color gradients | Extensive training on fire photography |
| Light-surface interaction | Pattern-matched from thousands of fire-lit scenes |
| Smoke density variation | Natural smoke photography is common and well-represented |
| Environmental fire scenes | Landscape fire photography provides strong reference data |
| Heat shimmer effects | Consistent visual signature easily reproduced |
3 Types of Fire Effects You Can Create
Still Image Fire Scenes
The most straightforward use case is generating a complete photorealistic fire scene from scratch. This covers everything from a single candle macro shot to a full wildfire panorama. The key is treating fire the same way you would any photography subject: define the environment, the light source, the camera angle, and the film stock.
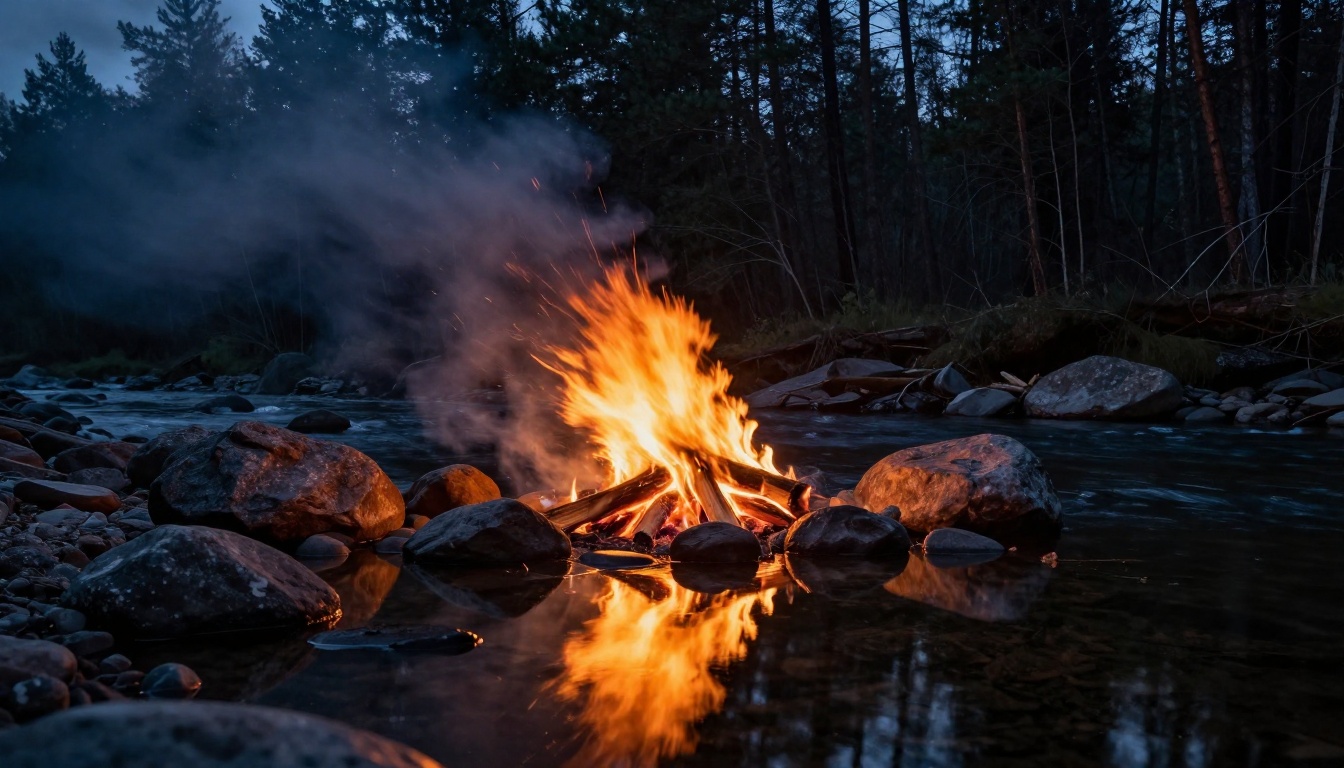
A prompt like "campfire burning on a rocky riverbank at night, flames reflecting in still water, Kodak Portra 400, 24mm wide-angle lens, long exposure" gives the model enough context to produce something a skilled photographer might spend three hours setting up in the field. The specificity of the lens and film stock is not decorative. It directly changes how the model renders depth of field, grain, and color rendering.
Still fire images are the fastest to iterate on. Each generation takes under fifteen seconds, and adjusting a single variable, such as changing from a wide-angle lens to a telephoto or shifting from Portra to Velvia film stock, dramatically changes the mood without touching anything else in the scene.
Smoke as a Creative Tool
Smoke without fire is a legitimate creative category on its own. Fashion photographers use atmospheric smoke to add depth and mystery. Product shooters use it to create expensive-looking haze that separates subject from background. Portrait photographers layer smoke between subject and backdrop to add dimensional separation that a simple blur cannot replicate.
For AI generation, smoke requires slightly different prompt logic than fire. Fire is high-contrast and dramatic. Smoke is about softness, direction, and interaction with light. The best results come from specifying the light source's position relative to the smoke. Backlit smoke creates a luminous halo effect that reads as glamorous and cinematic. Frontlit smoke appears denser and more opaque, reading as atmospheric or even threatening depending on context.
The word volumetric is one of the most consistently effective smoke modifiers in any fire or smoke prompt. Volumetric smoke has internal light scattering that gives it three-dimensional depth, making it read as a physical presence in the frame rather than a flat overlay.
Large-Scale Wildfire Scenes
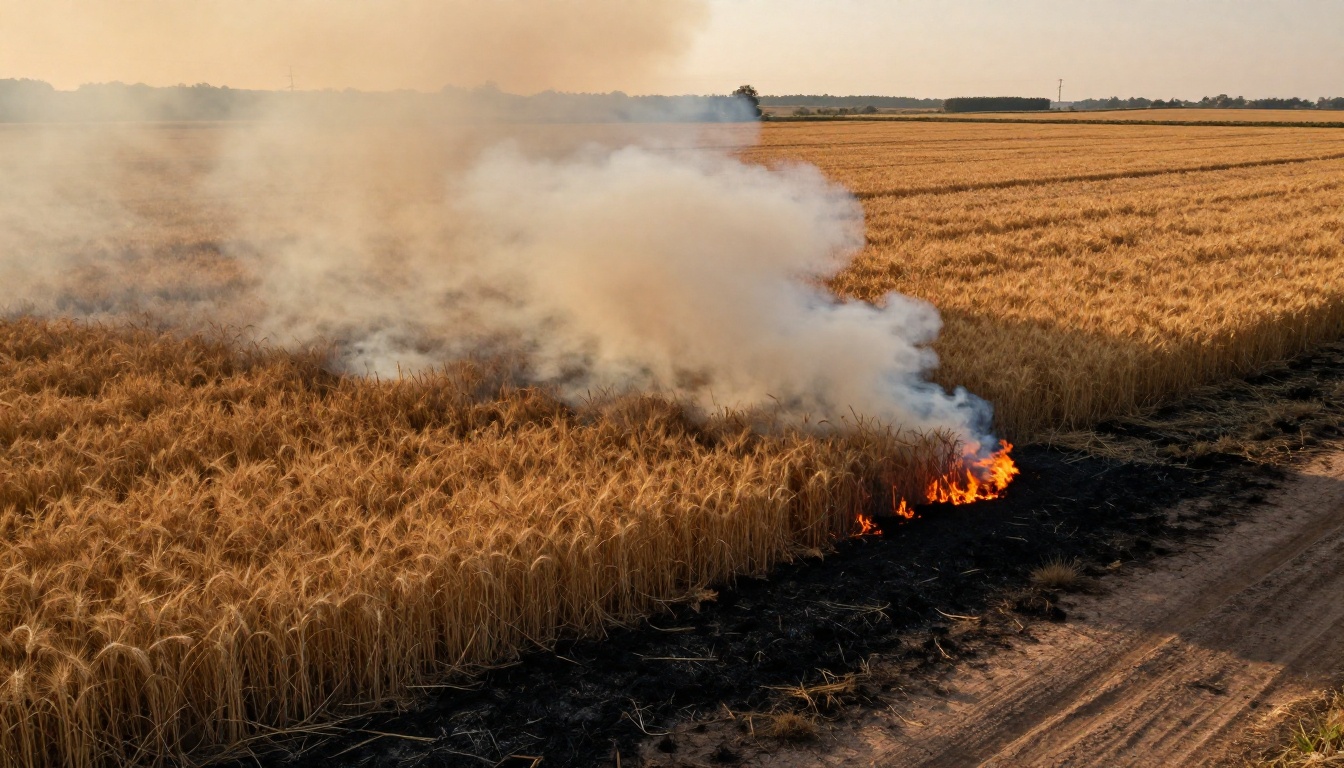
Large-scale fire scenes, where flames consume entire structures or landscapes, are one of AI's strongest categories. These images are effectively impossible to stage practically for most creators. A wildfire burning through a pine forest, a building fully engulfed, or a burned-out vehicle on a highway at dawn: all of these require describing the scene's scale clearly and including environmental smoke behavior.
For large scenes, specify the smoke's behavior in relation to weather. "Dense brown-grey smoke blocking the sky and filtering the last light of day into an eerie sepia haze" gives the model both the color information and the atmospheric effect you want from that smoke volume.
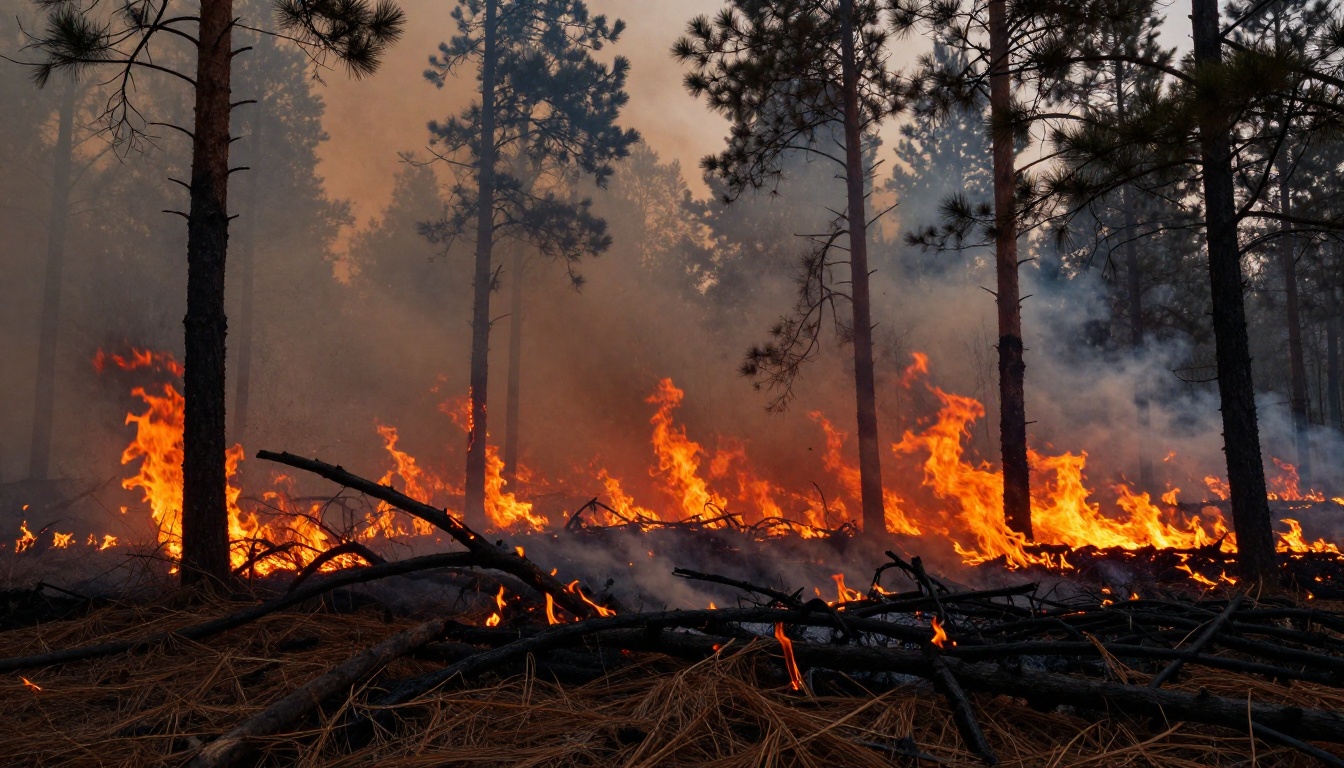
Getting photorealistic fire from an AI model is less about knowing magic keywords and more about thinking like a photographer. Every great fire photograph has five distinct elements. Your prompt should address all five, and missing even one often results in an output that feels staged rather than real.
Subject and Fire Position
Be specific about what is burning, how much of the frame fire occupies, and where it sits relative to any subject in the scene. "Wall of fire behind a subject" produces different results than "subject with fire burning in the foreground at ground level." Proximity matters enormously. Fire 20 feet away gives soft warm fill light that kisses the edges of the subject. Fire 3 feet away creates hard orange shadows with visible heat distortion in the air between the two elements.
How Lighting Interacts With Fire
Fire is not just a visual element in a scene. It is a light source, and your prompt needs to describe what that light source is doing to everything around it. "Casting orange side-light across her face from the right" tells the model exactly how the fire interacts with the subject. Without this direction, the model may generate a scene where the fire and the subject appear lit by different sources, which kills realism immediately.
| Lighting Setup | Prompt Language |
|---|
| Side-lit from fire | "fire casting sharp orange shadows from the left, hard falloff" |
| Back-lit by fire | "fire backlighting the subject, silhouetting edges in amber" |
| Fire below subject | "upward orange light from fire below, dramatic underlighting on face" |
| Distant fire glow | "soft ambient orange glow across the scene from distant flames" |
| Fire reflected on water | "flames reflected in still water below, doubling the light source" |
Camera Lens and Film Stock
This is where most beginners leave realism on the table. Specifying a lens focal length, aperture, and film stock is not decoration: it instructs the model on depth of field, perspective distortion, and grain character. A 35mm f/2.8 at night produces a completely different image than a 135mm f/2 telephoto compressing the same scene from 50 meters away.
| Film Stock | Character in Fire Scenes |
|---|
| Kodak Portra 400 | Warm, creamy rendering with natural skin response to firelight |
| Fujifilm Velvia 50 | Saturated, punchy flame colors with high contrast shadows |
| Kodak Ektar 100 | Fine grain with vivid color separation between flame zones |
| Kodak T-Max 3200 | Gritty, high-grain documentary texture for industrial fire scenes |
| Fujifilm Provia 100F | Clean, neutral rendering for aerial and landscape fire photography |
Smoke: Density, Color, and Direction
Smoke is harder to prompt than fire because it has more independent variables. Density, color, direction, and its relationship to light all change the emotional tone of a scene dramatically. A thin wisp of white smoke rising from a candle wick reads as intimate and contemplative. A massive black plume billowing from a burning structure reads as urgent and catastrophic. The prompting language for each is completely different.
Thin Wispy vs Dense Billowing Smoke
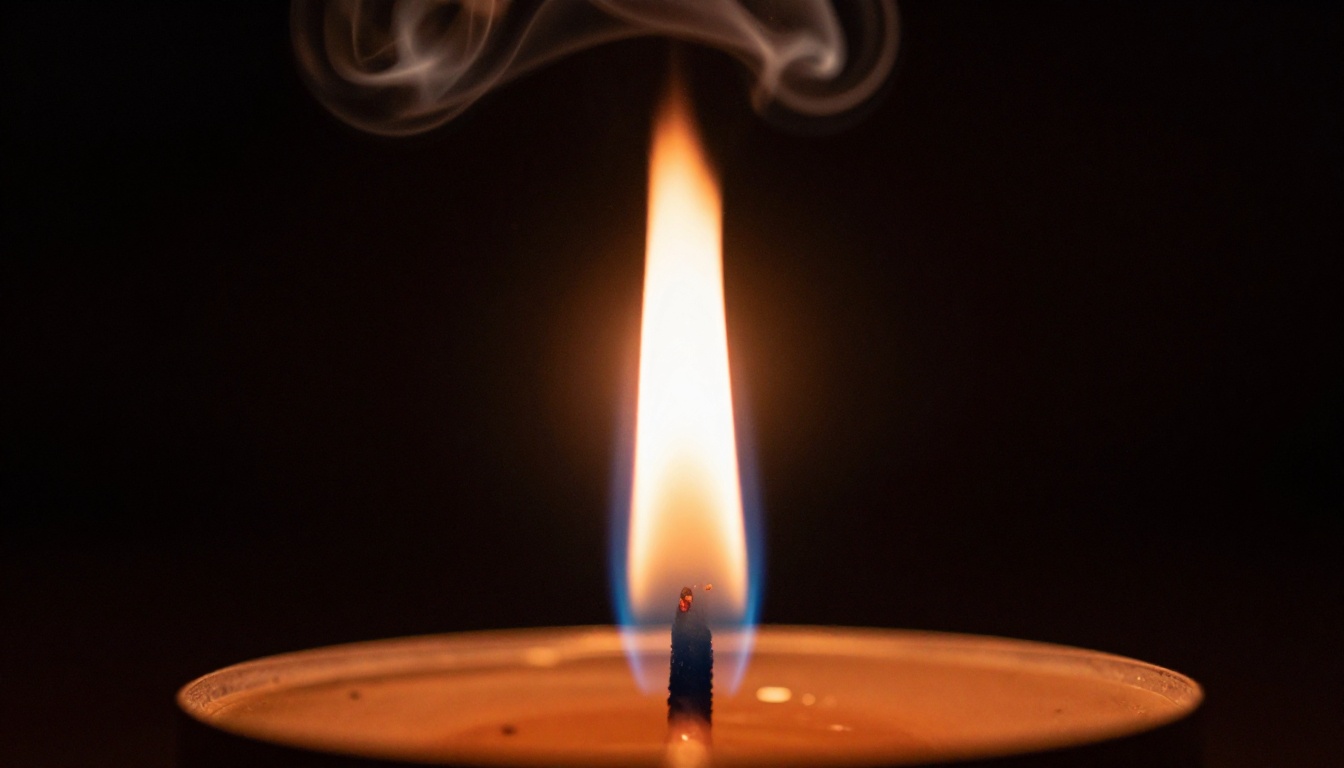
For thin, delicate smoke, the most effective descriptors are: wisps, tendrils, spiral formations, dissipating edges, translucent column, convection patterns. These words cue the model toward the fine-detail smoke patterns seen in candle and incense photography, where individual smoke threads are distinct and visible.
For dense, heavy smoke, the effective vocabulary shifts to: billowing, massive plume, opaque column, horizontal drift, roiling formations, storm-like. Always pair dense smoke with wind direction for added realism. "Dense grey smoke drifting horizontally in a strong afternoon crosswind" produces a much more convincing result than simply "lots of smoke."
💡 Tip: Add "volumetric" before any smoke description. Volumetric smoke has internal light scattering that makes it look three-dimensional rather than a flat painted effect over the scene.
Colored Smoke Sessions
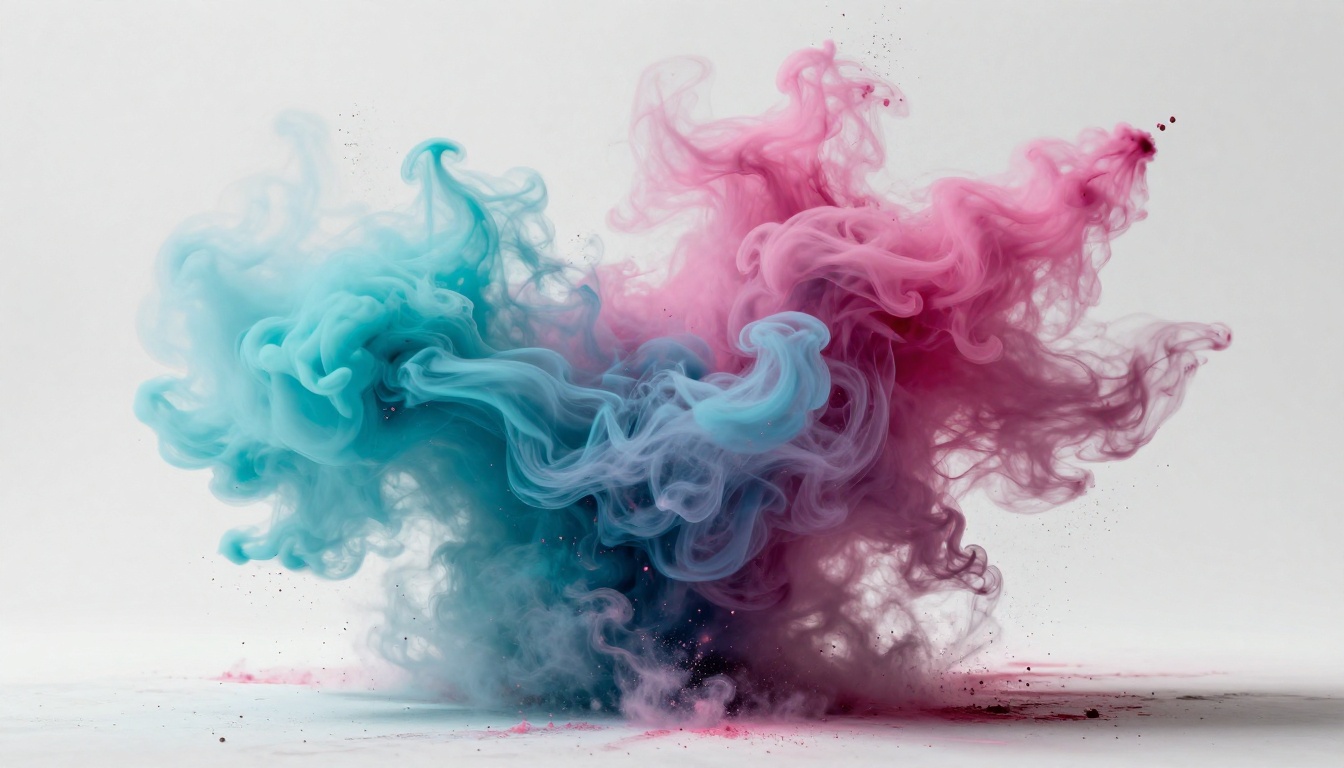
Colored smoke bombs are a staple of fashion and sports photography. AI handles these exceptionally well because the model has seen thousands of colored smoke photography sessions in its training data. The trick is specifying the light source that illuminates the smoke, since colored smoke looks completely different when backlit versus front-lit by studio strobes.
A prompt like "cyan and magenta smoke clouds colliding in mid-air against a white studio backdrop, strobe lighting from the left creating three-dimensional depth in the plumes, high shutter speed freezing the smoke perfectly, Kodak Ektachrome E100" produces results that would require a real smoke powder session to match in practice.
The AI Models That Handle Fire Best
No dedicated fire-and-smoke model exists as a single specialized tool. The best results come from general-purpose image and video models that have strong photorealistic training data and flexible prompt handling.
For Still Fire and Smoke Images
Flux Dev is a 12-billion parameter text-to-image model that produces exceptionally detailed fire textures. Its strength in fire scenes comes from the model's high resolution output and its ability to render micro-detail, including individual ember sparks, smoke thread separation, and the blue-to-orange color transition at a flame's base. The image-to-image mode in Flux Dev is particularly useful for fire work: you can start from an existing photograph and add fire or smoke elements through a descriptive prompt while maintaining the original scene's lighting and perspective. It supports 11 aspect ratios including 16:9 widescreen, which is ideal for cinematic fire compositions.
GPT Image 1 takes a different approach, offering three quality tiers that let you trade rendering detail for processing speed. Its batch generation capability, up to 10 images per single run, makes it ideal for iterating on fire compositions until the smoke placement and flame color land exactly right. The ability to provide reference images means you can guide GPT Image 1 with actual fire photography to keep outputs grounded in the specific visual register you need.
| Model | Best Use Case | Key Feature for Fire |
|---|
| Flux Dev | Fine flame detail, scene editing | Img2img for adding fire to existing scenes |
| GPT Image 1 | Fast iteration, batch comparison | 10 variations per run for smoke placement testing |
For Animated Fire Effects
When you need fire in motion rather than a still frame, the text-to-video models on the platform open a new dimension of what is possible without a production budget.
Pixverse v6 generates cinematic video with integrated AI audio, which means describing a burning scene can produce a clip with the natural crackling and roaring of fire included. For documentary-style fire content or social media fire visuals, this removes an entire audio post-production step.
Kling v3 Video produces 1080p cinematic output and handles the fluid, unpredictable motion of fire with impressive consistency. Its motion control system gives you influence over how fast the flames move, which is critical since fire motion speed is one of the first things a viewer's eye detects as wrong.
For large-scale environmental fire sequences, Seedance 2.0 from ByteDance generates video with built-in audio at 1080p, and its landscape and environmental training makes it particularly strong for wildfire and wide-angle smoke plume sequences. Wan 2.7 T2V is another reliable option for text-to-video fire, producing 1080p output from plain text descriptions with consistent flame behavior across the clip duration.
Results You Can Realistically Expect
Where These Models Shine
The following fire and smoke categories produce strong results across current models with minimal prompt revision:
- Campfire and bonfire scenes: Excellent fidelity. The model has extensive reference for this scenario across every lighting condition and environment.
- Candle flame macros: Outstanding detail in smoke wisps and the blue-to-orange color transition at the flame base.
- Wildfire from a distance: Consistently strong. Scale gives the model room to generalize without losing realism.
- Smoke-in-fashion photography: Very strong, particularly with colored smoke and backlit setups where the luminous halo effect is the main subject.
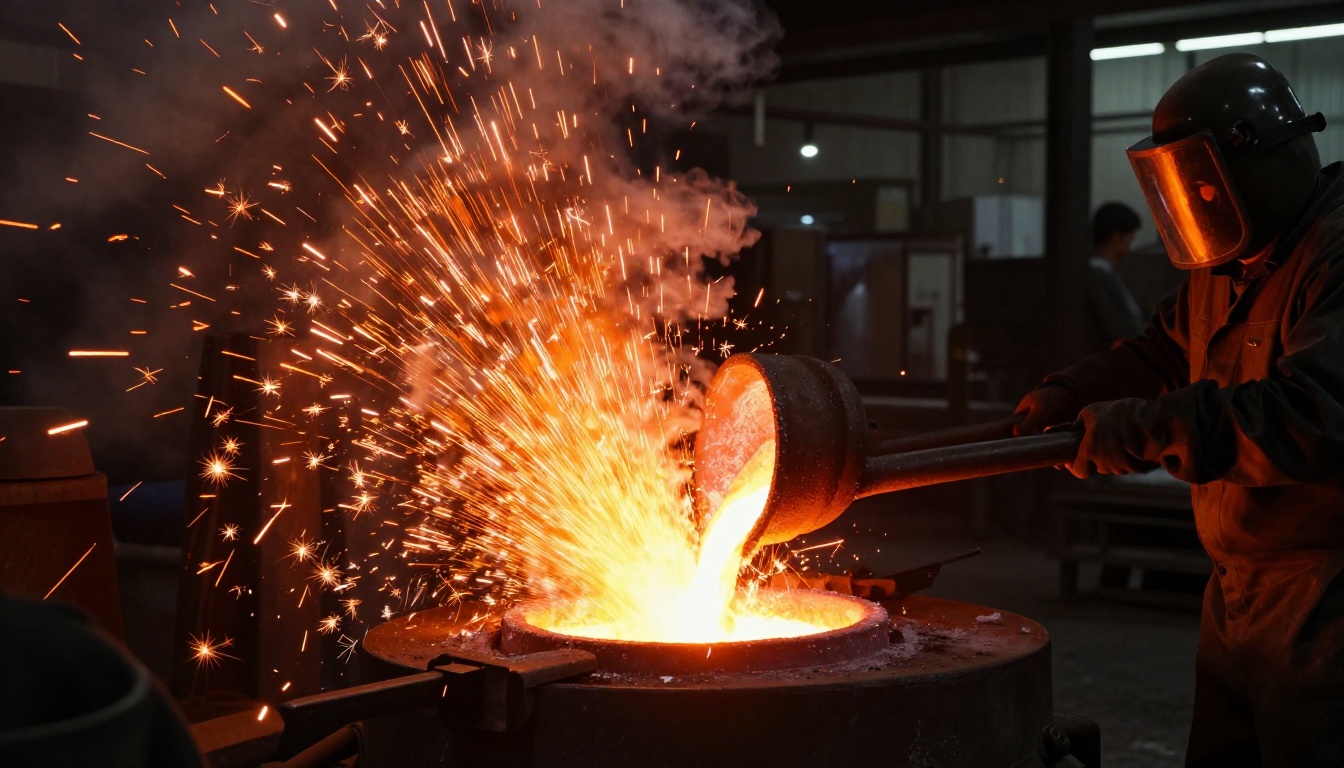
- Industrial fire and metalwork sparks: Surprisingly detailed, with accurate spark trajectory patterns and heat distortion.
Scenes That Still Need Extra Prompting
A few fire and smoke scenarios require more iteration to get right with current models:
- Fire interacting closely with hands or held objects: The proximity between flame and human anatomy sometimes introduces subtle distortion where the two elements meet.
- Fire with very specific shapes: If you need flames shaped in a controlled way, such as following the outline of a specific object, results are inconsistent.
- Multiple matching fire frames: Generating two separate images of identical fire behavior for compositing purposes is difficult without the img2img workflow.
💡 Workaround: For controlled flame placement, generate the base scene first, then use the img2img feature in Flux Dev to refine specific fire elements with a targeted follow-up prompt focused only on the problem area.
Your First Fire Visual Is 30 Seconds Away
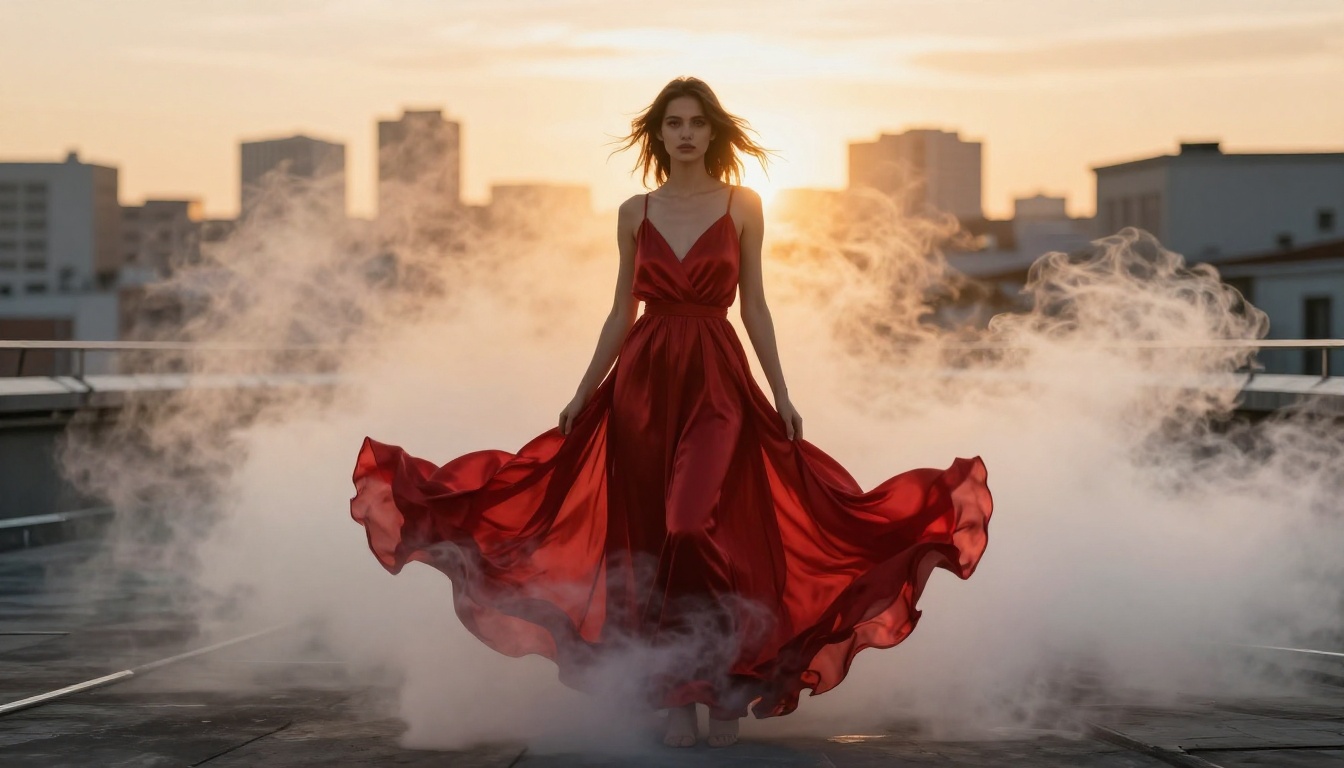
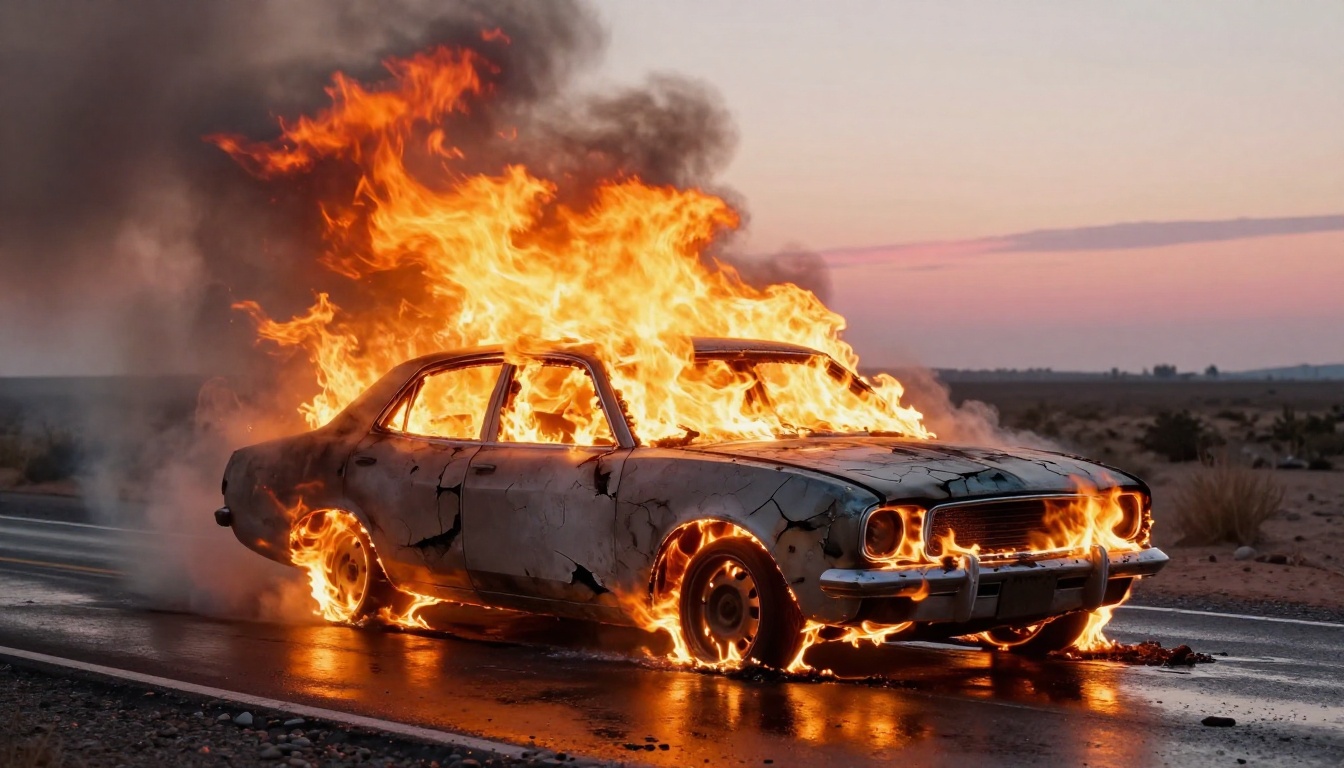
Every image in this article was generated from a text prompt. No fire. No studio. No crew on standby. The burning car on the desert highway, the forge sparks, the fashion model wrapped in atmospheric smoke at sunset: all of it started with a typed description and took seconds to produce.
The fastest way to see what these models can do for your specific use case is to take one scenario you have actually needed before. A product shot with atmospheric smoke. A cinematic fire background for a short film. A wildfire establishing shot. Type it out exactly as you would describe it to a photographer. Specify the lens, the film stock, the light direction, and the smoke behavior. Then run it.
Flux Dev and GPT Image 1 are available directly in the platform with no software to install. If your first attempt misses on flame color or smoke density, adjust one variable at a time: the lighting direction, the film stock, or the camera distance. Within three iterations, most fire scenes land exactly where they need to be.
For moving fire, open Pixverse v6 or Kling v3 Video and paste the same prompt into the video generator. The clip you get back will not require a single permit, a single safety officer, or a single fire extinguisher on standby. That is not a small thing. For independent creators, it is the difference between having fire in your project and not having it at all.