Make Game-Ready 3D Characters with AI: What Actually Works
Building game-ready 3D characters used to take weeks of concept art, back-and-forth revisions, and expensive reference photography. AI image generation has collapsed that timeline. This article details the best models, practical workflows, texture reference strategies, and production tips for getting character assets from idea to approval faster than ever.
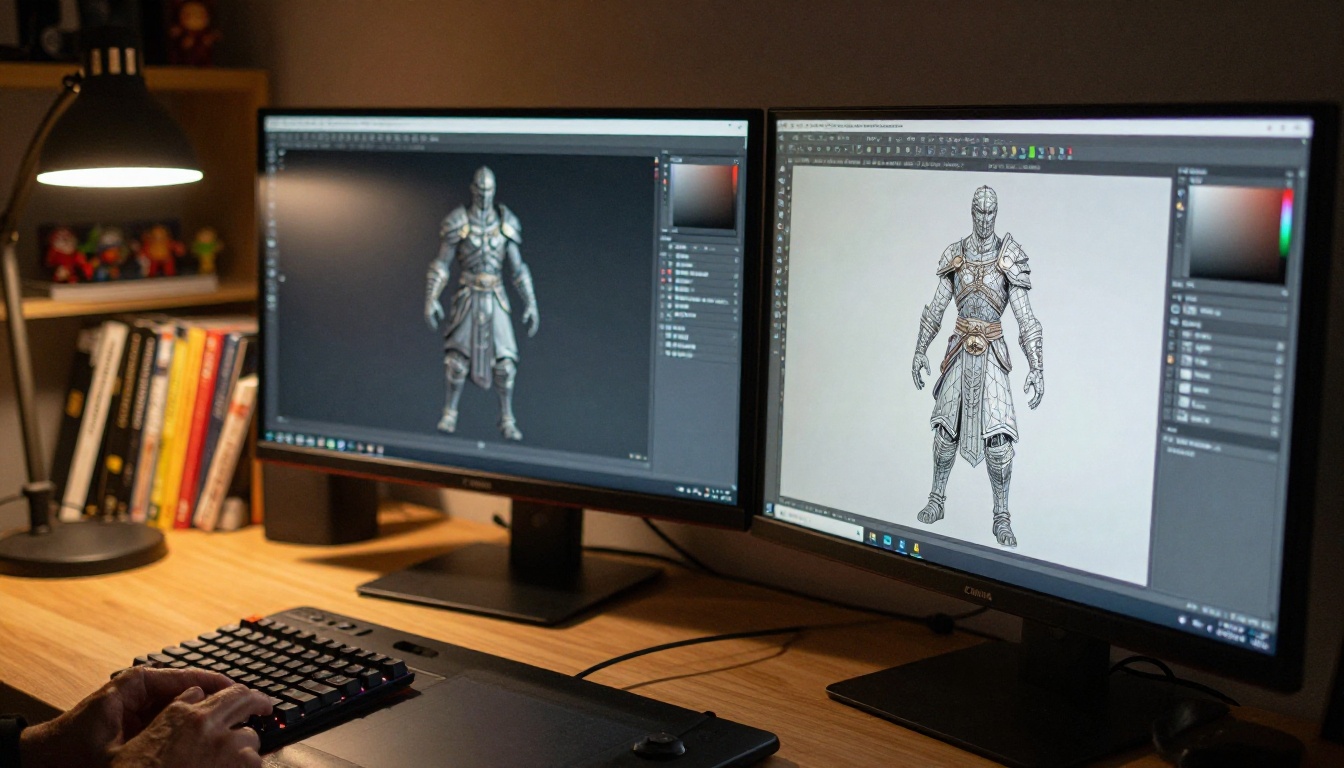
The traditional pipeline for a single game-ready character took a team of artists anywhere from two weeks to three months. Concept art, sculpting, UV mapping, texturing, rigging setup, then another round of revisions because the lead designer changed their mind about the armor design. It was expensive, slow, and painfully dependent on everyone having a clear visual language from day one.
AI changed that equation. Not by replacing artists, but by collapsing the reference creation phase from days to minutes.
Why AI Changed the Character Design Pipeline
The biggest bottleneck in character creation was never the software. It was communication. A writer describes a character as "a battle-hardened mercenary with weathered armor." A concept artist interprets that differently from the 3D modeler. The 3D modeler builds something the animator cannot properly rig. Everyone is working from words instead of images.
AI image generation broke that chain. Now every team member can look at the same visual reference from the very first meeting. That single shift eliminates the interpretation gap that causes most early-stage revision cycles in game development.
From Weeks to Hours
A character that once required a two-week concept phase can now be sketched, refined, and approved in a single afternoon. You generate twenty variations of a costume. The lead picks three. You generate fifty iterations on those three. By the end of the day, everyone on the team is looking at the same visual target.
That alignment alone cuts revision cycles in half. In studios where revision time is the primary budget leak, that is not a minor efficiency gain. It is a fundamental restructuring of how early production work gets done.
The Reference Image Problem, Solved
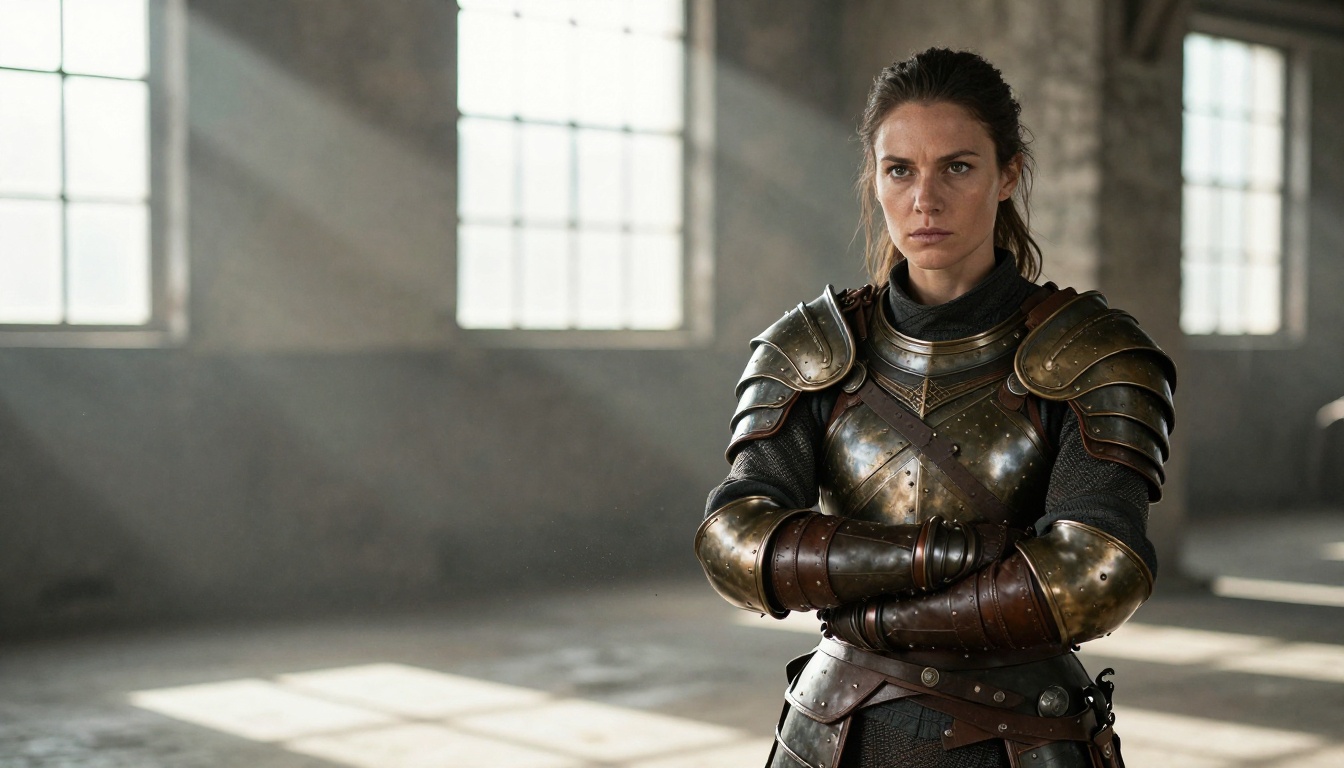
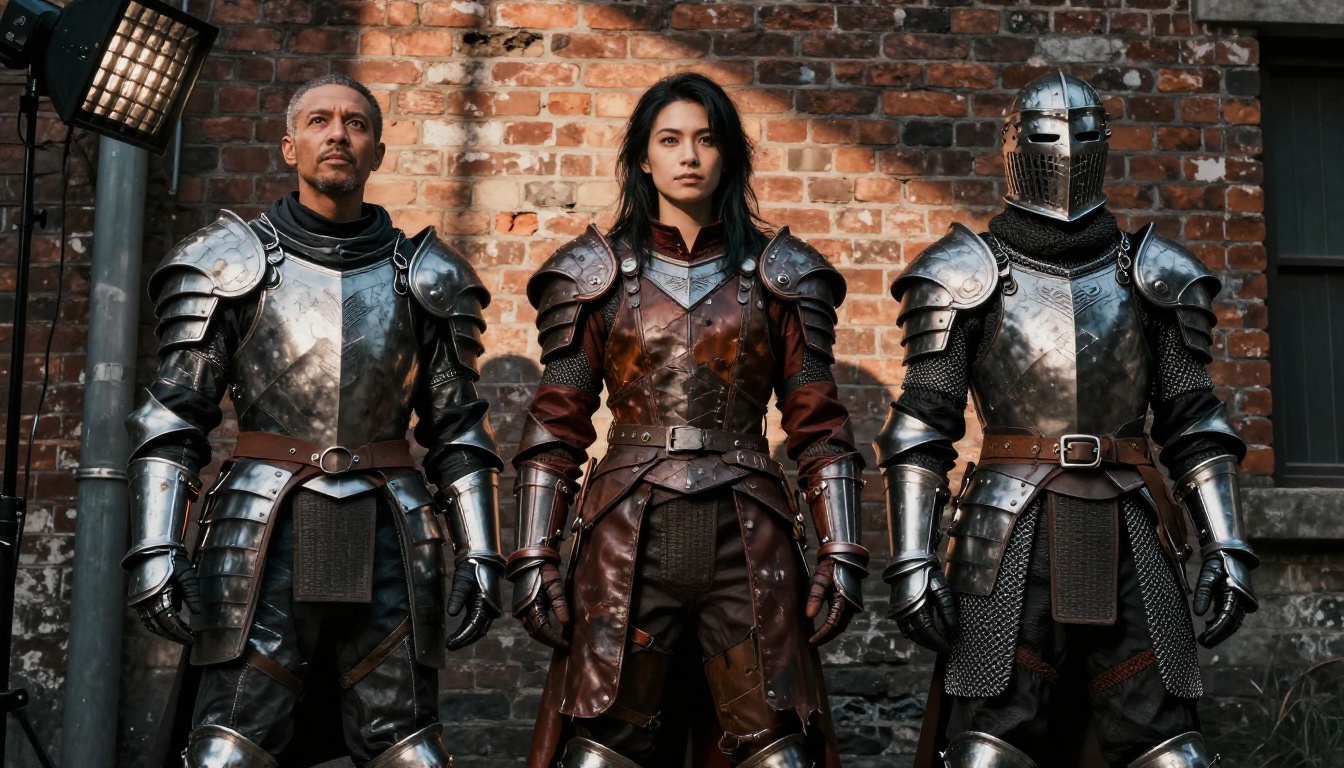
Good reference images are genuinely hard to find. You need an actress wearing exactly this type of pauldron, in this lighting, at this angle, with this level of wear and aging on the armor surface. Stock photo libraries do not have that. Hiring a photographer and costume department is expensive. Waiting for a concept artist to paint it takes days.
AI gives you that specific reference on demand. You describe it precisely, you generate it, and within sixty seconds you have ten variations to choose from. The reference image problem that has plagued character production for decades no longer exists.
AI Models Worth Using for Character Work
Not all models perform equally for game character work. The differences matter more than most teams realize until they have wasted hours generating unusable output.
Flux for Photorealistic References
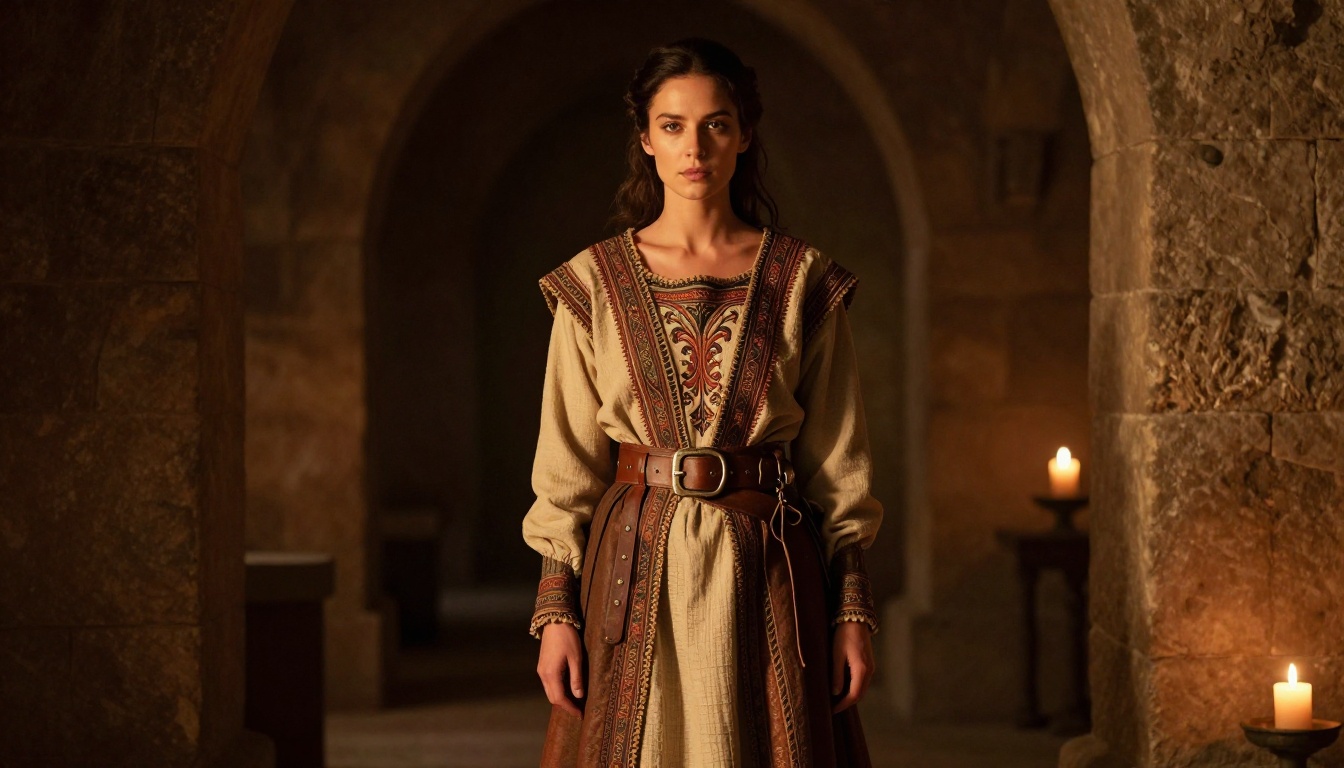
Flux 2 Pro produces the most accurate photorealistic character references currently available in any text-to-image system. The model handles skin texture, fabric detail, and complex lighting scenarios with a level of fidelity that makes it practical for production use rather than just concept exploration.
What separates Flux Pro from the competition is prompt adherence. When you need a character in a specific pose wearing a specific type of armor, Flux does not hallucinate the details. It builds what you describe. That reliability is what makes it useful inside a professional pipeline rather than just for early-stage mood boarding.
Flux 1.1 Pro takes this further with enhanced detail resolution, making it particularly strong for close-up reference shots of faces, hands, and texture details that sculptors and texture artists need for the final production pass.
Model
Best For
Speed
Detail Level
Flux 2 Pro
Full character sheets
Medium
Very High
Flux 1.1 Pro
Close-up texture detail
Medium
Extremely High
Flux Schnell
Rapid iteration
Very Fast
High
Flux Dev
Custom fine-tuning
Slow
Very High
Stable Diffusion for Costume Concepts
Stable Diffusion 3.5 Large remains one of the most flexible options for costume and environment concept work. Its strength lies in stylistic range. You can push it toward realistic, illustrated, or anywhere in between, which is useful when you are still in the early exploration phase and have not committed to a final visual direction for the character.
SDXL paired with the DreamShaper XL Turbo checkpoint is particularly strong for character concept sheets that need to show multiple costume elements in a single frame, giving art directors a broad view of options before narrowing down.
ControlNet for Pose Precision
Pose is everything in character design. A silhouette that reads poorly from a distance will fail inside a game engine regardless of how beautiful the texture work is.
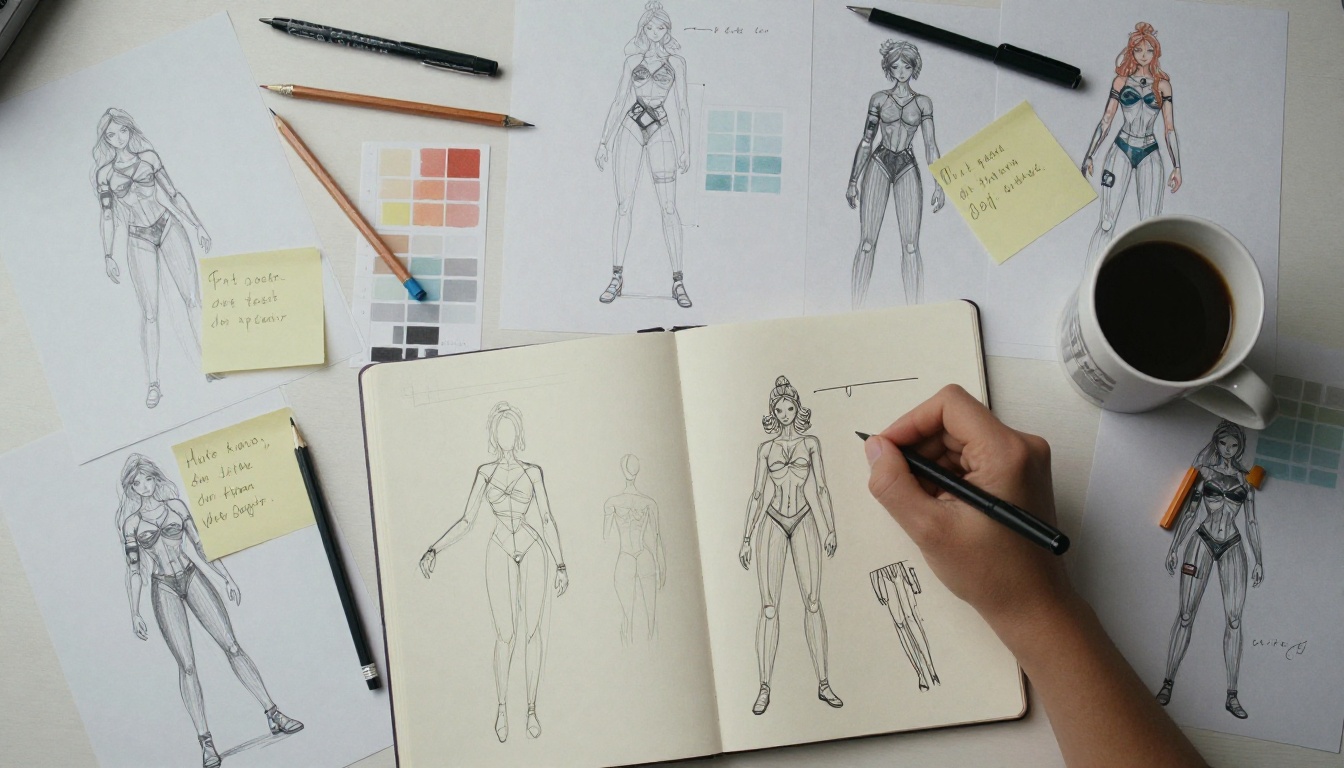
ControlNet Scribble lets you draw a rough stick figure pose and generate a fully rendered character that matches that exact body position. For riggers and animators, this is a significant tool. You can prototype walk cycles, combat stances, and idle animations using simple line sketches and immediately see photorealistic reference output without waiting for a concept artist to paint each variation.
💡 Tip: Combine ControlNet poses with Flux 2 Pro rendering for production-quality reference sheets your entire team can act on immediately.
Building Your Character Concept
Start with Silhouette Prompts
The first rule of game character design is that the silhouette must be instantly readable at 50 pixels. Players recognize characters by their shape, not their detail. Before you generate any detailed reference, start with wide-angle, backlit prompts that show the character as a clear dark shape against a bright background.
This forces you to solve the silhouette problem before you get seduced by surface detail. It is much easier to iterate on shape at this stage than after you have fallen in love with a particular face or costume. The silhouette approval is a gate that saves enormous time downstream.
Effective silhouette prompt structure:
Start with body type and proportion descriptors
Add signature costume elements (cape, weapon, unusual headgear)
Specify backlit environment to isolate the shape clearly
Request multiple poses in a single composition for comparison
Iterate on Facial Features
Once the silhouette is locked, move to the face. Facial design carries enormous character information. Age, background, temperament, and personality all read through facial structure, proportion, and expression. AI generation is particularly strong here because you can iterate dozens of variations in minutes rather than commissioning individual portrait illustrations.
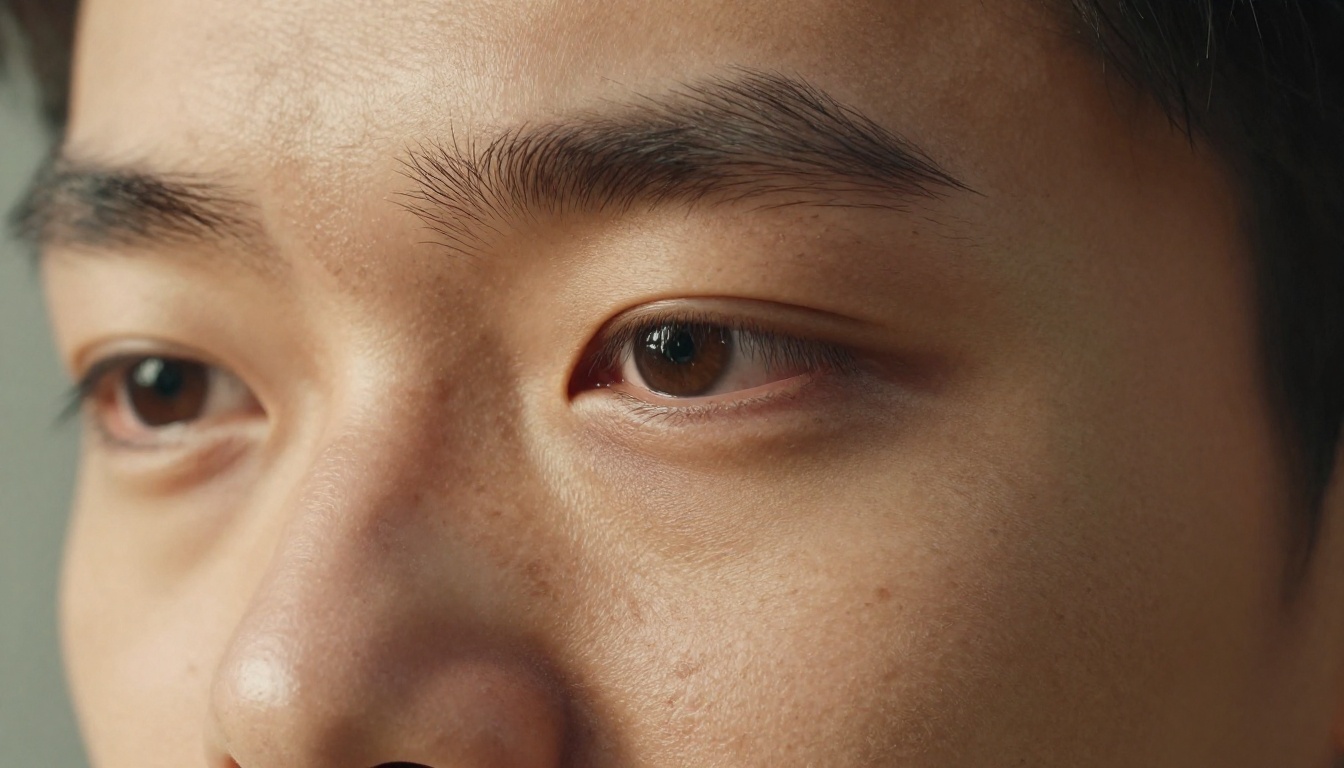
Use Realistic Vision v5.1 for facial reference work. This model was specifically optimized for photorealistic human faces, with exceptional accuracy in skin tone, subsurface scattering simulation, and micro-detail like pores and fine hair. The results work directly as reference for 3D sculptors working in ZBrush or Blender without any additional processing.
Generating Texture References with AI
Texturing is where most game characters either succeed or fail. A great mesh with mediocre textures reads as cheap. Mediocre topology with exceptional texturing often looks better in-engine than the reverse. This asymmetry makes texture reference one of the highest-value areas for AI-assisted production.
Skin, Fabric, and Metal
AI excels at generating highly specific material references. Instead of searching stock photo libraries for "worn leather pauldron with oxidized buckle detail at 45-degree lighting," you describe exactly what you need and generate it within seconds.
Useful material prompt patterns:
Skin: photorealistic human skin, visible pores, [ethnicity], subsurface scattering, natural side lighting, macro photography
Fabric: [fabric type] textile close-up, visible weave structure, worn edges, [color], natural light, medium format photography
Metal: [metal type] surface, [finish: brushed/hammered/oxidized], [damage level], directional light at 45 degrees, macro photography, film grain
The key is specificity. Vague prompts produce generic materials your artist has seen a hundred times. Specific prompts produce textures you can hand directly to your PBR material artist as actionable production reference.
PBR Material Workflows
Physically Based Rendering requires separate maps for albedo, roughness, metallic, and normal data. AI cannot directly generate PBR maps from prompts, but it generates the photographic references that your material artists use to build them accurately.
💡 Workflow: Generate AI reference in Flux 2 Pro, extract material properties visually, then build PBR maps in Substance Painter using the reference as a target. The AI reference cuts the decision-making time for material properties dramatically.
The Motion Capture Reference Approach
One of the less obvious applications of AI in character production is generating reference for animators and riggers before mocap sessions happen. Teams that skip this step book expensive studio time with no clear visual brief, improvise in the session, and end up with motion data that does not match the character's actual movement requirements.
AI-Generated Pose Sheets
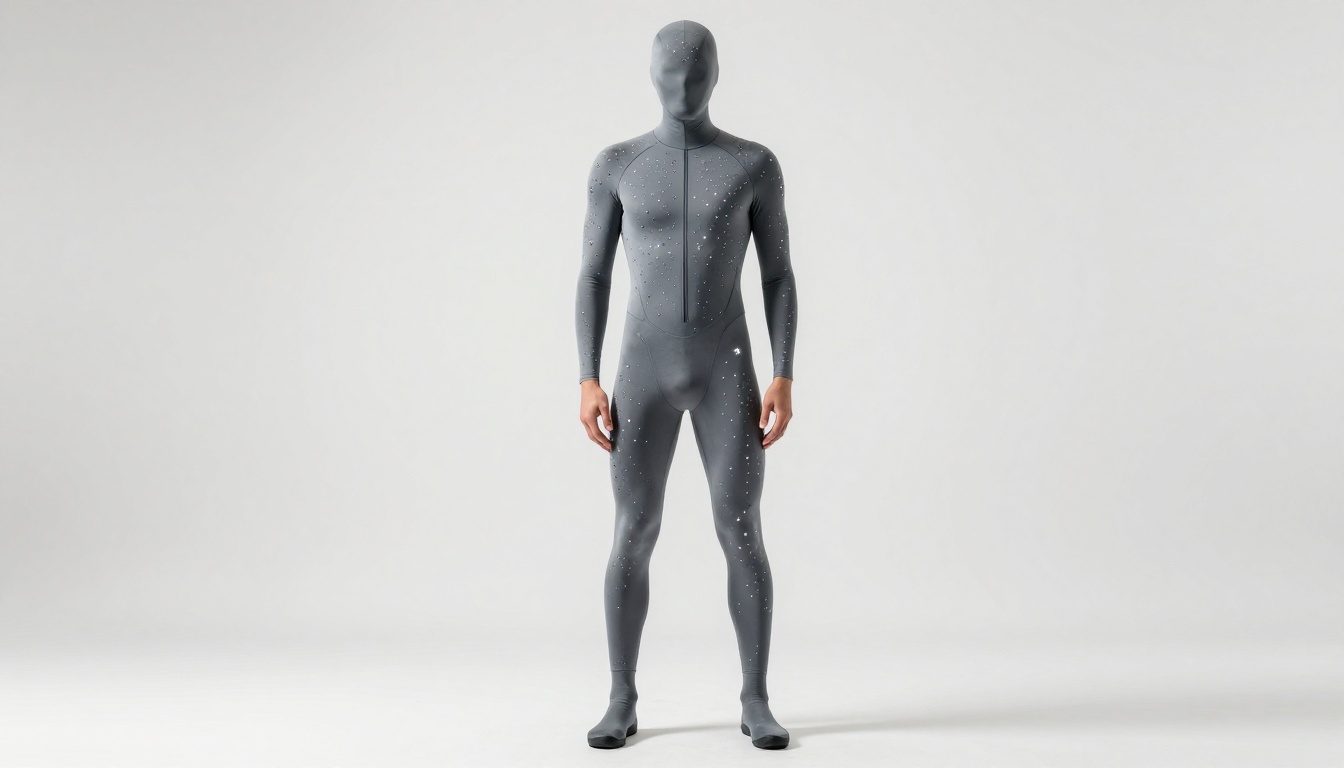
Before you book a motion capture session, you need to know what poses and movements the character needs. Generating those visually with AI allows you to build your mocap shot list with precision, rather than improvising in the session and discovering gaps only in post-processing.
Generate ten combat stances. Eight idle variations. Five reaction poses. Show them to your animator, your director, and your gameplay programmer. Everyone agrees on exactly what they need before the clock starts ticking on the studio rental.
What Riggers Actually Need
Riggers need to know how a costume will deform during movement. Fabric with real-world physics, armor with articulated joints, capes that need secondary animation. AI can generate reference poses that show costume deformation in extreme positions, giving riggers the information they need to build proper weight painting and constraint systems before a single vertex is weighted.
💡 Tip: Generate your character in both a neutral T-pose and in the most extreme movement poses you expect in gameplay. Give both sets to your rigger before setup begins.
How to Use PicassoIA for Character Art
PicassoIA gives you direct access to all of the models discussed in this article through a single platform, without requiring API setup, local GPU hardware, or any technical configuration on your machine.
Step-by-Step with Flux 2 Pro
Here is a practical workflow for generating a full character reference sheet using Flux 2 Pro on PicassoIA:
Set aspect ratio to 16:9 for wide character presentation or 1:1 for portrait reference
Write your prompt starting with character description, then costume details, then lighting, then camera angle
Generate four variations using the batch generation feature to see multiple interpretations
Select the closest match to your vision
Refine the winning variation by adjusting specific elements (armor detail, facial expression, lighting direction)
Download your final reference set for distribution to your team
Sample prompt structure:
[character archetype], [body type], [costume description with materials],
[pose description], [environment and background],
[lighting: direction, quality, color temperature],
[camera: angle, lens, depth of field],
photorealistic, 8K, film grain, RAW photography
Iterating on Costume Detail
Once you have a base character approved, use Flux 1.1 Pro to generate close-up detail shots of specific costume elements. Buckle design. Pauldron articulation points. Boot sole texture. Collar construction material.
Each of these shots gives your 3D artist specific visual information they would otherwise need to invent, guess at, or spend hours researching. The AI generates precisely what you need, when you need it, at the level of specificity that production work actually requires.
Common Mistakes That Kill Your Pipeline
Wrong Aspect Ratios
The most common mistake teams make is generating character references in square or portrait formats and then trying to use them for widescreen game UI or wide-format character sheets. Generate at the aspect ratio you actually need. For full-body character reference, portrait (2:3) is usually correct. For environment context shots showing the character in their world, 16:9. For texture patches, 1:1.
Getting this wrong means reference images are cropped in ways that cut off important costume detail, and your 3D artists are either guessing what belongs in the missing area or spending time requesting additional reference shots.
Ignoring Game Engine Constraints
AI generates images with no respect for polygon budgets, texture atlasing requirements, or LOD distance falloff. It will give you a character covered in hundreds of individual, intricate geometry elements that would be technically impossible to reproduce within a mobile game's performance budget.
Before you start generating reference, define your target platform constraints clearly:
Platform
Typical Character Budget
Texture Resolution
Mobile
1,500 to 3,000 triangles
512x512
PC/Console (background NPC)
5,000 to 15,000 triangles
1024x1024
PC/Console (hero character)
30,000 to 100,000 triangles
4096x4096
Cinematic / pre-render
500,000+ triangles
8192x8192
Generate reference that matches your actual budget. A beautiful AI reference showing a costume with two hundred individual hand-forged rivets is actively harmful if your polygon budget allows only fifty.
Now It's Your Turn
The tools exist. The workflow is proven. The barrier between your character vision and a production-quality reference sheet has dropped to a few hours of focused work.
Start with a single character. Write a detailed description of who they are: their background, their build, their costume, their attitude. Take that description into Flux 2 Pro on PicassoIA and generate your first four variations. You will immediately see possibilities you did not know existed when the character lived only as words on a page.
From there, refine. Narrow down. Add specificity. Use ControlNet Scribble to lock specific poses your animator needs. Use Realistic Vision v5.1 for high-fidelity facial close-ups. Use DreamShaper XL Turbo when you want to experiment with stylistic variations before committing to a final visual direction.
The character that took your team three months to produce reference for can now have that same visual clarity established in an afternoon. That time goes back into what actually matters: building, polishing, and shipping a better game.