You do not need a sheet of green fabric, a dedicated studio, or a $500 lighting rig to pull off cinematic background replacement. AI has quietly made all of that obsolete. Whether you are a content creator, a freelance videographer, or someone who wants cleaner footage from a smartphone, the tools to make green screen effects without a green screen are already within reach and they work better than most people expect.
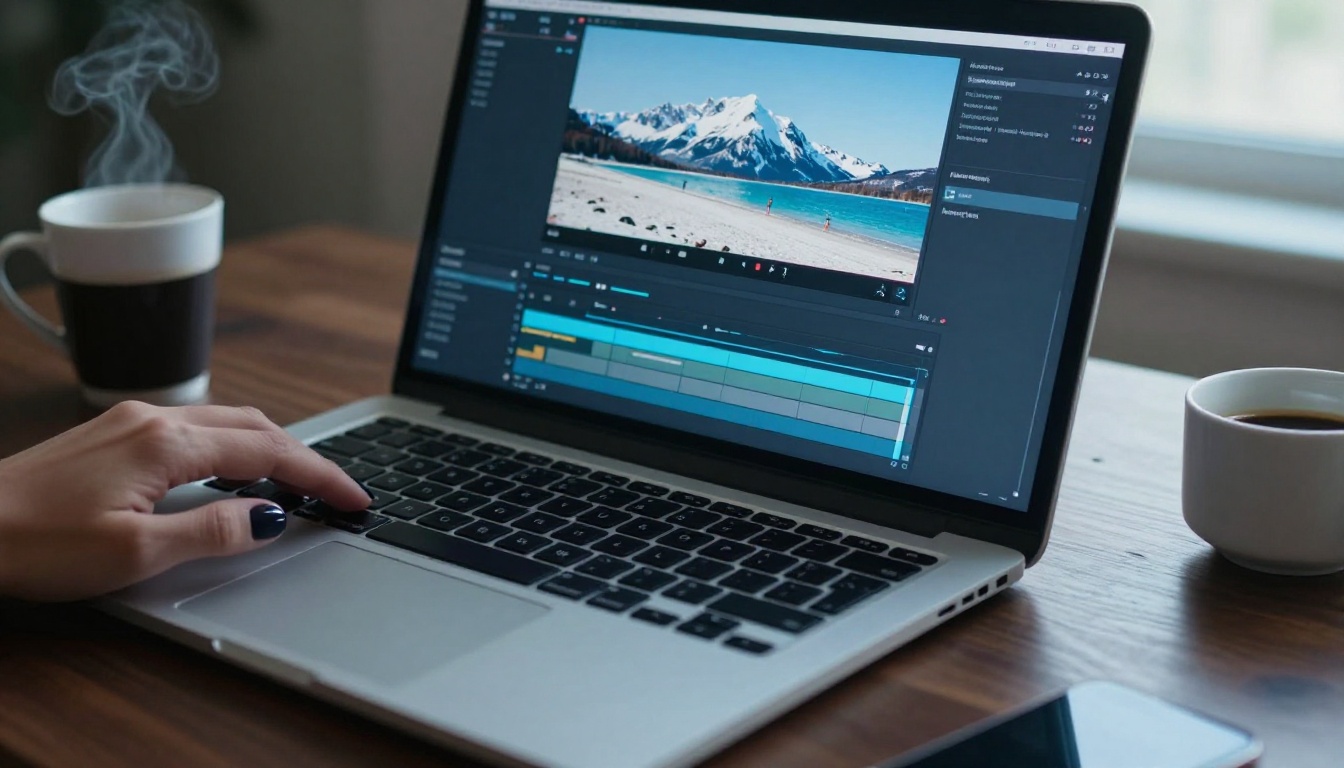
Why Green Screens Are Outdated
For decades, chroma keying dominated professional video production. The idea was simple: place your subject in front of a specific color (green was chosen because it sits furthest from human skin tones), then digitally remove that color in post. It worked, but it came with a long list of conditions.
You needed a large, evenly lit screen with no wrinkles or shadows. You needed a dedicated space, the right lighting equipment, and enough distance between your subject and the screen to prevent green spill bleeding onto hair and clothing. For studios with budgets, it was manageable. For everyone else, it was a permanent compromise.
The Real Cost of Green Screen
Even a basic green screen kit runs $80 to $300 for a portable backdrop, stand, and two softbox lights. A dedicated chroma key studio in a major city can cost $150 to $400 per hour to rent. And even after that investment, imperfect lighting or a subject wearing anything slightly green still ruins the shot.
| Cost Item | Estimated Price |
|---|
| Backdrop and stand | $80 to $200 |
| Lighting kit, two softboxes | $100 to $300 |
| Post-processing software | $20 to $55 per month |
| Studio rental per session | $150 to $400 per hour |
| Setup and teardown time | 30 to 90 minutes |
What Changed With AI Matting
Modern AI models now perform what used to require a physical green screen by analyzing every frame of video using semantic segmentation: the process of identifying which pixels belong to a subject and which belong to the background. The result is a clean mask around your subject, frame by frame, with no special filming conditions required.
The accuracy has crossed a threshold that makes traditional green screens hard to justify for most production budgets. Models trained on millions of video frames now handle hair strands, motion blur, partially transparent fabrics, and moving hands with edge detail that would be difficult to match with a budget chroma key setup.
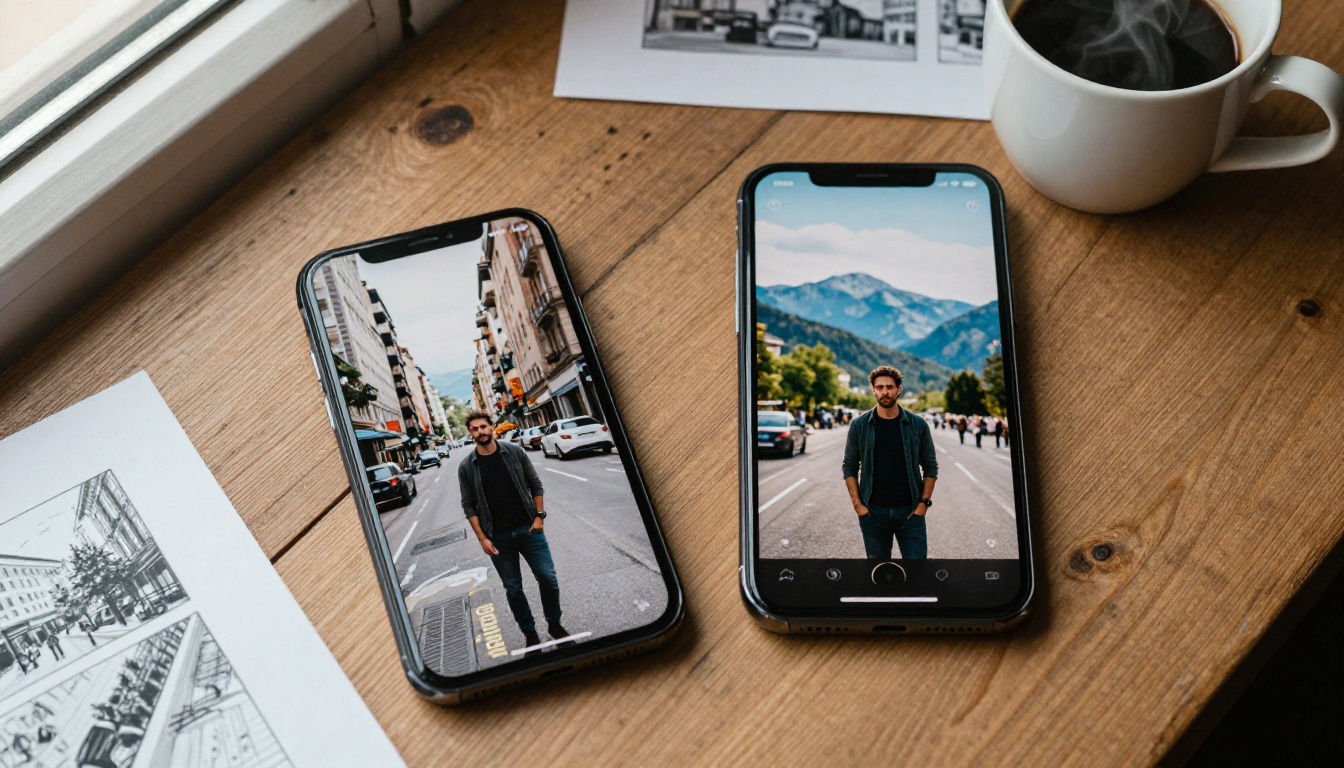
How AI Separation Actually Works
Understanding what happens under the hood helps you shoot better footage and get better results from any tool you use.
Depth Estimation and Foreground Isolation
The first method many AI models use is depth estimation: calculating how far objects are from the camera using visual cues like size, texture gradient, and focus sharpness. Anything closer to the camera is more likely to be the subject, and the model builds a soft-edged depth map to separate foreground from background.
This works well in static or slow-moving scenes where the subject stays at a consistent distance from the lens. It struggles when the background and subject sit at similar depths, which is a good reason to physically step away from your background wall when shooting.
Semantic Segmentation in Simple Terms
The more robust approach is semantic segmentation, where the AI has learned to recognize what a human body looks like in any position, clothing, and lighting condition. Instead of relying on color (like chroma keying) or depth alone, the model asks a single question: Is this a person or the environment around them?
Because these models are trained on enormous datasets covering diverse skin tones, hair types, clothing textures, and environments, the resulting masks are both precise and generalized. They do not care if you are wearing a white shirt in a white room, as long as there is enough visual contrast at the edge of your silhouette.
💡 Shooting tip: The cleaner the edge separation in your original footage, the better the AI result. A plain background with high contrast to your clothing is still helpful, even if it is not green.
5 Ways to Shoot for Clean Edges
You can dramatically improve your AI background removal results before you ever open an editing tool. Shooting smart takes minutes and pays off in clean, usable edges every time.
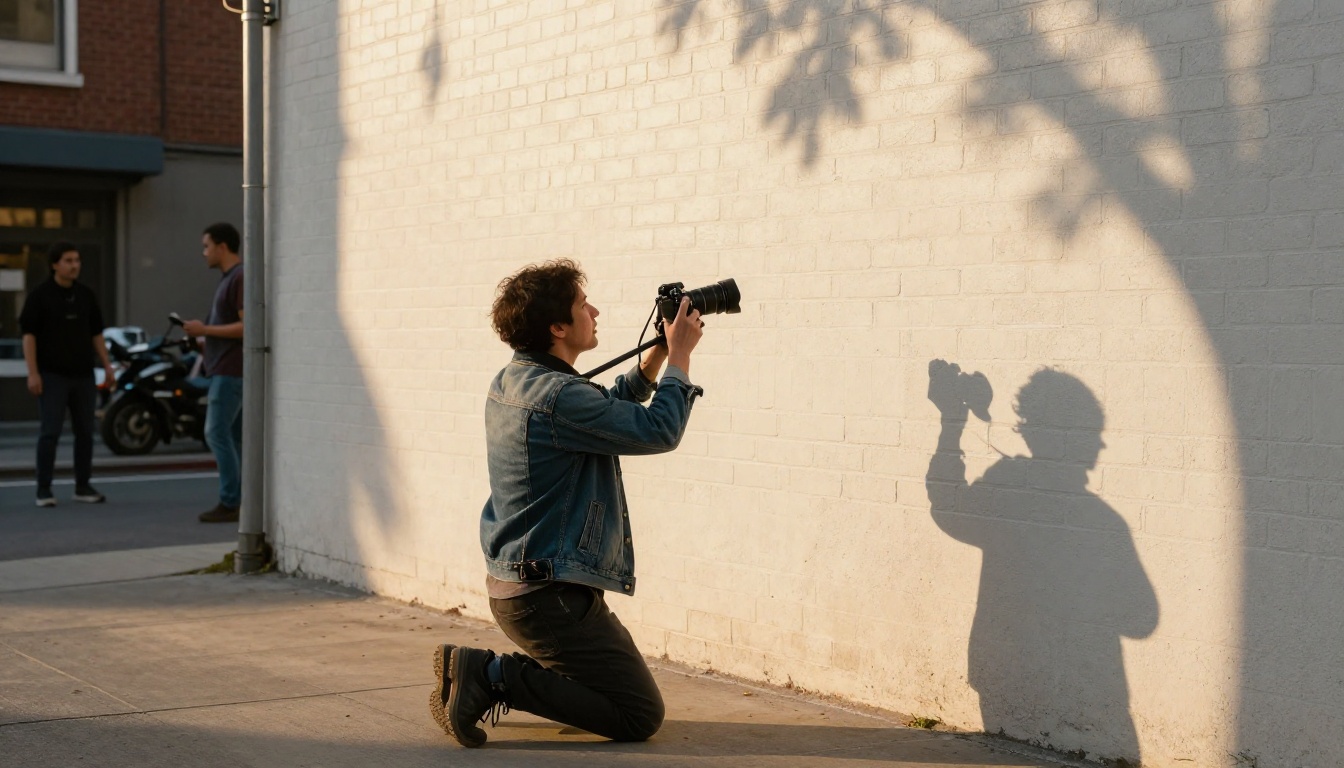
Use a Plain, High-Contrast Background
A white wall, a beige wall, or a clear blue sky works extremely well. The AI does not need a specific color. It needs contrast between you and what is behind you. Avoid backgrounds that share colors with your clothing or skin tone.
Keep Consistent, Diffused Lighting
Flat, even light eliminates the harsh shadows that confuse AI models about where your body ends and the background begins. An overcast sky outdoors, a large north-facing window indoors, or a simple ring light from the front all achieve this.
Avoid strong directional lighting from the side that casts a deep shadow of your body onto the background wall. That shadow can be picked up as foreground and create messy edges on one side of your silhouette.
Shoot at the Right Distance
Standing 3 to 5 feet away from the background wall is the sweet spot for most AI models. It creates natural depth separation while keeping you close enough that the background stays relatively uniform in tone. At this distance, natural lens blur also contributes to visually separating you from the wall.
Avoid Reflective Fabrics and Patterns
Sequins, shiny metallics, and busy repeating patterns create high-frequency noise at the edges of your silhouette that AI models can misinterpret. Solid, matte fabrics in colors distinct from your background are ideal. If you must wear a patterned outfit, a cleaner background becomes even more important.
Frame With Clear Edges
Avoid objects or furniture that partially overlap your body in the frame. Arms resting on a desk, a chair behind you, or shelves cutting across your silhouette all complicate the mask. Full-body shots or tight chest-up shots with clear negative space around your head and shoulders give the AI the cleanest possible input.
Using Video Remove Background on Picasso IA
Video Remove Background on Picasso IA is built specifically for this workflow. It processes video frame by frame, produces a clean subject isolation, and requires no green screen to have been used during filming. The title even says it plainly: No Green Screen Needed.
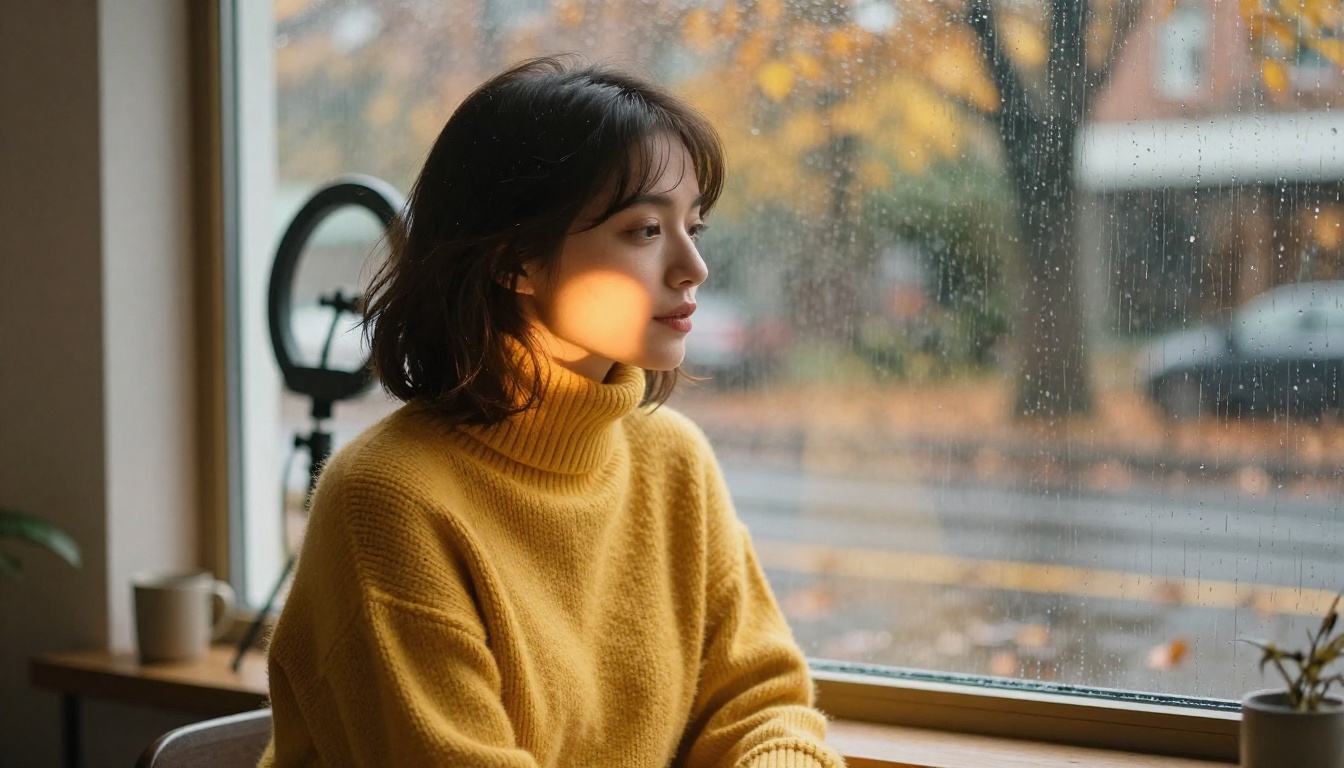
Here is the full workflow:
Step 1: Upload your clip
Go to Video Remove Background on Picasso IA and upload the video you want to process. The tool accepts standard formats including MP4 and MOV.
Step 2: AI processes the frames
The model analyzes every frame and generates a precise subject mask across the entire clip. Processing time scales with clip length, typically a few seconds of compute per second of footage.
Step 3: Download your result
The output has the background removed, leaving a clean isolated subject on a transparent or solid-color layer depending on your export settings.
Step 4: Composite onto your new background
Import the processed clip into any video editor. Place your chosen background below the subject layer. Adjust scale and position until the background fills the frame naturally and the lighting feels consistent.
💡 Parameter tip: Footage shot at 30fps or higher gives the model cleaner inter-frame data for handling motion blur at edges. Fast movement at low frame rates produces the most noticeable edge artifacts.
For still images, Remove Background applies the same AI-powered precision to photos, no manual selection or pen tool required.
Creator Workflows That Use This
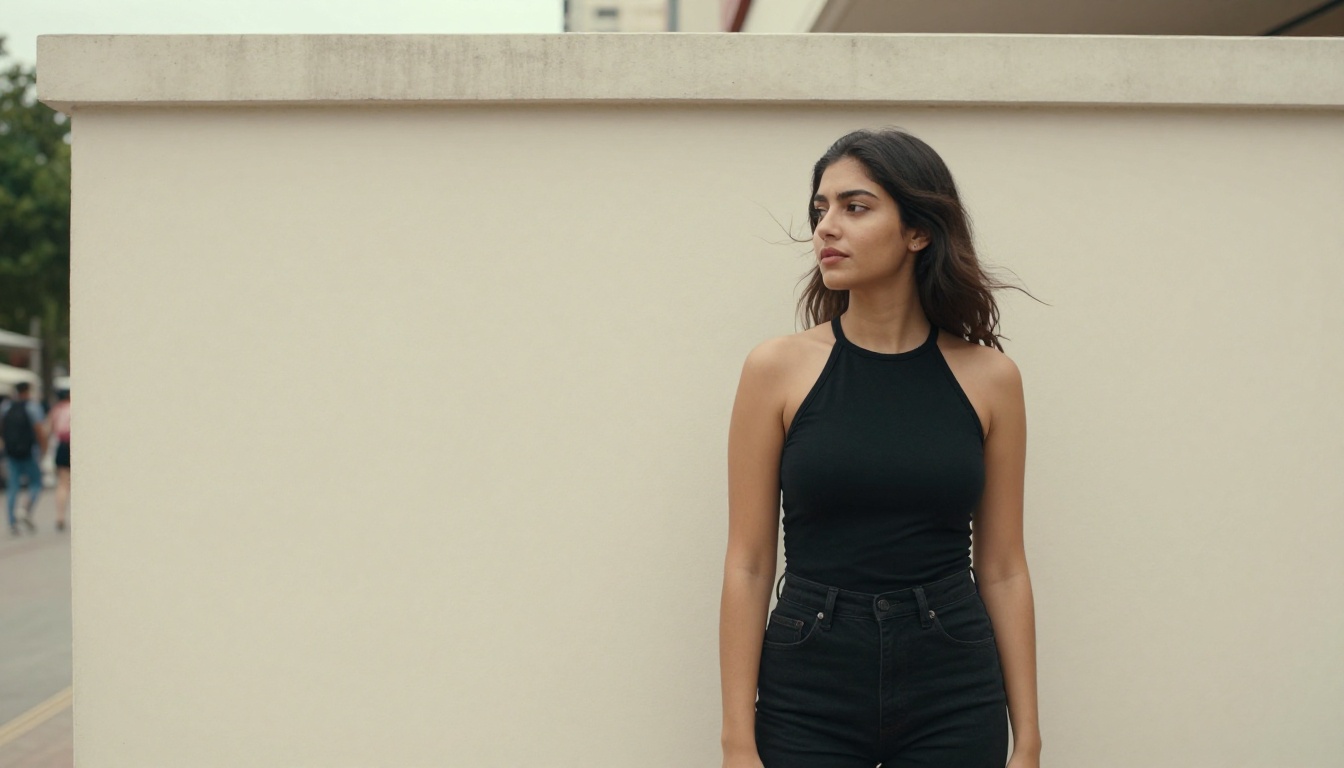
The impact goes well beyond cinematic productions. These are the everyday content creation scenarios where removing the need for a green screen makes the most practical difference:
- Interview and talking-head content with consistent professional backgrounds across multiple shooting locations
- Product demos composited onto clean white or fully branded custom backgrounds
- Travel content shot in one city, placed over footage from any destination
- Social media clips with dynamic backgrounds that change per video without reshooting
- Educational content where topic-relevant backgrounds reinforce the subject visually
For each of these, the workflow is identical: shoot cleanly, upload to Video Remove Background, composite, and publish.
Before and After: What Results Look Like
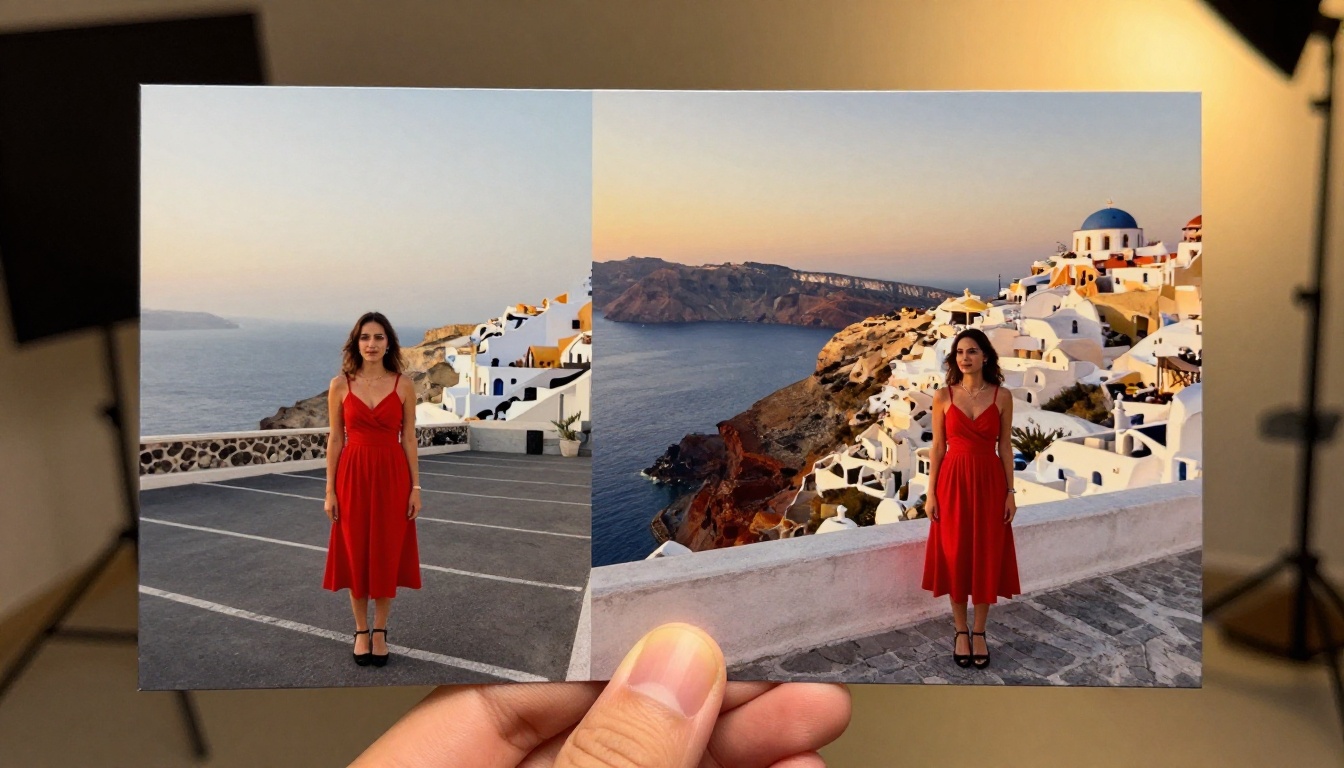
The quality of your result depends heavily on the quality of your input footage. Here is what to expect across different shooting scenarios:
| Shooting Scenario | Expected Result | Improvement Tip |
|---|
| Solid wall, even lighting | Near-perfect edges | Minimal post-work needed |
| Outdoor daylight, clear sky | Very good, slight color spill possible | Shoot on an overcast day |
| Indoor, lamp-lit, patterned wall | Moderate, some edge noise | Increase distance from the wall |
| Low light or high-ISO footage | Poor, grainy edges | Add a fill light or reshoot |
| Subject partially behind objects | Needs manual cleanup | Clear the frame before shooting |
Fixing the 3 Most Common Problems
Even with smart shooting, some footage presents real challenges. These are the issues that come up most often and how to address them.
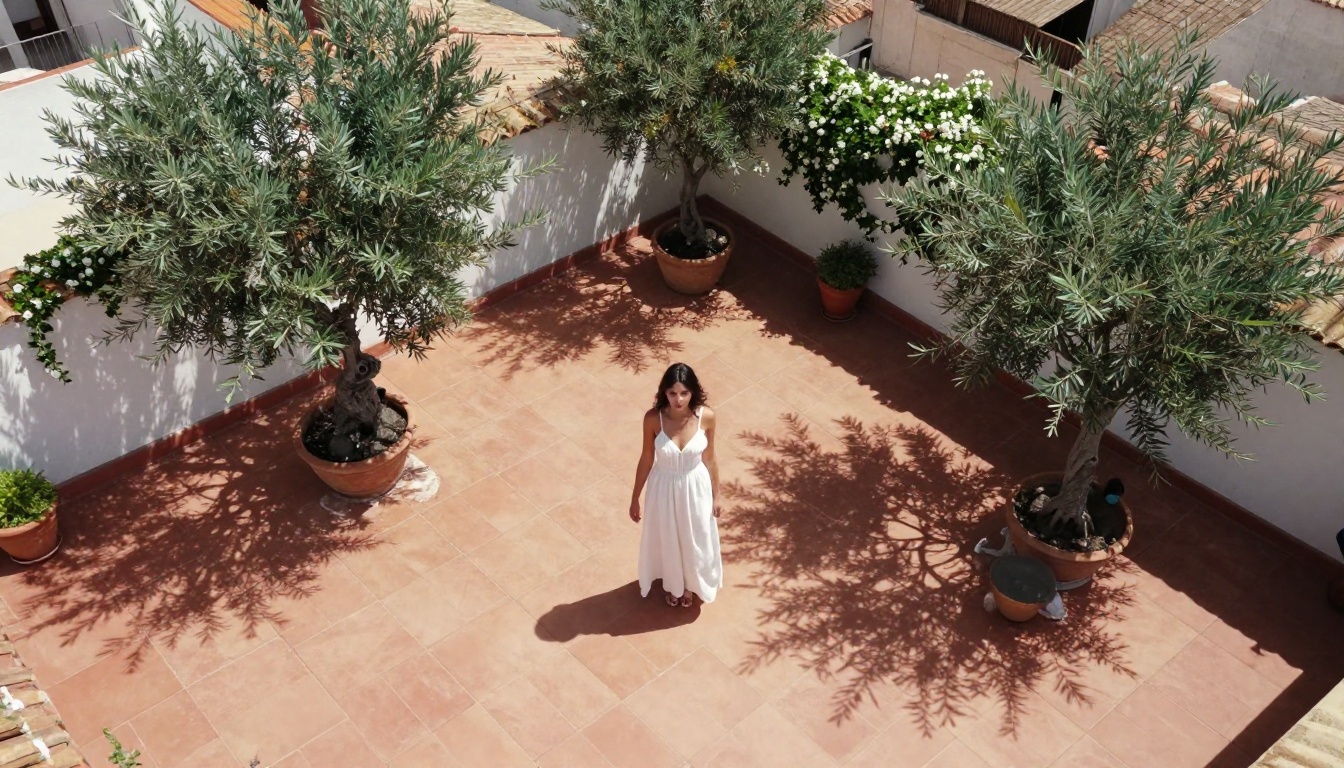
Hair and Fine Edge Issues
Flyaway hair is the most common challenge for any background removal tool. In well-lit footage with a high-contrast background, modern AI handles it remarkably well. For difficult cases:
- Reshoot with a wind-free environment if possible, since still hair simplifies the mask significantly
- Use a slightly blurred background replacement so hard-to-mask hair tips blend naturally into the new scene
- Apply a feathered edge with 2 to 5 pixels of softness in your compositing software to smooth remaining artifacts
Matching New Background Lighting
The most common giveaway that a background has been replaced is lighting inconsistency. If your subject is lit from the right with warm light but your new background shows a flat grey overcast scene, viewers notice immediately.
Three rules for matching:
- Match color temperature: warm-lit subjects need warm-toned backgrounds
- Match light direction: the brighter side of your subject's face should correspond to where the light source appears in the background
- Match shadow direction: any ground shadows visible on your subject should align with shadows in the replacement scene
Fast Motion and Edge Blur
Fast arm gestures, quick head turns, and jumping create motion blur at the subject's edges that AI models must approximate. Using Video Remove Background on footage shot at a higher shutter speed reduces this blur, giving the model cleaner per-frame edges to work with. If the footage is already shot and motion blur is present, choosing a replacement background with natural movement (trees, water, drifting clouds) disguises edge imprecision very effectively.
Background Ideas That Look Real
Choosing the right replacement is as important as the extraction process itself. A perfectly isolated subject placed on a badly chosen background still reads as fake.
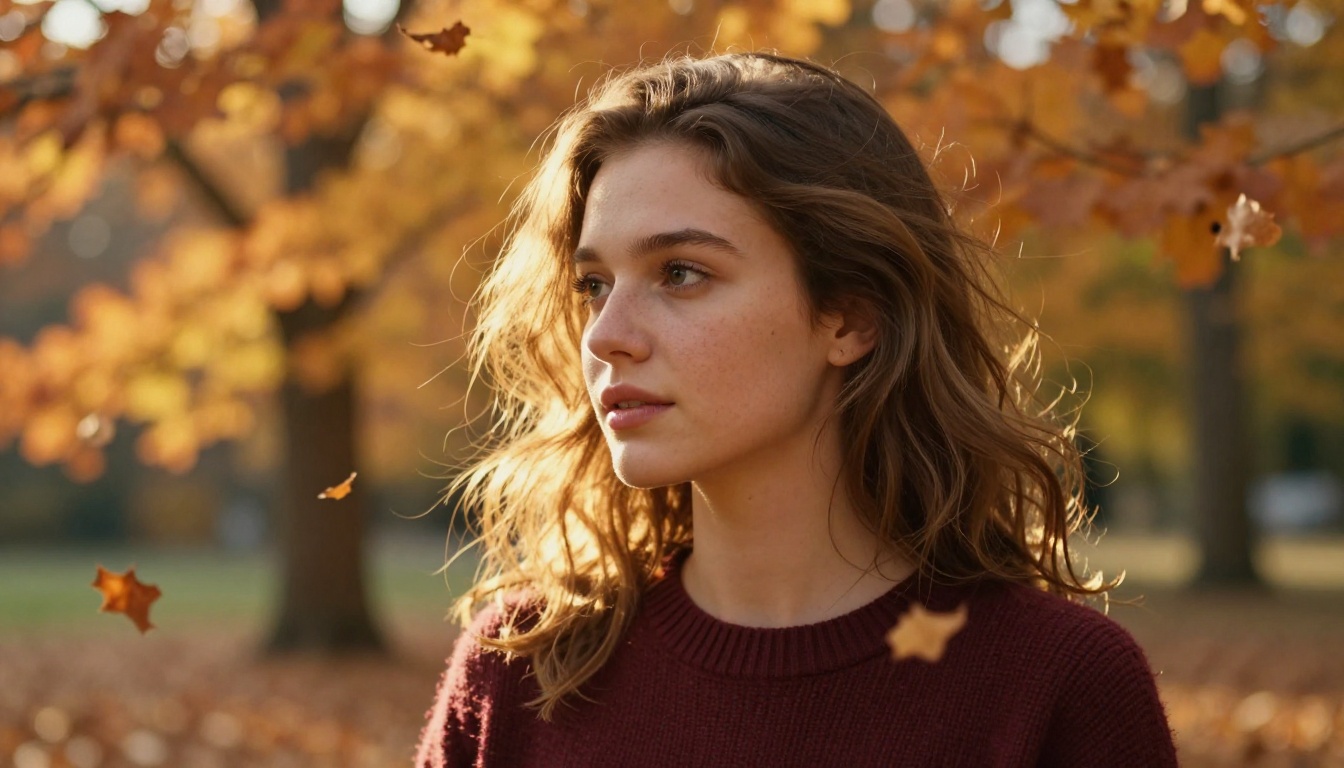
Natural Outdoor Scenes
Natural outdoor backgrounds are the most forgiving because they contain organic imperfection: uneven light, slight blur, natural color variation. A bokeh-heavy forest, a beach at golden hour, or a mountain meadow all absorb edge imperfections because real natural scenes are not pixel-perfect.
Matching depth of field: if you shot your subject with a 50mm lens at f/1.8, your background should have similar lens blur. A sharp background behind a soft-focus subject immediately reads as composited.
Professional Studio Settings
For interviews, business content, or product demos, a slightly blurred office, library, or lounge background creates instant credibility. Keep the background simple and neutral in color temperature to match most indoor shooting conditions without post-correction.
Generated Custom Backdrops
You can create backgrounds that match exactly what your shoot requires using PicassoIA Image with a text prompt. This gives you complete control over mood, color palette, setting, and implied lighting direction before you composite. It is particularly useful for branded content where specific colors or environments are required.
💡 Production idea: Generate a backdrop that matches your brand colors and visual identity using a text prompt. Place your subject on top. Fully branded video content with zero photography budget.
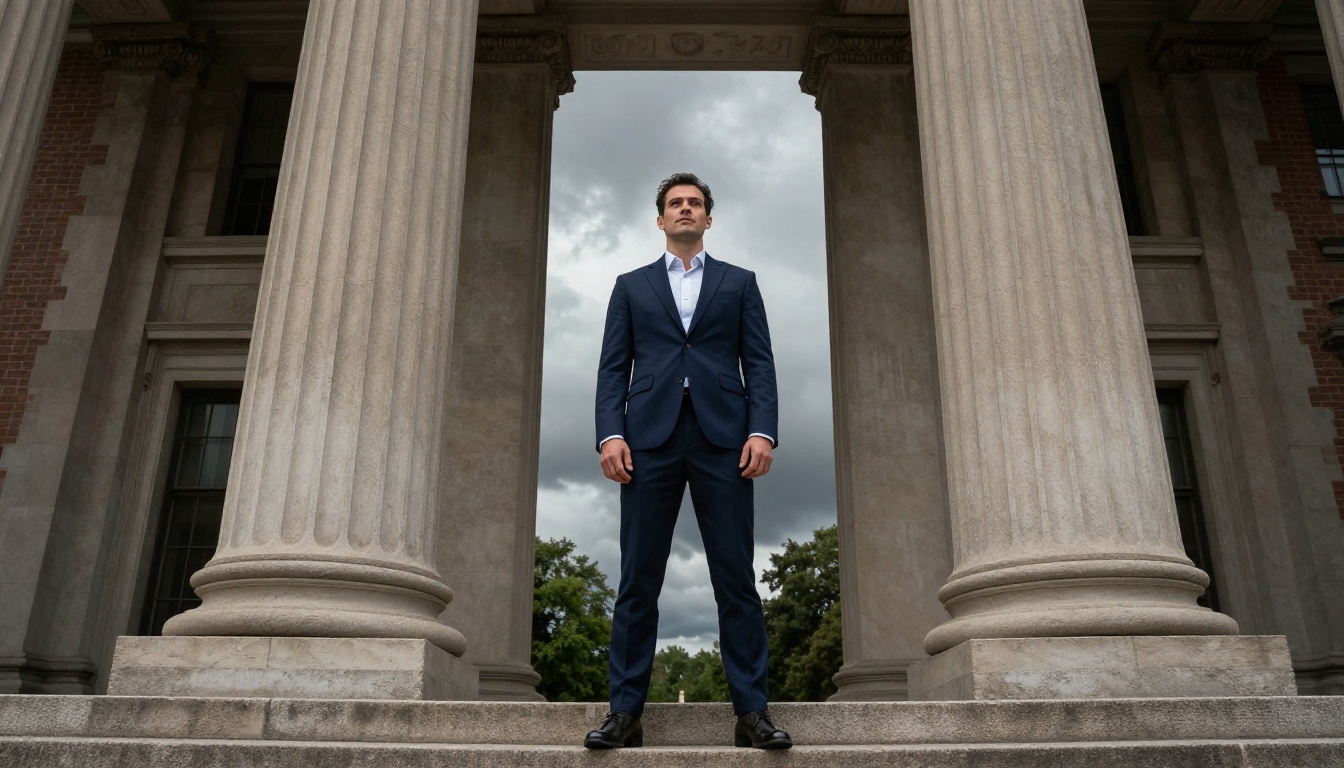
Once you have clean subject isolation, the door opens to a range of visual effects that previously required professional studio infrastructure. These tools on Picasso IA work alongside Video Remove Background for different parts of the post-production chain:
- Video Erase Object: Remove specific objects from video frames before swapping the background, useful for cleaning up unwanted props or distracting elements
- Lucy Edit 2: Edit any video using plain text instructions, changing scene elements without manual masking
- Wan 2.7 Videoedit: Text-driven video editing for broader scene-level transformations
- Gen 4 Aleph: Recut and restyle footage with AI-driven scene reconstruction
- Video Increase Resolution: Upscale your final composite to 8K for broadcast or premium platform delivery
A practical production chain looks like this: use Video Erase Object to clean unwanted background elements first, then run Video Remove Background to isolate your subject, composite onto a new scene, then upscale with Video Increase Resolution for final delivery. The entire pipeline lives in one place.
Try It on Your Next Project
The gap between "I have a green screen" and "I can create professional composited footage" has closed. A smartphone, a plain wall, decent lighting, and access to AI background removal is now a sufficient setup for the vast majority of content production scenarios.
This shifts creative decisions away from equipment and toward storytelling. Instead of asking "do I have the right gear," you can ask "what background makes this scene more interesting?" That is a better question, and the answer is up to your vision rather than your budget.
What becomes possible without a green screen:
- Travel content shot in one location, composited onto footage from any destination in the world
- Product demos on clean white or custom-designed branded backgrounds
- Interview footage with a consistent professional look regardless of where it was filmed
- Social media clips where the background changes per video to match the theme, mood, or topic
- Glamour and lifestyle shoots with rich, cinematic backdrops that elevate the subject
Start with Video Remove Background for your footage, use Remove Background for still photos, and build custom backdrops using PicassoIA Image. Film in your living room. Place yourself on a rooftop in Tokyo. Shoot a product against your kitchen table and place it in a luxury setting.
The constraints that used to define what was possible without a studio are no longer in the way. Pick a clip, run it through the workflow, and see what you can build from there.


