Your LinkedIn profile photo is doing more work than you realize. Every recruiter who searches your name, every client who clicks your profile, every hiring manager running through a shortlist forms an impression in under three seconds. That impression often starts and ends with your headshot. The problem is that most people either skip it entirely, use a cropped wedding photo from 2019, or spend $300 to $600 on a studio session they keep putting off. AI has changed all of that. You can now make headshots for LinkedIn with AI that look like they were shot by a corporate photographer, using nothing more than a decent selfie and a browser tab.
Why Your LinkedIn Photo Actually Matters
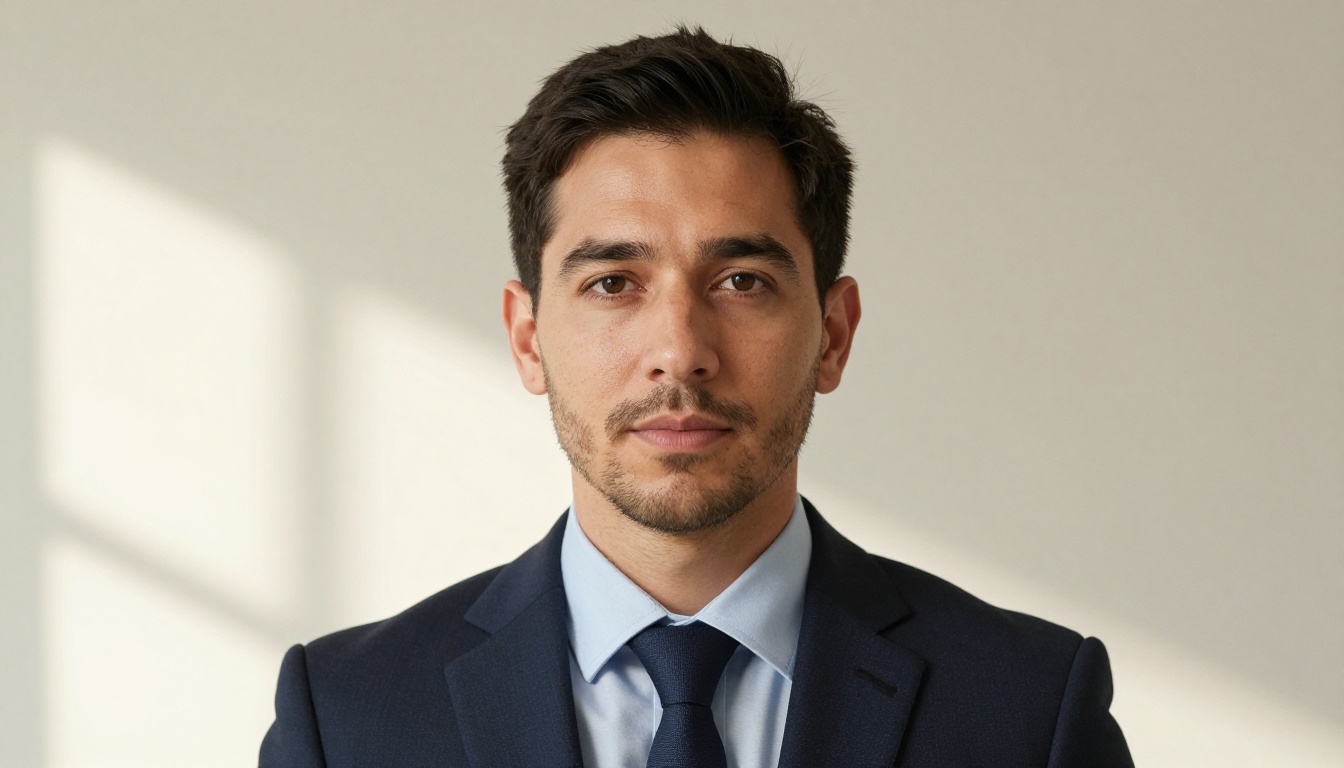
The numbers are blunt. LinkedIn profiles with a professional photo receive 21 times more profile views and 36 times more messages than profiles without one. That is not a small edge. That is the difference between being visible and being invisible on the platform where most professional opportunities actually happen.
The $500 Problem with Traditional Photography
A professional headshot photographer in most cities charges between $300 and $800 per session. That typically gets you an hour of shooting time, basic retouching, and a handful of usable files. The process involves booking weeks in advance, traveling to a studio, wearing the right clothes you may not own, and hoping the photographer's style matches what you had in mind.
For most people, this creates a permanent procrastination loop. The photo never gets updated. The profile sits with a blurry phone photo, a cropped group shot, or nothing at all. AI headshot tools eliminate every one of those friction points.
What Recruiters Notice in 3 Seconds
Before a recruiter reads a single word on your profile, they have already made a subconscious judgment based on your photo. Research in hiring psychology consistently shows that three things register almost instantly:
- Perceived professionalism: Does this person look like they take their career seriously?
- Approachability: Does this face signal warmth and openness, or is it tense and closed?
- Image quality: Is the photo sharp, well-lit, and clean, or does it look like a screenshot from a video call?
A professional headshot communicates all three before a single word is read. AI-generated headshots address these points directly by applying studio-quality lighting, clean backgrounds, and consistent professional framing automatically.
What Makes a Headshot Actually Work
Not every "professional photo" is a good LinkedIn headshot. There is a specific set of visual cues that make a profile photo work at the small size it appears in search results, message threads, and connection cards.
The Background Rule
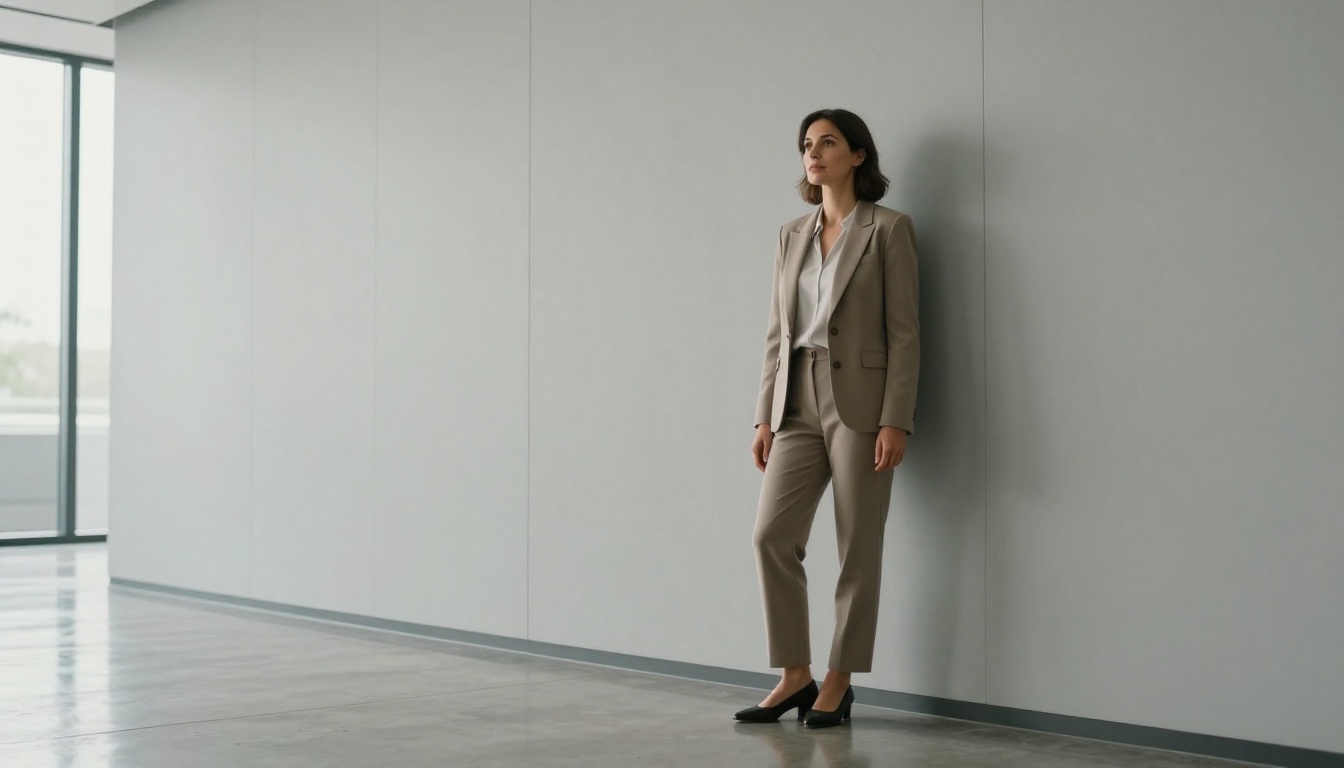
The background is not decoration. It is context. A cluttered home office tells a story you probably do not want told. A busy street scene draws attention away from your face. The best LinkedIn headshot backgrounds share one quality: they do not compete.
| Background Type | Works? | Why |
|---|
| Solid neutral wall (grey, white, cream) | Yes | Maximum face visibility |
| Softly blurred office interior | Yes | Adds context without distraction |
| Outdoor bokeh (trees, buildings) | Conditional | Works if lighting is good |
| Busy interior with visible people | No | Too much visual noise |
| Bright window behind you (backlit) | No | Silhouettes your face |
| Logo walls or branded backdrops | No | Looks dated and corporate-generic |
The Depth of Field model on PicassoIA solves the background problem automatically by blurring any background to a soft bokeh while keeping the subject sharp.
Lighting That Reads Well on Screen
Studio photographers spend years learning how to light a face. For a LinkedIn headshot, you want even, soft illumination that shows your features clearly without harsh shadows under the eyes or nose.
💡 The best DIY lighting position: Sit facing a window, not with the window behind you. North-facing windows give the most consistent, flattering light with no direct sun glare.
Natural window light from the front or slightly to one side is the gold standard. AI models trained on portrait photography automatically reproduce this look when given a photo with decent original lighting.
The Framing Sweet Spot
LinkedIn displays profile photos in a small circle. This means the composition of your headshot needs to account for circular cropping. The ideal framing is:
- Head and shoulders only, not full-body
- Face occupying roughly 60 to 70 percent of the frame
- Centered or very slightly off-center
- No extreme angles like a tilted head or a sideways gaze
Anything that gets cropped out in the circular display is wasted space. AI headshot tools typically nail this framing automatically because they are trained specifically on portraits with this composition in mind.
What to Wear for Your AI Headshot Source Photo
The clothes in your source photo carry over into the final result. Choosing the right outfit before you take your source photo saves a lot of editing steps afterward.
Solid colors over patterns. Busy patterns, loud prints, and fine stripes create visual interference that draws the eye away from your face. A solid navy blazer, a clean grey jacket, or a simple white shirt keeps the attention where it belongs.
Fitted rather than oversized. Clothes that fit well communicate attention to detail. Oversized or baggy clothes can make you look smaller or less confident in the frame.
Avoid colors that blend with typical backgrounds. A white shirt against a white wall disappears. A grey blazer against a grey background creates no separation. Pick an outfit color that contrasts slightly with whatever background you plan to use.
Business casual is the safe choice. For most industries, a blazer over a collared shirt or a tailored top reads as professional without being overly formal. Full suits work for finance, law, and executive roles. Creative fields can go more relaxed while still looking polished.
How to Turn Any Photo into a LinkedIn Headshot with AI
The process is faster than most people expect. Here is the exact workflow, step by step.
Step 1: Pick a Decent Source Photo
AI does not perform miracles on broken input. You need a source photo where:
- Your face is clearly visible, not obscured by sunglasses or a hat
- The photo is taken in reasonable light, not at night under yellow bulbs
- You are roughly facing the camera, not in extreme profile
- The image is sharp enough to read your features clearly
A recent selfie taken near a window works perfectly. You do not need a DSLR. Modern smartphones shoot more than enough resolution for AI to produce clean results.
Step 2: Run It Through the AI
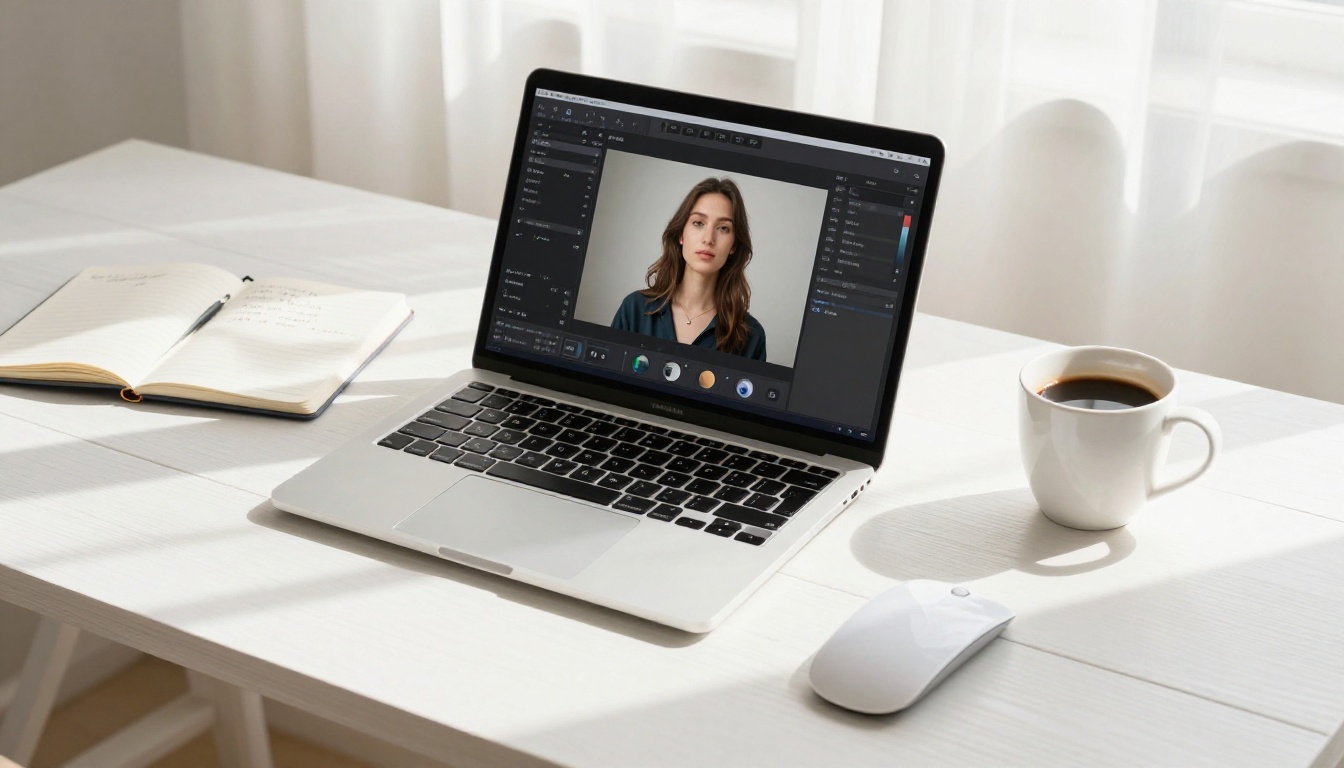
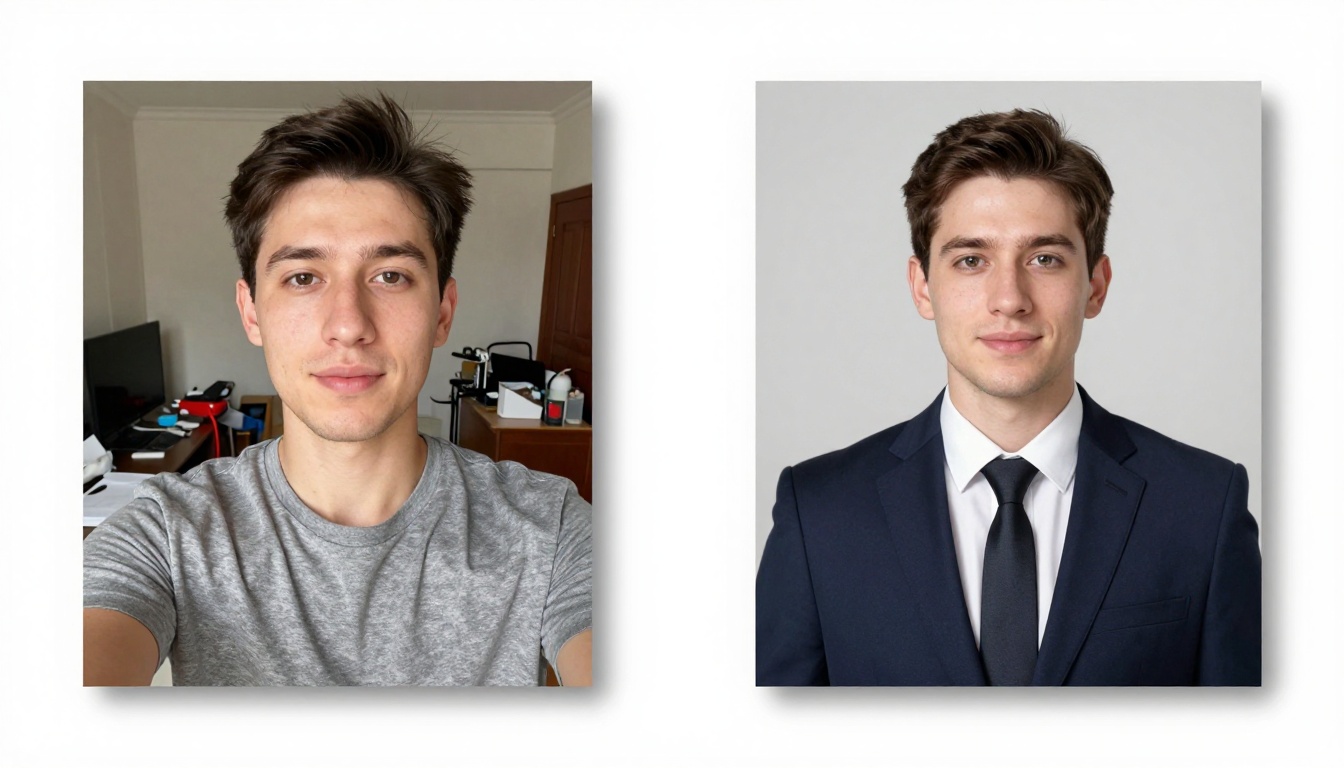
Open Professional Headshot on PicassoIA. This model is built specifically for this task. It takes your source image and applies professional headshot characteristics: corrected lighting, clean background, appropriate framing, natural color grading.
Upload your photo, specify the style you want, and let the model process it. Results come back in under a minute.
Step 3: Fix the Background
If the generated headshot has a background you want to change, use Generate Background to swap it out. You can specify exactly what you want: a blurred office, a clean grey wall, a soft outdoor bokeh. The tool cuts your figure precisely and places it in the new scene with consistent lighting that matches your skin tones.
For purely blurring an existing background without replacing it, Depth of Field achieves this in a single step with physically accurate blur simulation.
Step 4: Retouch Without Over-Editing
The difference between a polished headshot and an obviously AI-processed photo is restraint. Recruiters and clients can spot heavy over-retouching. It reads as inauthentic and can actually work against you.
Qwen Image Edit Plus LoRA Skin handles this calibration well. It targets the skin specifically, smoothing imperfections and evening tone without removing the natural texture that makes a face look real. The result is a face that looks like you had a good night's sleep, not a face that has been airbrushed into a stock photo.
Step 5: Generate Multiple Variations
Do not stop at one result. Portrait Series takes your processed headshot and generates a set of variations from it: different angles, different lighting scenarios, different background options, all while maintaining consistent identity across the series.
This gives you options. Use the formal version for your main LinkedIn profile, a more relaxed version for Twitter or GitHub, and a warmer look for creative platform profiles or speaker bios.
5 PicassoIA Models Built for Headshots
PicassoIA has a specific set of tools that map directly to the different stages of headshot creation. Each one is purpose-built rather than a general-purpose generator, which means they produce more reliable results for portrait work.
Professional Headshot
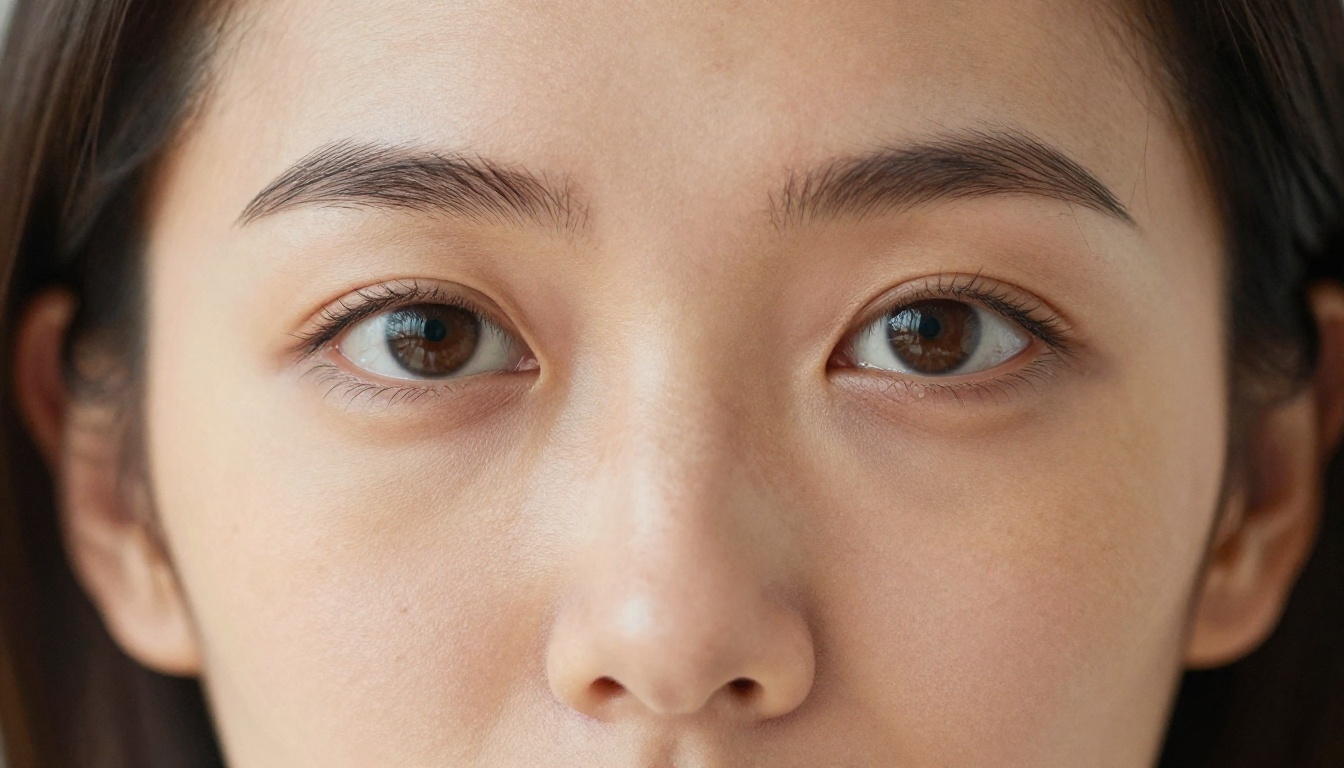
Professional Headshot is the core tool for this workflow. Built on Flux Kontext technology, it is exceptional at context-aware image editing. It reads the original photo, understands the lighting and angle, and applies professional headshot characteristics without making the result look artificially generated. This is the model you run first on your source photo.
Portrait Series
Portrait Series takes a single source photo and generates a set of variations, maintaining consistent identity across different lighting scenarios, angles, and background options. Useful for anyone who needs headshots for multiple platforms or contexts.
Depth of Field
Depth of Field applies a realistic shallow-focus blur to any background. The algorithm calculates the correct blur intensity based on subject distance and applies it with physically accurate rendering, so it does not look like a simple filter. The result looks like it was shot on a prime lens at f/1.8.
Skin Retouching with LoRA
Qwen Image Edit Plus LoRA Skin applies a trained retouching layer that targets skin specifically. Unlike global image filters, this model understands which parts of the image are skin and applies the retouching only there, leaving hair, clothing, and background completely untouched.
Background Generator
Generate Background gives you full control over the scene behind your headshot. Describe what you want in plain language and the model generates it with accurate edge masking and light matching for a seamless composite.
Advanced Editing with Flux Kontext
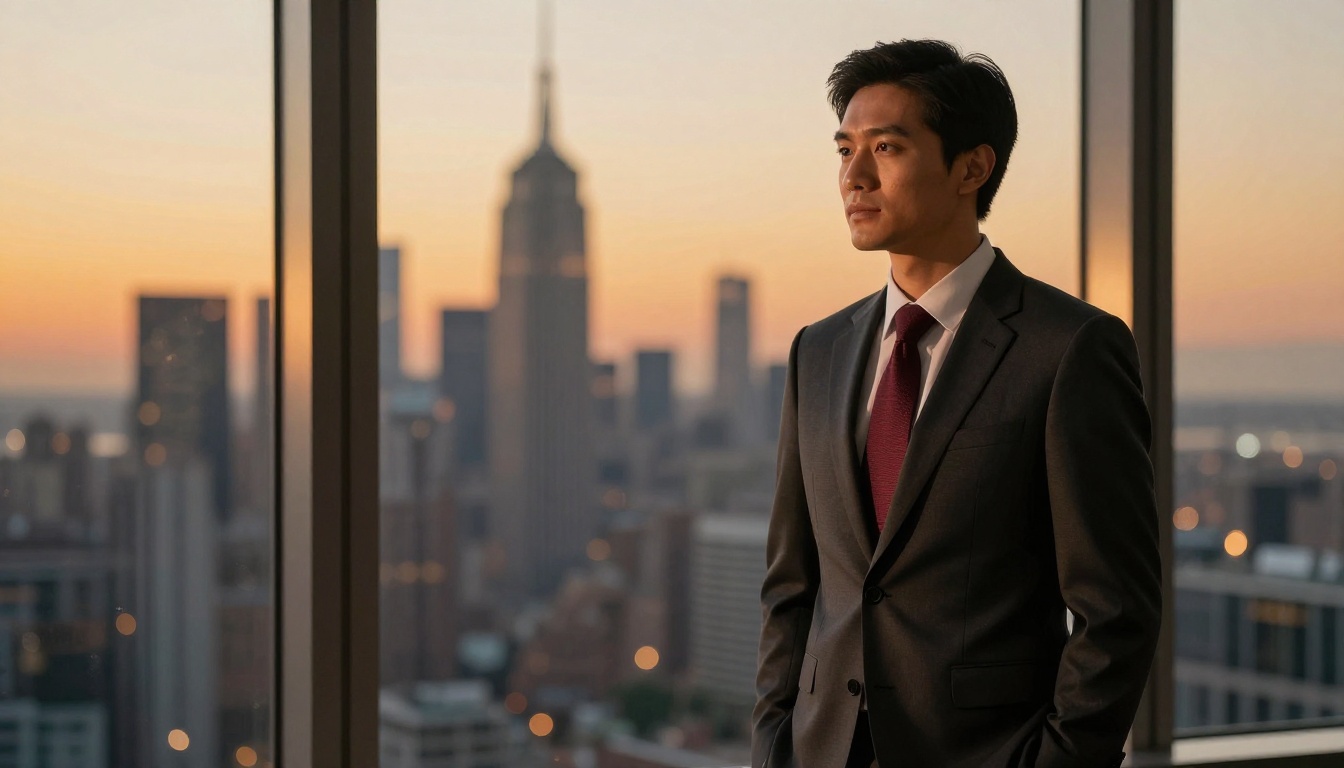
For more detailed, text-directed edits on a generated headshot, Flux Kontext Dev accepts specific instructions: change the blazer color, adjust the lighting direction, remove a distracting element from the background, or modify the framing. It processes the instruction against the existing image rather than regenerating from scratch, which preserves your identity and the core qualities of the original result.
For rapid iteration when testing small variations before committing to a final edit, Flux Kontext Fast processes changes in seconds. It is the right tool for quick A/B testing between two versions of a background or lighting adjustment.
3 Mistakes That Ruin AI Headshots
Even with good tools, there are patterns that consistently produce weak results.
The Over-Processed Look
Running an image through too many tools in sequence stacks artifacts and creates an uncanny valley effect. The face starts to look like a synthetic composite rather than a real person. Use the minimum number of tools needed. If the Professional Headshot model produces a good result in one pass, stop there.
Wrong Background Choices
A dramatic background competes with your face. Overly dark backgrounds can make you look like a mugshot. Pure white backgrounds flatten the image and remove depth. The sweet spot is a medium-value neutral or a soft bokeh scene with warm tones that provide visual separation without stealing attention from your face.
Poor Original Photo Quality
If the source photo is badly lit, blurry, or taken at an unflattering angle, the AI has to work against physics. A model trained on professional portraits will try to correct toward its training distribution, but it cannot fully compensate for a fundamentally broken input.
💡 Quick tip: Stand 3 to 4 feet from a window, hold your phone at eye level or slightly above, and shoot in bright diffused daylight (not direct sun). This alone will produce a source photo that gives any AI model the best possible starting material.
How to Upload and Optimize on LinkedIn
Once you have your final headshot, the upload process on LinkedIn matters too.
LinkedIn accepts photos up to 8MB in JPG, PNG, or GIF format. The platform applies its own compression when displaying the image, so uploading the highest-resolution version you have will preserve quality better after compression.

Key settings to check during upload:
- Crop the image so your face fills the circle frame cleanly
- Make sure the thumbnail version that appears in search results and messages is legible and well-centered
- Set visibility to Public so recruiters outside your network can see your photo
- Use LinkedIn's zoom and reposition tool to ensure no forehead or chin is cut off in the circular crop
After uploading, check how your profile looks on mobile. Most recruiters browse LinkedIn on their phones, and a photo that looks good on desktop can appear poorly cropped on a smaller screen.
Your Headshot, Done in Minutes
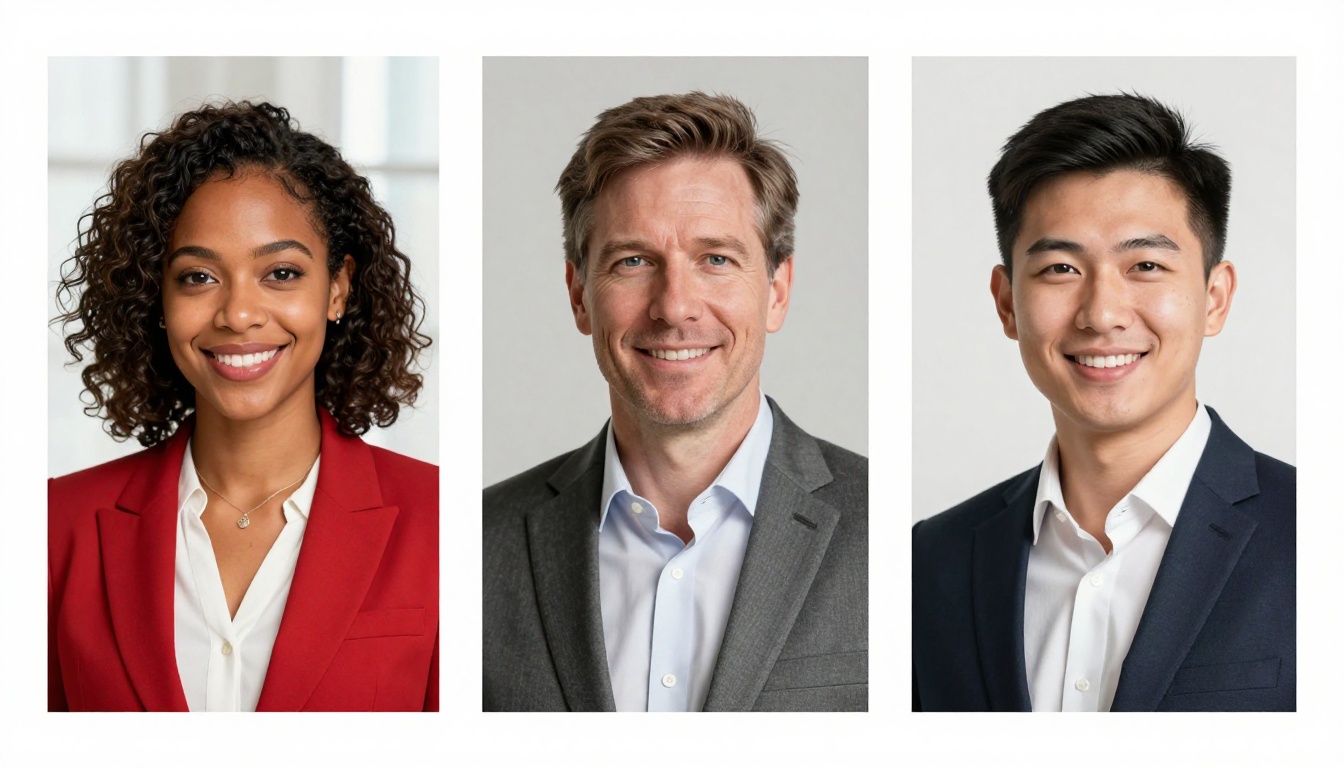
The barrier to having a sharp, professional LinkedIn headshot no longer exists. You do not need to book a photographer, rent a studio, buy new clothes, or wait weeks for edited files. You need a decent photo, five minutes, and the right tools.
PicassoIA has everything needed in one place. The Professional Headshot model transforms your source photo with a single upload. Portrait Series generates multiple looks from that one image. Depth of Field cleans up any background. Qwen Image Edit Plus LoRA Skin handles the retouching without over-processing.
Take a photo near a window right now. Upload it. See what the AI produces. The worst outcome is you learn something useful about what makes a good headshot. The best outcome is you have a new profile photo before you finish your coffee.


