Jump cuts are the heartbeat of modern video content. When they hit right, they create energy, momentum, and a pacing that pulls viewers forward. When they go wrong, they look like mistakes: jarring frame jumps, audio pops, mismatched eye lines, and cuts that kill the flow dead. The difference between a polished video and an amateur one often comes down to whether the jump cuts were cleaned up properly. And until recently, that cleanup was a slow, manual, frame-by-frame grind.
AI editing has changed that equation permanently. What used to require hours of precise timeline work now takes minutes when the right tools handle the heavy lifting. This is not about cutting corners. It is about redirecting your attention from mechanical tasks to the creative decisions that actually matter.
What Makes a Jump Cut Messy
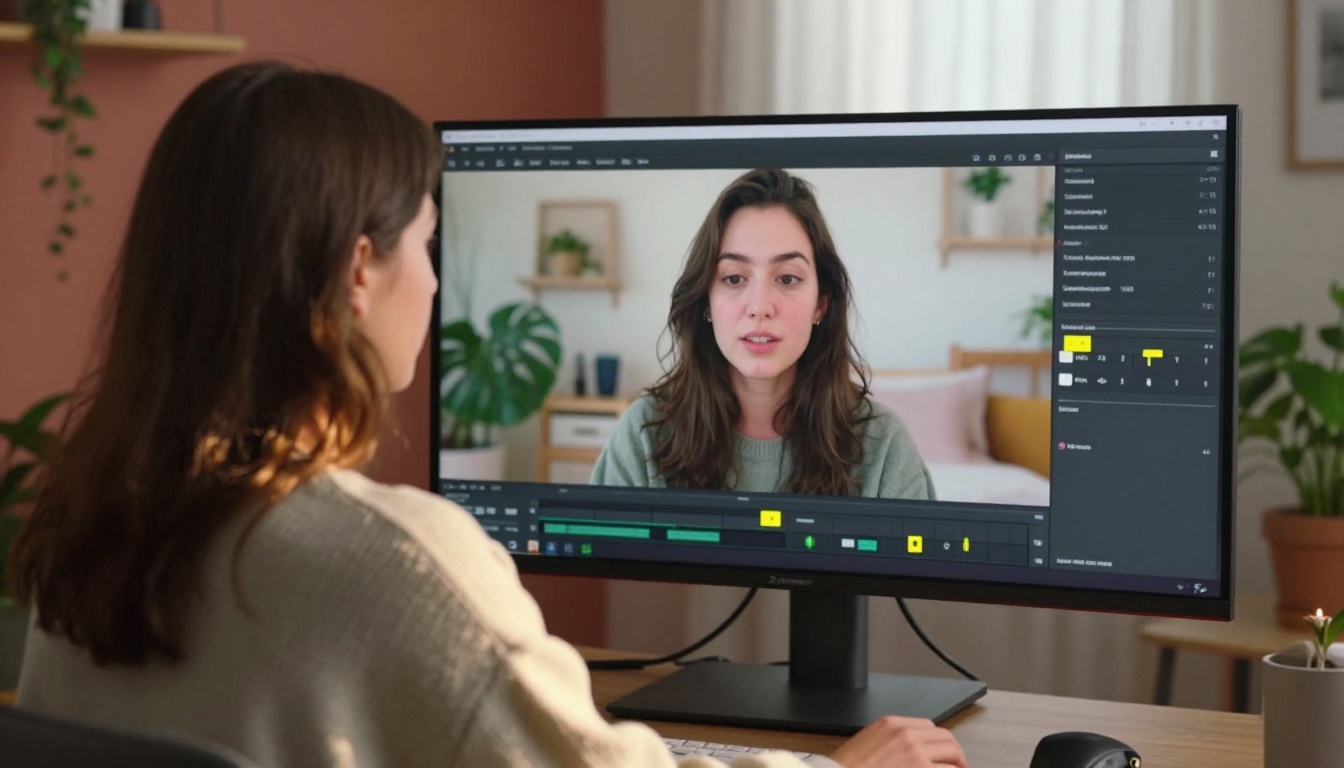
Most creators think messy jump cuts are a shooting problem. They are not. They are almost always an editing problem. The footage can be perfectly fine. The issue lives in how cuts are placed, timed, and stitched together at the post-production stage.
The 3 Things That Break a Cut
1. Micro-repositioning between clips
When a subject shifts slightly between takes or pauses, the jump cut shows a ghost-like snap in position. Even a two-pixel head shift registers as jarring to the eye, especially on large screens or at the first few viewings when the viewer is still calibrating to the video's rhythm.
2. Audio discontinuity
This is the most common culprit. Room tone changes between clips, breath sounds that start mid-cut, or an abrupt silence that signals a hard edit to any attentive ear. A cut that looks clean on the timeline can still feel wrong because of what happens at the edit point. Background hiss, fan noise, even the subtle acoustics of a room all change slightly from take to take, and those changes are audible at every cut.
3. Wrong cut point within a phrase
Cutting in the middle of a breath, a blink, or between syllables creates a visual and acoustic stutter. The ideal cut point is at the natural pause between sentences or at a hard consonant sound. Cutting on a vowel sound is almost always perceptible to the viewer even when they cannot identify why.
💡 Note: Most AI cut-detection tools analyze audio waveforms alongside visual data, which is why they catch problems that purely visual tools miss. The combination of speech pattern analysis and frame continuity checking produces far more accurate results than either approach alone.
Why Manual Fixes Take So Long
Manually cleaning jump cuts means scrubbing frame by frame, setting in-points at the exact right moment, cross-fading audio between clips, and repeating this for every single cut in a video. For a talking-head video with 200 cuts, that is hours of work. For a 30-minute long-form video, it can consume an entire editing day.
The math is brutal. Most creators spend more time editing than filming. AI flips that ratio dramatically, and the results are often more consistent than what a tired editor produces at hour six of manual cutting.
How AI Detects Bad Cuts Automatically
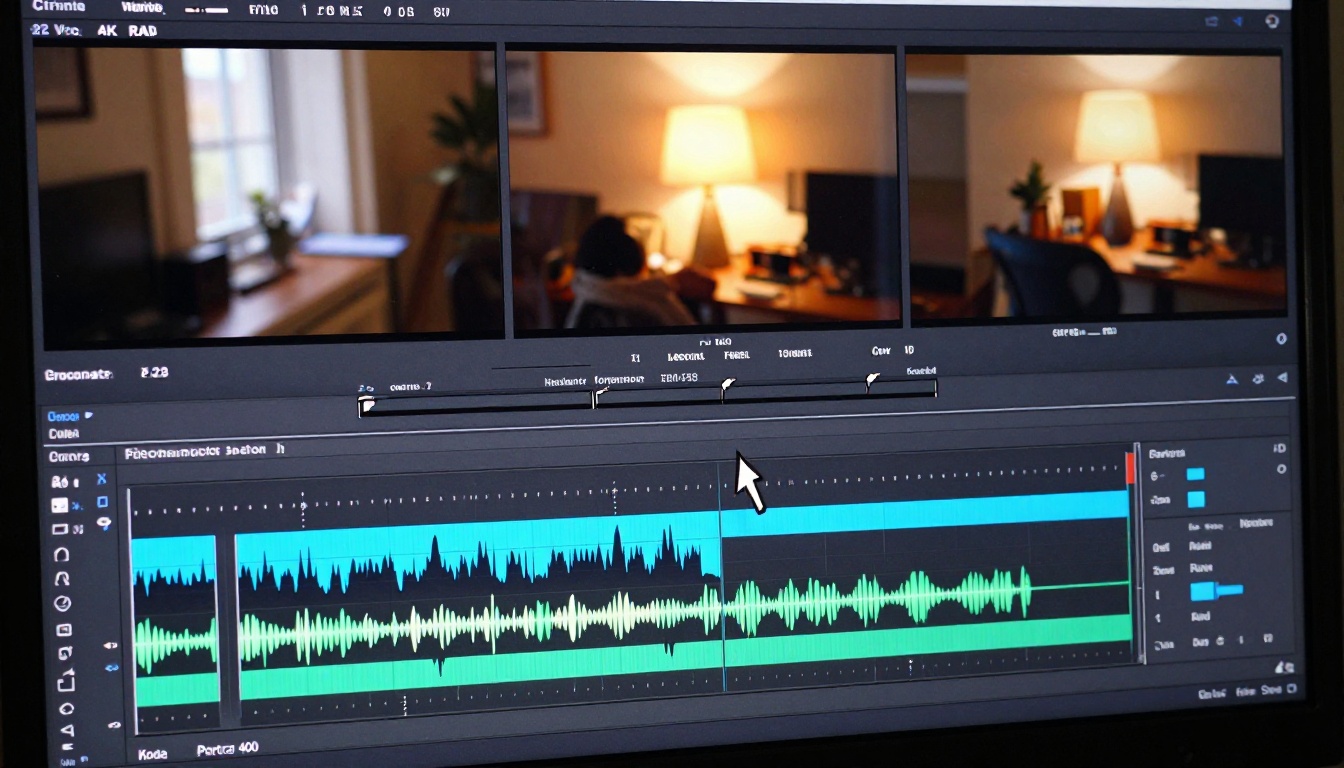
The way modern AI approaches jump cut cleanup is fundamentally different from rules-based automation. It does not just look for silence or a specific decibel threshold. It actually reads the content of the video.
Speech Detection at the Word Level
AI tools trained on spoken word can identify filler words ("um," "uh," "like," "you know"), stutters, repeated phrases, and false starts with high accuracy. When the AI finds these moments, it flags them as cut candidates. The editor receives a pre-populated list of suggested edits rather than a blank timeline.
Early speech-detection tools would miss words or cut through sentences. Current models understand sentence structure well enough to find the breath before a sentence ends, not the middle of it. That distinction is everything.
How AI Reads Frame Continuity
Beyond audio, AI now analyzes frame continuity across consecutive clips. It evaluates:
- Head position to flag spatial jumps between cuts
- Background consistency to detect lighting changes between takes
- Eye-gaze direction to ensure the subject appears to be looking at the same point across cuts
- Motion vectors to identify clips where subject movement is mismatched at the cut point
When both audio and visual analysis run simultaneously, the system can rank cuts by severity: which ones are invisible, which need a minor audio fade, and which need to be re-cut entirely. That ranking alone saves enormous amounts of review time.
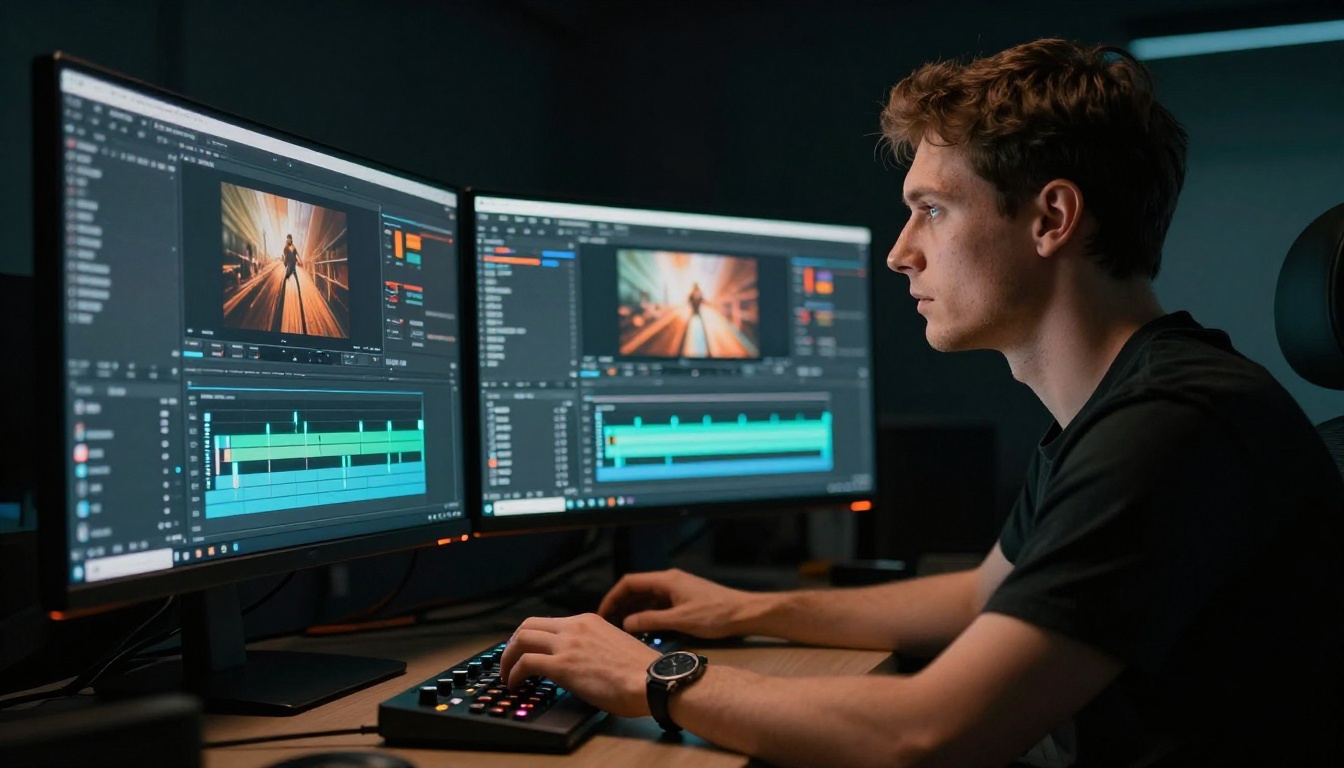
PicassoIA has several tools in its video-editing category that directly address different stages of the jump cut cleanup workflow. The right approach is to use them in sequence, each handling a specific layer of the problem.
Trim and Split Your Footage First
Before any intelligent editing can happen, the raw footage needs to be broken into workable segments. Trim Video lets you cut any clip to an exact length without re-encoding, which preserves quality and saves processing time. For longer raw recordings that need to be split at multiple points, Video Split handles frame-accurate splitting across the full clip.
These two tools are the entry point of every clean editing workflow. Get the segments right before applying AI editing logic on top of them.
Use Text-Driven Editing to Remove Filler
Once the footage is segmented, the most powerful step is text-driven editing. Lucy Edit 2 by Decart allows you to edit video by typing instructions in plain language. You can describe what you want removed, what you want kept, and how you want the pacing adjusted, and the model re-edits the clip accordingly.
Wan 2.7 Videoedit takes a similar approach, using text prompts to restructure footage with particular strength on short-form content where you need tight, punchy cuts delivered quickly.
💡 Tip: When using text-driven editors, be specific. Instead of "make it faster," try "remove all pauses longer than 0.5 seconds and cut between sentences." The more precise the instruction, the cleaner the result.
For more complex video restructuring, Gen 4 Aleph by Runway can recut and restyle footage at a structural level. It works better for longer-form pieces where overall narrative flow needs adjustment alongside the cut cleanup.
Upscale After Cutting for Cleaner Output
One side effect of heavy jump cut editing is that frame crops sometimes introduce slight quality loss, especially when stabilization or position correction is applied. Running your edited video through Video Increase Resolution afterwards recovers sharpness and can bring the final output up to 8K. For a lighter pass, Real ESRGAN Video handles 4K upscaling with strong edge preservation.

How to Use Lucy Edit 2 for Jump Cut Cleanup
Lucy Edit 2 is one of the most direct tools for this specific task. Here is how to use it step by step on PicassoIA.
Step 1: Upload your raw clip
Navigate to the Lucy Edit 2 page. Upload the video clip you want to clean. The model accepts most common formats including MP4 and MOV files with no size restrictions for standard clips.
Step 2: Write your editing instruction
In the prompt field, describe exactly what the edit should do. For jump cut cleanup, effective prompts include:
- "Remove all filler words and hesitations. Cut on natural sentence endings."
- "Tighten the pacing by removing all pauses longer than one second."
- "Fix all jump cuts by trimming to the nearest clean phrase boundary."
Step 3: Review the AI output
The model returns an edited version. Play it through in full before exporting. Confirm that no mid-sentence cuts occurred, that audio transitions feel natural at each cut point, and that the subject's position is consistent across cuts throughout the clip.
Step 4: Iterate if needed
If certain cuts still feel abrupt, re-run with a more specific prompt. For example: "The cuts at 0:12 and 0:45 still feel abrupt. Smooth those transitions by finding the nearest breath point before each cut." The model responds well to time-coded feedback.
Step 5: Add captions
After the edit is clean, Autocaption can add synchronized captions automatically. This is especially important for social video where the majority of viewers watch without sound, and captions directly impact retention.
Before vs. After: What Changes
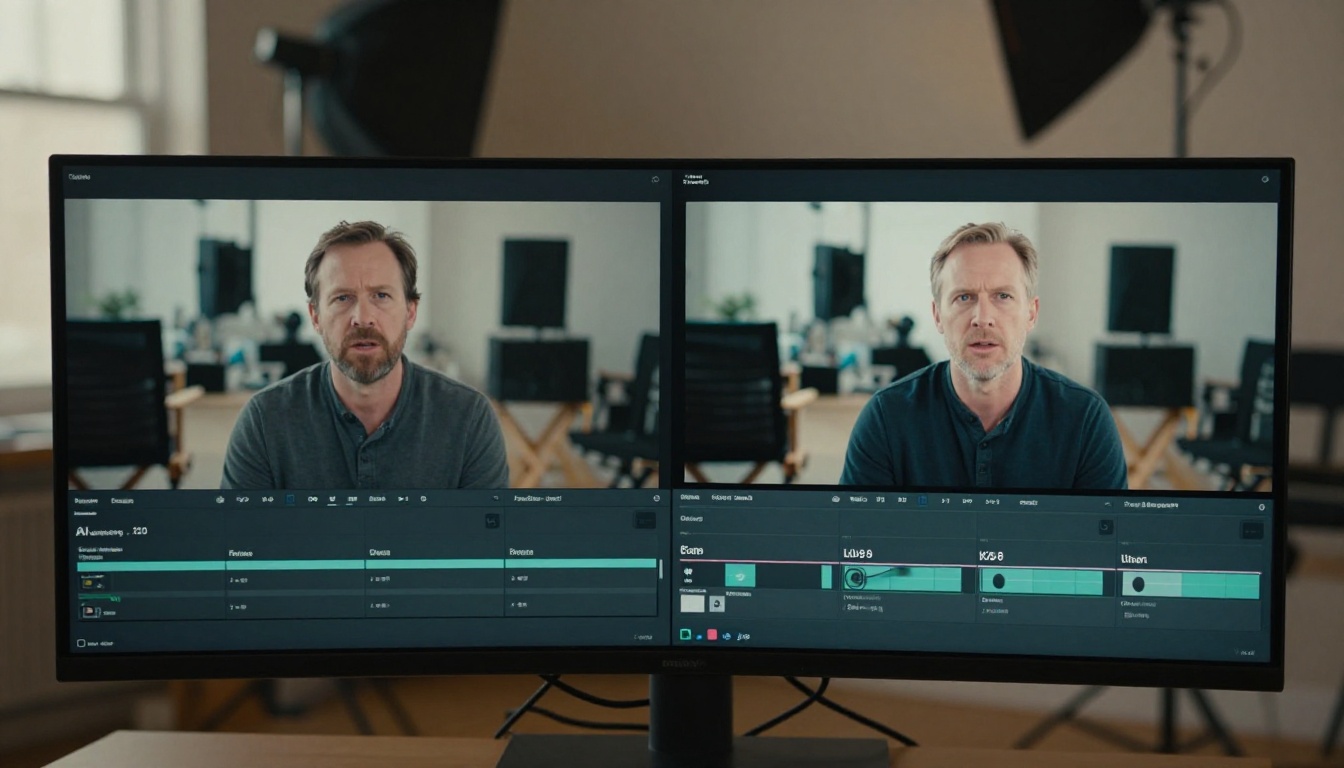
The improvements from AI-cleaned jump cuts are visible immediately when you watch both versions back to back. The difference is not subtle.
Pacing and Rhythm
| Element | Rough Cut | AI-Cleaned Cut |
|---|
| Filler words | Present throughout | Removed automatically |
| Pause length | Inconsistent, 1-3 seconds | Uniform, 0.3-0.5 seconds |
| Sentence flow | Interrupted by stutters | Continuous across phrases |
| Video length | 12 minutes raw | 7-8 minutes final |
| Watch-through rate | Drops at 40% mark | Holds through 70-75% |
The pacing difference is structural. Removing filler words alone typically reduces a talking-head video by 30-40% in runtime without cutting any actual content. That is not just cleaner: it is a fundamentally better viewing experience that audiences respond to at a measurable level.
Audio Continuity
Jarring audio is often the invisible problem. Viewers do not consciously identify it, but they do feel it. Attention drifts at every audio pop or room-tone shift. AI cleaning addresses this by:
- Normalizing room tone between clips so background ambience stays consistent
- Inserting micro-fades at cut points (1-5ms) to prevent click sounds at edits
- Matching breath patterns across the edit so the speaker's cadence stays natural throughout
💡 Fact: Audio discontinuity is responsible for more viewer drop-off than visual jump cuts. Viewers tolerate visible cuts. They do not tolerate sound that feels wrong, even when they cannot explain why they stopped watching.
Common Mistakes When Cutting
Even with AI assistance, certain habits sabotage the edit. These are the ones that appear most consistently across creators at every level.
Cutting Too Fast
Speed is not always pacing. Aggressive cuts that remove every breath and natural pause make the speaker sound pressured and breathless. The content feels anxious rather than energetic. Viewers disengage not because they are bored but because they feel exhausted by the relentless pace.
The fix: Keep at least one natural pause per spoken paragraph. It gives the viewer a moment to absorb information and makes the speaker sound confident rather than rushed.
Ignoring Audio Transitions
Applying visual-only AI edits without checking the audio at every cut is the most common oversight. A cut can look perfect on the waveform display but still produce a click if the audio gain changes between clips.
The fix: After running AI editing, listen to the full video with your eyes closed. Your ears will catch what your eyes miss on the timeline. This two-minute check prevents hours of viewer complaints.
Treating Every Cut the Same
Not all jump cuts need the same treatment. A cut between two close-up talking-head sentences needs different handling than a cut between a wide establishing shot and a close-up reaction. A blanket approach produces inconsistent results throughout the video.
The fix: Use LTX 2 Retake for section-specific re-editing when certain parts of the video need targeted treatment rather than a full-video pass.
Not Checking Final Output Quality
After aggressive cutting and re-encoding, visual quality can degrade at the cut points. This is especially visible at the edges of motion-matched cuts where compression artifacts can appear.
The fix: Always run your final edit through a quality check. If artifacts are visible, Real ESRGAN Video restores sharpness without introducing new compression problems.
Jump cut strategy is not one-size-fits-all. The right pacing for a YouTube documentary is completely wrong for a 60-second Reel. The AI tools that work best also differ between formats.
TikTok and Reels Pacing
Short-form content lives and dies by the first three seconds. The first cut in a TikTok needs to happen before the viewer's thumb starts to swipe. This means:
- Open with action already in progress, not setup or intro
- First cut within 2-4 seconds of the opening frame
- Average cut rate: one cut every 2-3 seconds throughout the clip
- No pauses longer than 0.5 seconds anywhere in the video
Kling o1 is strong here. It re-edits footage using text instructions and has a speed advantage for shorter clip lengths, making it practical for the high-volume output short-form creators need to sustain.
For stitching multiple short takes together, Video Merge combines clips instantly without quality loss. Pair it with Autocaption for the caption layer that short-form content requires.
YouTube Long-Form Rhythm
Long-form editing is about breath. Viewers spend 15-30 minutes with long-form content, and they need natural breathing room. The pacing should feel purposeful, not relentless.
- Cut on natural topic transitions, not just sentence ends
- Allow 0.5-1 second pauses at major point boundaries
- Use B-roll cutaways over jump cuts wherever footage is available
- Average cut rate: one cut every 8-15 seconds in explanation segments
For longer videos that need structural re-editing, Gen 4 Aleph handles macro-level restructuring while the smaller cut-cleanup tools handle the micro-level polish on individual segments.
💡 Tip: Use Frame Extractor to pull clean still frames from your footage. These work as thumbnail candidates or as cutaway images to cover problematic jump cuts in your long-form edit without needing separate B-roll footage.
The Full Workflow in Order
Putting it all together, here is the complete AI-assisted jump cut cleanup workflow from raw footage to finished video:
- Upload and split raw footage at major scene points using Video Split
- Trim each segment to rough boundaries with Trim Video
- Text-edit filler words and pauses out using Lucy Edit 2 or Wan 2.7 Videoedit
- Re-edit problem sections with LTX 2 Retake for targeted cleanup on specific parts
- Combine the cleaned segments with Video Merge
- Upscale the final output via Video Increase Resolution for maximum output quality
- Add captions with Autocaption for social distribution
This entire process, which would take 4-8 hours manually, runs in a fraction of the time with AI handling the labor-intensive steps. The editor's role shifts from cutting frames to reviewing outputs and making creative decisions about pacing and story.
The Cuts That Still Need a Human Eye
AI is not perfect at every situation. There are specific scenarios where human judgment still outperforms automated tools, and knowing where those situations appear saves you from fixing problems the AI introduced.
- Emotional beats: AI may cut a pause that was intentional for dramatic effect. A well-timed silence before a reveal is as important as the reveal itself.
- Comedic timing: Jokes depend on rhythm that AI does not always read correctly. The beat before a punchline is not dead air. It is the punchline.
- Reaction shots: If the edit calls for holding on a reaction, AI will often trim it as "unnecessary silence" when it is actually essential storytelling.
- Narrative structure: AI edits for efficiency, not story arc. A human knows when slowing down serves the viewer even when the waveform says to speed up.
The most effective workflow is AI for efficiency and humans for intention. Let the AI handle the 80% of cuts that are purely technical. Reserve your energy for the 20% that require creative judgment about what actually serves the audience.
Start Editing Your Videos Right Now
The barrier to clean jump cuts is no longer skill or time. It is knowing which tools to apply and in what order. Every tool referenced in this article is available on PicassoIA, and most require nothing more than uploading a clip and writing a plain-language instruction.
If you have raw footage sitting unedited because the cleanup feels too tedious, that footage is one AI pass away from being shareable. Upload it, write a prompt, and see what comes back. The first result alone typically saves at least two hours of manual work.
PicassoIA's video-editing collection covers everything from the initial split and trim through to the final upscale and caption pass. Pick the stage that is slowing you down most and start there. Begin with Lucy Edit 2 if filler words are the problem, Video Split if your footage needs segmenting first, or LTX 2 Retake if specific sections need targeted cleanup.
The cuts that used to cost you half a day now cost you twenty minutes. That is what AI actually changes about video editing.


