Blurry logos make brands look cheap. It doesn't matter how strong your identity is on paper: if the PNG you send to the printer comes back pixelated, or the favicon on your site looks like a smudge, you've already lost something. The good news is that AI super-resolution can fix this in under a minute, without a vector file, without a designer, and without starting from scratch.
Why Logos Go Blurry
Most logo problems aren't design problems. They're format problems. A logo that looks perfect at 300px wide will fall apart at 2000px if it was saved as a raster image with no resolution headroom. This is the silent killer of brand consistency across platforms.
Raster Formats Break at Scale
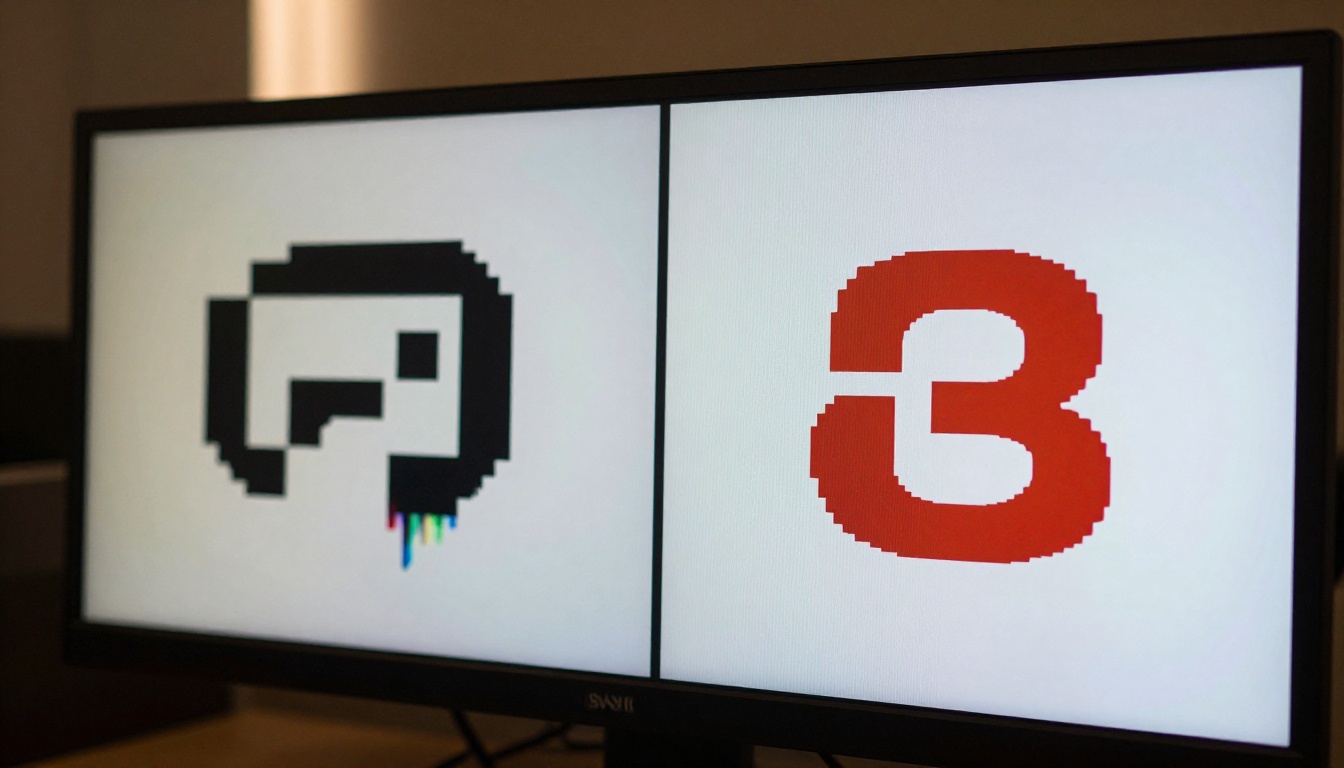
When a logo is saved as a JPEG or PNG, it's stored as a fixed grid of pixels. Scale that grid up and you're not adding detail, you're just stretching what's already there. The computer fills the gaps with guesses, usually a blurry average of neighboring pixels. The result: jagged edges, muddy colors, and a logo that looks nothing like the original intent.
The three most common raster format culprits:
- JPEG: Lossy compression actively destroys edge detail. Every save cycle removes more information permanently.
- PNG-8: Limited color depth causes banding in gradients and rough edges on curves.
- GIF: Still used for favicons in some workflows, but color-limited and resolution-locked at creation time.
When Clients Send Low-Res Files
This happens constantly. A client hands over a logo that's 200x200 pixels, sourced from a website screenshot or an old email signature. You need it at 1920px for a banner. Traditional scaling makes it worse. Even professional editing software can only do so much with bicubic interpolation before the image becomes a soft, unrecognizable blur.
This is exactly the gap that AI upscaling was built to fill.
What AI Super Resolution Does to a Logo
AI super resolution isn't interpolation. It's reconstruction. Instead of averaging existing pixels, a trained neural network predicts what the high-resolution version of an image should look like, based on patterns learned from millions of image pairs.
How Upscaling Models Actually Work
The models use convolutional neural network architectures trained on pairs of low-resolution and high-resolution images. During training, the model learns to recognize edge patterns, texture structures, and color transitions. At inference time, it applies those learned patterns to your image, producing a result that is sharper, more detailed, and structurally coherent.
For logos, this means the model can:
- Restore sharp edges on letterforms and geometric shapes
- Improve color fidelity across flat color regions
- Reduce compression artifacts introduced by repeated JPEG saves
- Add sub-pixel detail to curves and diagonal lines
💡 AI upscaling doesn't fabricate detail randomly. It infers what should be there based on structural context. A circle will come out rounder. A straight line will come out straighter.
AI vs. Bicubic Interpolation
| Method | Edge Quality | Processing Time | Result |
|---|
| Bicubic Interpolation | Soft, blurry | Instant | Passable at 1.5x |
| Lanczos Resampling | Slightly sharper | Fast | Better but still limited |
| AI Super Resolution | Sharp, defined | Seconds | 4x to 6x with detail |
Bicubic has been the standard for decades because it was the best available option. AI makes it obsolete for most logo work.
The Best AI Models for Logo Sharpening
Not all upscaling models are equal, and logo sharpening has specific requirements: clean edges, no texture hallucination, and consistent color reproduction. These models consistently deliver:
Recraft Crisp Upscale
Recraft Crisp Upscale is designed specifically for clean, high-contrast images. Logos are its natural habitat. It prioritizes edge definition over texture generation, which is exactly what you want when your logo has geometric shapes or typography. The output stays true to original colors without introducing unwanted detail in flat areas.
Best for: Wordmarks, geometric logos, logos with sharp lines and flat color fills.
Real ESRGAN
Real ESRGAN is one of the most widely proven AI upscalers available. It handles both synthetic and photographic content well, and its handling of small-scale detail is exceptional. For logos that include gradients, shadows, or subtle texture effects, Real ESRGAN reconstructs fine details without introducing noise.
Best for: Logos with gradients, soft shadows, or photographic elements embedded in the mark.
Clarity Pro Upscaler
Clarity Pro Upscaler adds a layer of perceptual sharpening on top of raw upscaling. It's optimized for photorealistic output, which makes it a strong choice when a logo includes illustrative or semi-realistic elements. It won't distort flat color areas, but it adds crispness to complex logo elements that simpler models miss.
Best for: Illustrated logos, mascot-style marks, logos with fine line detail.
Topaz Image Upscale
Topaz Image Upscale supports up to 6x upscaling, the highest ceiling in this category. For large-format print work, where a logo needs to go from a small digital asset to a banner or vehicle wrap, this model's maximum output size provides headroom that others can't match.
Best for: Large-format printing, billboard work, any output where maximum pixel count matters.
How to Use Recraft Crisp Upscale on PicassoIA
Recraft Crisp Upscale is available directly on PicassoIA. Here's the exact process for making any logo sharp and ready at any size:
Step 1: Upload Your Logo File
Go to the Recraft Crisp Upscale model page on PicassoIA. Upload your logo file. PNG is preferred because it preserves transparency and avoids JPEG compression artifacts. If you only have a JPEG, the model handles it, but you'll get better results starting from the cleanest source file available.
File prep tips before uploading:
- Use the white-background version if you have one. Transparent PNGs can cause edge fringing on some models.
- Crop the image tightly to the logo before uploading. Unnecessary whitespace increases processing time without improving results.
- If you have multiple logo formats, choose the one with the largest original pixel dimensions.
Step 2: Set Your Upscale Parameters
Recraft Crisp Upscale offers scale factor options. For most logo work:
- 2x: Ideal for web assets where you need Retina-ready versions at double resolution.
- 4x: The standard for print work, presentation assets, or when the source file is genuinely small.
The model handles the rest automatically. There are no complex parameters to configure. This is intentional: the model is trained to make the right decisions for clean graphic content.
💡 If your logo has a transparent background and you need to preserve it, export as PNG from the results page. JPEG will add a white or gray background to transparent areas, making the file unusable on colored backgrounds.
Step 3: Download and Deploy
Once processing completes (typically under 30 seconds), download the result. You now have a high-resolution version of your logo that can be:
- Dropped directly into Figma, Adobe XD, or Canva at full resolution
- Sent to a print shop without any additional processing
- Used as a source file for generating all size variants across your brand system
If the first pass isn't perfect, re-run with a different scale factor or try Clarity Pro Upscaler for a second opinion on complex marks.
Logo Sharpness Across Every Use Case
A logo that works at one size doesn't automatically work at all sizes. Here's how AI upscaling solves the size problem at each level:
Favicons (16px to 64px)
Favicons are brutally small. At 16x16 pixels, most logos become unreadable without deliberate attention. The standard approach is to create a simplified icon variant by hand, but if you're working fast or don't have access to the original vector files, AI upscaling helps in two concrete ways:
- Upscale a larger version of the logo to create a clean, high-resolution source file.
- Use P Image Upscale to recover detail from a degraded small version before exporting.
The favicon itself still needs to be downsized from a clean high-res source. AI gives you that source when it doesn't otherwise exist.
Social Media Profiles
Profile photos on LinkedIn, Instagram, and X all have different resolution requirements. LinkedIn recommends 400x400. Instagram displays at 110x110 but requests at 320x320. Upload a blurry or low-res logo and the platform's compression will make it worse.
Start with a 2x or 4x AI-upscaled version and crop or resize for each platform. The extra resolution gives the platform's compression algorithm more to work with, and the visible output quality is noticeably better than starting from a low-res original.
Print and Large-Format
This is where size differences are most punishing. A logo that's 500px wide looks fine on screen but prints at less than 2 inches at 300 DPI. For a banner, a trade show backdrop, or vehicle wrap, you need thousands of pixels of clean, sharp content.
Topaz Image Upscale and Bria Increase Resolution handle this scale. A 500px input at 6x becomes 3000px: print-ready for most standard banner sizes without any visible degradation.
Comparing Top Upscalers Side by Side
No single model wins every scenario. The right choice depends on your source file quality, the complexity of your logo, and the output format you need.
Mistakes That Kill Logo Quality
Getting great results from AI upscaling isn't hard, but a few common errors consistently produce bad outputs. These are the ones worth knowing before you start:
Saving as JPEG Before Upscaling
JPEG compression introduces block artifacts around edges. These artifacts are subtle at normal viewing sizes but become very visible when an upscaling model tries to reconstruct detail. The model faithfully sharpens the compression artifacts along with the real logo content, producing a result with sharp but wrong edges.
Fix it: Always work with PNG or TIFF as the source. If you only have a JPEG, apply Recraft Crisp Upscale at 2x first to reduce artifacts, then upscale again if you need more resolution.
Upscaling an Already-Compressed File Twice
Upscaling a logo that has already been upscaled from a poor source compounds the problems. Each generation of AI inference introduces small decisions about what detail to add. Running this process on an already-reconstructed image can produce color drift, unnatural sharpening halos, and edge distortion.
Fix it: Always trace back to the highest-quality original available. If that original is still low-resolution, a single 4x or 6x pass will produce better results than two 2x passes on progressively degraded files.
Ignoring Transparency
Many logos rely on a transparent background to work on colored surfaces. If you process a logo without preserving transparency, you'll end up with a white background baked into the file. This won't be obvious until you place the logo on a colored background in your design tool and see a white box appear around it.
Fix it: Download results as PNG, check transparency in your design software before distributing, and always keep a transparent-background version in your source library.
The Size Problem Is Solved
Logo sharpness used to mean you needed the original vector file, a designer with access to it, and time. None of those are requirements anymore. AI super-resolution gives you sharp, print-ready, Retina-quality output from whatever source file you have, in under a minute.
The models available on PicassoIA cover every scenario: fast upscaling for web assets with P Image Upscale, precision sharpening for geometric marks with Recraft Crisp Upscale, maximum scale for large-format print with Topaz Image Upscale, and detail recovery for complex illustrated logos with Clarity Pro Upscaler. You don't need all of them. Pick the one that fits your use case and run it.
Your logo should look sharp at every size it appears. AI makes that achievable without rebuilding anything from scratch.
Try Recraft Crisp Upscale on your logo right now on PicassoIA. Upload your file, select your scale, and see what crisp actually looks like.