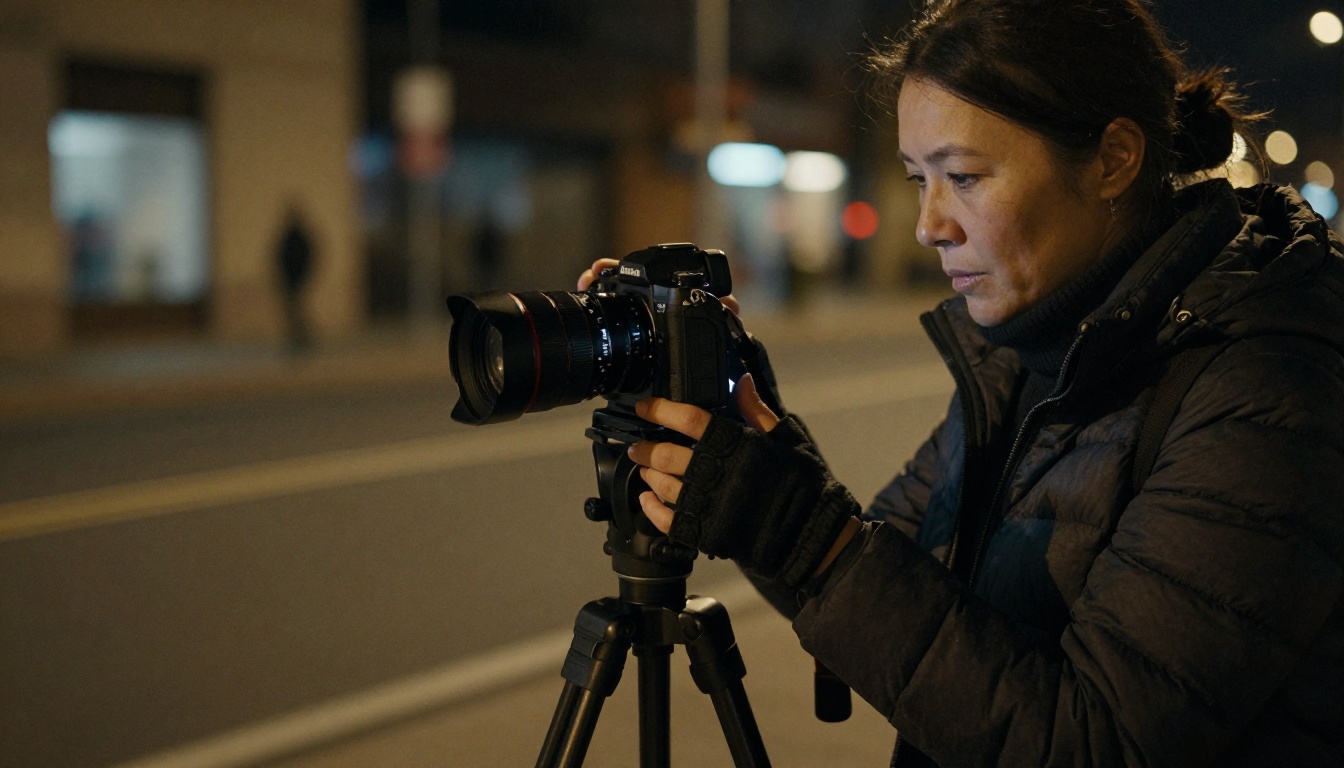
Night footage that looks unusable fresh out of the camera is not the end of the story. AI models trained on millions of frames of video now understand noise patterns, shadow detail, and low-light compression artifacts in ways that let them recover information you thought was lost. Whether it's a wedding shot in a dimly lit venue, a drone clip at the golden-to-blue-hour transition, or raw security camera footage that needs to be reviewed, AI tools can fix what the sensor couldn't capture cleanly.
This is not about magic. AI denoising and upscaling work by recognizing patterns the camera recorded but couldn't display clearly. The difference between footage that's genuinely too dark (underexposed by 4+ stops with no retained data) and footage that's noisy or grainy but technically has luminance information is what separates fixable from unfixable. Most footage shot in difficult night conditions falls into the fixable category.
The ISO Noise Problem
When there isn't enough light, your camera raises its ISO to compensate. ISO 3200 on a crop sensor camera, ISO 6400 on a phone, ISO 12800 on most cinema cameras without dual-native ISO support — all of these introduce digital noise: random color variation at the pixel level that reads as grain, speckle, and false color in shadows.
This noise is not inherently destructive to the underlying image data. It's an overlay of random variation on top of real luminance information. AI denoising algorithms, including those used by the best video enhancement tools today, are specifically trained to separate the real signal from the noise and remove one while preserving the other.
Crushed Blacks and Lost Detail
The second failure mode is shadow crushing: when the camera (or your NLE's export settings) clips shadow detail entirely to pure black. This is harder to recover because actual data is missing rather than obscured.
The rule of thumb: if you can still see texture, faces, or edges in the shadow areas when you scrub through the original file at full quality, AI tools can restore them. If the shadows are pure black with zero information, even the best model cannot invent detail that was never recorded.
Compression Artifacts at Night
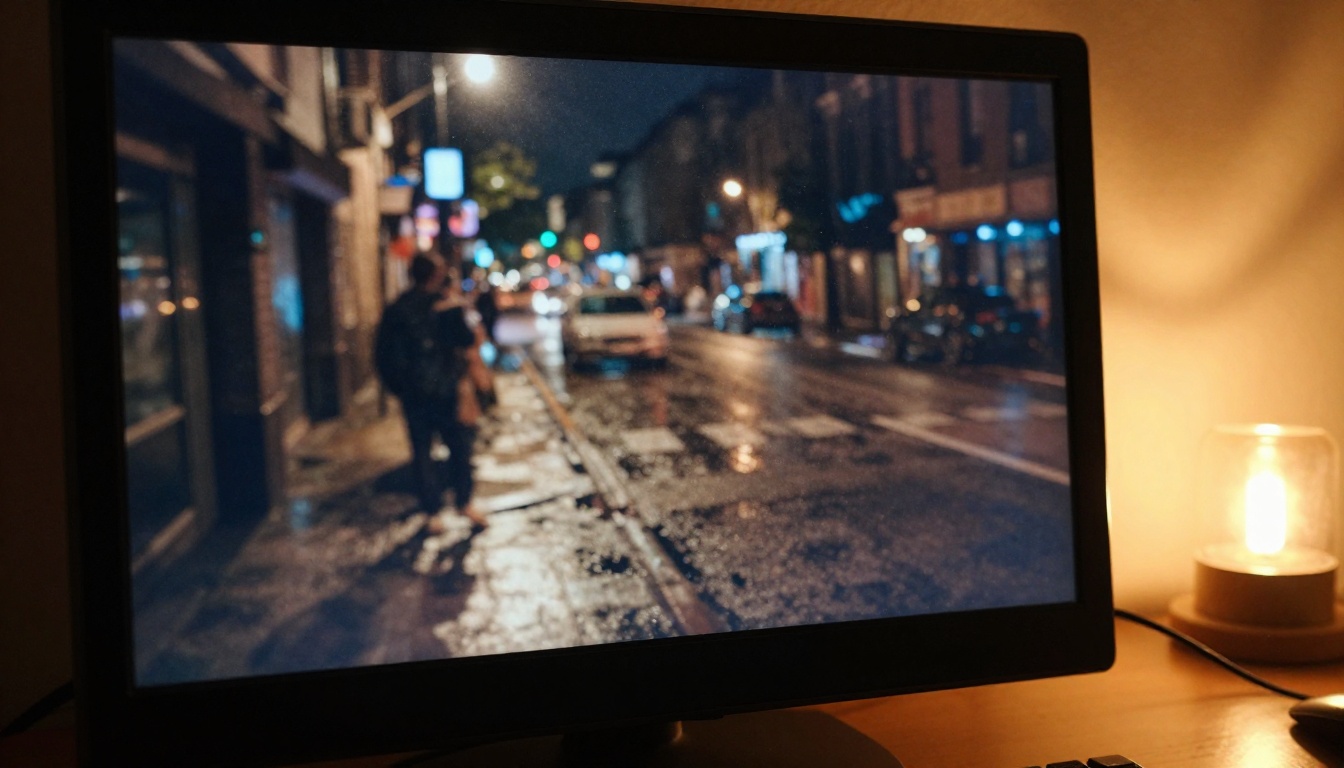
A third issue, often overlooked: compression codecs like H.264 and H.265 struggle badly in low-light scenes. Grain and noise are expensive to compress, so the codec substitutes blocky macroblocks for fine grain. The result is footage that looks like it was shot through frosted glass in certain shadow areas.
AI video upscalers are trained specifically on this type of artifact and can reconstruct sharper edges and textures from heavily compressed low-light clips.
What AI Actually Does to Night Video
Denoising vs Upscaling
These are two distinct processes that are often confused, and sometimes combined:
- AI Denoising: Removes grain and noise patterns from each frame while preserving edges, texture, and detail. The output resolution stays the same. This is what you want when your footage is the right resolution but looks speckled or grainy.
- AI Upscaling: Increases resolution (such as 1080p to 4K) by using neural networks to intelligently fill in new pixels based on learned visual patterns. Good upscalers also clean up compression artifacts and softness in the process.
For most night footage problems, you need both. Start with denoising to clean the base signal, then upscale if you need higher resolution output.
Frame-by-Frame Processing
Unlike static image enhancement, video AI has to process each frame individually while maintaining temporal consistency, meaning adjacent frames need to look like they belong together without flickering or pulsing. The best models handle this with temporal coherence algorithms that look at sequences of frames rather than single images in isolation.
This is why video enhancement is more computationally expensive than image enhancement, and why tools built specifically for video (rather than repurposed image tools) produce much better results.
Before you run any AI enhancement, avoid these three common errors:
-
Exporting a re-compressed copy first: Always run AI tools on the highest-quality source file available. If your footage came from a camera, use the original file. If you need to export from an NLE, use ProRes LT or DNxHR at minimum. Avoid re-exporting to H.264 or H.265, which adds another round of compression artifacts on top of the existing ones.
-
Over-brightening in your NLE first: If you push your shadows to maximum in Premiere or DaVinci before sending to an AI tool, you amplify the noise before the AI sees it. Send the file with minimal grading, let the AI clean the signal, then grade afterward.
-
Using the wrong tool for the job: An upscaler won't fix noise if you don't address it first. A denoiser won't add resolution. Knowing which problem you're solving determines which tool you need.
💡 For drone footage shot at dusk: the color temperature often drifts from warm to cool as the light changes. Correct white balance after AI enhancement, not before, so the AI works on color-consistent frames.
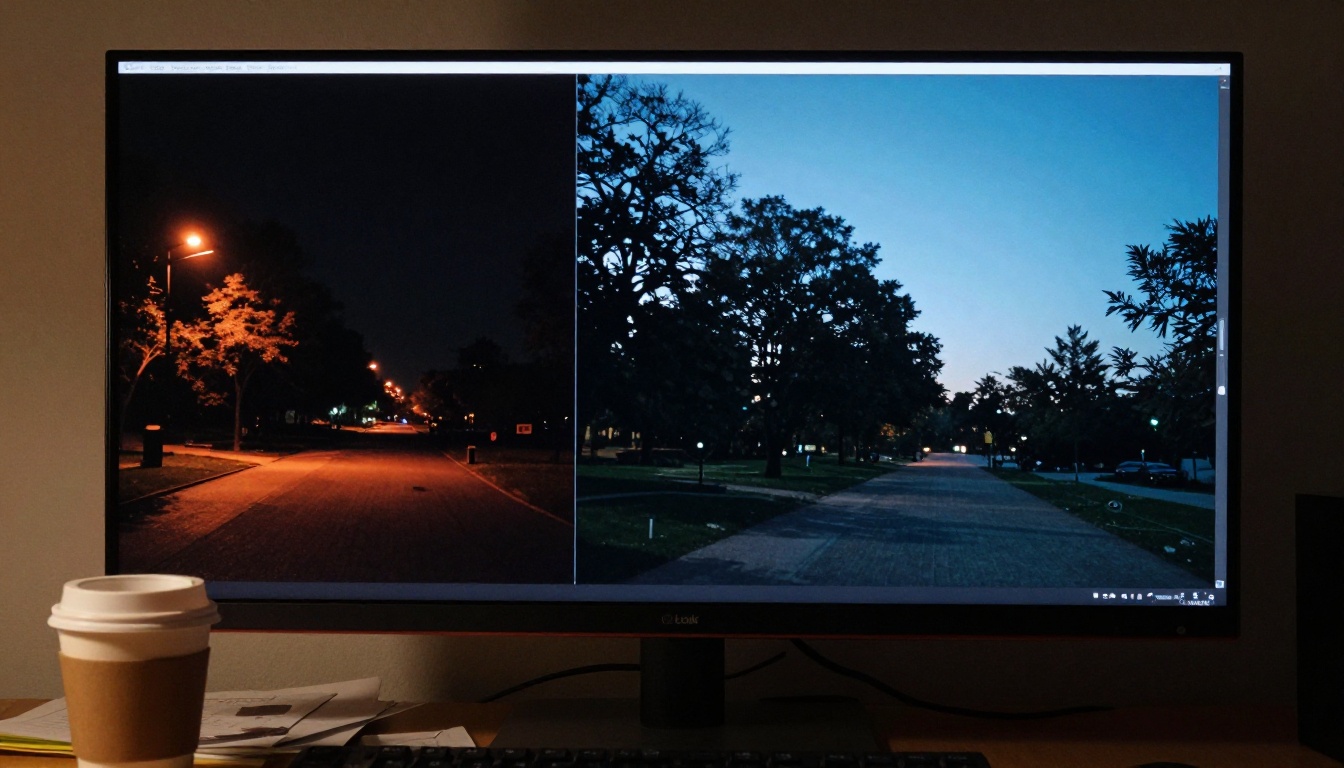
Best AI Models for Night Video Restoration
For Upscaling and Clarity
Crystal Video Upscaler by philz1337x is one of the most effective models for taking standard-definition or 1080p night footage and upscaling it to 4K with visible detail recovery. It handles both noise reduction and resolution increase in a single pass, which makes it especially useful for footage that has both problems at once.
Topaz Video Upscale by Topazlabs is the industry benchmark for video upscaling, with specific training on film grain and high-ISO noise patterns. It supports output at 4K and 120fps, and its motion compensation algorithm significantly reduces the ghosting that cheaper upscalers introduce on moving subjects in low light.
Upscale v1 by Runway is a solid option for shorter clips where you need fast turnaround, with clean results on indoor night footage and candlelit scenes.
For Noise Removal and Restoration
Real ESRGAN Video by Lucataco is specifically trained on degraded and compressed video. Its real-world degradation model means it was trained on footage with actual noise, blur, and compression artifacts rather than synthetic data, making it particularly accurate on real-world low-light clips.
BRIA Video Increase Resolution is an 8K-capable upscaler with strong performance on dark scenes, handling both color noise and luminance noise without the over-sharpening that many AI upscalers introduce.
For Full Video Editing and Correction
If the footage is dark but also needs other corrections like stabilization, object removal, or a complete look change, these editing models can handle multiple operations:
Lucy Edit 2 lets you use text instructions to edit video. You can describe what you want and the model applies changes directly. It's a fast way to fix night footage when you're not sure exactly which parameters to adjust.
Wan 2.7 Videoedit by Wan Video handles text-driven video transformation, useful for converting dark footage to a specific look or style.
Gen 4 Aleph by Runway is built for recutting and restyling video at a high quality level, and can process night footage into different visual treatments when you need more than just noise removal.
How to Use Crystal Video Upscaler on Picasso IA
Crystal Video Upscaler is the recommended starting point for most night footage fixes. Here's exactly how to use it:
Step 1: Prepare Your Source File
Export or locate the highest-quality version of your night footage. If it's from a camera, use the original file. If you need to export from an NLE, use ProRes LT or DNxHR at minimum. Avoid re-exporting to H.264 or H.265.
Step 2: Open the Model Page
Go to the Crystal Video Upscaler page on Picasso IA and click to open the generation interface.
Step 3: Upload Your Clip
Upload your night footage file. For best results, keep clips under 60 seconds per submission. Longer clips can be split using Video Split before processing, then reassembled afterward.
Step 4: Set Your Parameters
- Output Scale: Set to 4x for footage that needs both cleaning and resolution increase. Set to 2x if you only need noise reduction on already-HD footage.
- Denoise Strength: Start at 0.6 to 0.75 for typical high-ISO footage. Higher values smooth more aggressively but can soften fine detail like hair or fabric texture.
- Sharpness: Keep at default (0.5) for night footage. Over-sharpening amplifies any remaining grain artifacts.
Step 5: Process and Review
Submit the job. When complete, download the output and review it against the source at 100% zoom. Pay particular attention to face detail in shadow areas, edge sharpness without haloing, and temporal consistency (no flickering between frames).
Step 6: Grade After Enhancement
Once satisfied with the cleaned clip, bring it back into your NLE for final color correction. Now that the noise is gone, shadow lifts and contrast adjustments will produce clean results rather than amplifying grain.
Different footage types respond best to different models. Here's a practical reference:
Results You Can Realistically Expect
The output from AI night footage restoration varies significantly based on source material quality. Here's what to expect across different scenarios:
High-ISO but well-exposed footage (ISO 3200 to 12800, not underexposed)
Excellent recovery. AI denoising removes 80 to 95% of visible noise without significant detail loss. Output looks like footage shot at a lower ISO. This is the best-case scenario.
Underexposed by 1 to 2 stops
Strong recovery. Lifting exposure slightly in post first, then applying AI denoising, brings back faces and textures that looked unusable. Some shadow areas may show soft rather than sharp detail, but footage becomes broadcast-usable.
Underexposed by 3+ stops
Partial recovery. Shadow areas with some retained information can be recovered. Completely crushed black areas cannot. AI tools work best on the midtones and highlights in this scenario.
Heavily compressed phone footage
Variable but often impressive. Phone cameras combine high ISO with aggressive compression, creating heavy macroblocking. Models trained on real-world degradation like Real ESRGAN Video handle this particularly well.
💡 What AI cannot do: It cannot recover detail from pure black pixels where no data was recorded. It cannot remove motion blur caused by camera shake or subject movement. For motion blur on night footage, consider frame interpolation or simply cutting around it rather than trying to fix it in enhancement.
For severely degraded night footage, a multi-step approach consistently produces better results than a single model pass:
- Trim and segment with Trim Video to isolate the worst sections
- Denoise and upscale with Crystal Video Upscaler or Topaz Video Upscale
- Reassemble with Video Merge if you processed in segments
- Final look and color in your NLE or with Gen 4 Aleph
This pipeline consistently recovers footage that would otherwise be cut from a project entirely. It adds maybe 20 minutes to your post workflow and can save clips that represent genuinely irreplaceable moments.
Night footage problems used to mean reshoots, expensive post-production software licenses, or simply cutting the clip and living with the gap in your edit. The AI models available today have changed that calculus entirely.
The real value of tools like Crystal Video Upscaler, Topaz Video Upscale, and BRIA Video Increase Resolution is not just technical quality. It's the ability to save footage that represents real moments: a wedding first dance shot in a dark reception hall, an interview in a poorly-lit office, event B-roll from a venue with no practical lighting control.
Those clips don't have to be discarded. The footage that looked unusable at 2am on your editing monitor is often very much recoverable after a single pass through the right AI model.
Picasso IA gives you direct access to every model covered in this article. No software to install, no local rendering queue to manage, and results available to download in minutes. Upload your worst night clips, pick the model that fits your situation from the comparison tables above, and see what comes back.