Taking a passport photo used to mean finding a pharmacy or post office, paying $15 to $20, and hoping the result didn't make you look half-asleep under fluorescent lights. Not anymore. AI-powered photo tools have completely changed what's possible at home. You can now take a sharp, biometric-compliant passport photo with nothing but your smartphone, a plain wall, and a free AI platform. The results are indistinguishable from professional studio shots, and in most cases they're actually better because you control every detail.
This article walks you through every step of the process: from setting up your shot at home, to using AI models to clean the background, fix the lighting, and resize everything to exact government specifications. Whether you need a US passport photo, a UK biometric photo, or an EU identity card format, the workflow is the same.
Why the Photo Booth Era Is Over
The traditional passport photo booth made sense twenty years ago when phone cameras produced grainy 1-megapixel shots. Today, any mid-range smartphone captures images at 12 to 50 megapixels with more dynamic range than a studio flash ever offered. The only missing piece was the software to do what a professional would do in post-production: remove the background, normalize the lighting, and check the framing against official biometric templates.
That software now exists, and it's surprisingly accessible. Platforms like PicassoIA bring together AI models trained specifically on photographic restoration and portrait enhancement. Specialized models like the Professional Headshot tool can take a casual phone photo and output a crisp, professional-grade portrait that meets government ID standards.
The cost difference is significant. A professional photo booth charges $15 to $25 per session. Most AI tools offer free tiers, and even paid plans cost less per month than two trips to the drugstore.
What Official Passport Photos Actually Require
Before touching any AI tool, you need to know what you're working toward. Passport photo requirements are stricter than most people realize, and rejection happens more often because of technical errors than anything else.
Face position and size:
- Your face must occupy 70-80% of the total photo height
- Eyes must be between 50-70% of the image height from the bottom
- The face must be centered horizontally
- Looking directly at the camera, both eyes open and visible
Background:
- White or off-white only (RGB values close to 255, 255, 255)
- Completely plain, no patterns, shadows, or gradients
- No visible furniture, textured walls, or outdoor scenes
Expression and appearance:
- Neutral expression, mouth closed
- No glasses (most countries now prohibit them entirely)
- No hats, except for religious headwear
- No heavy filters, heavy retouching, or artistic effects
Photo dimensions by country:
| Country | Size (mm) | Notes |
|---|
| USA | 51 x 51 mm | 2x2 inches, square format |
| UK | 45 x 35 mm | Head must be 29-34 mm tall |
| EU / Schengen | 35 x 45 mm | Head must be 32-36 mm tall |
| Canada | 50 x 70 mm | Head 31-36 mm from chin to top |
| Australia | 35 x 45 mm | Head must be 32-36 mm tall |
This is exactly where AI tools are powerful. Getting the background perfectly white, the face precisely centered, and the crop exactly right are tasks that AI handles in seconds. Doing this manually in Photoshop takes expertise most people don't have.
The Right AI Models for the Job
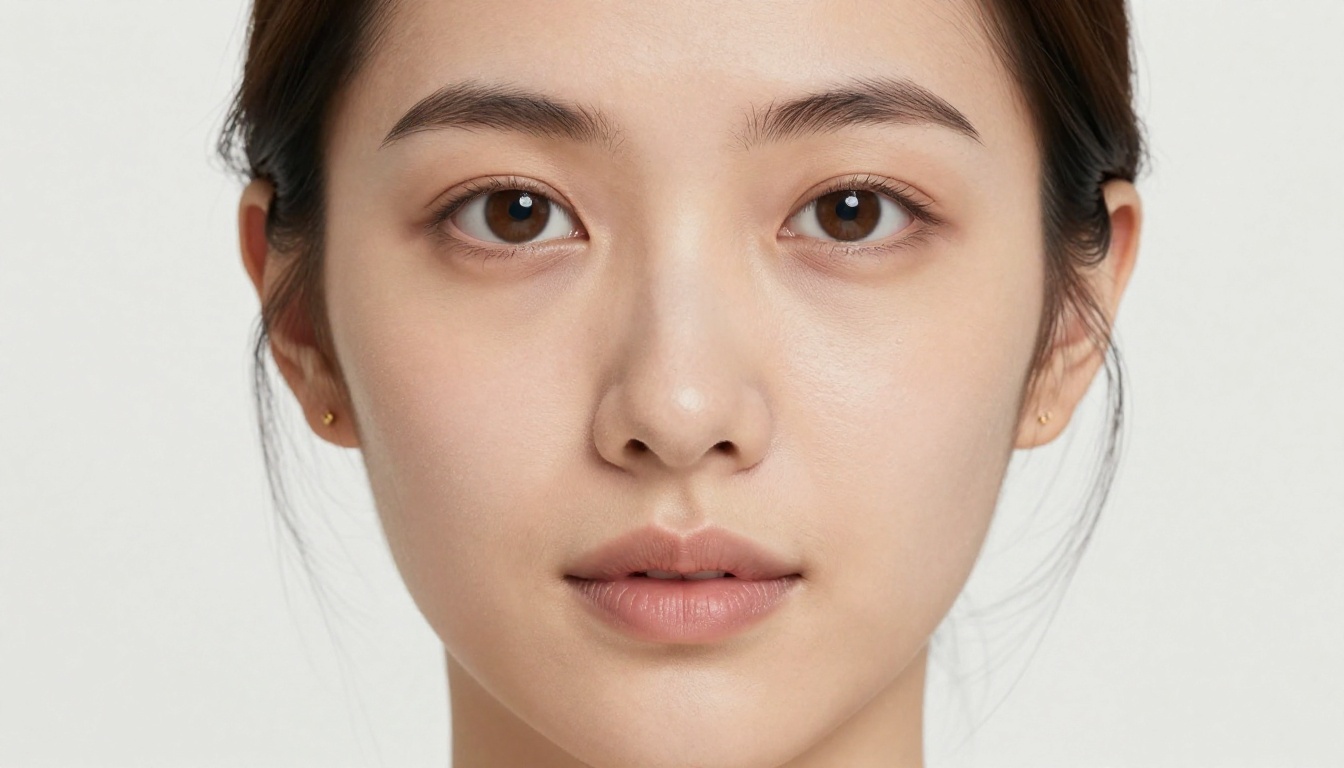
Not every AI image tool is built for passport photos. You need models that handle portrait fidelity without over-processing, and background tools that produce clean uniform white rather than a gray or patchy result.
Here are the PicassoIA models that work best for this workflow:
PicassoIA Image Editor Pro
The most versatile option. Handles background removal, lighting correction, and image editing in a single interface. If you want one tool that does everything, this is the starting point.
Professional Headshot
Built specifically to take casual photos and output studio-quality portraits. It normalizes lighting, sharpens facial details, and produces the kind of result that government photo reviewers expect. For passport photos, this is the most targeted solution available.
GPT Image 2
If you want to regenerate a compliant portrait entirely from a reference photo, GPT Image 2 gives you the highest level of photorealistic detail. Useful when the original photo has serious lighting or framing problems.
Flux Kontext Fast
Fast photo editing with strong subject preservation. Ideal for quick background swaps and minor lighting adjustments without altering facial features.
Flux Redux Dev
Produces controlled image variations while preserving identity. Useful when you want to try a slightly different crop or lighting angle from a single source photo.
💡 For most people, the Professional Headshot model covers 90% of what you need. Start there before reaching for more complex tools.
How to Take the Perfect Source Photo
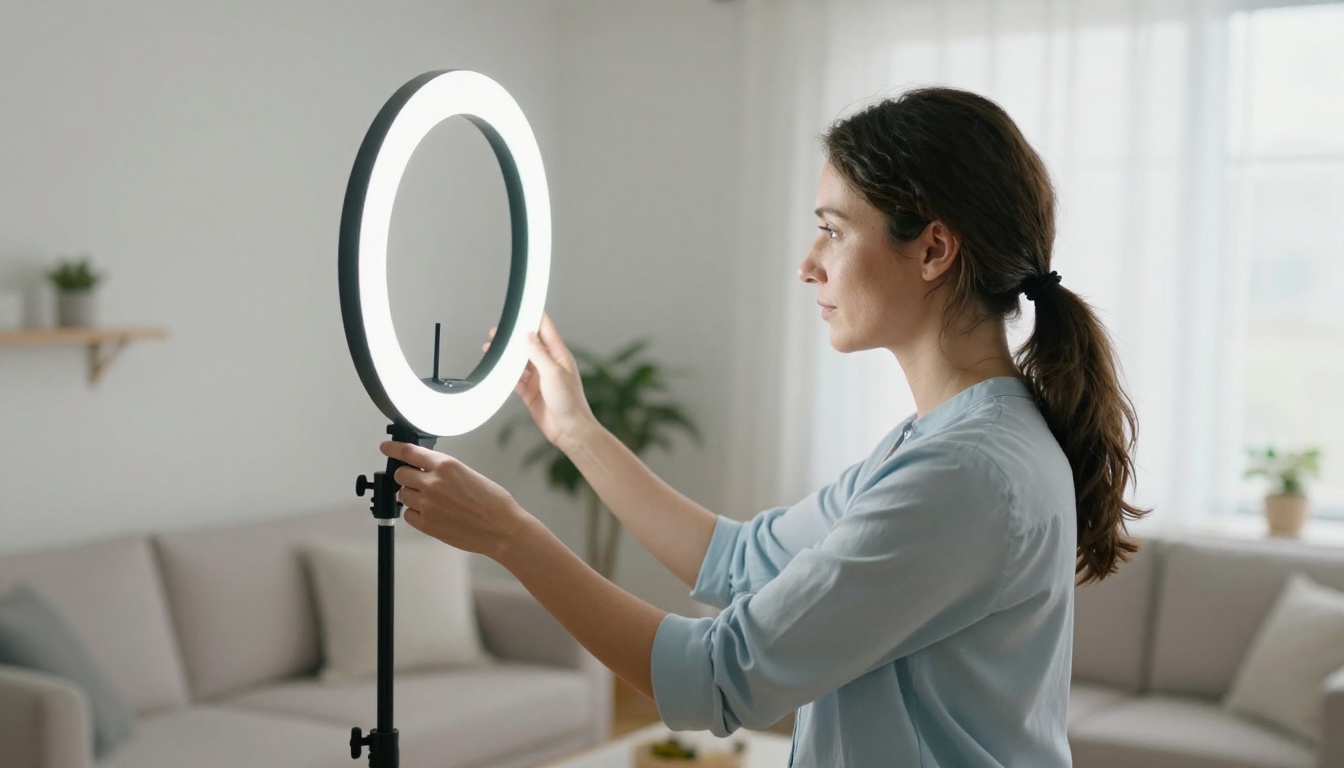
The AI can fix a lot, but not everything. A decent source photo makes the AI output dramatically better. Here's what to get right before opening any editing tool.
The setup:
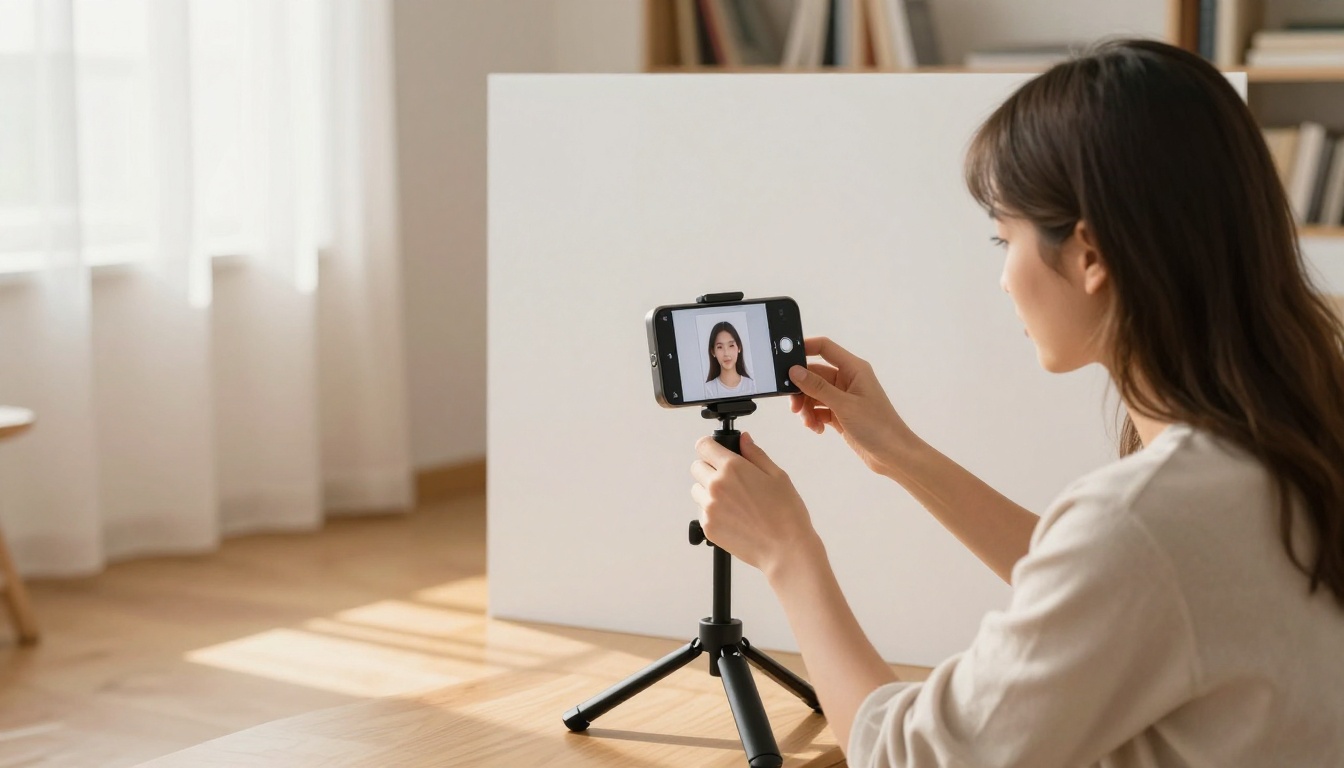
- Find a white or light-colored wall. A plain painted wall works perfectly. Avoid brick, textured surfaces, or any patterns. A white bedsheet taped flat works in a pinch.
- Use natural light. Position yourself facing a window. The light should hit your face from the front, not from behind. Avoid direct sunlight since it creates harsh shadows. Overcast days are ideal.
- Mount your phone at eye level. Use a tripod or prop the phone on a stack of books. Eye-level shots produce the best facial geometry for passport compliance. Shooting from below or above creates distortion that AI struggles to fully correct.
- Stand 3-5 feet from the wall. This prevents your shadow from falling on the background.
- Use the rear camera. Front cameras use wide-angle lenses that distort facial proportions. The rear camera at 2x zoom produces much more accurate facial geometry.
What to wear:
- Solid, non-white colored top (so you don't blend into the background)
- No glasses
- Hair away from the face where possible
- Minimal jewelry, no large earrings or necklaces
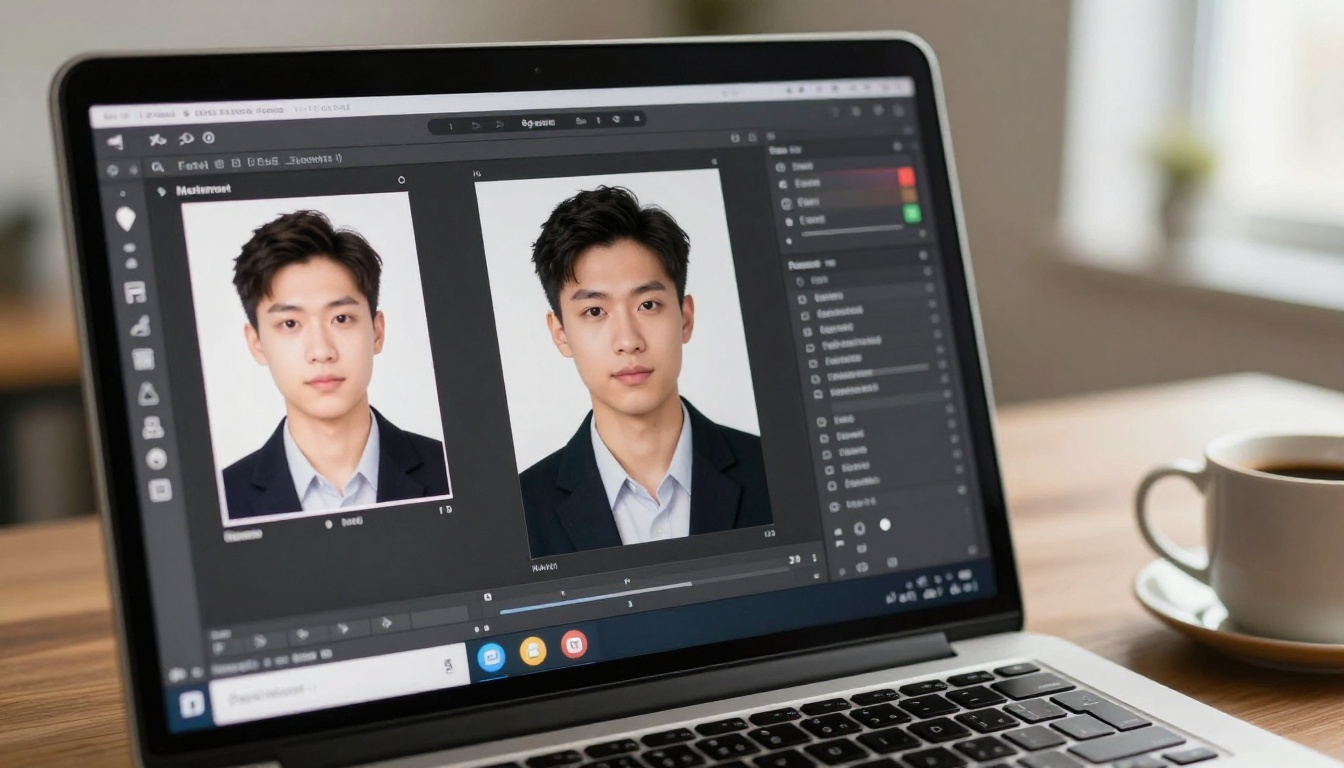
Step-by-Step: Processing with PicassoIA
Once you have your source photo, the processing workflow on PicassoIA is straightforward. Here's the complete process from raw phone photo to print-ready passport image.
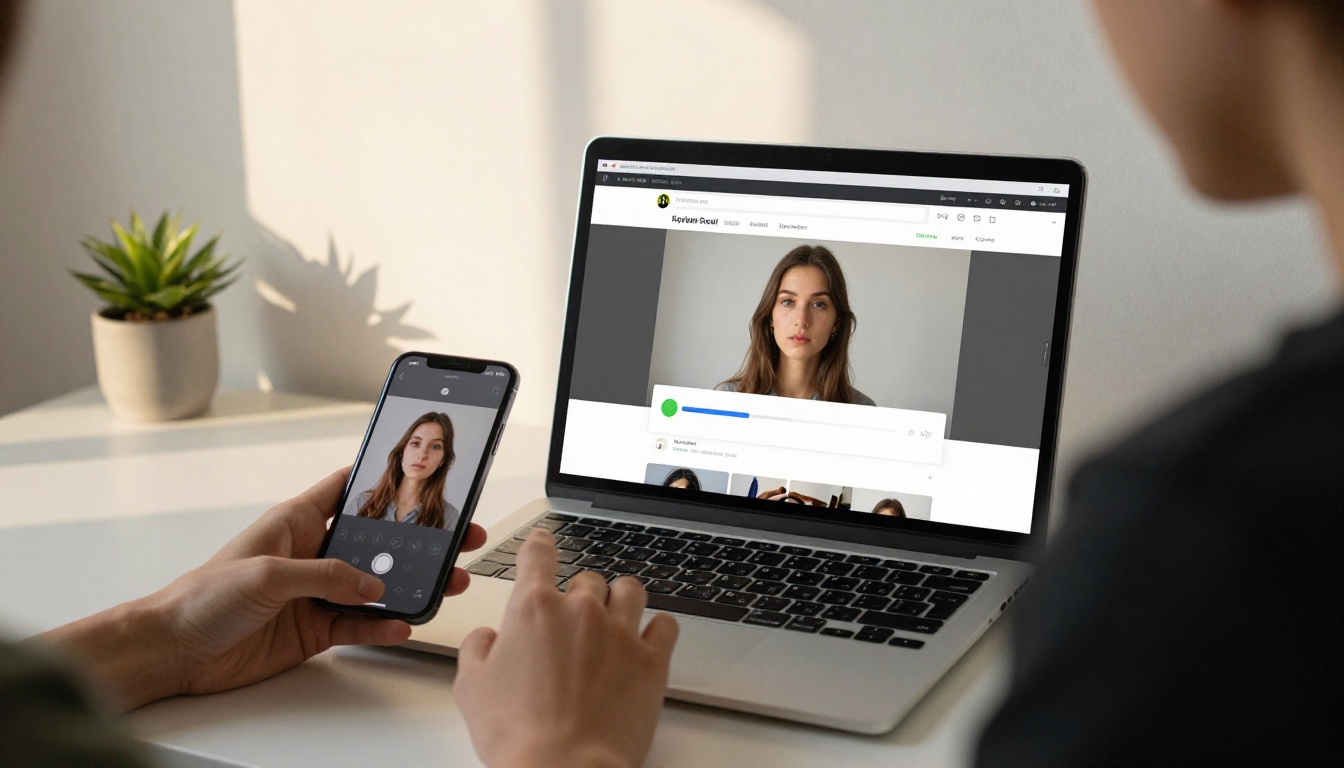
Step 1: Upload your photo
Go to PicassoIA Image Editor Pro and upload your source photo. The tool accepts JPEG and PNG formats. Always use the highest resolution version available from your camera roll.
Step 2: Remove and replace the background
Even if you shot against a white wall, the background is rarely passport-compliant right out of camera. Shadows, slight color casts, and uneven exposure all need correction.
Use the background removal tool to isolate your subject cleanly. The AI traces the outline of your hair and face with precision, including fine strands that manual masking tools would miss. After removal, set the new background to pure white. In hex, that's #FFFFFF. In RGB, it's 255, 255, 255.
💡 If the edge detection leaves a subtle gray halo around your hair, use the refinement brush to clean it up. Two or three strokes is usually enough.
Step 3: Fix the lighting
Even with good natural light, there's often a slight imbalance between one side of the face and the other. Use the exposure and shadows adjustment to even it out. Target uniform illumination with no shadows falling across the nose, eyes, or chin.
The Professional Headshot model does this automatically by analyzing the portrait and applying the corrections algorithmically, which saves several manual steps.
Step 4: Check the face position
The most common rejection reason is incorrect face position. Your face should occupy 70-80% of the photo height. Most AI tools show you a biometric overlay, which is a face-shaped template that shows exactly where the eyes and chin need to fall. If the crop is slightly off, adjust it before exporting.
Step 5: Resize and export
Export in the exact dimensions required for your country (see the table above). Most services want JPEG at 300 DPI minimum. Make sure the file size is under any limit specified, typically 10 MB for online applications, and the photo should be large enough to print at the correct physical dimensions.
Fixing Common Rejection Problems with AI
Passport photos get rejected for a handful of predictable reasons. Here's how AI addresses each one.
Problem: Background not white enough
The most common rejection. Most photo booths produce an off-white or cream-colored background that fails digital compliance checks. AI background replacement solves this completely since you're replacing the background with exact color values.
Problem: Shadow on the background
This happens when you stand too close to the wall. In post-processing, the shadow is part of the background pixels. AI edge-aware correction can reduce this, but the easiest fix is using Flux Kontext Fast to replace the entire background and eliminate the shadow completely.
Problem: Eyes not at the correct height
This is a framing issue from the original shoot. AI can crop and resize, but it can't create pixels that weren't captured. If you have enough resolution (which any modern smartphone provides), the crop can be adjusted to bring the eyes into the correct zone.
Problem: Uneven lighting or harsh shadows
Natural lighting from a window is rarely perfectly balanced. One side of the face often ends up slightly darker. The GPT Image 2 model can analyze the portrait and produce a lighting-corrected version while preserving facial identity.
Problem: Image too blurry or low resolution
If you shot with a front-facing camera at arm's length, you may have resolution issues. Use PicassoIA Image Editor Pro to upscale and sharpen. AI upscaling recovers facial detail that traditional bicubic resizing destroys.
| Problem | AI Fix | Recommended Tool |
|---|
| Off-white background | AI background replacement | PicassoIA Image Editor Pro |
| Shadow on wall | Full background swap | Flux Kontext Fast |
| Wrong face crop | Crop and resize adjustment | Any editor |
| Uneven lighting | Lighting correction | GPT Image 2 |
| Blurry or low-res photo | AI upscale and sharpen | PicassoIA Image Editor Pro |
Passport Photo Rules Around the World
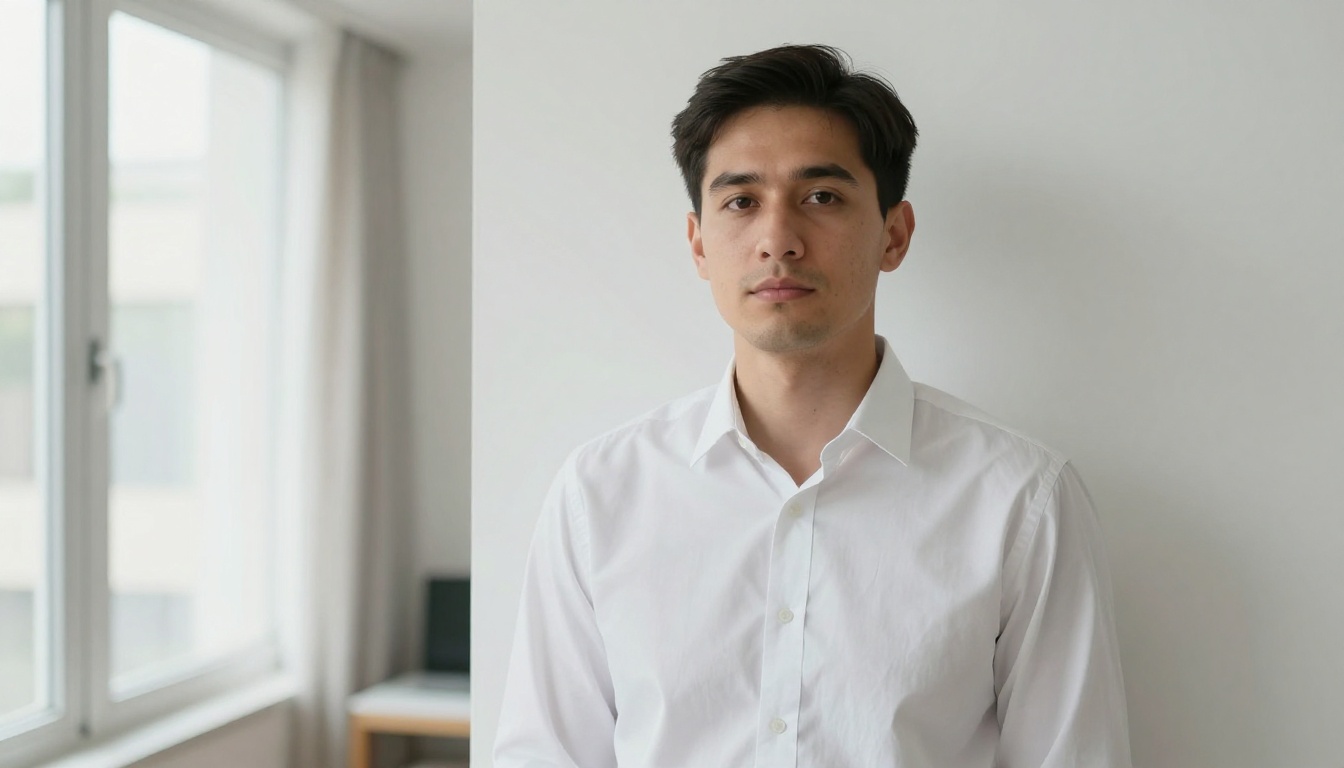
One thing that catches people off guard is how much photo requirements vary between countries. The biometric basics are similar, but the exact dimensions, background shade, and acceptable expression range differ considerably.
USA
The US State Department is strict about the square 2x2 inch (51x51 mm) format. The face must be 1 to 1.375 inches from chin to top of head. Background must be plain white or off-white. Digital submissions for online passport renewal must be between 50 KB and 10 MB, minimum 600x600 pixels.
UK
The UK requires 45x35 mm with the face between 29 and 34 mm tall. Your expression must be neutral, looking straight at the camera with your mouth closed. The background must be plain white or light grey. Glasses are no longer accepted as of 2023.
EU and Schengen Zone
Most EU countries use 35x45 mm (ICAO standard). The head must be 32-36 mm tall. The background must be white or off-white with no visible patterns. Requirements have become stricter since the introduction of biometric chips in passports.
Visa Photos
Many countries require separate visa photos that differ from passport photos. Indian visa photos are 51x51 mm with a white background. Chinese visa photos are 33x48 mm. Always verify the specific requirements for your application before printing. The Portrait Series model can generate versions in multiple crop ratios from a single source image, which is practical when applying for documents from several countries at once.
💡 The ICAO (International Civil Aviation Organization) sets the global baseline standard. Any photo that passes ICAO biometric requirements will typically be accepted by most countries, even if local specs vary slightly.
From Shot to Print in Under 10 Minutes
Once your photo passes all the technical checks, printing is the last step. Here are your options:
Print at home
If you have a good color printer, load 4x6 inch photo paper and place two 2x2 inch crops on the same sheet to match standard passport photo strips. Set the print resolution to 300 DPI for sharp results.
Upload to a drugstore
Most pharmacy chains accept digital files for same-day passport photo printing. Use their passport photo print option and specify the dimensions. This costs $1-2 rather than $15-20 for the full booth service.
Online printing services
Various online printing services accept the digital file and mail you the prints. Turnaround is typically 24-48 hours and is a solid option if you have more time than urgency.
Digital submission
For online passport renewal (available in the US for renewals) and many visa applications, you submit the digital file directly. No printing required. The AI-processed file at 600x600 pixels minimum, saved as JPEG under 10 MB, is exactly what these portals require.
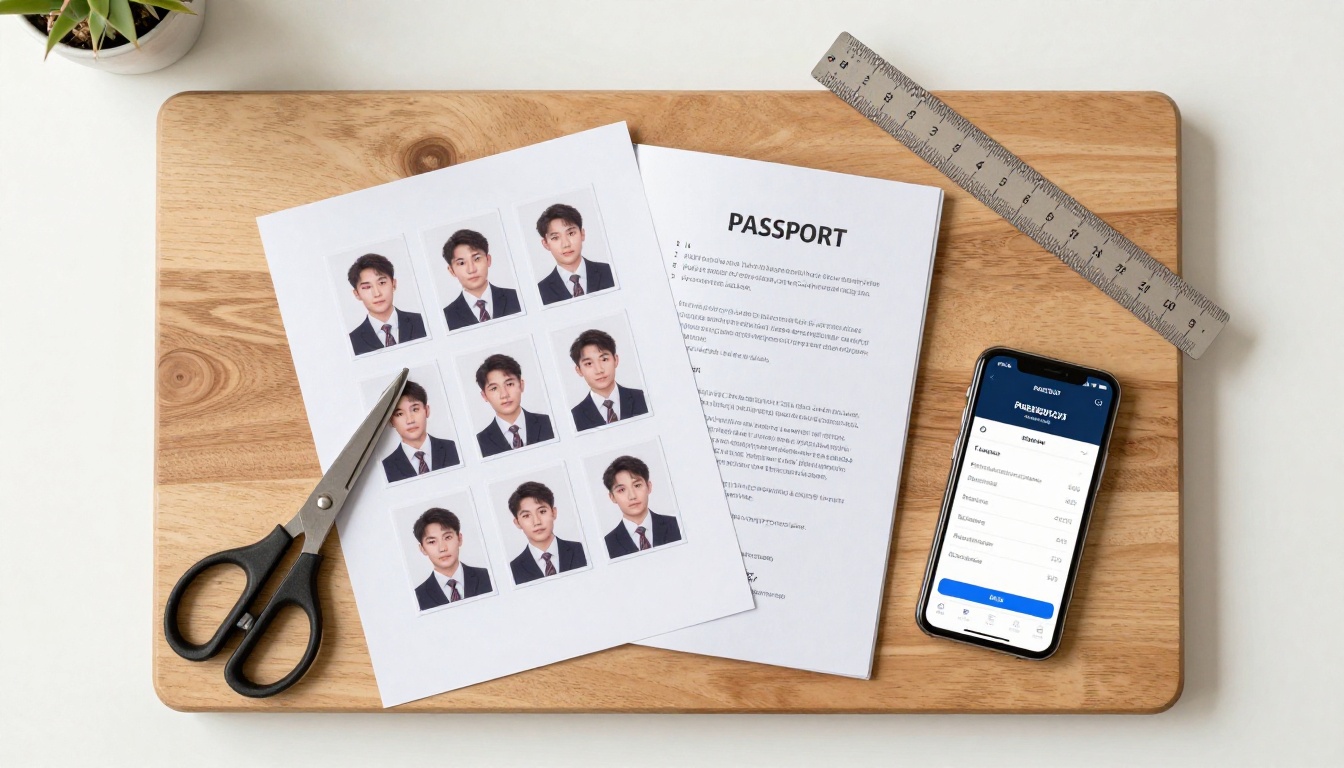
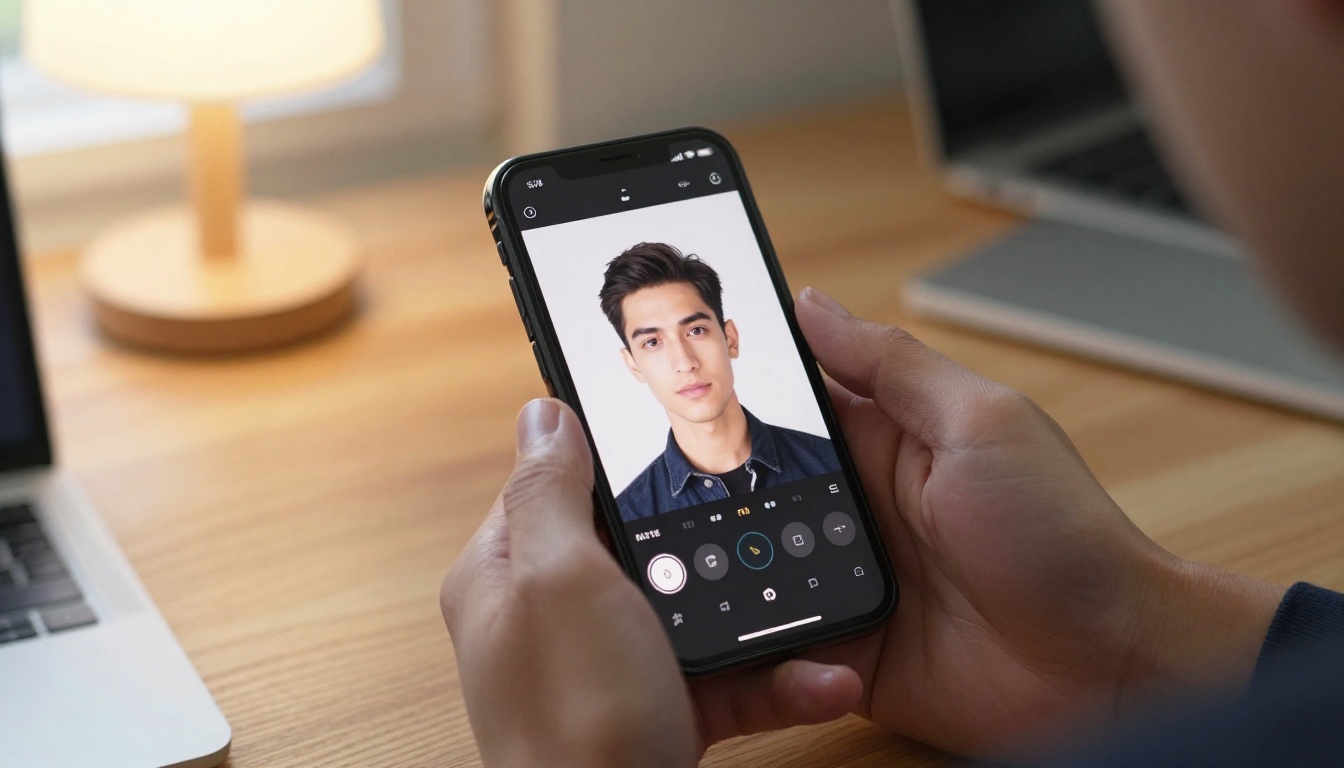
Hands holding a smartphone with the result of the AI passport photo workflow
Try It at Home Right Now
The photo booth at your local pharmacy isn't going anywhere. But you no longer need it.
With AI tools available directly on PicassoIA, the quality of what you can produce at home has crossed the threshold from "good enough" to "better than the booth." Clean backgrounds, corrected lighting, precise biometric framing, and multiple format exports: it's all there, free to use.
The process is faster, cheaper, and gives you a result you actually had input on. No more looking surprised under office lighting.
Start with your smartphone, a well-lit wall, and the Professional Headshot model on PicassoIA. From there, it's less than ten minutes to a photo you'd actually be happy seeing stamped in a passport for the next ten years.