Your phone is already shooting better footage than most cinema cameras from 15 years ago. The problem is not the hardware. It is the raw output: flat color profiles, digital sharpness without film warmth, zero depth compression, and audio that sounds like it was recorded inside a sock. AI changes all of that without a single piece of gear.
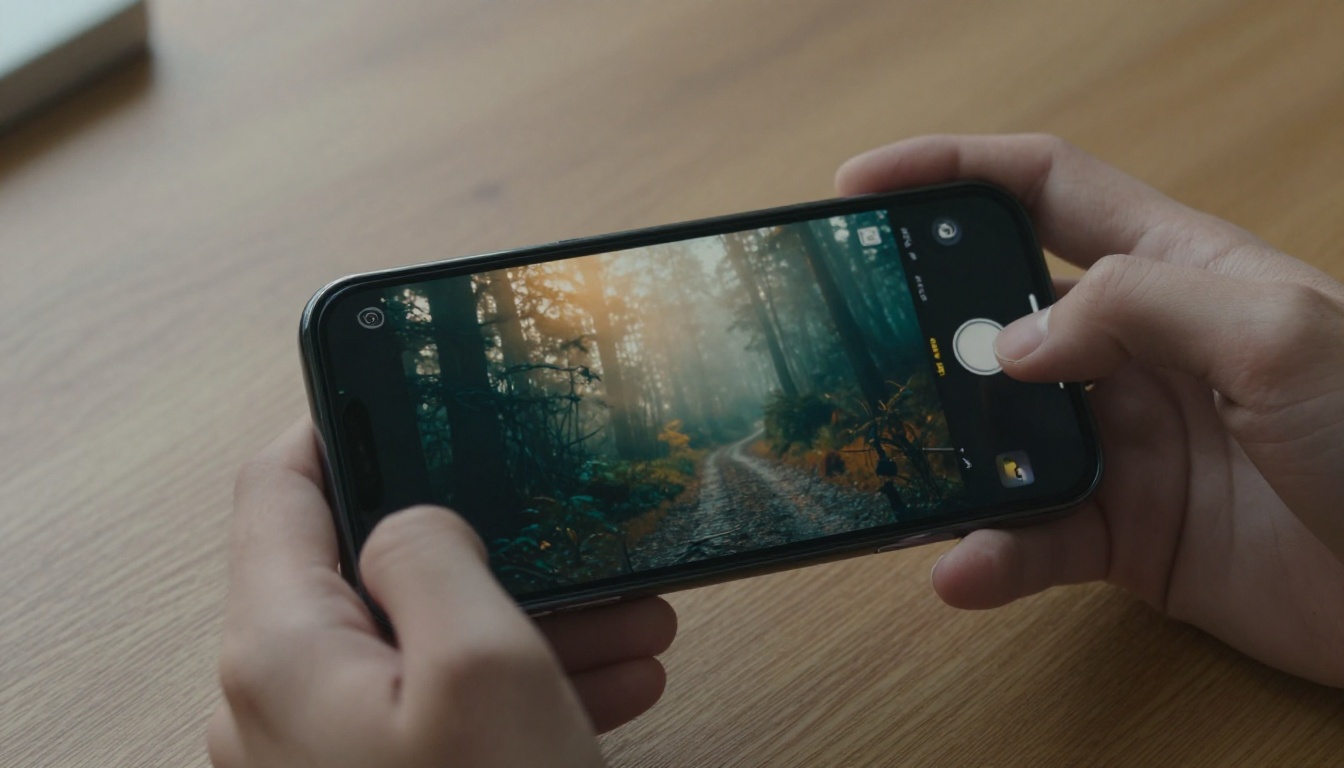
Most people blame their phone when their videos look bad. But the issue is almost never the sensor quality. It is the post-processing chain, or the complete lack of one.
The Real Problem with Phone Video
Phone cameras are engineered to be forgiving. They process everything in-camera: automatic white balance, heavy noise reduction, digital sharpening, boosted saturation. The result looks "good" as a still photo, but the moment you play it as video, something is off. The colors shift between frames. The sharpening halos edges. The noise reduction smears detail in shadows. There is no grain, no organic texture, nothing that reads as "film."
On top of that, phones shoot in 8-bit color by default, which means there is very little room to push color grading without the image falling apart. Shadows crush to black, highlights clip to white, and the whole grade looks like a filter slapped on top.
What "Cinematic" Actually Means
Cinema is not a single look. But there are consistent patterns that audiences read as cinematic:
- Shallow depth of field: Subject sharp, background soft
- Warm-cool color contrast: Teal shadows against amber or orange highlights
- Film grain: Subtle, organic noise that varies frame to frame
- Wider dynamic range: Lifted blacks, pulled-down highlights, detail in both
- Intentional motion: Slow push-ins, tracking shots, no handheld shake
- Spatial audio: Sound that responds to distance and environment
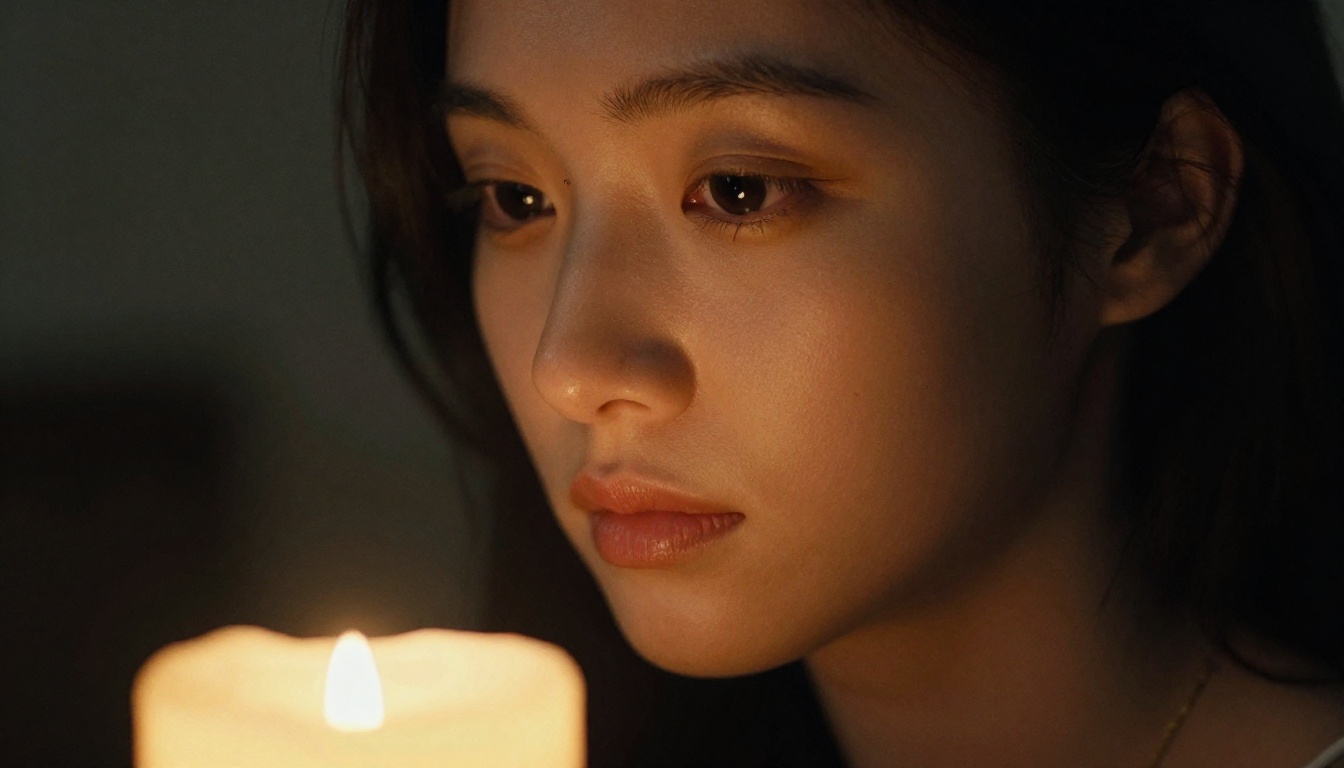
AI can now replicate or inject every single one of these attributes after the fact. You shoot the clip. The AI delivers the finish.
AI Upscaling: The Fastest Visual Upgrade
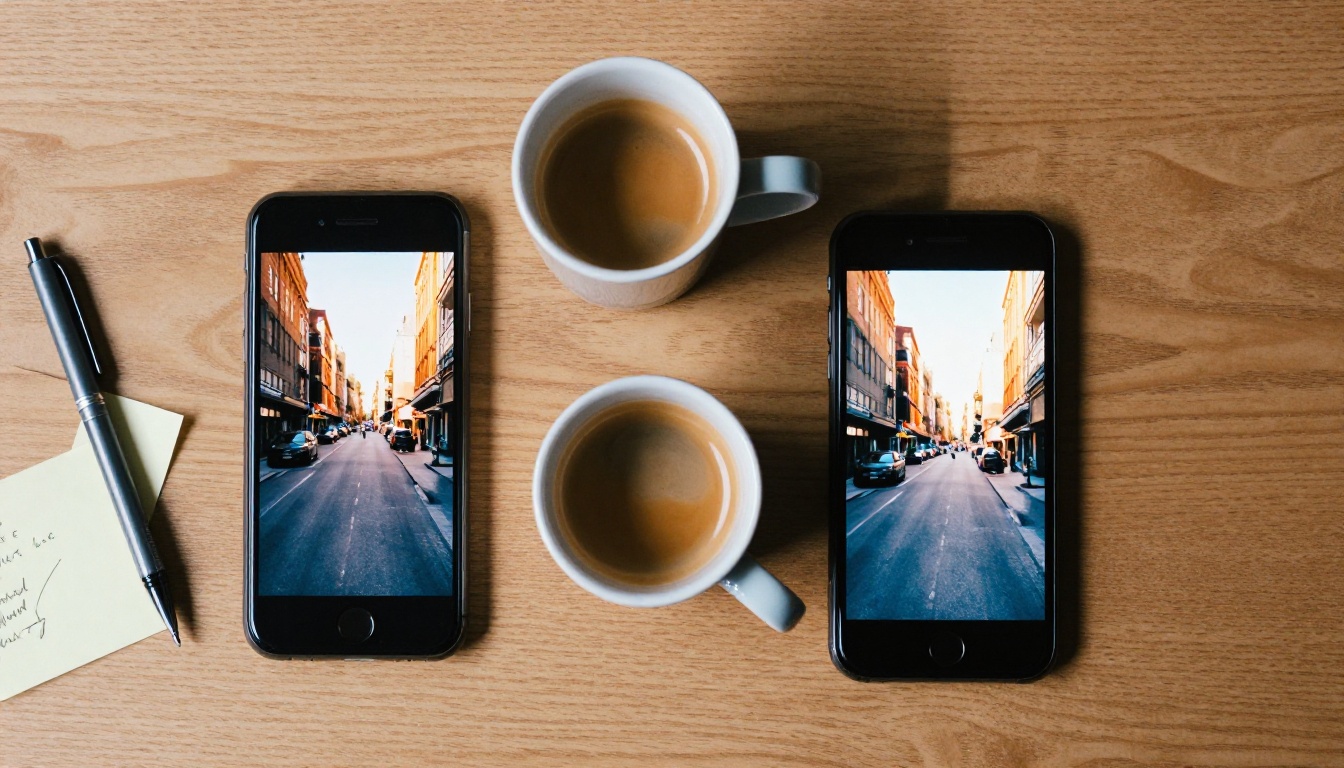
The single most impactful thing you can do to phone footage is upscale it properly. Not the cheap bilinear upscale that video apps use, but AI upscaling that actually synthesizes detail.
Crystal Video Upscaler
Crystal Video Upscaler processes your clips frame by frame and outputs at 4K, adding genuine texture where the original had digital smear. It works especially well on footage shot in low light, where phone cameras typically produce a soft, waxy look. Upload a 1080p clip and Crystal adds edge definition, micro-contrast, and natural film grain to make the output look like it came from a dedicated camera.
Best for: Night scenes, low-light interiors, any clip where the original feels soft
Topaz Video Upscale
Topaz Video Upscale from Topaz Labs is the industry reference for video enhancement. The AI was trained on a massive dataset of film and professional video, so its hallucinated detail tends to look photographic rather than artificial. It also handles motion very well: fast-moving subjects stay sharp rather than getting that AI smear that cheaper upscalers produce. The 120fps output option means you can slow your footage down and keep it looking smooth.
Best for: Action shots, outdoor scenes, any footage you plan to slow down
Real ESRGAN Video
Real ESRGAN Video uses the ESRGAN architecture specifically fine-tuned on real-world degraded footage, which makes it excellent at removing compression artifacts from footage that has been exported, re-uploaded, or screen-recorded. If your original clips have any HEVC or H.264 blocking, Real ESRGAN Video dissolves those artifacts cleanly.
💡 Upscaling tip: Always export your raw clip without any color corrections before upscaling. Upscalers work better on neutral, unprocessed footage. Apply your grade after the upscale pass.
Restyle and Regrade with Text
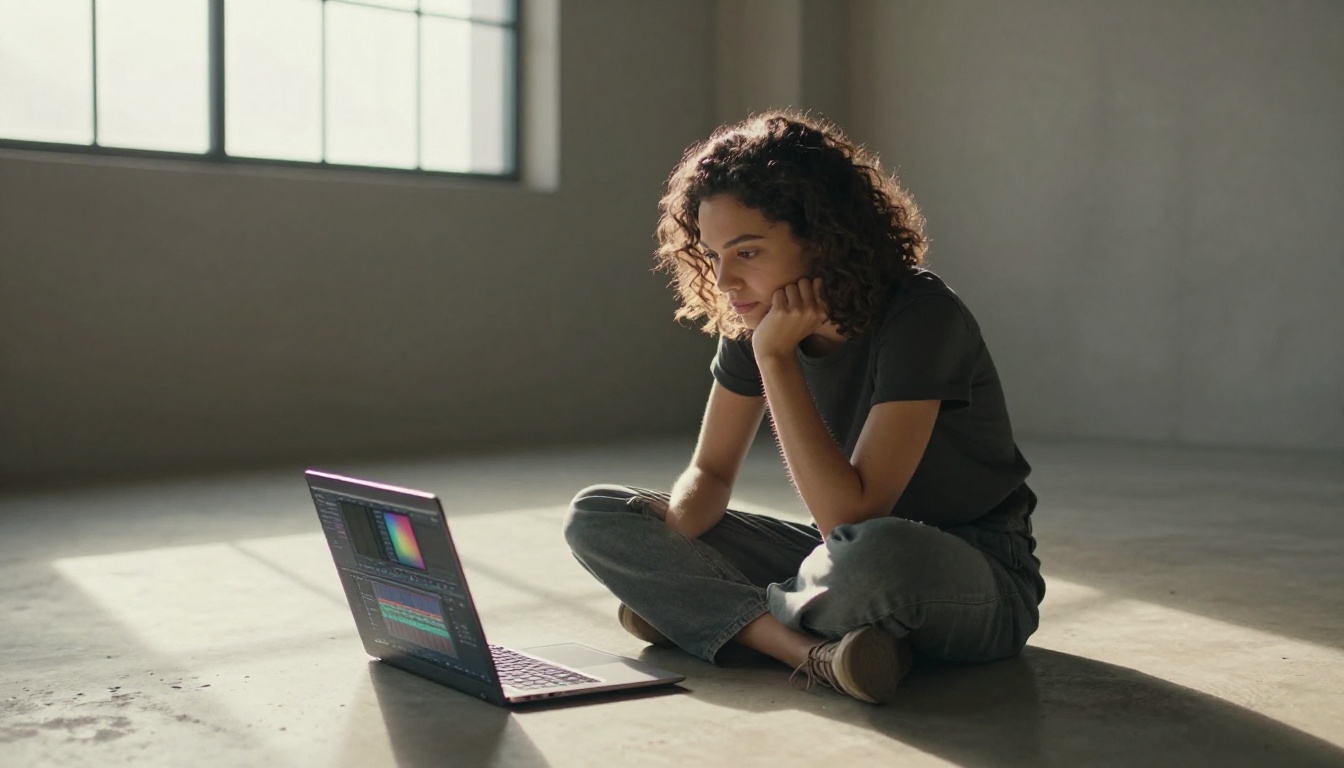
Color grading used to require DaVinci Resolve, hours of node-building, and a calibrated monitor. AI video editing tools now let you type what you want and apply it in seconds.
Lucy Edit 2
Lucy Edit 2 by Decart is the most intuitive text-to-video-edit tool available. Type "make this look like a 35mm film shot in the 1970s" and it adjusts the grain, fade, color balance, and saturation accordingly. Type "remove the orange street lamps and replace with cool moonlight" and it repaints the light sources in the scene. It is genuinely responsive to art direction rather than just applying preset filters.
The model understands scene semantics: it knows the difference between skin tones that should stay warm and a sky that should shift to blue. This prevents the oversaturation and color spill that plagues simpler color tools.
Prompt examples that work well:
- "cinematic warm grade, lifted shadows, sharp skin tones"
- "foggy morning atmosphere, desaturated, volumetric light"
- "noir look, high contrast, crushed blacks, cool blue tones"
Kling o1
Kling o1 from Kwaivgi takes a different approach. Instead of just color, it rewrites the visual content of your video based on your text prompt. Change the season (from summer to winter), change the time of day (from noon to golden hour), or change the weather (add rain, snow, or fog) without reshooting. For travel content, this is enormous: you can take a flat, midday city clip and turn it into a moody evening scene in a few minutes.
💡 Using Kling o1: Keep your prompts concise and specific about the atmosphere, not the action. "Heavy rain hitting cobblestones, cool blue street light reflections" works better than "make it look like a movie."
Wan 2.7 Videoedit
Wan 2.7 Videoedit by Wan Video handles object-level editing: remove a background element, replace a surface texture, change a person's outfit, or add props that were not there in the original shot. Where Kling o1 excels at atmospheric changes, Wan 2.7 Videoedit goes surgical. For product videos shot on a plain background, you can add a textured cinematic backdrop without a green screen or any studio setup.
Cinematic Motion from a Still Shot
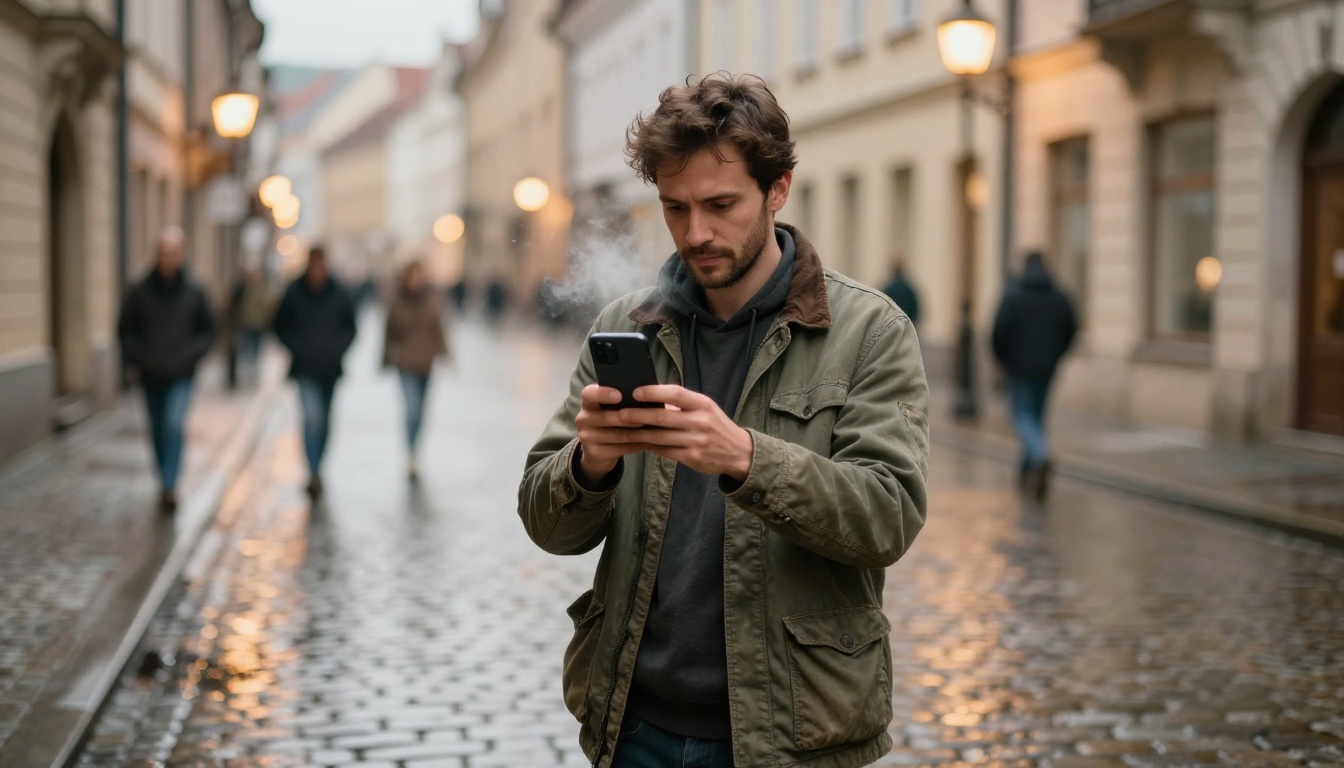
Some of the most cinematic AI tools work not on the color or quality of your video, but on its motion. They can take a photo or a short clip and produce camera movement that feels like a professional dolly shot.
Wan 2.7 I2V
Wan 2.7 I2V turns a single still photo into a smooth, naturally animated video clip. Take your best phone photo from a trip, upload it, and the model figures out depth, parallax, and natural motion to create a 5-10 second clip that feels like you had a cinema camera on a slider. The output has organic film motion, none of the jittery AI movement that earlier models produced.
Input tip: Photos with clear foreground-background separation animate best. A subject standing in front of a landscape, a street scene with depth, or an interior with visible spatial layers all give the model enough geometry to work with.
Kling v3 Video
Kling v3 Video is one of the most cinematic text-to-video models currently available. Its motion quality rivals dedicated film production at 1080p, with smooth slow-motion handling and excellent dynamic range. If you want to add a cinematic B-roll clip to complement your phone footage, Kling v3 Video generates it from a text prompt that matches the look and mood you are building.
Pixverse v6
Pixverse v6 adds something that most video AI still treats as an afterthought: native audio. The model generates synchronized ambient sound as part of the video output, which means your AI-generated B-roll clips come with environmental audio baked in. For a clip of rain on a city street, you get the sound of rain. For a windy hillside shot, you get wind. This audio-visual alignment is a massive step toward professional-feeling content.
Sound Design Seals the Deal
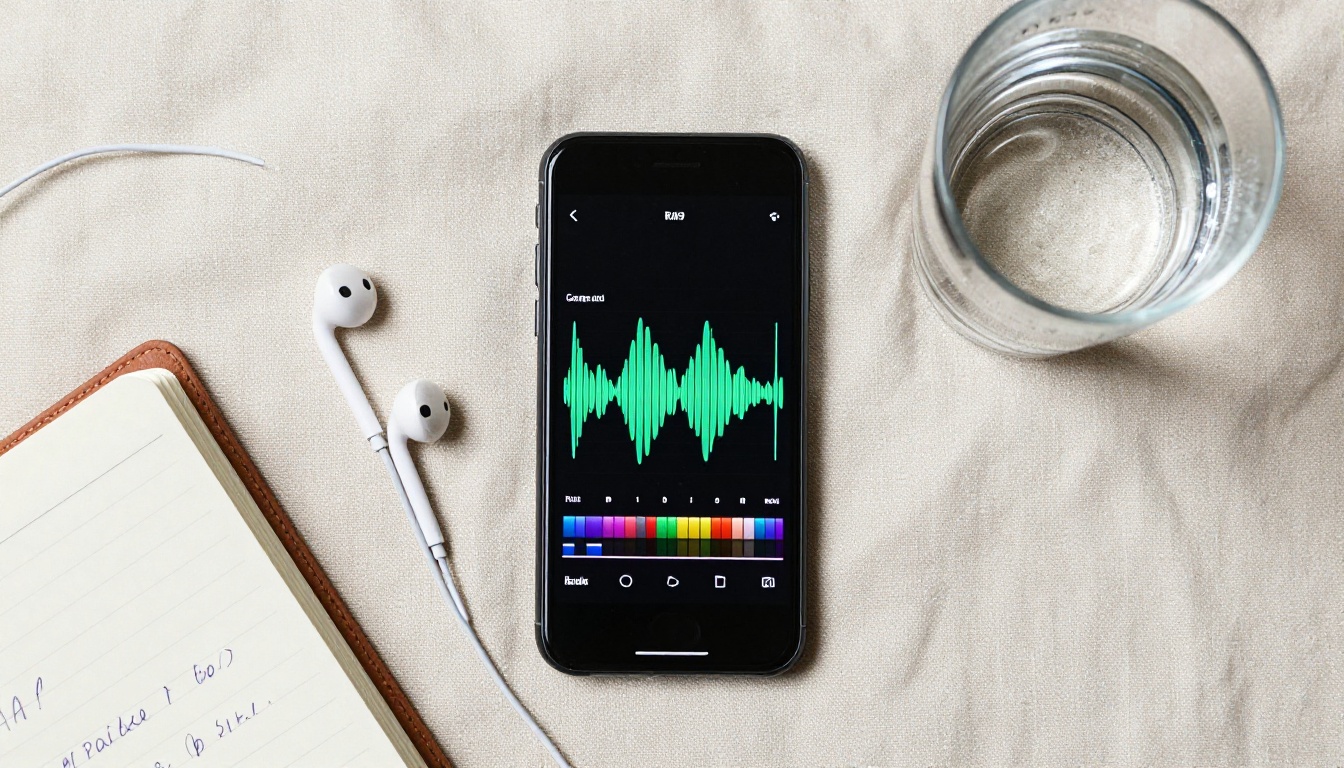
Every serious cinematographer will tell you: audiences forgive bad video before they forgive bad audio. Phone microphones are omnidirectional, capture everything equally, and have zero spatial character. AI audio tools fix this at the post stage.
MMAudio
MMAudio analyzes your video content and generates contextually appropriate sound, synchronized to the visual. It is not just adding generic ambient noise: it reads what is happening in the frame and matches the audio to it. A clip of a person walking through autumn leaves gets leaf-crunch footsteps. A clip of a busy street gets layered traffic, distant voices, and wind, all mixed at realistic levels.
For phone videos shot in a noisy environment where the original audio is unusable, MMAudio gives you a clean, scene-appropriate replacement in minutes.
Video to SFX v1.5
Video to SFX v1.5 from Mirelo focuses specifically on sound effects rather than ambient audio. Upload a clip of a door opening, a car passing, or an object being placed on a surface, and the model adds the correct, timed sound effect. It is particularly useful for narrative or product videos where specific foley elements are needed.
💡 Audio tip: Strip the original phone audio track before applying MMAudio or Video to SFX. A clean base always produces better AI audio results than trying to blend over existing noise.
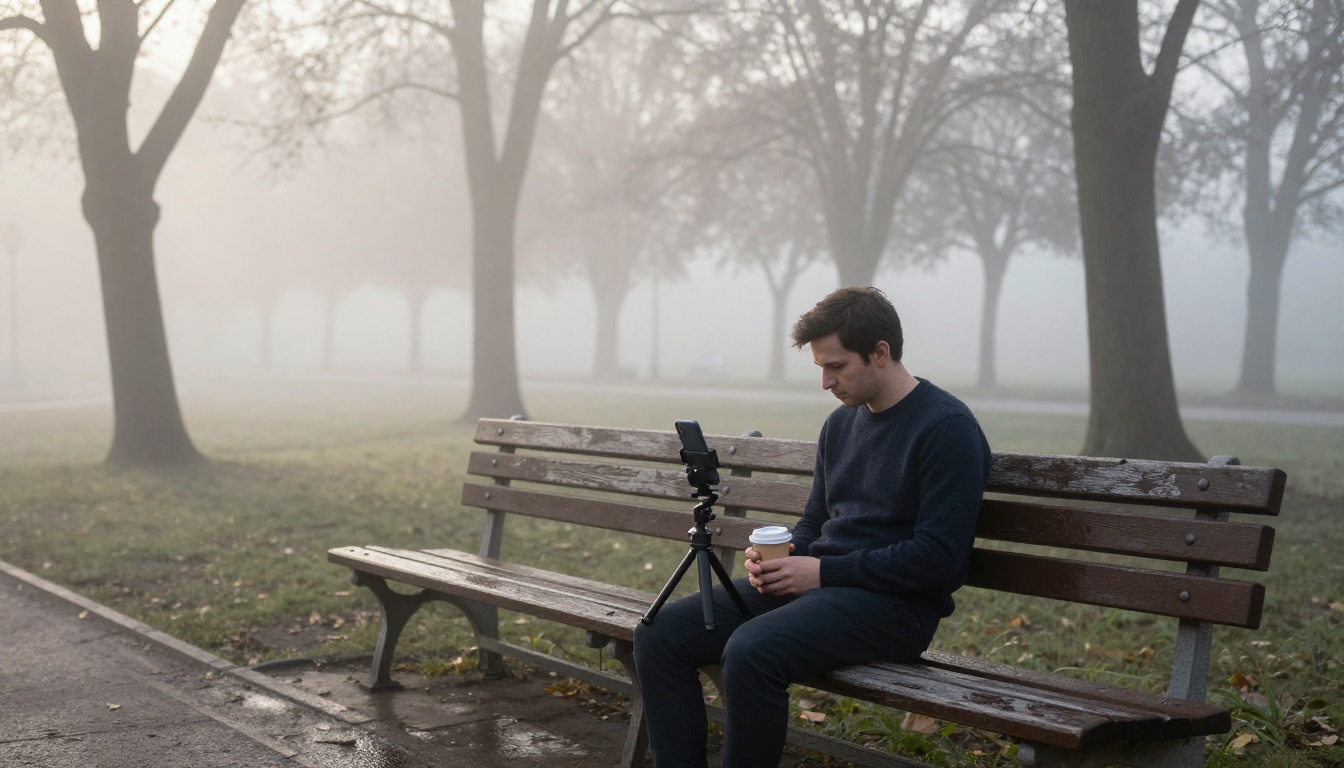
All the models covered in this article are available directly on PicassoIA, no installs, no APIs, no hardware requirements. Here is the workflow that produces the best cinematic results from raw phone footage.
Step 1: Upscale First
Start with Crystal Video Upscaler or Topaz Video Upscale. Upload your raw clip at its original resolution. This pass adds genuine detail and organic texture before any color work. Always upscale on ungraded, uncompressed footage if possible.
Step 2: Apply Your Color Grade
Open Lucy Edit 2 and describe the look you want. Be specific about light sources, shadow tone, and atmosphere. A good starting prompt: "cinematic film grade, lifted blacks, warm highlights, teal shadows, natural skin tones, subtle film grain." Iterate two or three times until the grade feels right.
Step 3: Add or Generate B-Roll
Where your original footage has gaps, generate matching B-roll using Kling v3 Video or Pixverse v6. Describe the scene in terms that match your grade: lighting direction, atmosphere, color palette. This keeps the generated clips visually consistent with your graded footage.
If you shot stills as well as video, animate your best photos with Wan 2.7 I2V to get additional footage without pulling out the phone again.
Step 4: Audio Pass
Run your final edit through MMAudio to replace or augment the original phone audio. For specific sound moments, layer in targeted effects with Video to SFX v1.5.
Step 5: Final Resolution Pass
If you need delivery at 4K, run the finished edit through Video Increase Resolution for a final upscale. This model can take a 1080p edit and output at 8K, which future-proofs your content for higher-resolution platforms.
The Full Cinematic Stack at a Glance
💡 Workflow tip: You do not need to run every tool on every clip. Upscaling and color grading are the two highest-impact steps. Add audio work and B-roll generation when the content warrants it.
Shoot Today, Polish with AI
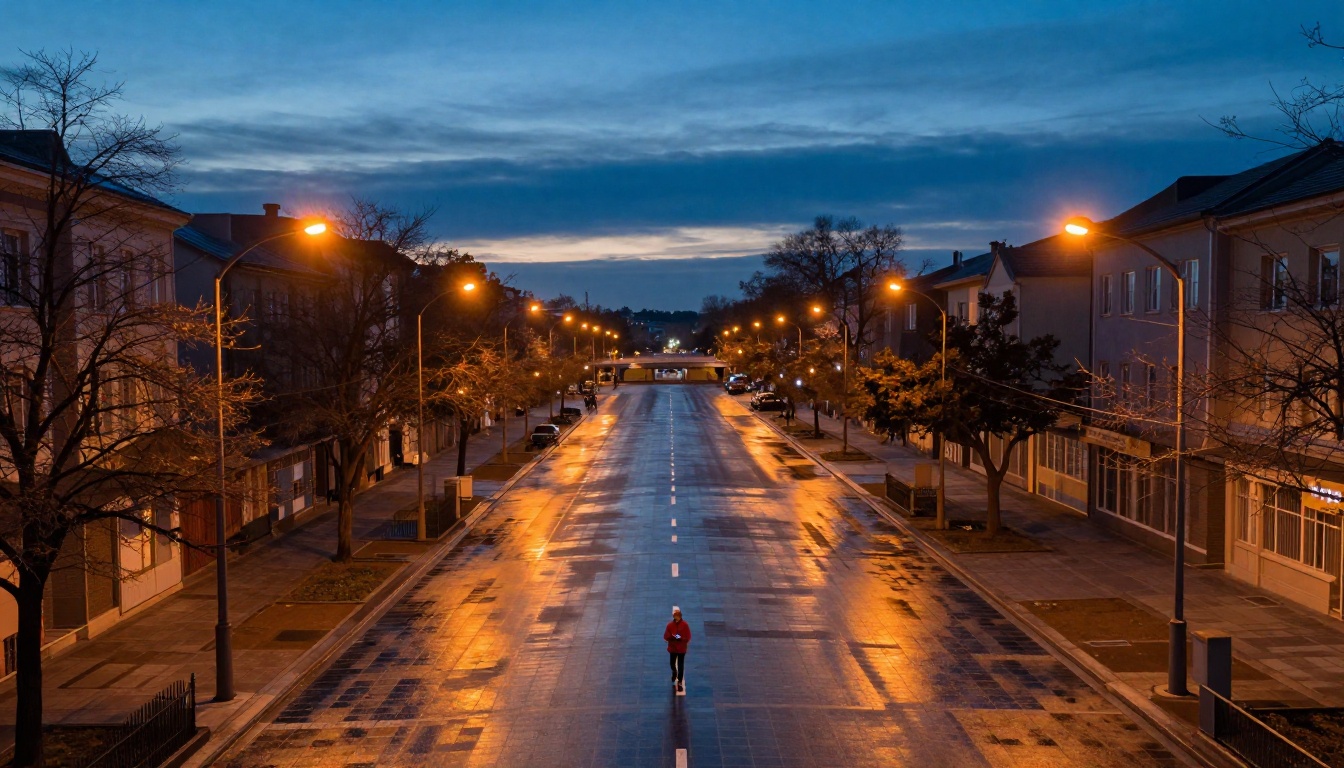
The barrier to cinematic-quality video content has collapsed. What used to require a colorist, a foley artist, a DIT, and a post-production house can now be done in a browser in under an hour. Your phone is already good enough. The AI stack is what turns "good enough" into something that actually stops people mid-scroll.
Pick one clip from your camera roll right now. Run it through Crystal Video Upscaler first, then describe your grade to Lucy Edit 2. The result will surprise you.
Every model in this article is available on PicassoIA. Try the upscaling tools, experiment with text-driven color grades, generate a B-roll clip that matches your footage, and hear what AI audio design adds to a scene you thought was finished. The workflow is faster than you think, and the output is sharper than anything your phone produces straight out of camera.


