Product demo videos are the closest thing to a salesperson who never sleeps. They work on landing pages at 3am, loop on social ads during weekends, and sit inside email campaigns waiting to convert the next prospect who finally clicked through. The problem is that most brands still treat them like film productions: scheduling shoots, hiring editors, waiting weeks for revisions. AI has made all of that optional.
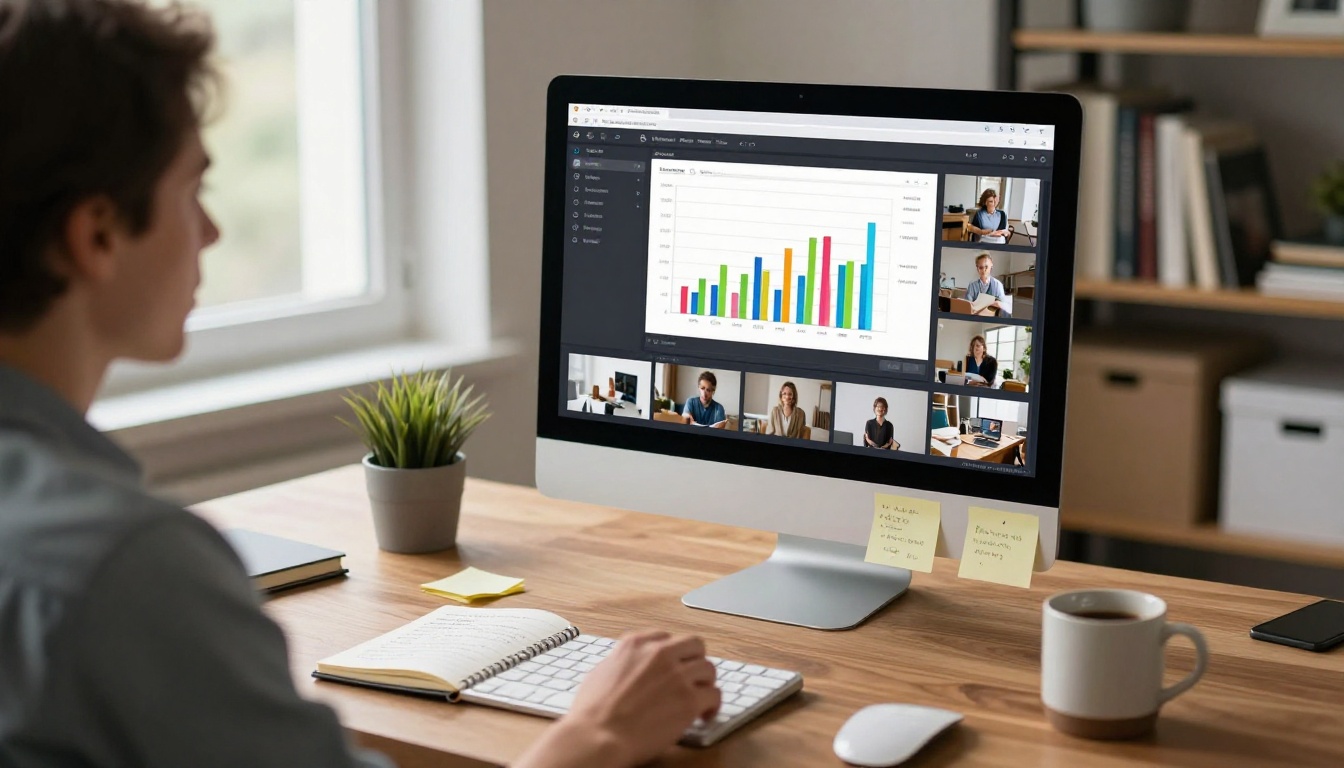
Why Product Demos Still Win Deals
Buyers don't read feature lists. They watch. According to Wyzowl's annual video marketing report, over 89% of consumers say a product video directly influenced a purchase decision. That number has climbed every year since 2016, and it keeps climbing as short-form video becomes the default browsing behavior across every major platform.
The shift is simple: people want to see a product in action before they commit money. A well-made demo answers every silent objection while it plays. It shows scale, texture, context, and motion in a way that static images simply cannot. Brands that invest in regular demo video production consistently see higher click-through rates, longer page dwell times, and lower bounce rates compared to those relying solely on photography and copy.
The Attention Problem Every Brand Faces
Here's the real challenge: attention windows have collapsed. You have roughly 2.5 seconds on a social feed and maybe 8 seconds on a landing page before someone makes a decision to keep watching or scroll on. That means your demo video needs to hook immediately, deliver the core value proposition within the first 10 seconds, and close with a clear reason to act.
Most agency-produced demos fail this test. They open with brand logos and slow pan-across-product shots that lose half the audience before the product does anything interesting. The production quality is high, but the structure is wrong, and structure is what drives conversions.
What Buyers Actually Want to See
Buyers want three things, in this exact order:
- The problem they have — so they feel seen and understood
- Your product solving it — so they immediately grasp the value
- What happens next — so they know exactly where to click
A 45-second AI-generated video that nails this structure consistently outperforms a 3-minute studio-produced piece that doesn't. The format matters less than the clarity. Once you internalize that sequence, every creative decision in the demo-making process becomes easier.
The phrase "AI video" covers a lot of ground. Before diving into specific models, it helps to understand the two main categories that matter for product demos.
Text-to-Video vs. Image-to-Video
Text-to-video models generate a video clip directly from a written prompt. You describe what you want to see, and the model produces it. This is ideal for creating lifestyle context around your product: a morning routine, a workspace scene, a product being used in a real-world setting, without needing a physical shoot or a hired model.
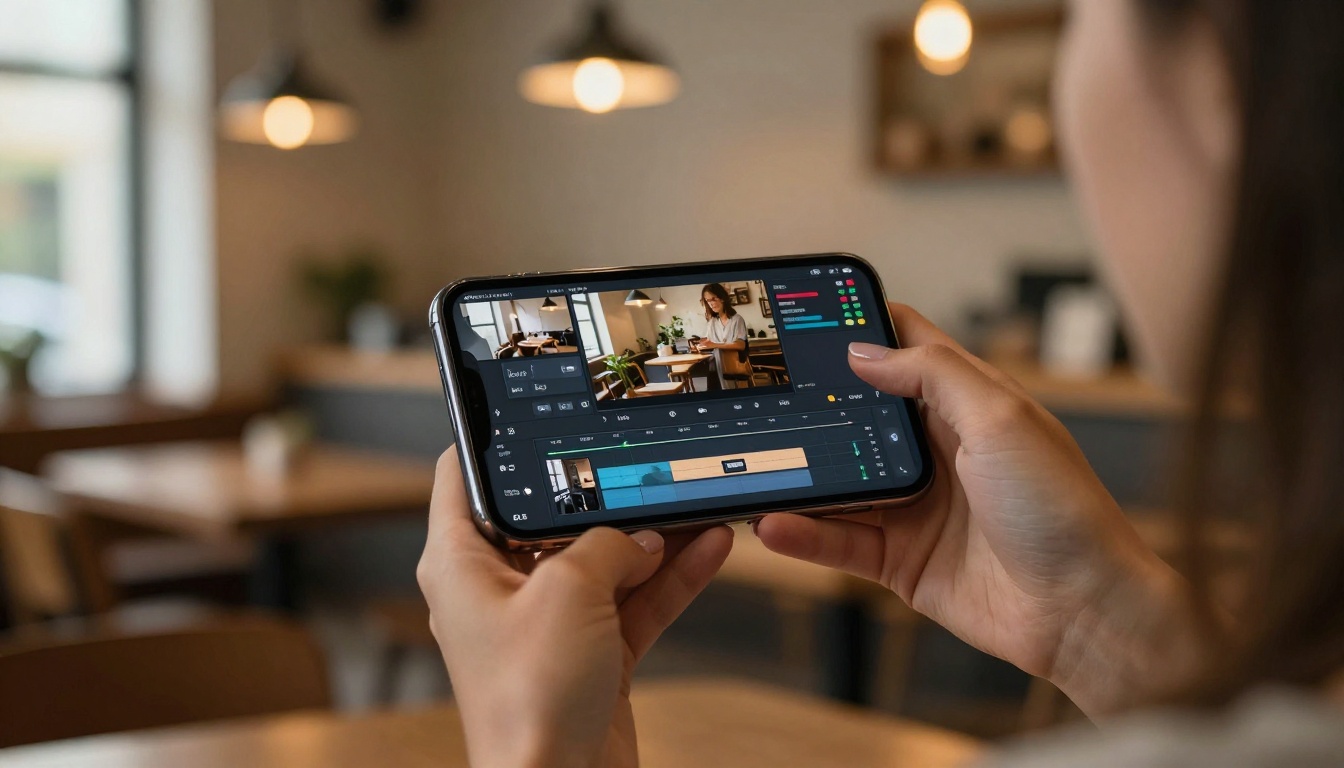
Image-to-video models take a still image (a product photo, a mockup, a rendered frame) and animate it. This is where things get particularly powerful for e-commerce and SaaS brands: you can take your existing product photography and give it motion. A bottle that subtly rotates. A dashboard that scrolls. A device screen that lights up and responds to a finger tap. All from a single source image.
Both approaches can be combined in the same demo. Start with a text-generated lifestyle scene, cut to an image-to-video shot of the actual product, then end with a screen recording or animated mockup. The AI handles the heavy lifting on every shot.
Where AI Saves the Most Time
The biggest time savings are not in the final render but in the iteration cycle. A traditional video revision takes 2-3 business days per round. An AI revision takes 30 seconds. You can test 12 different opening shots before noon, pick the three that work best, and have a final cut ready before end of day. That iteration speed is what makes AI video tools genuinely powerful for marketing teams working at pace.
| Traditional Production | AI-Assisted Production |
|---|
| 3-6 week timeline | 1-2 day timeline |
| $5,000 to $50,000 cost | $0 to $200 cost |
| 1-2 revision rounds | Unlimited iterations |
| Studio booking required | Works from anywhere |
| Fixed output format | Any aspect ratio, any length |
The cost difference alone changes who can produce video content. Solo founders, small e-commerce operators, and in-house marketing teams of two or three people can now ship production-quality demos on the same cadence that used to require an agency retainer.
5 Models Worth Using Right Now
Not all text-to-video models are equal. Some prioritize speed, some prioritize resolution, and some are specifically tuned for commercial and product contexts. Here are the models that consistently perform for product demo work.
Kling v3 Video
Kling v3 Video is currently one of the strongest all-around performers for commercial video. It handles complex camera movements, renders product textures with high fidelity, and maintains consistent object identity across a clip even when the camera pans or zooms. For product demos that need to show a physical object from multiple angles within a single shot, Kling v3 Video is the model to start with.
Output is at 1080p and the motion quality at this resolution is noticeably better than most alternatives at similar price points. The model also responds well to cinematic camera direction in prompts, so if you write "slow dolly push toward the product from medium distance," it actually executes that.
Seedance 2.0
Seedance 2.0 from ByteDance is particularly strong for lifestyle and aspirational footage. Its color science tends toward warmer, richer tones, which works well for consumer products in beauty, food, and lifestyle categories. The model also has built-in audio generation, so if you want ambient sound or product-relevant background audio in your demo, Seedance 2.0 can handle it in a single pass without needing a separate audio tool.
Pixverse v5.6
Pixverse v5.6 excels at fast turnaround without sacrificing too much quality. If you're creating multiple video variants for A/B testing, or producing high-volume ad content for a product launch campaign, the speed advantage here is real. Clips render quickly, the 1080p output is clean, and the model responds well to specific product-oriented prompts.
💡 Tip: For faster A/B testing, generate 6-8 opening shots with Pixverse v5.6 and use your top 2 performers as the foundation for the full demo. Let data pick the hook, then build around what works.
LTX 2.3 Pro
LTX 2.3 Pro from Lightricks outputs in 4K, which matters if your demos will appear on large-format displays, trade show screens, or high-resolution digital out-of-home placements. For most social video purposes 1080p is sufficient, but if you need the extra resolution headroom for post-production cropping and reframing into multiple aspect ratios from a single master file, LTX 2.3 Pro gives you that flexibility.
Veo 3.1
Veo 3.1 from Google brings a notably different motion character than the other models. Movements feel more physically grounded, particularly for liquid, fabric, and organic material interaction. If your product demo involves a physical substance (a beverage being poured, a fabric being draped, a food product being prepared), the physics simulation in Veo 3.1 makes a visible difference in output quality. The model also produces clean 1080p output with native audio support.
How to Build a Product Demo with AI
This is the actual workflow, not theory. The sequence below produces a usable demo in roughly 30 minutes once you have your product information in front of you.
Step 1: Write Your Script First
This step is not optional, and it is the one most people skip. Before you open any video tool, write a script. It doesn't need to be long. For a 45-second demo, you need roughly 120 words of spoken content, which breaks into three beats:
- Opening (0-10s): Name the problem or the person experiencing it. Be specific. "If you spend three hours a week editing product photos manually" works better than "Are you tired of slow workflows?"
- Middle (10-35s): Show the product solving the problem. Cover 2-3 specific features, not all of them. Focus on what changes immediately when someone starts using your product.
- Close (35-45s): One clear action. One sentence. One place to go. "Start your free trial at [URL]" is better than three different calls to action competing for attention.
Write this first because your video prompts should be built around this script, not the other way around. Each scene corresponds to a beat, so your prompts will be precise and purposeful rather than generic.
Step 2: Generate Your Product Visuals
Before generating video, create the still images you'll use as input for image-to-video models. High-quality product photography, even AI-generated product photography, gives image-to-video models significantly better material to work with than blurry phone shots or low-resolution stock images.
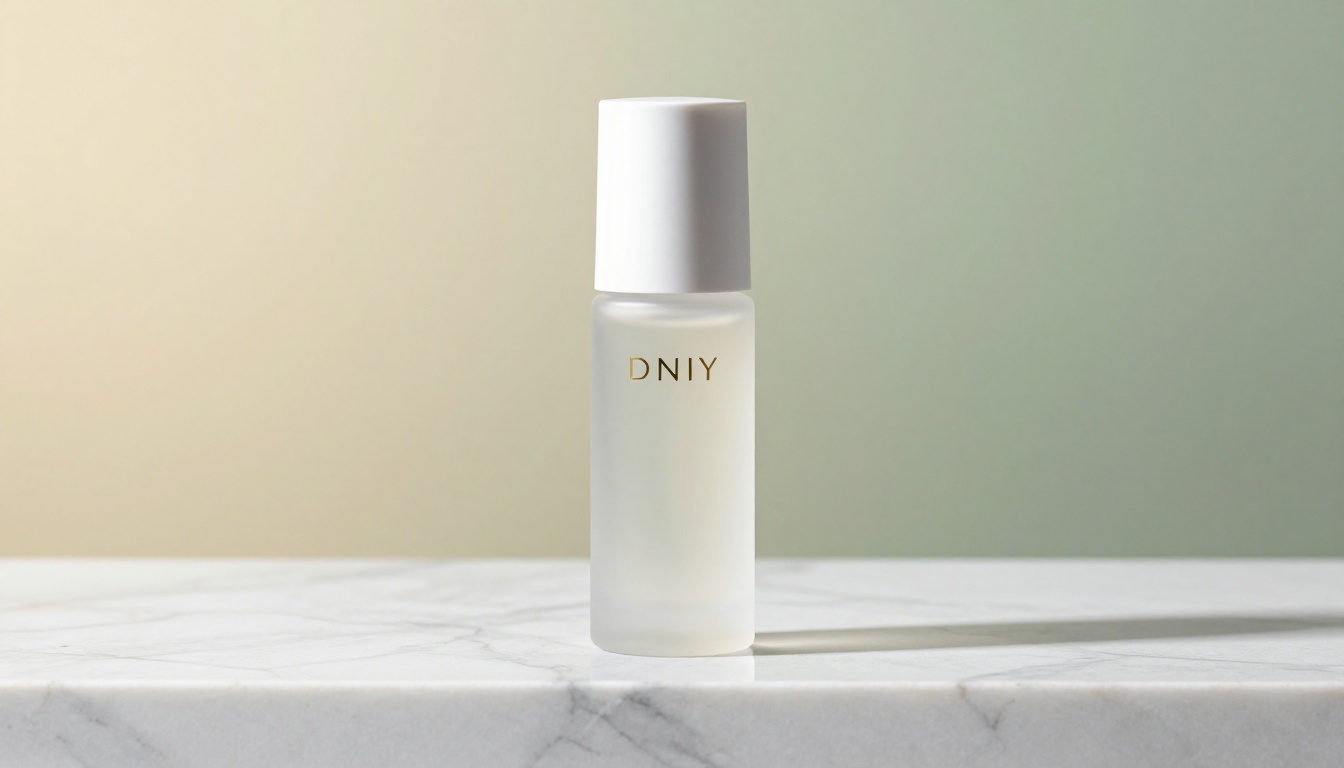
If you don't have product photography yet, AI image generation can produce photorealistic product stills in minutes. Describe your product with specifics: the material, the color, the surface it sits on, the lighting angle, and the mood you want. The more precise the description, the more accurate and usable the result. A good product still becomes excellent source material for animation.
Step 3: Create the Video Sequence
With your script and product images ready, start generating clips. Work scene by scene, not all at once. For a 45-second demo you likely need 4-6 clips ranging from 5 to 10 seconds each. Each clip maps to a specific beat in your script.
For each clip, your prompt structure should follow this pattern:
[Subject + action] + [environment] + [camera movement] + [lighting] + [mood and tone]
Rather than prompting "a person using my app," write: "a woman in her mid-30s seated at a bright linen-draped café table, scrolling through a clean mobile app interface with a relaxed, satisfied expression, camera slowly pushing in from medium shot, warm afternoon light from the left window, editorial lifestyle atmosphere." The specificity is what separates usable output from generic filler.
Step 4: Add Voiceover and Captions
Your video clips are footage without a voice. The final step is adding narration from the script you wrote in Step 1, plus captions. Both can be done with AI text-to-speech tools. Natural-sounding narration can be generated directly from your written script, and caption generation is now automatic in most video editing platforms.
💡 Tip: Always include captions. Over 85% of social media video is watched without sound. Captions are not optional if you want your demo to work in the feed. They also improve accessibility and boost watch time on every platform that measures it.
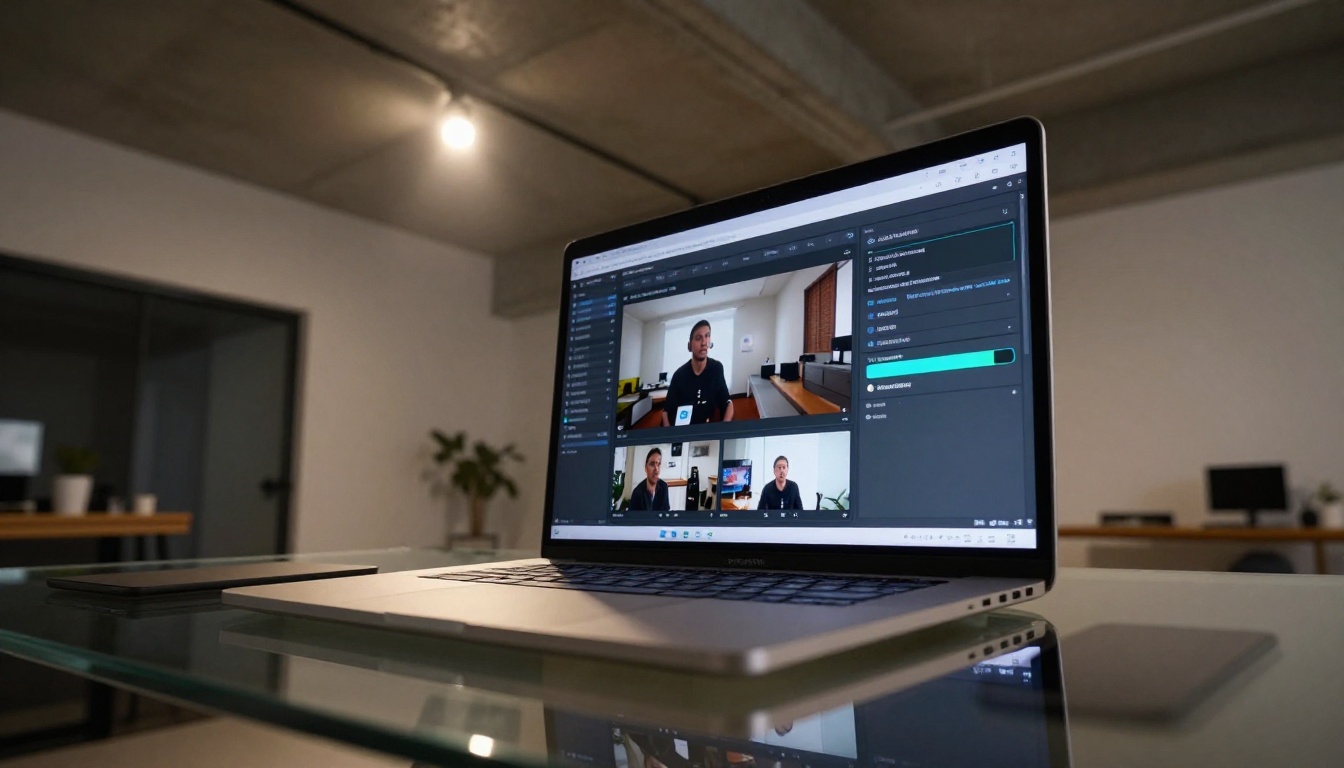
Not all demo videos serve the same purpose. The format that works for a paid social ad is different from what works on a landing page or inside an email campaign.
Short-Form Social Ads
For paid social across Instagram, TikTok, and YouTube Shorts: keep it under 30 seconds, use 9:16 vertical format, put the product in frame within the first 2 seconds, and caption everything. The hook is the entire game here. If the first 3 seconds don't earn attention, the rest doesn't matter and the platform's algorithm will stop showing it.
Generate these quickly with Wan 2.7 T2V or Hailuo 02 when you need high volume at speed. Both models produce clean 1080p output and handle fast iteration cycles without significant quality loss.
Landing Page Demos
Landing page demos have more room. 60 to 90 seconds is appropriate here because visitors already had enough interest to click through to the page. Use this format to show the full workflow: the problem, the product in action, the specific outcome, and a moment of social proof or credibility before the call to action.
Keep the video above the fold, autoplay muted, with captions active from the first frame. Use a strong thumbnail that shows a real result or a clear product moment, not a brand logo on a colored background.
Email Campaign Videos
Email clients don't play video natively. The standard approach is to use a video thumbnail image that links out to a hosted version of the demo. What matters here is the thumbnail: it needs to communicate the video's value in a single frame. Design the thumbnail as if it's the entire ad, because for email, it effectively is. A clear play button overlay and a compelling still frame do most of the conversion work before anyone clicks.
Common Mistakes That Kill Results
Most failed product demo videos share the same few problems. Recognizing them before you produce is faster than fixing them after.
Wrong Aspect Ratio
Generating a 16:9 video and posting it to TikTok without reformatting loses significant screen real estate and signals low-effort content to the algorithm. Every platform has a native format. Generate in the format your platform expects, not the format that feels easiest in your editing tool.
| Platform | Format | Ideal Length |
|---|
| TikTok / Reels / Shorts | 9:16 vertical | 15-30 seconds |
| YouTube | 16:9 landscape | 60-90 seconds |
| LinkedIn feed | 1:1 or 16:9 | 30-60 seconds |
| Landing page | 16:9 landscape | 60-90 seconds |
| Email thumbnail | 16:9 landscape | Static, links to hosted video |
Skipping the Script
A video without a script is a series of clips. A video with a script is a story. Every demo that performs consistently was built around a written narrative first. If you find yourself adding voiceover after generating the video and trying to make the words fit the footage, you've done it in reverse, and the seams will show.
The script doesn't need to be polished prose. It needs to be honest, specific, and structured around the three beats described above. That's it.
Overloading with Features
Demos that try to show everything teach buyers nothing. Pick one problem. Show one solution. Make one ask. The demos that convert best are usually the ones that feel almost too simple when you're creating them. Every feature you add after the core three is diluting the message, not enriching it. Restraint is a feature.
Your First Demo Starts Now
You don't need a studio, a production budget, or a video editing background to ship a working product demo today. The workflow is 4 steps, the tools are accessible from a browser, and the first usable result is about 30 minutes away.

Write a 120-word script. Break it into 3 scenes. Generate one strong product image. Take those inputs into Kling v3 Video, Seedance 2.0, or Pixverse v5.6 and generate a clip per scene. Add your script as voiceover using a text-to-speech model. Export, caption, and publish.
That's the full workflow. The only thing standing between you and a live demo video right now is the 30 minutes it takes to run through it once.
The platform gives you access to over 87 text-to-video models, covering every style, speed, and resolution requirement you'll encounter across product categories and output channels. Start with what your campaign needs today, iterate from there, and let the data tell you what's working. The creative ceiling with these tools is higher than what most production budgets could reach a year ago, and it's available to anyone willing to write a good script and spend 30 minutes testing.
Open the platform, pick a model, and ship your first demo. The next version will be better. That's exactly the point.


