You've been there. You take a screenshot, zoom in even slightly, and suddenly it looks like it was taken through a foggy window in 1998. Pixelated edges, washed-out colors, compression artifacts that make text look like it was printed by a malfunctioning fax machine. The frustrating reality is that most screenshots are captured at screen resolution, which sounds fine until you need to actually use that image somewhere. Whether you're building product documentation, posting to social media, creating tutorials, or archiving important interfaces, blurry screenshots kill credibility instantly. The good news is that AI super resolution has fundamentally changed what's possible. You don't need Photoshop skills, raw photography knowledge, or hours of manual editing. With the right AI model, you can make screenshots crisp again in seconds.
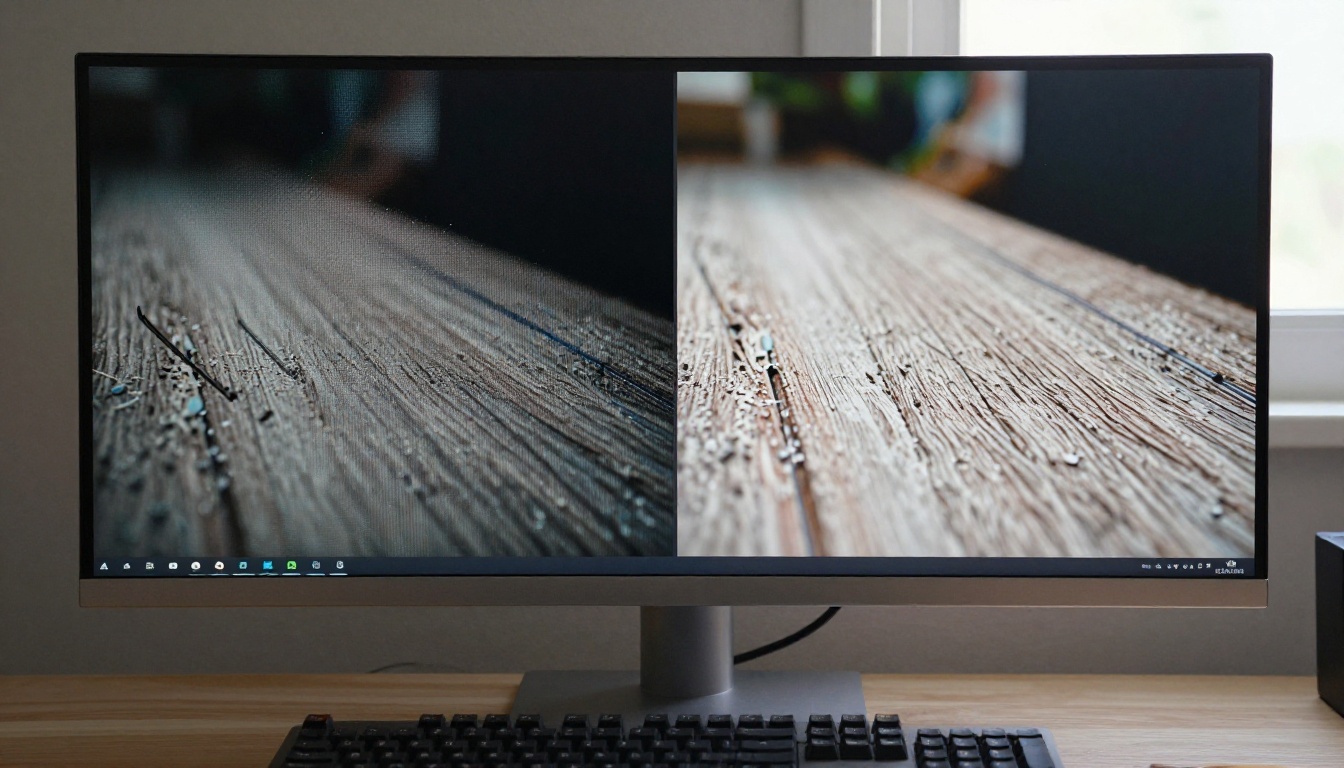
Why Screenshots Lose Their Sharpness
Before jumping to fixes, it helps to know exactly why screenshots degrade so badly. The answer is two-fold, and knowing it tells you exactly which AI tool to reach for.
The Resolution Trap
Your screen may display at 1920x1080 pixels, but that doesn't mean your screenshot captures enough data for every use case. When you take a standard screenshot and then resize it upward, or view it on a higher-density screen, you immediately expose the pixel ceiling. There simply isn't enough raw data in the original capture to fill the enlarged canvas, so your software interpolates the gap with blurry guessing. This is why screenshots that look fine at their original size look terrible the moment you scale them for a presentation slide or a blog post header.
Standard screenshot resolution is also a mismatch for modern displays. A 4K monitor, a retina display, or a high-pixel-density phone screen all render images at far higher density than the typical 72 DPI of a web screenshot. When that 72 DPI image gets stretched to fill a larger space, the result is visibly soft.
Compression Damage
Even if resolution weren't an issue, compression would still be. Screenshots are most commonly saved as PNG (lossless but heavy) or JPEG (lighter but lossy). The moment you add JPEG compression, the algorithm begins discarding pixel information it deems redundant. Text edges become slightly smeared. Sharp diagonal lines develop stair-step artifacts. Fine UI details like icons, thin borders, and small fonts take the most punishment.
When an already-compressed screenshot gets re-shared, re-exported, or uploaded to a platform that adds its own compression layer (like social media does automatically), the quality degrades exponentially. What started as a decent screen capture turns into a blurry mess after just two or three steps in the sharing chain.
What AI Super Resolution Actually Does
Traditional upscaling is just stretching. It makes the image bigger by interpolating between existing pixels, and the result looks soft because that's all it can do with limited data. AI super resolution works fundamentally differently.
How the Model Fills Missing Pixels
An AI super resolution model is trained on millions of pairs of high-resolution and low-resolution images. During training, it identifies the statistical relationship between blurry, information-poor versions and sharp, detail-rich originals. After training completes, when you give the model a blurry screenshot, it doesn't just stretch the existing pixels. It actively predicts what the high-detail version should look like, based on everything embedded in the training process.
This is why AI upscaling produces results that look genuinely sharper rather than just bigger. The model synthesizes realistic detail, including crisp text edges, smooth diagonal lines, and fine texture, based on patterns identified from millions of real high-resolution images. It's the difference between a blind guess and an educated reconstruction.
2x vs 4x: What the Numbers Really Mean
When an AI model says it upscales by 2x or 4x, it's referring to the linear scaling factor. A 2x upscale doubles the width and height, producing four times the total pixels. A 4x upscale quadruples both dimensions, producing 16 times the total pixels.
For screenshots, the practical difference is significant:
| Scale Factor | Use Case | Result |
|---|
| 2x | Web images, blog posts | Noticeably sharper, file size manageable |
| 4x | Print, presentations, large displays | Maximum detail recovery, significantly larger file |
| 6x | Archival restoration, large format | Maximum fidelity, best models only |
💡 For most screenshot use cases, 4x upscaling hits the sweet spot. The detail recovery is dramatic, and the file remains usable without hitting storage or bandwidth issues.
9 AI Models That Fix Blurry Screenshots
Not all super resolution models are built the same. Some are optimized for photographic images with organic textures. Others handle the sharp geometric content of screenshots and UI elements especially well. Here's a breakdown of every model available for super resolution tasks right now:
For screenshots specifically, Recraft Crisp Upscale and Clarity Pro Upscaler consistently produce the most natural output for UI-heavy content. If you're dealing with screenshots that contain a mix of text, icons, and embedded photos, Image Upscale by Topaz at 6x is in a class of its own.
How to Use Clarity Pro Upscaler on PicassoIA
The Clarity Pro Upscaler is one of the most capable models for delivering photorealistic results. It handles both photographic content and screenshot-heavy images with excellent edge reproduction. Here's exactly how to use it:
Step 1: Upload Your Screenshot
Go to the Clarity Pro Upscaler page on PicassoIA. Click the upload area and select your screenshot file. PNG files are preferred over JPEG for screenshots because they preserve more original data for the model to work with. If your screenshot is already a JPEG, use it anyway. The AI will still produce a significant improvement, though starting with PNG always gives better output.
💡 Always work from the highest-quality version of your screenshot you can find. If you have both a PNG and a JPEG of the same image, feed the AI the PNG every time.
Step 2: Choose Your Scale Factor
After uploading, you'll see parameter options. For the scale factor, choose based on your final use case:
- 2x: Sufficient for web display and blog images
- 4x: Recommended for presentations, product demos, and social media posts
- 4x with creativity boost: Best for screenshots that have significant compression damage, where the AI needs to synthesize more missing detail
The creativity parameter on Clarity Pro controls how aggressively the model reconstructs missing detail. A higher value produces more vivid, detailed output but can occasionally over-synthesize on very clean UI screenshots. For most cases, the default setting produces excellent results.
Step 3: Download and Compare
Once processing completes (typically 10-30 seconds), download the result and compare it to your original side by side. You should immediately notice sharper text edges, cleaner icon outlines, smoother diagonal lines, and more defined contrast throughout.
If the result shows over-sharpening artifacts (haloing around edges), reduce the creativity parameter and re-run. If the output still looks softer than expected, try Real ESRGAN as an alternative, which handles certain content types differently.
3 Use Cases Where AI Sharpening Wins
Knowing the tools is one thing. Knowing exactly when to deploy them is what separates average output from professional-quality results.
Social Media and Content Creation
Social platforms aggressively compress every image you upload. Instagram, X (formerly Twitter), LinkedIn, and Facebook all apply their own JPEG compression on top of whatever you upload. This means a screenshot that looks fine on your desktop will appear visibly degraded after posting.
The fix is to upscale before uploading. Running your screenshot through P Image Upscale at 4x gives the platform's compression algorithm significantly more pixel data to work with. The result after platform compression is noticeably sharper than uploading the original.
💡 Think of it as giving the platform extra budget. When you feed a 4x upscaled image to a platform that compresses to 50% quality, the output is still better than feeding it a 1x original at 50% quality.
Product Documentation and Demos
If you're creating product documentation, tutorials, or demo videos where screenshots are a core element, image sharpness directly affects how professional your work looks. A blurry screenshot in a tutorial signals "low effort" to the reader, even subconsciously.
Running every UI screenshot through Increase Resolution or Google Upscaler before embedding them in documentation is a fast, low-effort way to raise the perceived quality of your entire output.
Restoring Old Archived Images
Many organizations sit on archives of product screenshots taken years ago at lower resolutions, on smaller screens, with older capture tools. These old images often need to be repurposed for modern contexts where higher resolution is expected.
Image Upscale by Topaz at 6x is the right tool for this job. It produces the most faithful reconstruction of detail from heavily degraded source material, and it handles mixed content (text, UI elements, photos) better than any other model in the lineup.
What to Avoid When Upscaling
Even the best AI models have limits. Knowing where they break down saves you time and frustration.
Over-Scaling Beyond What the Source Supports
If your original screenshot is 400x300 pixels, running it through a 6x upscaler will produce a 2400x1800 pixel output, but that doesn't mean the detail is actually there. The AI can only reconstruct what it can plausibly infer from the source. Very low-resolution screenshots with significant compression damage produce outputs that look sharper but still contain visible hallucinated artifacts.
The practical rule: the higher the quality of your original, the better the upscaled result. A 1920x1080 screenshot upscaled 4x will look dramatically better than a 480x270 screenshot upscaled 4x. Start with the best source you can find.
Picking the Wrong Model for the Content
Different models excel at different content types. Here's a quick decision tree:
Results Worth Seeing for Yourself
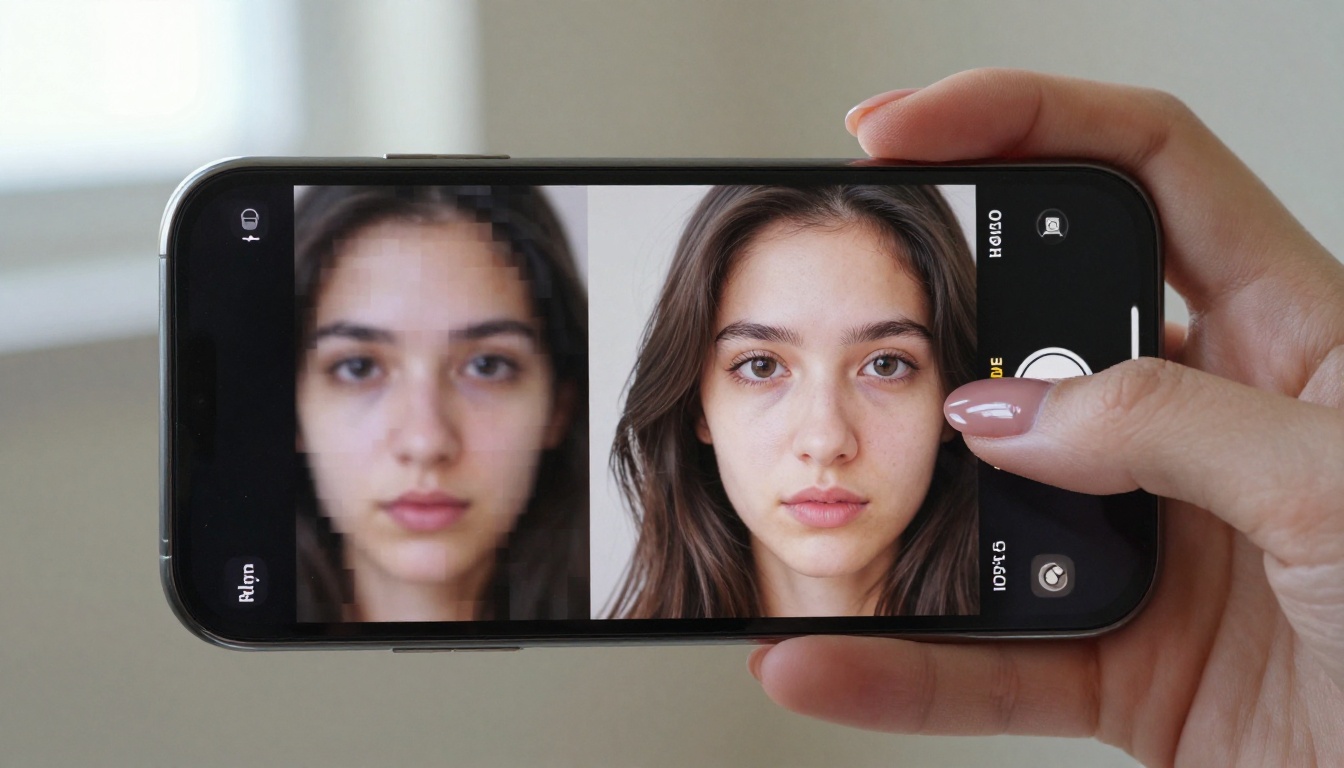
The difference between a raw screenshot and an AI-upscaled version isn't subtle. It's the kind of quality jump that makes you immediately wonder why you weren't doing this from the start.
Text that was barely legible at small sizes becomes crisp and readable at full zoom. Icon edges that showed stair-step aliasing become smooth curves. Background gradients that had visible banding become silky transitions. And when you export the final result for use in a document or social post, the quality holds up even after platform compression takes another bite.
The results are especially dramatic when you're working with screenshots from older software, legacy interfaces, or screen recordings captured at lower resolutions. In those cases, an AI upscale doesn't just fix the image. It recovers content that seemed permanently lost.
Real ESRGAN has been the standard workhorse for this kind of recovery work for years, and it still holds up well for general-purpose upscaling. For professional output where quality is non-negotiable, Image Upscale by Topaz and Clarity Pro Upscaler are in a different tier entirely.
Here's a real-world comparison of what you can expect across different content types:
| Content Type | Before Upscaling | After 4x AI Upscaling |
|---|
| UI Screenshots | Aliased edges, soft text | Crisp text, smooth borders |
| Product Photos | Low contrast, muddy colors | Sharp detail, vivid tones |
| Charts and Graphs | Blurry labels, jagged lines | Readable labels, clean lines |
| Portrait Photos | Soft skin, lost hair detail | Natural texture, defined features |
| Archival Captures | Mushy facades, degraded lines | Sharp windows, defined edges |
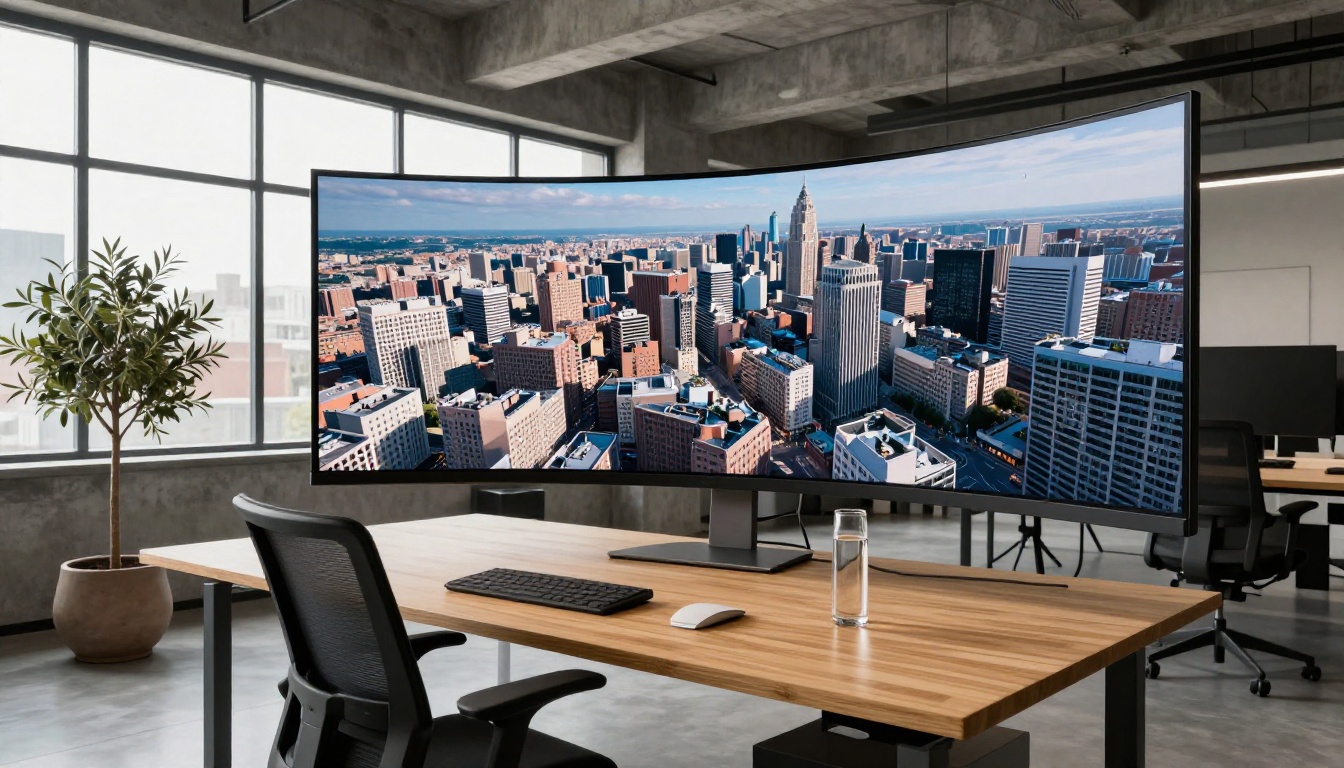
Start Creating Crisp Images Right Now
Every screenshot you've been settling for doesn't have to stay blurry. PicassoIA gives you access to nine dedicated super resolution models, from fast one-click solutions like P Image Upscale to professional-grade tools like Clarity Pro Upscaler and Image Upscale by Topaz, all running in the browser without any local installation required.
The workflow takes less than a minute. Upload your screenshot, select a scale factor, run the model, and download a sharper version. That's it.
💡 You can stack tools for the best possible result. Run your screenshot through Recraft Crisp Upscale first for edge sharpness, then apply Increase Resolution if you need another pass to bring out fine detail in challenging areas.
Whether you're a content creator tired of blurry thumbnails, a developer who needs clean UI screenshots for documentation, or a designer archiving years of old interface captures, there's a model in the lineup built for exactly your situation. The sharpest version of your screenshots is one tool away. Pick a model, drop in your image, and see what AI super resolution actually produces when it has good source material to work with.
Most people are surprised by how much quality was buried in their original file, just waiting to be recovered.


