Talking avatars used to require a production team, a green screen, and days of editing. Now you can turn a single photo into a realistic speaking character in under five minutes, using nothing but a browser and an audio file. AI lipsync technology has crossed a threshold where the results are genuinely convincing, and the tools are accessible to anyone.
This article breaks down exactly how to make talking avatars with AI, which models produce the best results, and how to get clean output on the first try.
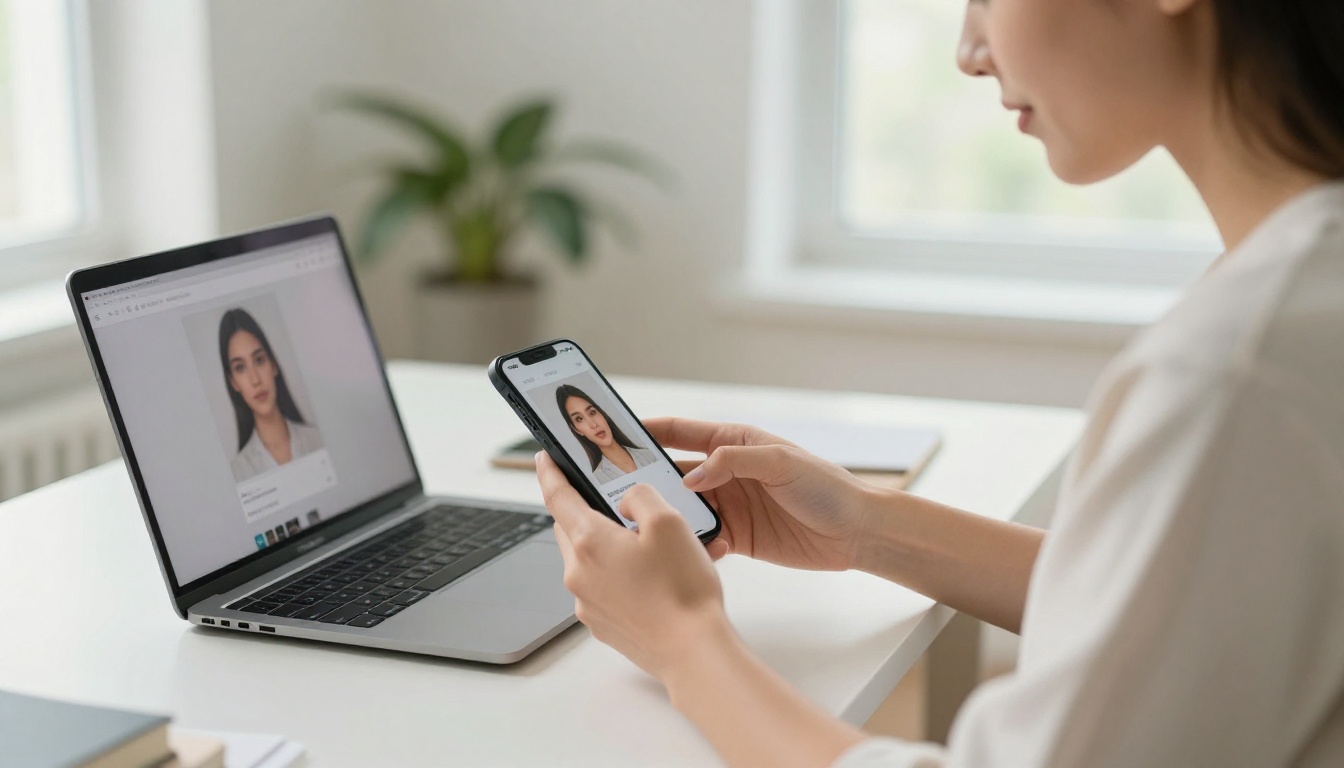
What a Talking Avatar Actually Is
Still Photo vs. Animated Face
A talking avatar starts as a static image. The AI takes that image and generates frame-by-frame facial motion synchronized to an audio track. The result looks like the person in the photo is actually speaking those words.
This is different from a deepfake in an important way: you are animating a photo, not replacing someone's face in an existing video. The AI is generating new movement rather than swapping identities. The distinction matters both technically and practically.
The output is a short video, typically MP4, where the avatar:
- Opens and closes lips in sync with speech
- Shows subtle jaw and chin movement
- Sometimes adds natural head micro-movements
- Maintains the original photo's lighting and texture
How Lipsync AI Works Behind the Scenes
The technology behind these tools combines two core processes. First, a face detection model identifies the mouth region in your photo. Second, an audio analysis model decodes phonemes (the individual sound units of speech) and maps them to corresponding mouth shapes called visemes.
Modern models like Omni Human 1.5 go further. They model neck and head movement, eye blinks, and subtle facial muscle activity to make the result feel natural rather than robotic.
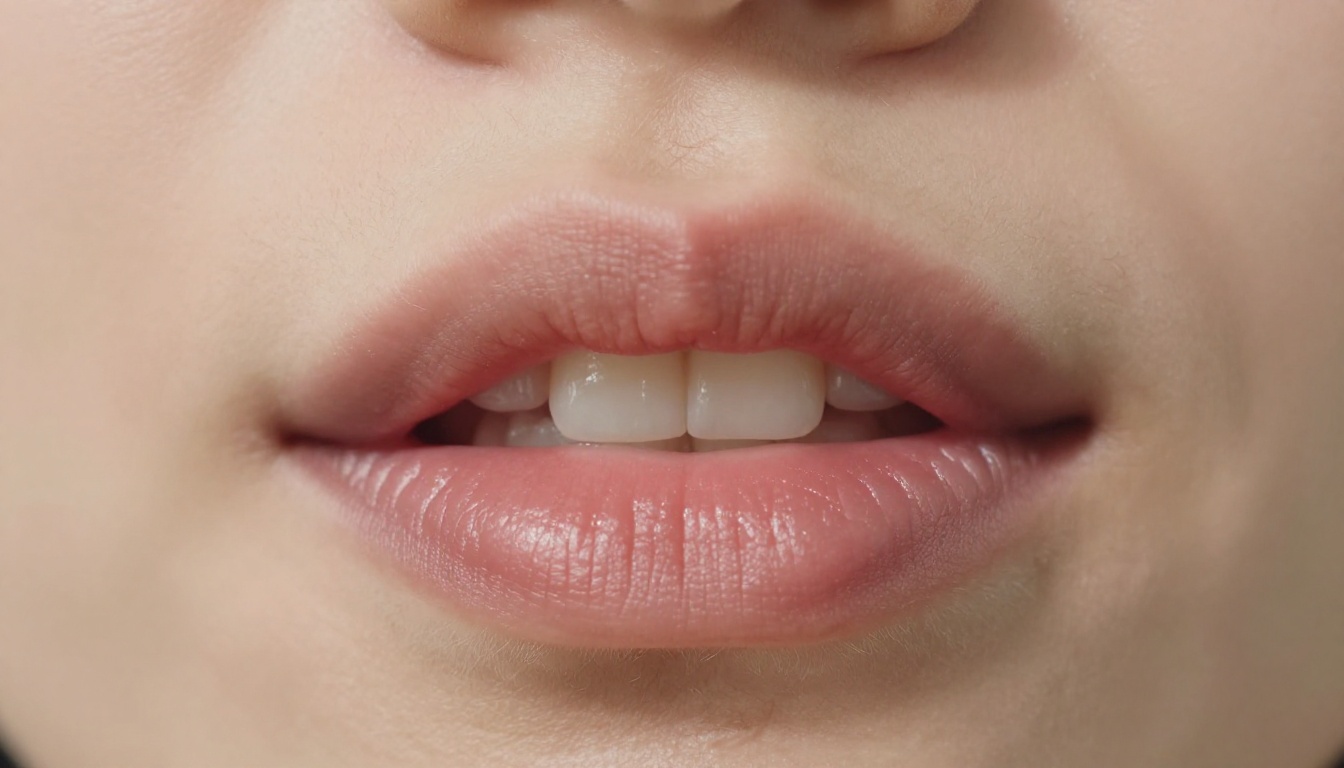
The quality gap between first-generation tools (which produced obvious puppet-mouth animations) and current models is enormous. Today's lipsync AI generates motion that holds up at normal video viewing distance, and in many cases looks indistinguishable from a real recording at 1080p.
Why People Are Creating Talking Avatars
Content Creators and Social Media
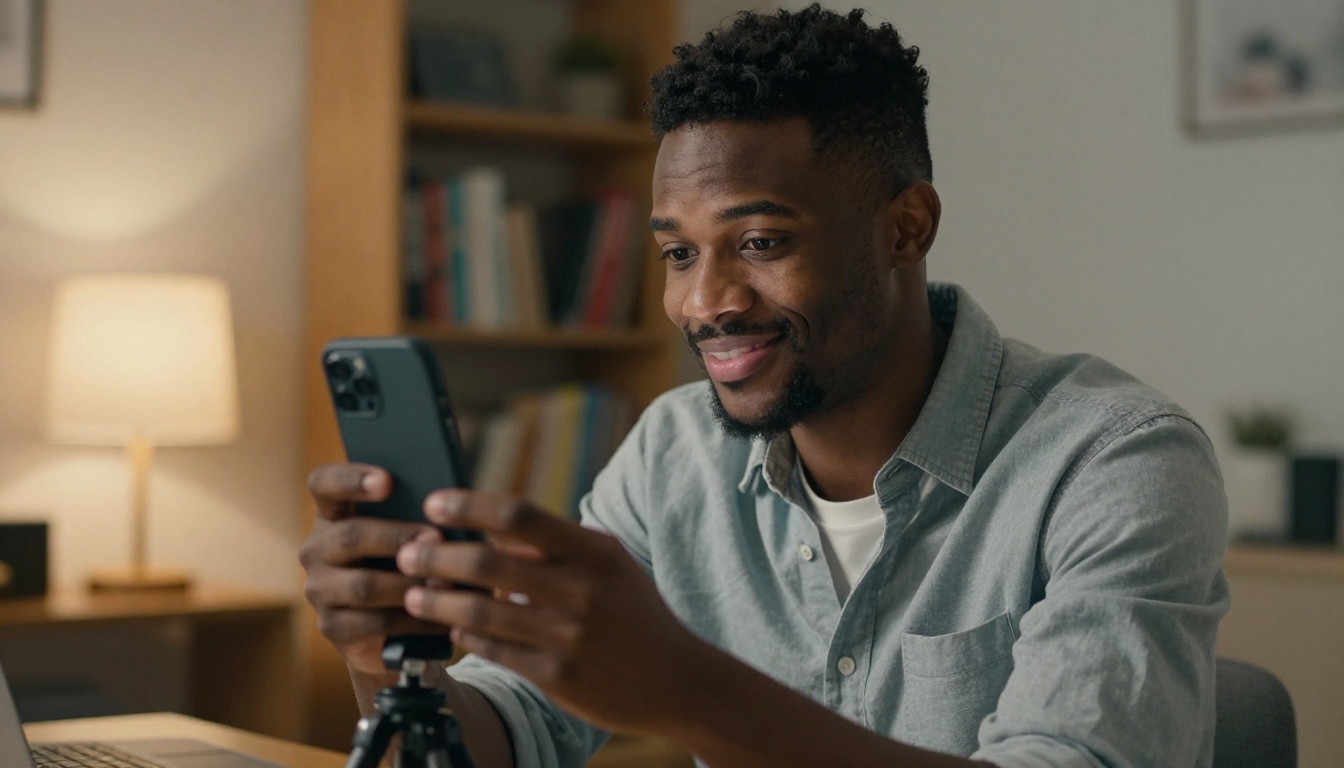
Short-form video content demands a constant output of fresh material. Not every creator wants to be on camera every day. Talking avatars let you produce consistent video content using a single branded photo of yourself, a spokesperson character, or even an illustrated character brought to life.
The talking avatar becomes a reusable visual identity: record new audio, sync it to the same face, and publish without ever opening a camera. This approach is particularly effective for faceless brand accounts that need a human-feeling presence without revealing the person behind the brand.
💡 Tip: Use a high-resolution headshot with a clean background for the most consistent results across multiple avatar videos.
Business Presentations and Marketing
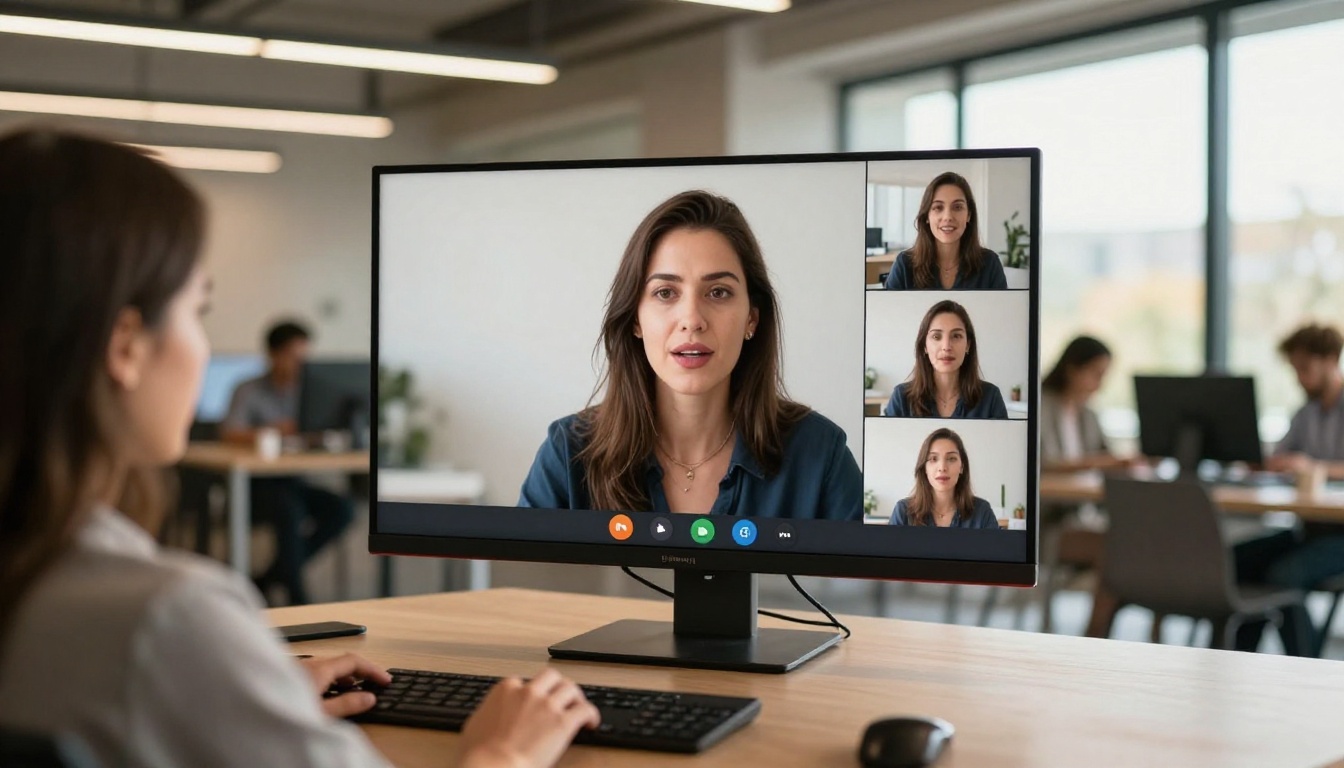
Sales teams, trainers, and marketing departments use talking avatars to produce personalized video messages at scale. Instead of recording the same product demo 50 times for different markets, you record once, generate language-specific voiceovers, and sync each one to your avatar.
This workflow is exactly what tools like Video Translate are built for. You can dub a single video into 150+ languages while the avatar's mouth matches the new language's phonemes, not the original recording.
Language Dubbing and Translation
Podcasters, educators, and YouTube creators are using talking avatars to reach international audiences without hiring voice actors. The process:
- Record your content in your native language
- Generate a translated voiceover with a text-to-speech model
- Sync the new audio to your avatar using a lipsync model
The viewer sees a talking avatar whose mouth movements match the translated audio. It reads as natural because the lipsync model handles the phonetic timing differences between languages automatically.
The Best AI Models for Talking Avatars
Not all lipsync models behave the same way. Here is how the main options compare on the dimensions that matter most.
P Video Avatar
P Video Avatar by PrunaAI is the most direct tool for the talking avatar use case. You provide a portrait photo and an audio clip. The model outputs a video of that person speaking the audio with synchronized lip movement and natural head motion.
It handles a wide range of photo types: professional headshots, casual selfies, illustrated characters, and historical photos all produce usable results. The face detection is robust enough to work with partial faces and non-frontal angles, though straight-on photos consistently produce the cleanest sync.
Omni Human 1.5
Omni Human 1.5 by ByteDance is the most technically sophisticated option for photo-to-talking-video generation. It models the entire upper body, not just the face. You get natural shoulder shifts, breathing movement, and the subtle micro-expressions that make a talking head video feel alive rather than artificially animated.
The results are noticeably more cinematic than simpler lipsync tools. If you are producing content where the avatar will be viewed full-screen or in a professional context, the additional realism is worth the slightly longer processing time.
Fabric 1.0
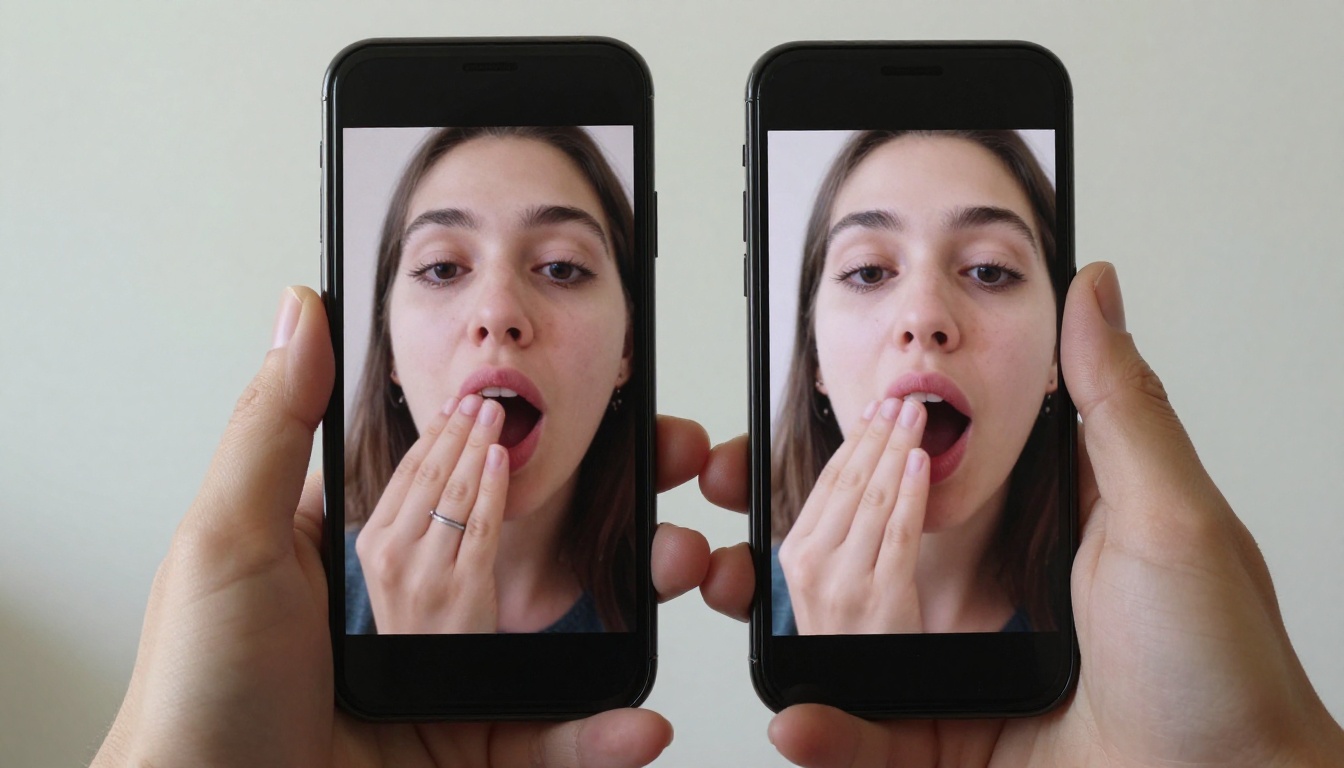
Fabric 1.0 by Veed takes a simple, clean approach. Upload a photo, attach audio, and the model animates the face to match. It runs fast and produces consistent output across different photo styles. It is a solid choice when you are producing multiple avatar videos in a batch workflow and need reliable, repeatable results without tweaking settings between runs.
React 1 and Lipsync 2 Pro
React 1 by Sync and Lipsync 2 Pro are better suited for syncing existing videos rather than animating photos. If you already have a recorded video and want to re-sync the mouth to a different audio track (for dubbing or replacement), these are the tools to use. Lipsync 2 Pro in particular produces extremely precise sync timing, with barely perceptible offset even on fast speech or unusual accents.
How to Use P Video Avatar on PicassoIA
This model is the clearest entry point for making talking avatars from a static photo. Here is the exact workflow.
Step 1: Upload Your Photo
Go to P Video Avatar on PicassoIA. Upload a clear, well-lit portrait. The face should occupy at least 30% of the frame.
What works well:
- Frontal or slight 3/4 angle portraits
- Neutral to slight smile expression
- High resolution (1024px or larger on the short edge)
- Plain or blurred background
What to avoid:
- Heavy sunglasses or face-covering accessories
- Strong motion blur or image compression artifacts
- Extreme side profiles where one eye is fully hidden
Step 2: Add Your Audio
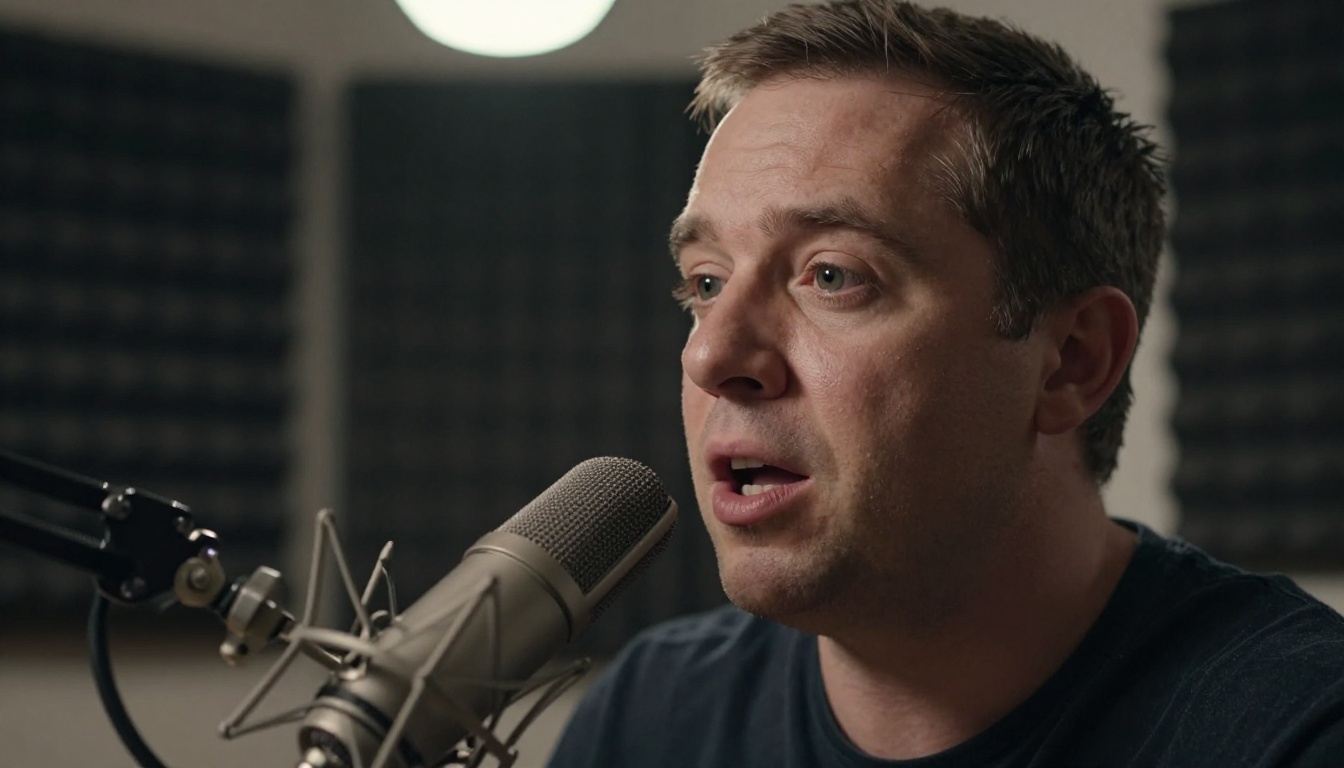
Upload an audio file or record directly in the browser. The model accepts WAV and MP3 files. Audio quality directly affects output quality:
- Sample rate: 44.1kHz or higher
- Noise floor: Minimal background noise produces cleaner phoneme detection
- Speech pace: Natural conversational pace works better than very fast or very slow delivery
- Length: Most use cases work best with clips between 15 and 60 seconds per generation
💡 Tip: If you don't have audio ready, use a text-to-speech model first. PicassoIA has a dedicated Text to Speech section with multiple voice models. Generate clean audio, then bring it directly into P Video Avatar.
Step 3: Generate and Download
Hit generate. Processing time is typically 30 to 90 seconds depending on audio length. When the result is ready, preview in-browser, then download as MP4.
If the first result shows minor sync drift at the start, try trimming 0.5 seconds of silence from the beginning of your audio file. Audio that starts with a clean speech sound (rather than a pause or breath) consistently produces better sync on the first frame.
Choosing the Right Audio Source
Recording Your Own Voice
Recording your own voice gives you the most natural result because the model matches your audio's specific timing and pace to the face's movements. Use a quiet room and a decent microphone. The gap in quality between phone audio and a USB condenser mic is clearly audible in the final avatar output.
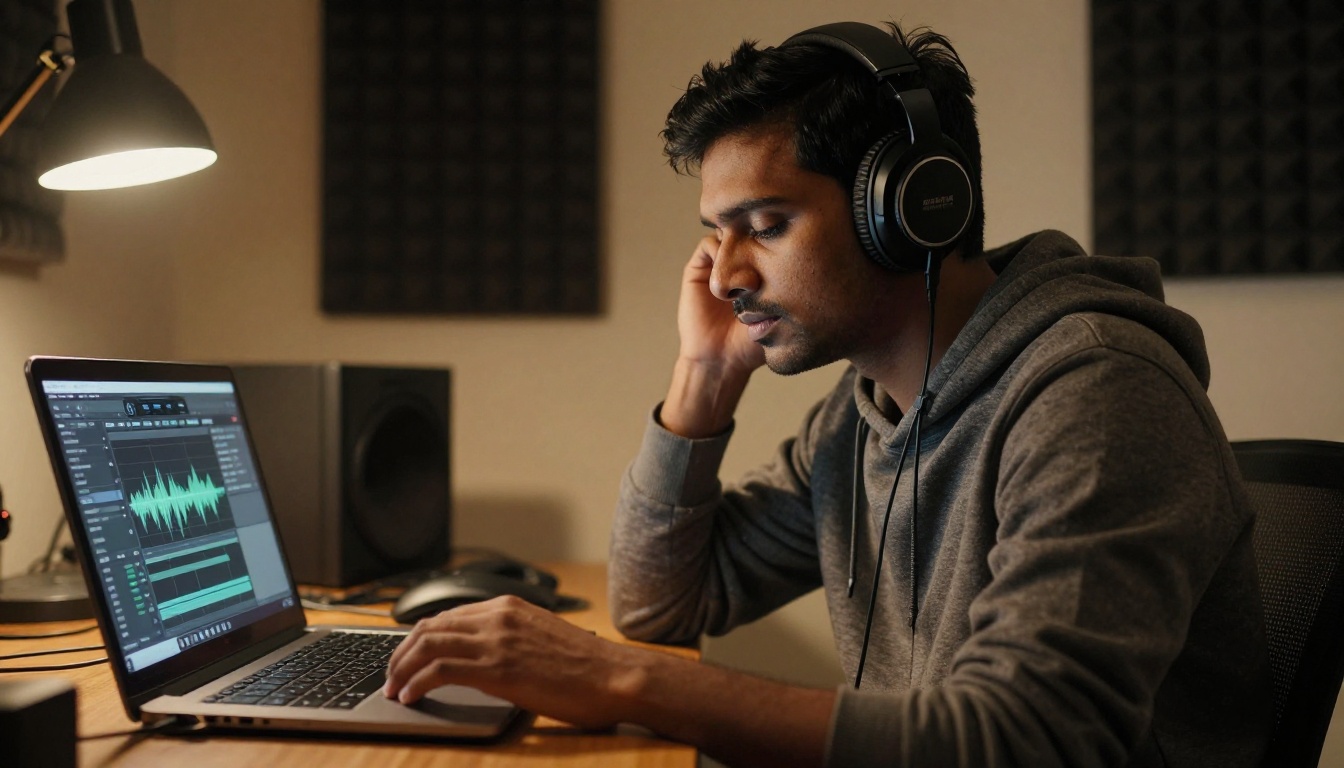
For anything more than casual social content, consider using a cardioid microphone with a pop filter to eliminate plosive sounds. Hard "P" and "B" bursts create audio spikes that disrupt phoneme detection and produce visible mouth errors in the animation.
Using AI Text to Speech
If recording is not an option, or if you want a specific voice characteristic, AI text-to-speech is a practical alternative. Write your script, generate audio using a TTS model, then feed the audio into your lipsync model.
The advantage of AI-generated audio is consistency. Every word is produced at exactly the right volume and without background noise, which gives the lipsync model the cleanest possible input. The Lipsync Speed model is particularly well-suited for TTS-generated audio because of its clean spectral properties.
Tips for Better Results
Photo Quality Matters
The single biggest variable in output quality is photo quality. A high-resolution, well-lit, sharp photo will produce a dramatically better result than a compressed, blurry, or heavily filtered one.
Optimal photo characteristics:
- Resolution: 1920x1080 or higher
- Lighting: Soft frontal or 45-degree lighting, no harsh shadows crossing the face
- Expression: Neutral or slightly open mouth gives the AI more flexibility
- Focus: Face must be in sharp focus, not the background
Audio Clarity Is Everything
The lipsync model reads audio to determine mouth positions. Noisy, low-bitrate, or echo-heavy audio produces muddier mouth movements because the phoneme detection is working with less precise data.
If you notice the mouth movements look off, the problem is almost always in the audio, not the photo. Run the audio through a noise reduction tool before re-submitting. A single pass of noise removal before upload makes a visible difference in the final sync quality.
Lighting and Background in Your Photo
Models that generate full head and upper body motion (like Omni Human 1.5) extend the animation beyond the face. This means the background and shoulders in your photo also get animated. A cluttered or distracting background can make the generated movement look unnatural in those areas.
For the cleanest results with full-body models: use a photo with a simple, slightly blurred background. The AI has less competing information and produces more stable motion throughout the clip.
💡 Tip: If you have a portrait on a complex background, use PicassoIA's background removal tools first, place the face on a neutral background, then animate. The result will be significantly cleaner.
What to Realistically Expect
Before committing to a workflow, it helps to know where these tools currently stand.
What works very well:
- Short clips under 60 seconds: Sync accuracy is high and consistent
- Frontal portraits: The model has the most training data for straight-on faces
- Clear, expressive audio: Natural speech with varied cadence produces more life-like movement
- Professional headshots: High image quality in, high animation quality out
Where results vary:
- Long-form content over 3 minutes: Sync drift can accumulate; splitting into segments and recombining produces better results
- Heavy accent or very fast speech: Some models handle non-standard phoneme timing less accurately
- Non-human subjects: Illustrated or animated characters work, but require models specifically trained on stylized faces
Photo input model comparison:
| Feature | P Video Avatar | Omni Human 1.5 | Fabric 1.0 |
|---|
| Body animation | Head + shoulders | Full upper body | Face only |
| Processing speed | Fast | Medium | Fast |
| Photo flexibility | High | Medium | High |
| Best output length | Up to 60s | Up to 30s | Up to 60s |
Start Making Your Own
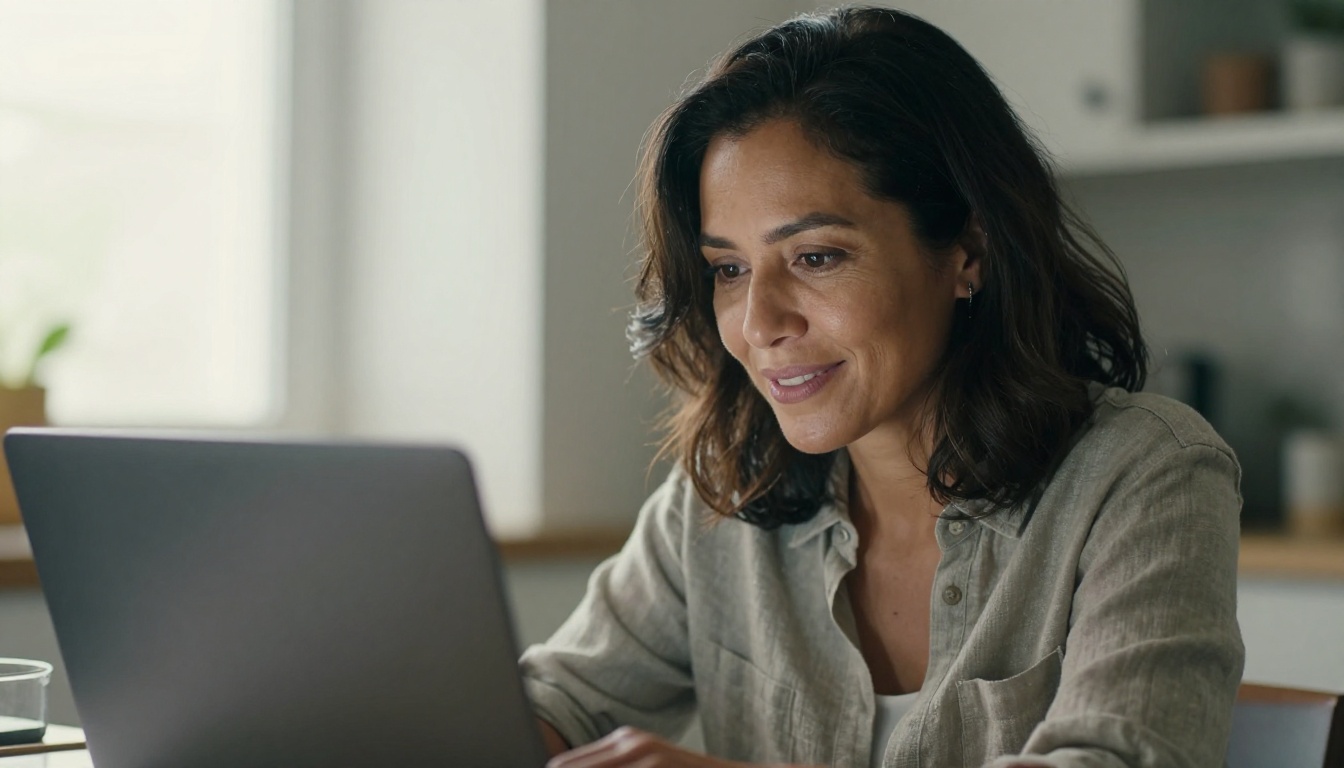
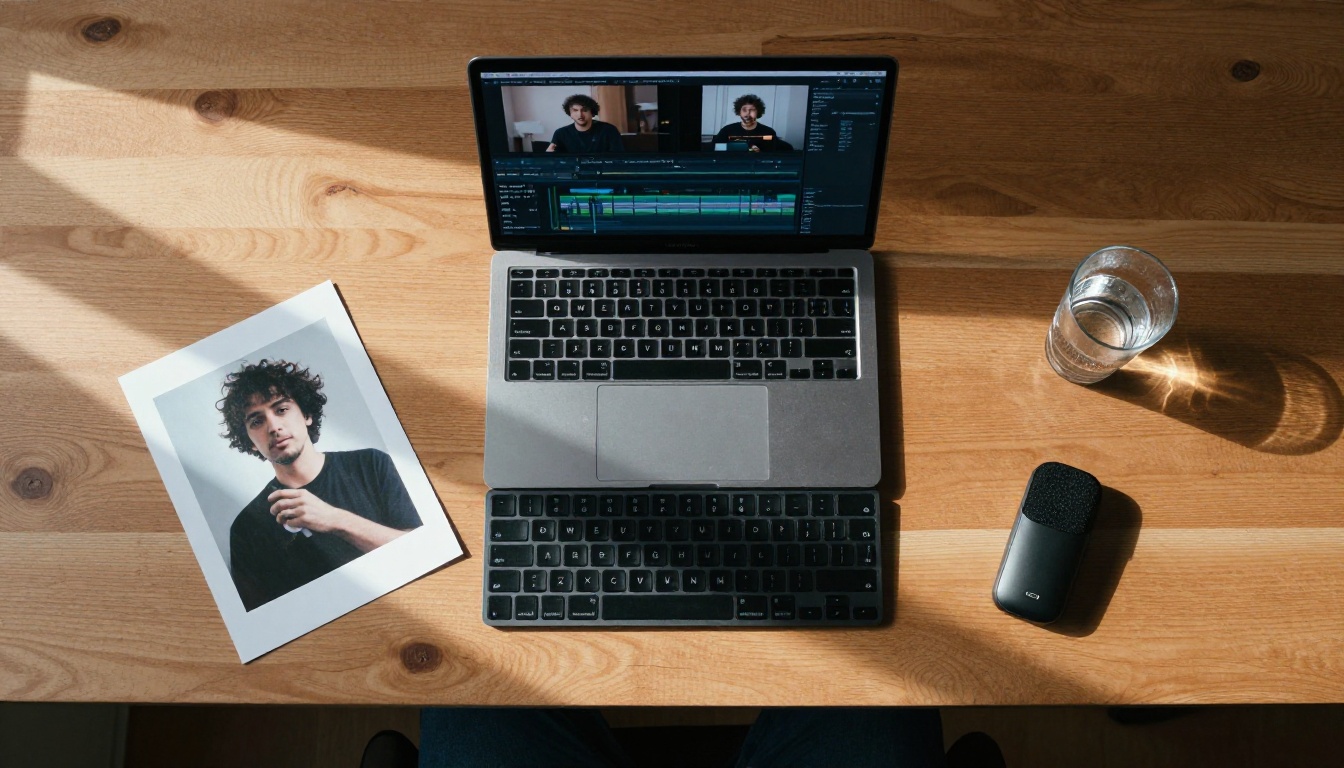
Everything you need to make talking avatars with AI is on PicassoIA right now. Pick a photo, attach audio, choose the model that fits your use case, and generate. The first result takes under two minutes from upload to download.
If you are producing content for a specific platform or audience, experiment with different models to find what fits your style. P Video Avatar is the fastest entry point. Omni Human 1.5 delivers the most cinematic output for professional use. Fabric 1.0 is reliable for high-volume batch work.
For dubbing and language adaptation, Lipsync Precision, Lipsync Speed, and Video Translate handle the full workflow from audio replacement to lip re-sync in one pass.
The technology is ready. Your first talking avatar is one photo and one audio file away.


