If you have run both models back-to-back, you already know the outputs are not identical. Nano Banana and Nano Banana Pro share a name and a foundation, but they produce different results depending on what you ask them to do. The gap is not always dramatic, but it shows up consistently in specific areas: resolution, prompt interpretation, skin texture, and how each model handles complex scenes with multiple spatial elements. This article puts both side by side so you can make an informed decision before you spend your credits.
What These Two Models Actually Are
Before comparing outputs, it helps to understand what each model was built for and where Google positioned them in terms of capability and intended use.
Nano Banana at a Glance
Nano Banana is a compact, fast text-to-image model designed primarily for speed and efficiency. It handles straightforward prompts well, renders clean compositions, and generates results quickly enough to support rapid iteration cycles. If you are in an exploratory phase, testing prompt variations, experimenting with different compositions, or trying to land on a visual direction before committing to final production, this model delivers solid results without a long wait.
The trade-off is detail density. In high-complexity scenes, or when you need fine texture work in portraits, fabric, or architectural elements, Nano Banana starts to show limitations. Those limitations are not failures. They are just the natural ceiling of a model designed for speed over maximum resolution fidelity.
Nano Banana Pro at a Glance
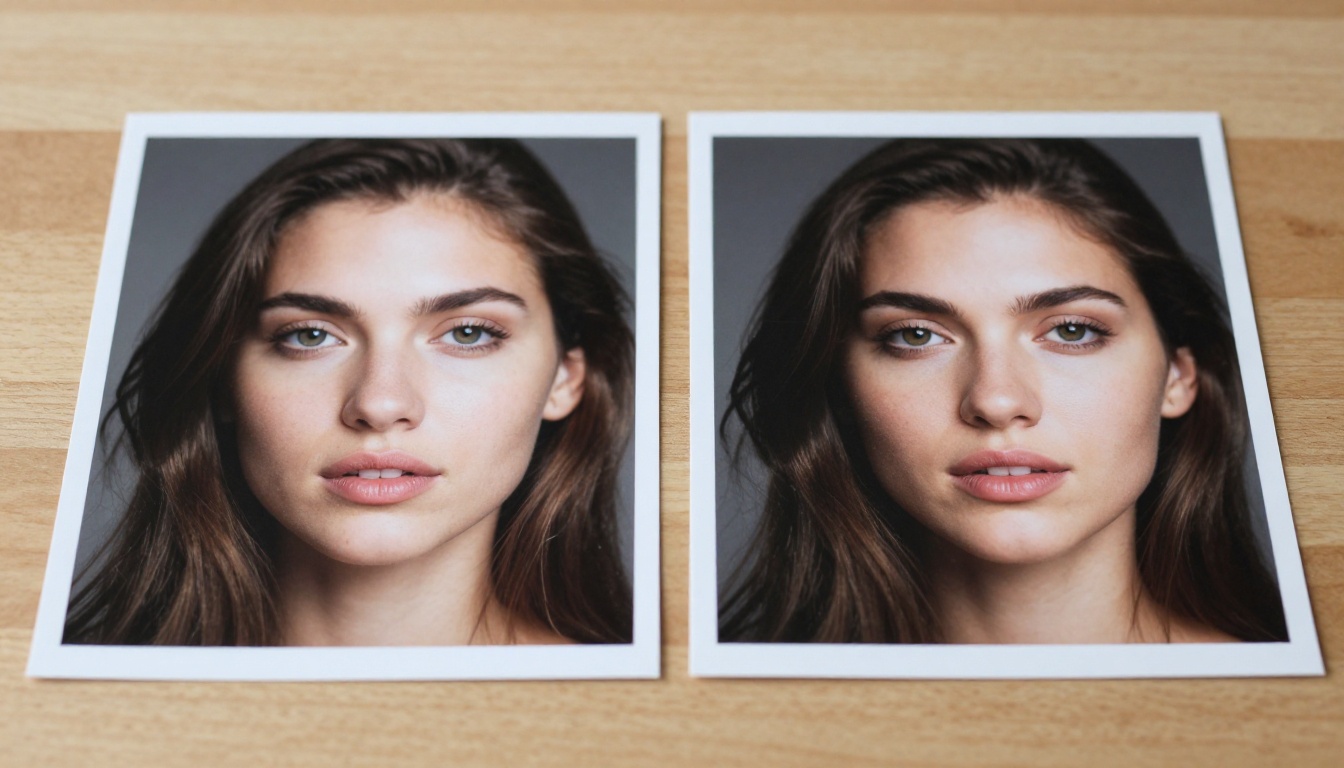
Nano Banana Pro is the upgraded architecture. It was built with 4K-resolution output as a target, with significantly improved detail rendering across every category. You can see the difference most clearly in portraits: skin texture, individual hair strands, fabric weave, and eye detail all render at a level the base model cannot match. The generation time is longer, but for final-quality work, that extra processing time earns its keep in the output.
💡 Quick take: Use Nano Banana for rapid prototyping and concept drafts. Switch to Nano Banana Pro when the image is going to be the final deliverable.
The Speed Difference Is Real
One of the first things you notice when switching between the two models is the wait time, and it matters more than people expect.
Nano Banana is noticeably faster. For simple to mid-complexity prompts, generation typically completes in a fraction of the time compared to the Pro variant. This speed advantage matters most during the creative exploration phase, when you are testing angles, lighting setups, and subject descriptions before committing to a final direction.
Nano Banana Pro takes longer because it is doing significantly more work: running higher-resolution inference, applying additional detail passes, and handling complex prompt structures with more precision and spatial awareness. That extra computation shows up visibly in the final image, particularly at full resolution.
When Faster Hurts Your Workflow
Counterintuitively, defaulting to the faster model for everything can slow your total workflow. When you use Nano Banana for final assets, you often end up compensating for reduced detail through additional prompt engineering, running super-resolution post-processing, or generating multiple versions and manually selecting the best frame. That workaround cycle frequently takes longer than simply using Nano Banana Pro from the start.
The smarter workflow: use the base model for exploration, use the Pro model for production.
Output Quality Side by Side
This is where the two models separate most clearly and most consistently.
Resolution and Sharpness
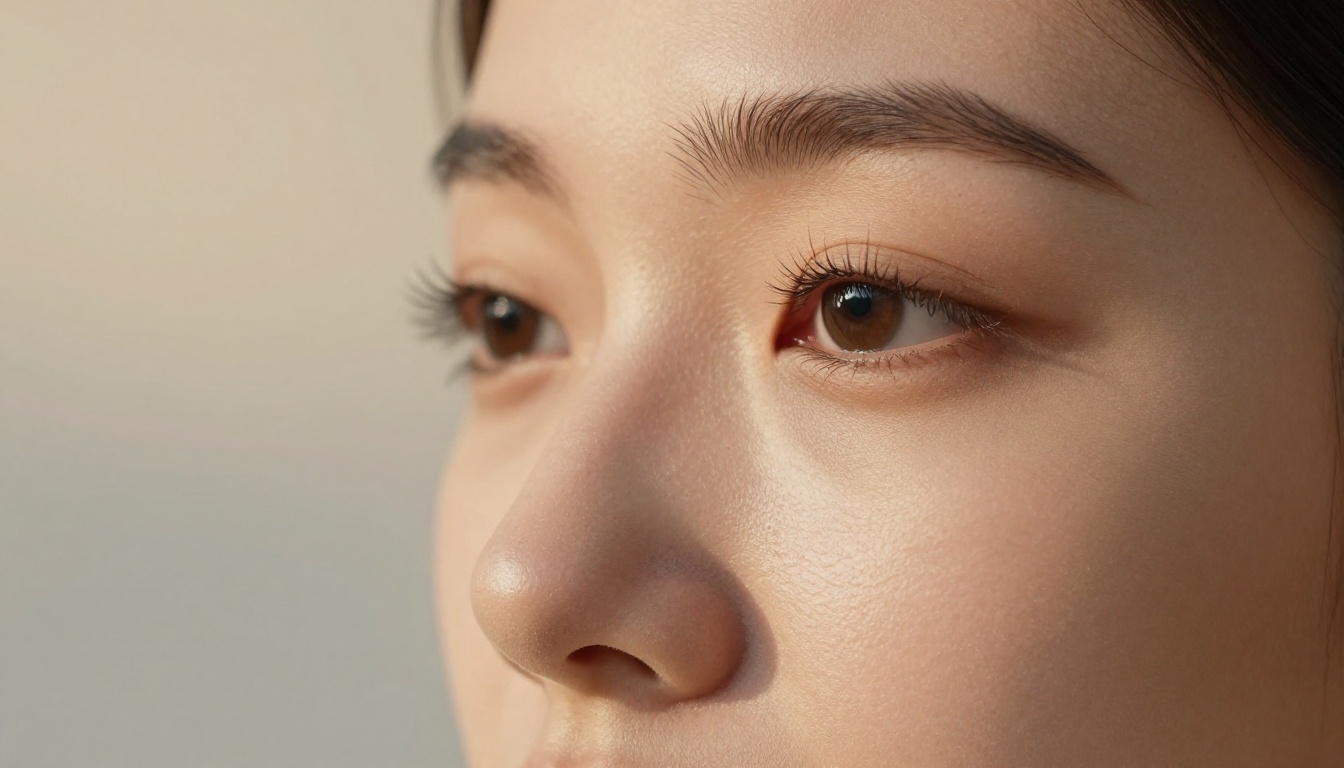
Nano Banana Pro was specifically designed with 4K output quality as a benchmark. The difference shows most in edge definition: hair against a bright background, fabric edges against a blurred bokeh, architectural lines against sky or open space. The base Nano Banana softens those transitions slightly, which can look acceptable as a small thumbnail but falls apart when displayed at full resolution or printed.
For product photography, fashion editorial work, architectural visualization, and any output intended for print or large-format display, Nano Banana Pro is not an optional upgrade. It is the appropriate baseline.
Color Accuracy and Lighting
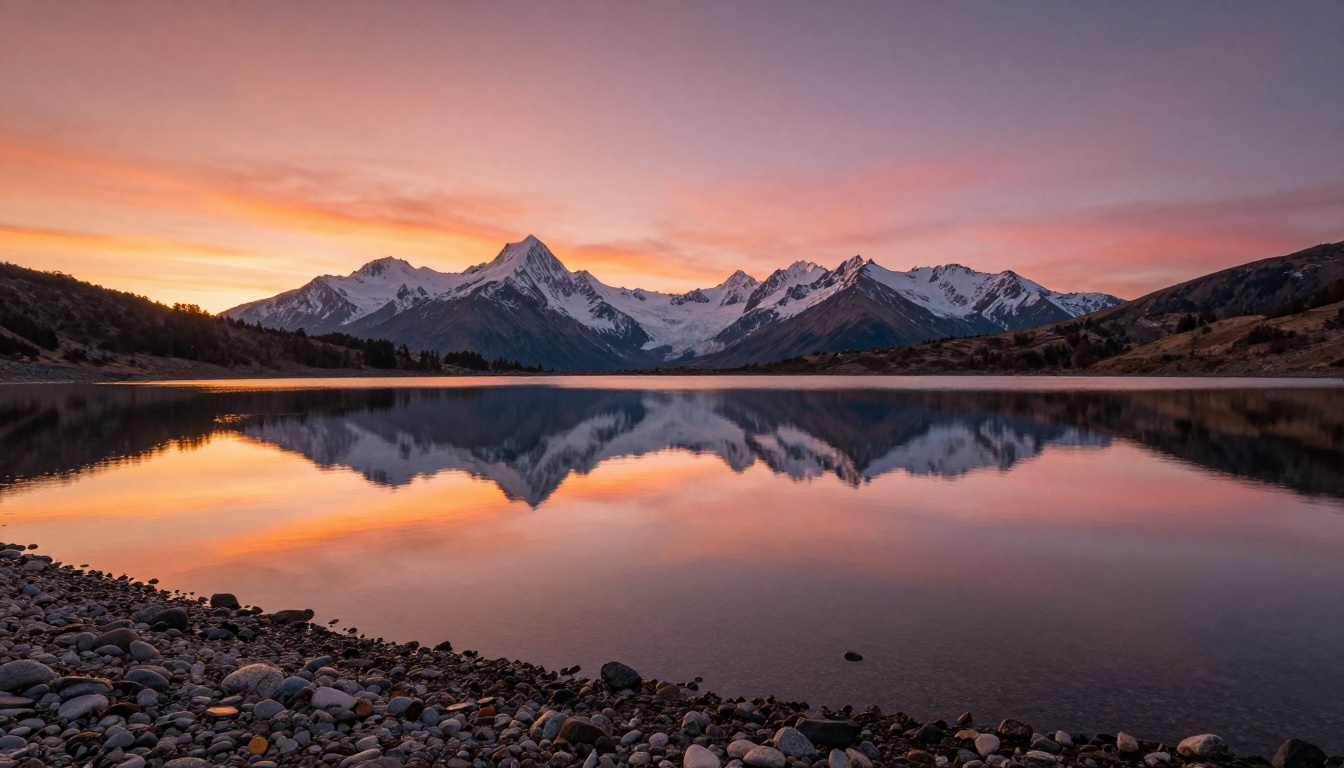
Both models handle straightforward color under normal conditions, but Nano Banana Pro renders complex lighting scenarios with considerably more physical accuracy. Generate a scene with mixed natural and artificial light sources, or a golden-hour portrait with strong directional shadows, and the Pro version produces results that are geometrically and tonally more correct.
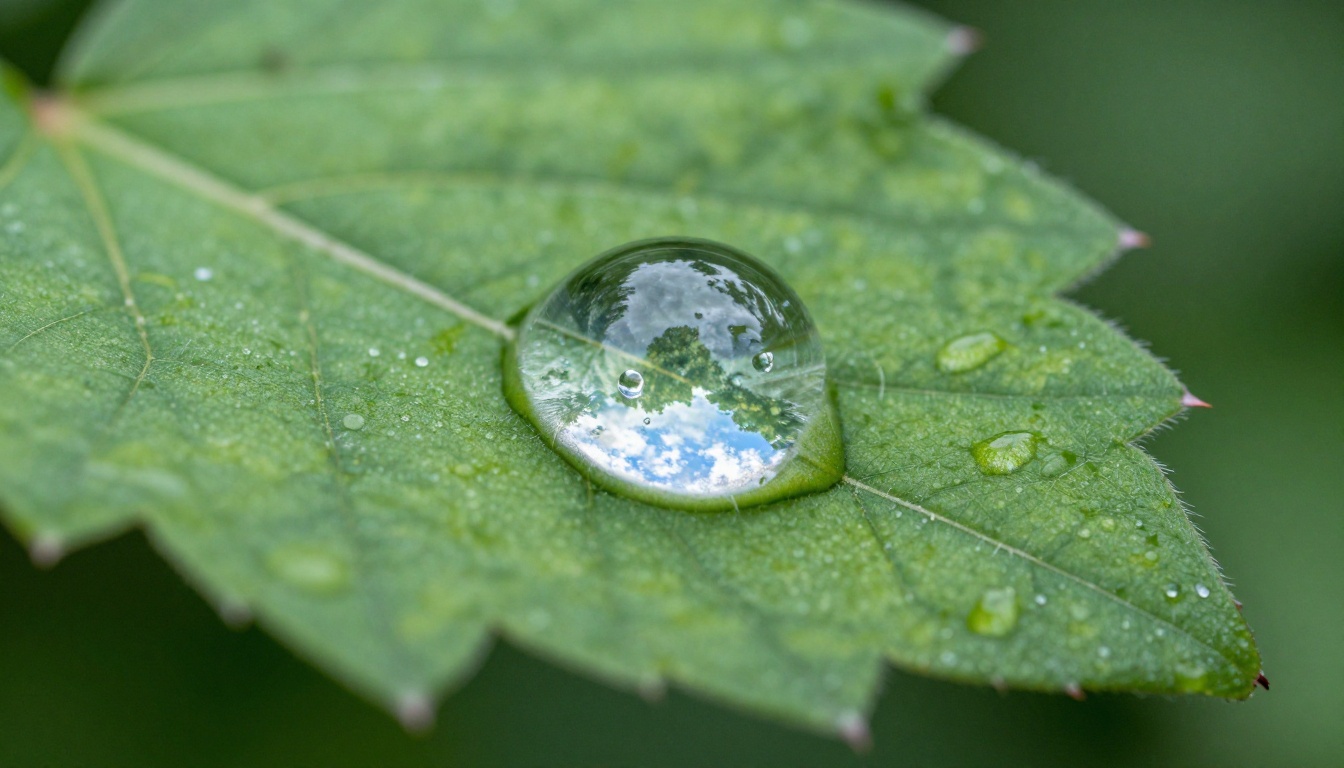
The base model tends to slightly overexpose highlights in challenging lighting conditions and reduces shadow depth in scenes with strong contrast. These are not catastrophic failures, but they appear consistently enough to matter when generating product shots, editorial portraits, or any scene where accurate light behavior affects the realism of the final output.
Prompt Accuracy: Simple vs. Complex
Both models interpret natural language prompts well in general. The meaningful separation happens when prompts introduce multiple layers of specificity.
Simple Single-Subject Prompts
For a prompt like "a woman standing in a park on a sunny day," both models produce solid results. Nano Banana renders it cleanly and quickly. Nano Banana Pro renders it with more texture, better skin fidelity, and sharper background detail, but the compositional and structural difference is minor at this level of prompt complexity.
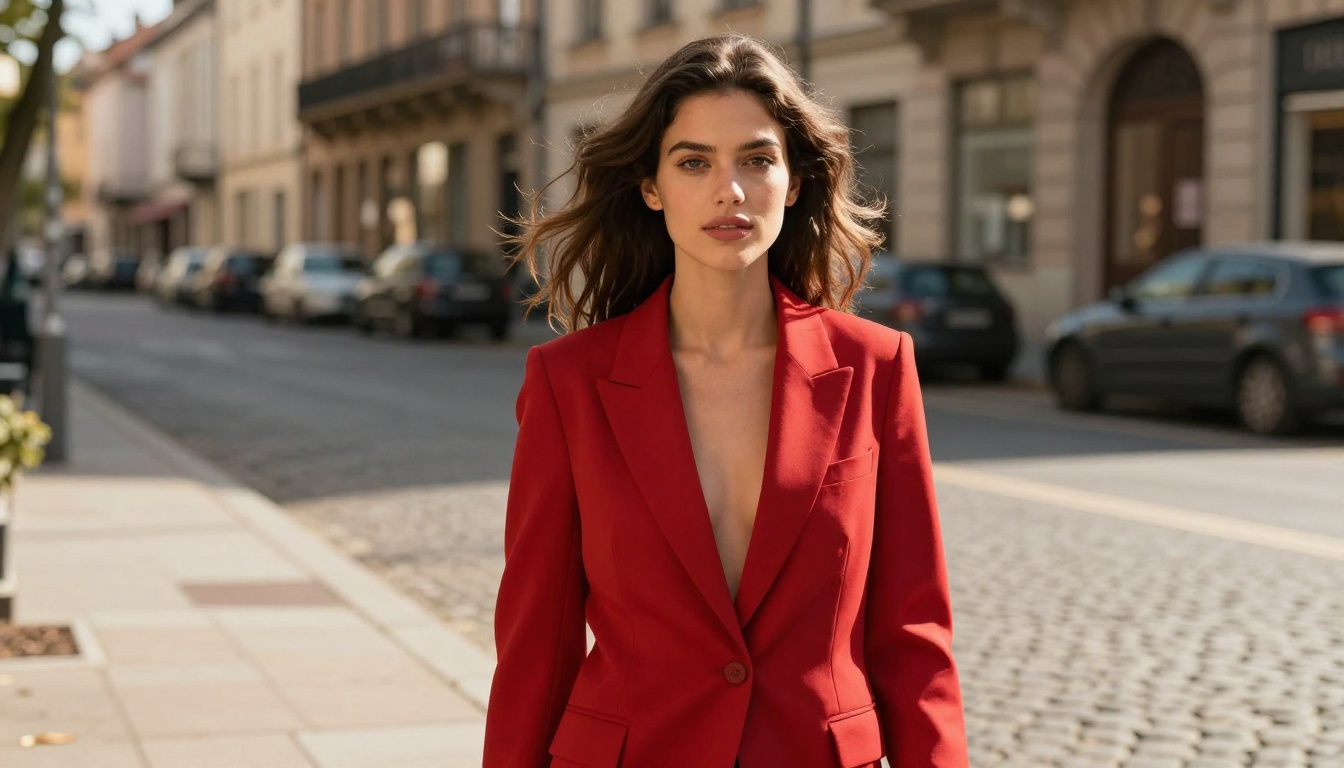
At this prompt complexity level, Nano Banana is genuinely competitive and the speed advantage is real and justifiable.
Complex Multi-Element Scenes
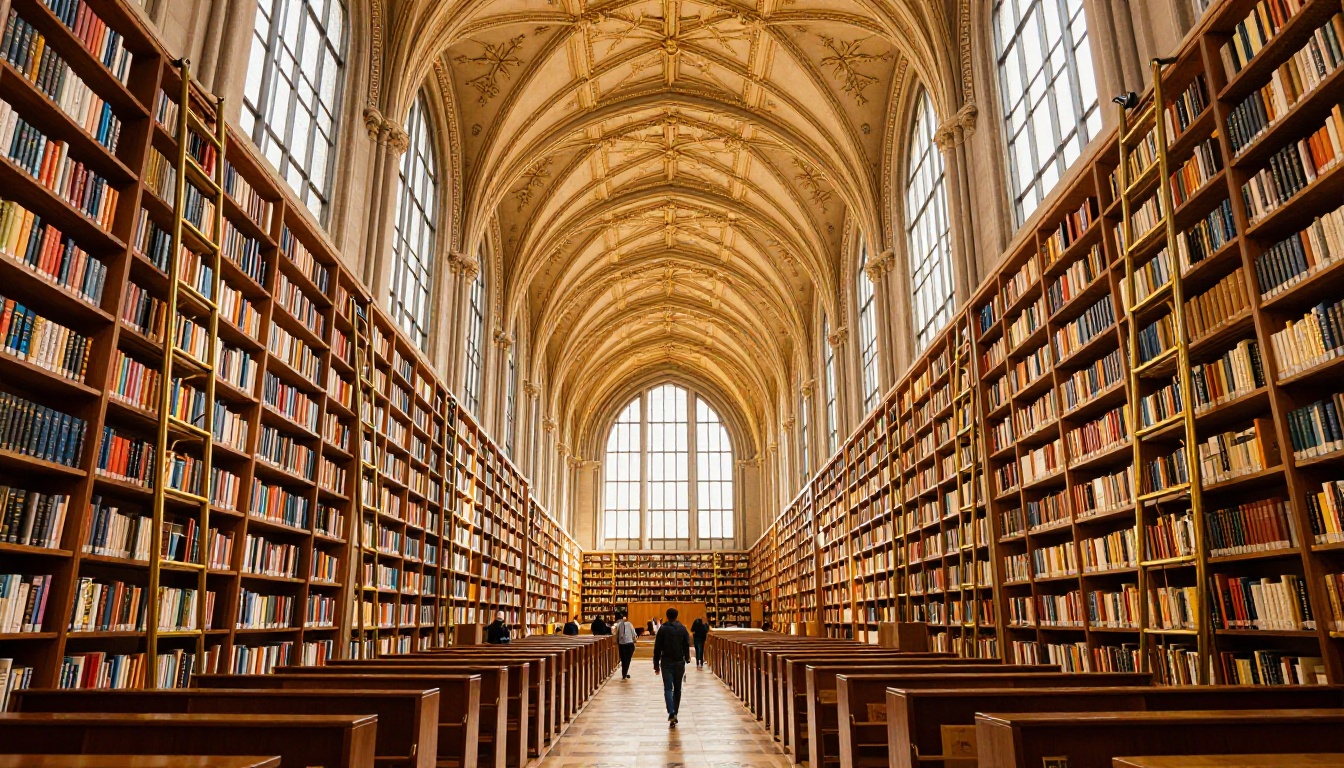
Now try something like: "a young woman in a tailored white blazer standing in a grand library with floor-to-ceiling shelves, morning light entering from the left, dust particles visible in the light rays, hardwood floor reflecting the ambient light, a secondary figure blurred at distance, ornate carved balcony above."
Nano Banana handles the primary subject with reasonable fidelity but struggles with background architecture, often simplifying structural elements or incorrectly rendering spatial relationships between foreground, midground, and background. The secondary figure and the ceiling detail frequently collapse into vague shapes.
Nano Banana Pro maintains prompt fidelity across every described element. Bookshelves show individual book spines with visible texture. Dust motes appear in the defined light rays. The floor reflection is geometrically accurate. The ornate balcony detail is preserved without simplification.
Practical rule: If your prompt contains more than three distinct spatial elements with specific interactions between them, use Nano Banana Pro. The base model will compress the complexity and lose details you specifically asked for.
Skin, Hair, and Fabric Rendering
For anyone generating portrait, fashion, lifestyle, or beauty content, this category alone often decides the model choice.
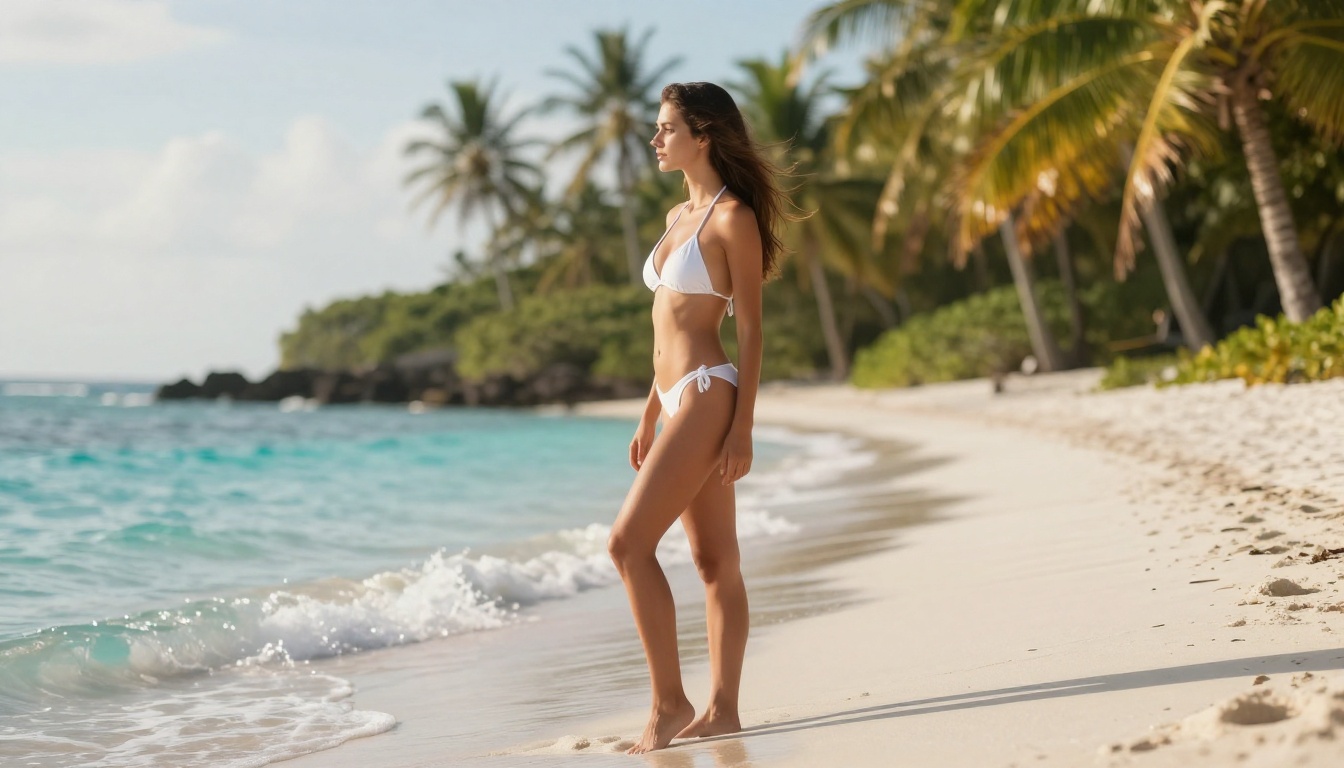
Nano Banana Pro renders individual skin pores at high zoom levels, separates individual hair strands even in complex styled hair, and captures fabric weave, stitch patterns, and material sheen with a level of accuracy that reads as real under close inspection. This is the category of detail that separates a professional-quality AI image from a polished but obviously synthetic one.
Nano Banana produces softer skin with a slight smoothing effect. Some people actually prefer this aesthetic for certain types of content, particularly social media posts where a soft, clean look is desirable and the viewing size makes fine detail irrelevant. But this softness is a byproduct of the model's lower resolution ceiling, not an intentional stylistic choice.
💡 Tip: If you want a soft, diffused skin aesthetic intentionally, you can achieve it with Nano Banana Pro by adding "soft beauty dish lighting, minimal shadows, smooth skin tones, editorial beauty photography" to your prompt. You get the exact aesthetic with the underlying 4K resolution fully intact.
How to Use Nano Banana Pro on PicassoIA
Nano Banana Pro is available directly on PicassoIA without any software installation or API setup. Here is how to get the best results from it.
Step 1: Open the model. Navigate to Nano Banana Pro and click Generate.
Step 2: Write a structured prompt. Lead with the main subject and their action or pose. Then describe the environment in specific terms. Then specify the lighting direction, quality, and color temperature. Add camera details last: lens focal length, aperture, and film stock. This ordering mirrors how the model weighs input priority.
Step 3: Set your aspect ratio. For editorial and widescreen content, 16:9 works well. For portrait-oriented output, vertical social posts, or mobile wallpapers, switch to 9:16. For square social content, use 1:1.
Step 4: Add texture descriptors. Nano Banana Pro responds particularly well to explicit texture requests. Add phrases like "visible skin pores," "natural fabric grain," "individual hair strands," "micro-shadows in creases" and the model will render those details at full resolution.
Step 5: Iterate efficiently. Even at Pro quality, generation is fast enough for practical iteration. Run three to four variations with incremental prompt adjustments and compare them before selecting your final version. The difference between minor prompt variations is often meaningful at this resolution level.
Where Each Model Wins
| Scenario | Nano Banana | Nano Banana Pro |
|---|
| Rapid concept testing | Winner | Slower iteration |
| Final-quality portraits | Softer detail | Winner |
| Complex multi-element scenes | Limited fidelity | Winner |
| Simple single-subject images | Competitive | Slight overkill |
| 4K resolution output | Not available | Winner |
| High-volume content production | Winner | Slower throughput |
| Fashion and editorial photography | Acceptable | Winner |
| Mixed light and shadow scenes | Overexposes | Winner |
| Fabric and material texture | Soft, smoothed | Winner |
| Speed-critical social drafts | Winner | Slower |
Which One Fits Your Workflow
If you produce content at volume where speed matters and the images display at small sizes, such as social media thumbnails, website icons, or concept mood boards, Nano Banana is the practical choice. It is reliable, consistent, and produces clean images that cover the majority of everyday use cases without burning through your credits unnecessarily.
If your output gets printed, displayed in full-screen hero sections, featured in advertising campaigns, or shown at any size where pixel-level quality is visible to the viewer, Nano Banana Pro is not a luxury upgrade. It is the correct tool for the job.
The most efficient workflow used by serious creators: run Nano Banana for the exploration and iteration phase, and Nano Banana Pro for the final approved outputs. This approach costs fewer credits on the exploration side while ensuring all final assets are production-quality.
Try It Yourself on PicassoIA
The most direct way to see the difference is to run the exact same prompt in both models and compare the outputs at 100% zoom. PicassoIA makes that possible with no software to install, no API keys to configure, and no local compute required.
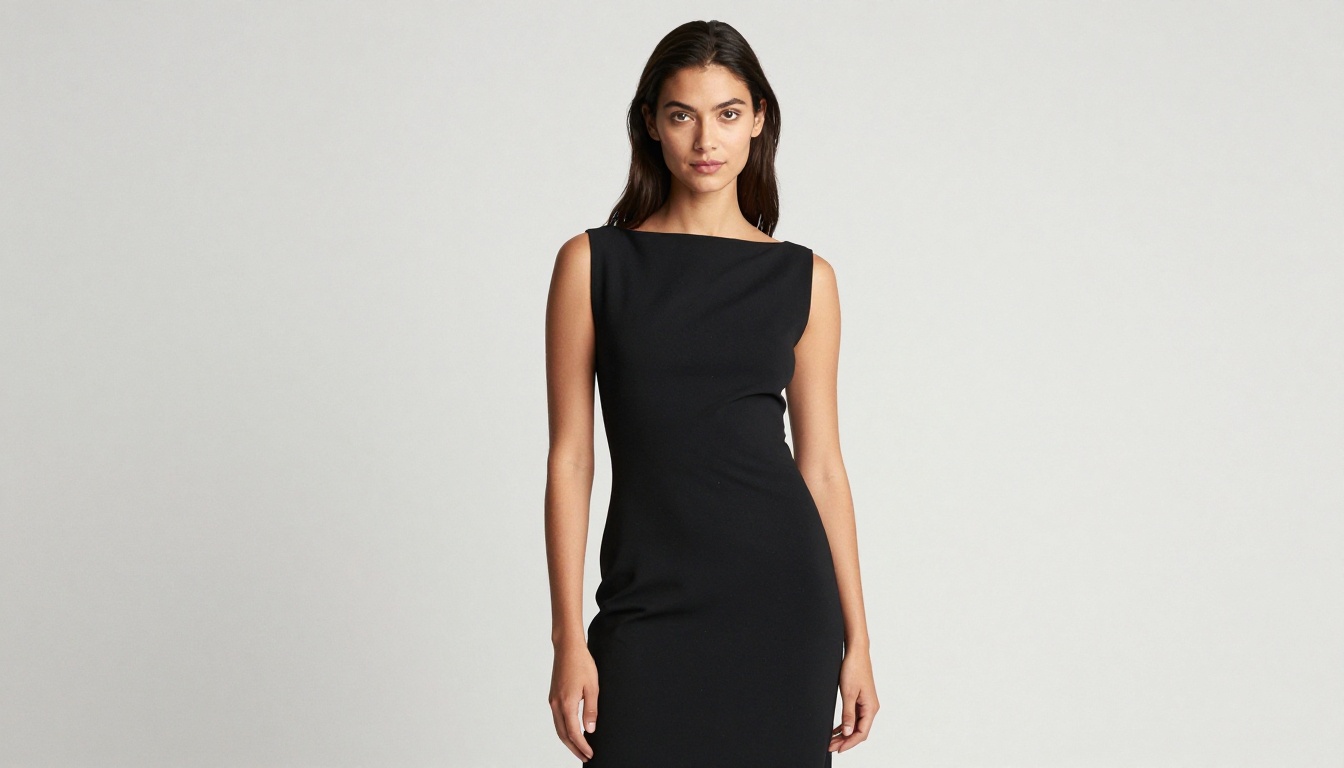
Start with Nano Banana Pro for your next portrait or complex scene. Write a structured prompt with a clear subject, a specific environment, and defined lighting. Then run the same prompt in Nano Banana and zoom into the results at full resolution.
The difference will be obvious. And once you have seen it, you will know exactly which model to reach for depending on what the project demands. PicassoIA also gives you access to Flux Dev, Flux Pro, Flux Kontext Fast, and dozens of other specialized text-to-image models if you want to compare outputs across different architectures and find the one that fits your visual style and quality requirements. The tools are there. The only step left is generating.


