Most AI image tools give you a pretty picture that falls apart the moment you zoom in or send it to a printer. Recraft V4 Pro was built to fix exactly that. It renders at roughly 2048px natively, follows long prompts closely, and returns images that hold up on a poster, a packaging mockup or a full-width website banner. This article covers where you can try it for free, how to set it up, the prompt structure that gives the most consistent results, and six example scenes you can adapt today.
💡 Quick answer: Open the model page on PicassoIA, paste a detailed prompt, choose an aspect ratio, and generate. Keep the default 2048px output unless a specific print or display size forces another choice.
What Recraft V4 Pro Does Best
Recraft is a design-focused image model family. The V4 generation arrived in early 2026, and the Pro tier is the high-resolution raster version: it targets around 2048px per image and takes a little longer to render than the standard model, roughly half a minute on Recraft's own API according to its documentation. The extra time buys sharper texture, more believable anatomy in busy scenes, and cleaner edges around small objects.
Resolution Without Upscaling
The biggest practical advantage is that you skip the upscaling step. Most generators output about 1MP and expect you to run a separate enlargement pass, which often smears fine detail. Here, a 2048x2048 square or a 3072x1536 banner comes out of the model already at working size. For a 2:1 hero banner or an A3 print, that saves a full step in your workflow.
If you still need more pixels for a billboard or a trade show wall, a super resolution model can take the result further, but for most screens and desk printers the native output is enough.
Who Benefits Most
The model suits people who hand files to someone else: designers sending art to a printer, marketers building campaign visuals, shop owners producing product scenes, and illustrators selling prints. It also works well for photographers building mood boards, because long prompts with lens and lighting details are respected rather than shortened.
| Use case | Why it fits | Suggested ratio |
|---|
| Poster and wall art | 2048px native detail | 2:3 or 3:4 |
| Website hero banner | Wide ratios without cropping | 2:1 or 16:9 |
| Product mockup scenes | Clean textures on small objects | 1:1 or 4:5 |
| Social ads | Flexible vertical presets | 9:16 or 4:5 |
| Editorial illustration | Strong composition control | 3:2 |
Free Access: What to Expect
People searching for free access usually want one of two things: a way to test the model before paying, or a way to use it without a subscription. Here is the honest picture.
Where to Try It
Recraft V4 Pro is available directly on PicassoIA, in the browser, with no installation and no local GPU. You open the model page, type a prompt and press generate. Nothing runs on your computer, so a laptop is enough.
On Recraft's own API the Pro model is priced at about 25 cents per image, which adds up quickly if you iterate twenty times on one idea. That is the main reason people look for a free route in the first place.
What "Free" Really Means
Free generations on any platform depend on your account, the credits available to it and the current promotions. Check the credit balance shown when you sign in to PicassoIA rather than relying on a number you read in an article, because those figures change. A practical way to stretch whatever allowance you have:
- Draft your idea first with a faster, cheaper model, then switch to the Pro model for the final render.
- Write the prompt completely before pressing generate, so each attempt is a real test and not a guess.
- Change one variable at a time (lighting, lens, ratio) so you know what caused each difference.
💡 Tip: Treat the first generation as a diagnostic. If the composition is right but the mood is off, adjust only the lighting sentence of your prompt.
How to Use Recraft V4 Pro on PicassoIA
The interface is simple, and there are only three inputs. That is an advantage: fewer knobs means the prompt does nearly all of the work.
Step by Step
- Open the model page. Go to Recraft V4 Pro on PicassoIA and sign in.
- Write your prompt. The field accepts up to 10,000 characters, so there is no need to compress a detailed scene. Aim for 60 to 150 words for the first test.
- Choose an aspect ratio. Pick from the presets, including 1:1, 4:3, 3:4, 3:2, 2:3, 16:9, 9:16, 2:1, 1:2, 4:5 and 5:4.
- Or set an exact size. If you need a specific pixel dimension, leave the ratio on "Not set" and choose one of the 14 size options.
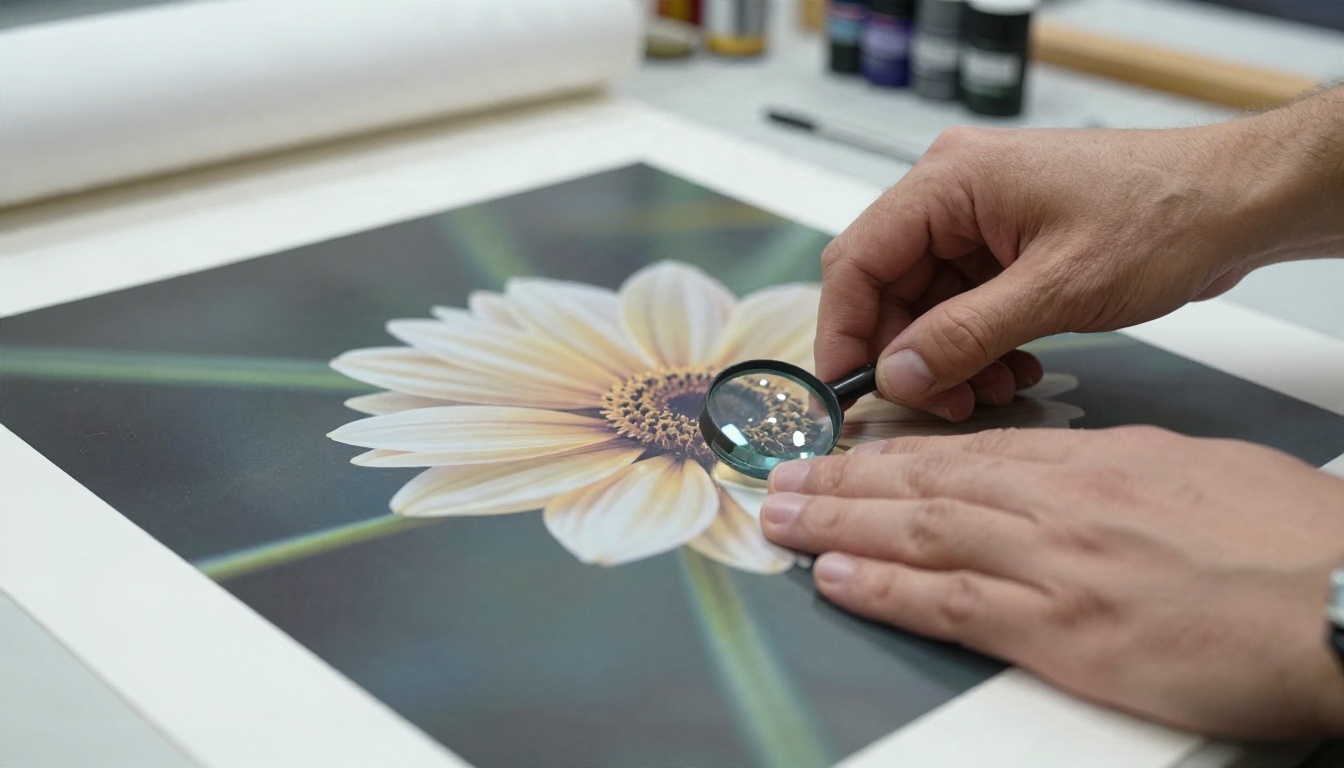
- Generate and review. Check edges, hands, small objects and background texture at 100% zoom.
- Refine one thing. Change a single sentence and run it again.
Settings Worth Changing
| Setting | Options | When to change it |
|---|
| Prompt | Up to 10,000 characters | Always: this is where quality comes from |
| Aspect ratio | 1:1, 4:3, 3:4, 3:2, 2:3, 16:9, 9:16, 1:2, 2:1, 4:5, 5:4 and more | When the layout is known in advance |
| Size | 2048x2048, 3072x1536, 1536x3072, 2560x1664, 1664x2560, 2432x1792, 1792x2432 and others | When a printer or display needs exact pixels |
One detail trips people up: size is ignored when an aspect ratio is set. If you pick 3072x1536 but also leave a ratio selected, the ratio wins. Set the ratio to "Not set" whenever you want the pixel preset to apply.
Resolution stays near 2048px on the long side regardless of ratio, so a 9:16 vertical is not lower quality than a square. It simply redistributes the same pixel budget.
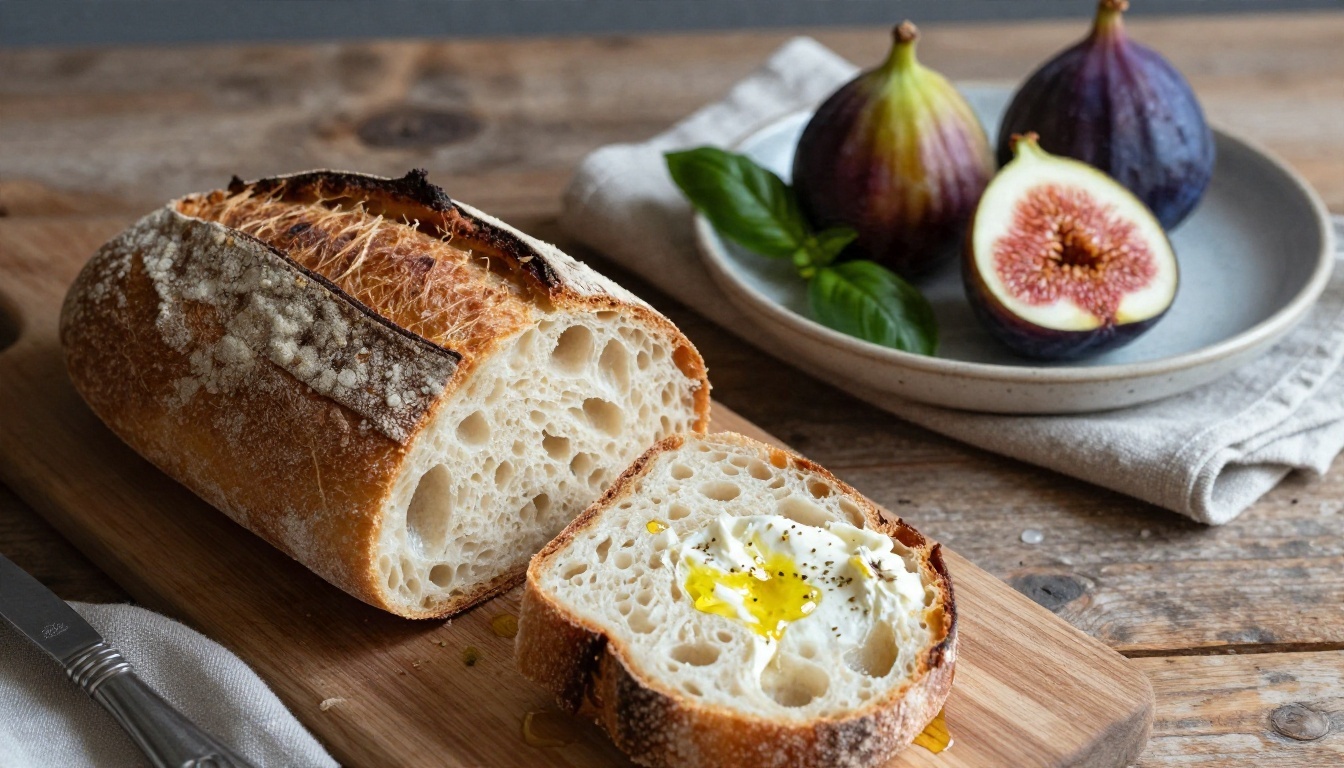
Short prompts like "a woman in a cafe" force the model to guess everything. Long prompts that follow a fixed order let you control the result. The formula below works well on this model because it reads long text faithfully.
The Five Parts
- Subject and action: who or what, doing what, in what pose.
- Environment: location, background objects, time of day.
- Light: direction, quality and color (soft overcast light from the right, hard window light from the left).
- Camera: lens length, aperture, angle and distance.
- Texture and mood: skin, fabric, stone, glass, film grain, atmosphere.
Put the subject first. Models weigh early words more heavily, so the main object should never be buried at the end of a long paragraph.
Photographic Words That Help
You do not need to be a photographer, but a few terms steer the output reliably:
- Lens and aperture: "85mm f/1.8" gives portrait compression and soft backgrounds; "24mm f/5.6" gives wide, sharp interiors.
- Light direction: "from the left", "backlit", "overhead" produce clearer shadows than "good lighting".
- Surface detail: "visible wood grain", "fabric weave", "water droplets on glass" push fine texture.
- Film look: "Kodak Portra 400 grain" adds a natural, slightly warm tone.
- Negative guidance in plain words: write what you want ("natural color, no text") rather than listing banned items.
💡 Tip: Keep a notes file of prompts that worked. Reusing the lighting and camera sentences across projects gives your images a consistent look.
Prompt Examples With Results
The scenes below show the style of result these prompts target: photographic, detailed and ready for large formats. Copy the structure, then swap in your own subject.
Portrait With Natural Skin
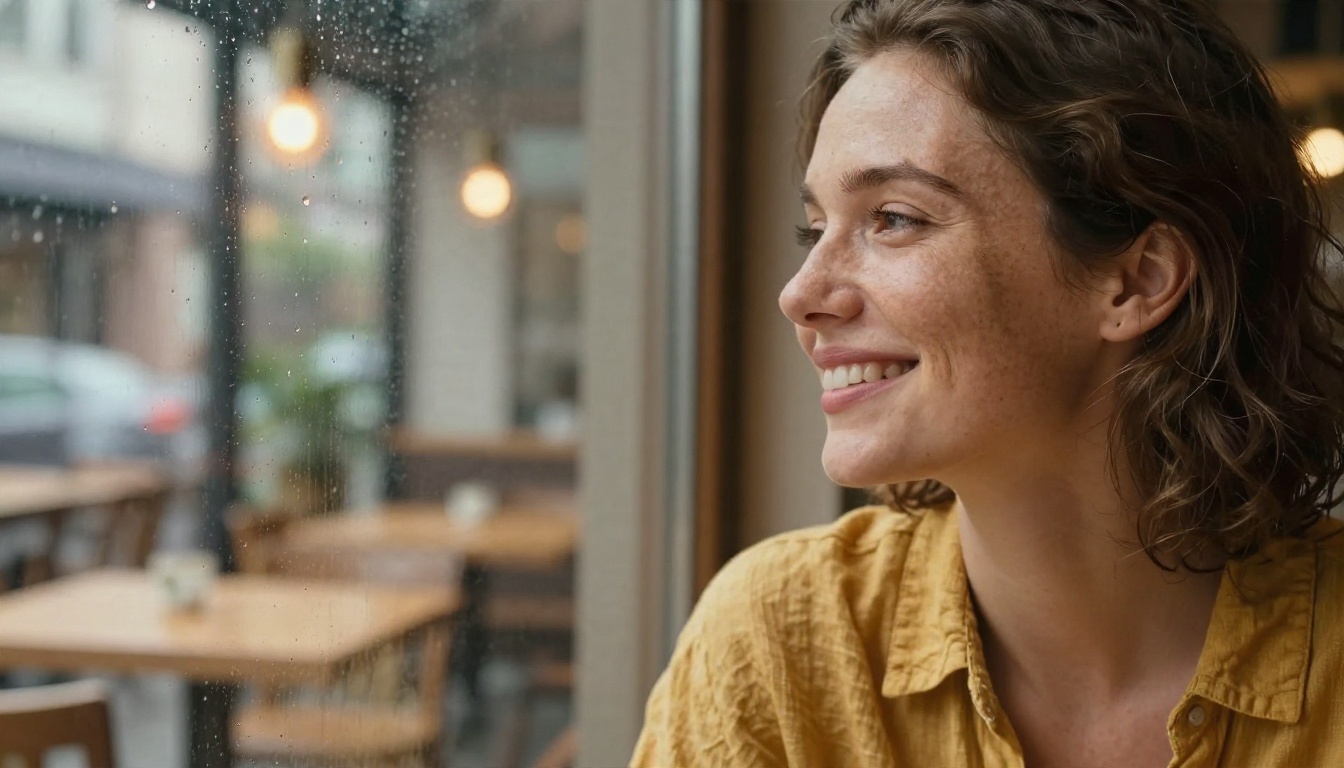
Prompt: Close-up of a woman in her thirties with freckles and natural skin texture, wearing a mustard linen shirt, laughing softly while looking out a cafe window, rain droplets on the glass, soft diffused overcast daylight from the right, warm cafe interior blurred behind her, 85mm f/1.8 shallow depth of field, fine pores and flyaway hair strands visible, Kodak Portra 400 film grain.
Settings: 3:2 ratio. Portraits benefit from naming skin details explicitly, otherwise faces can drift toward a smooth, airbrushed look.
Product on Stone
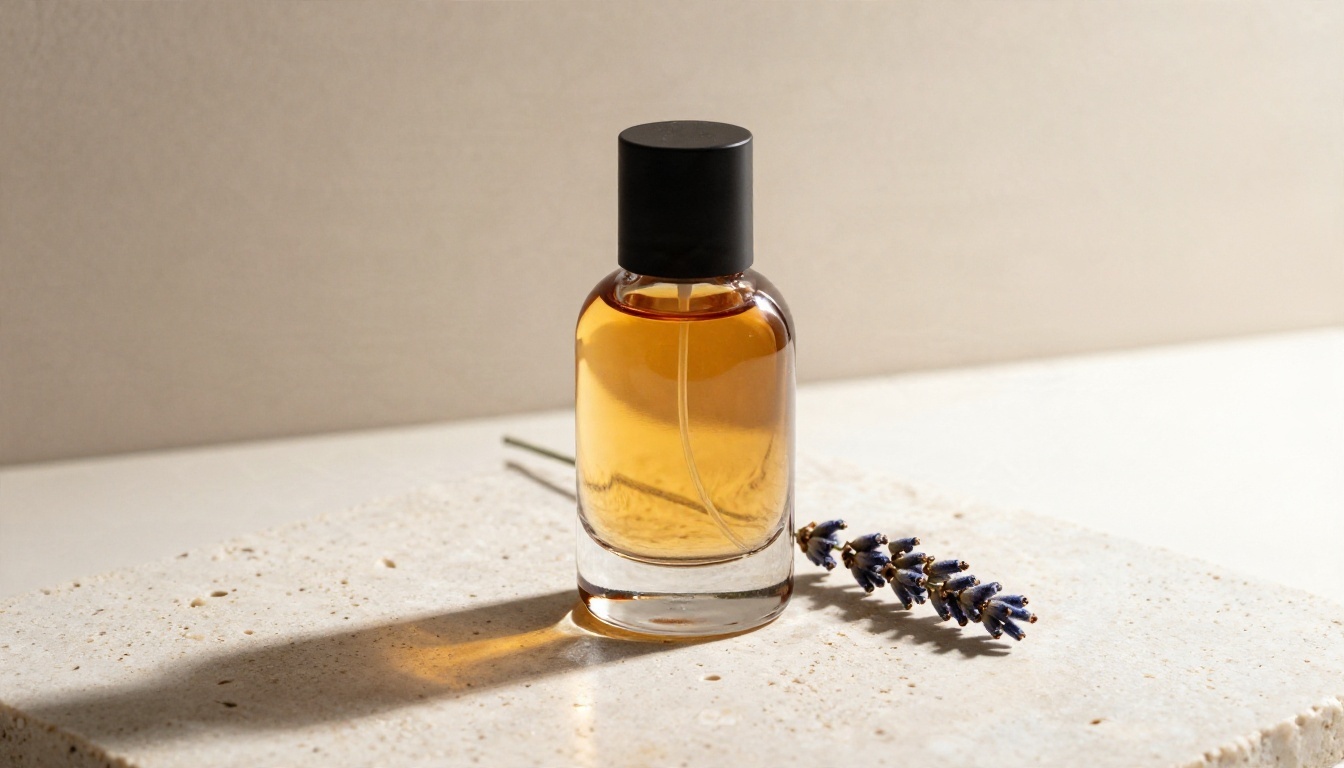
Prompt: Low-angle product photograph of a minimalist amber glass perfume bottle with a matte black cap standing on a slab of pale travertine stone, a sprig of dried lavender beside it, hard window light from the left creating a crisp long shadow and a bright highlight along the glass, soft cream plaster wall background, 100mm macro lens f/2.8, visible stone pores.
Settings: 4:5 or 1:1 for store listings. Specify "no label" or "no text" if you plan to add your own branding later in a design tool.
Interior From Above
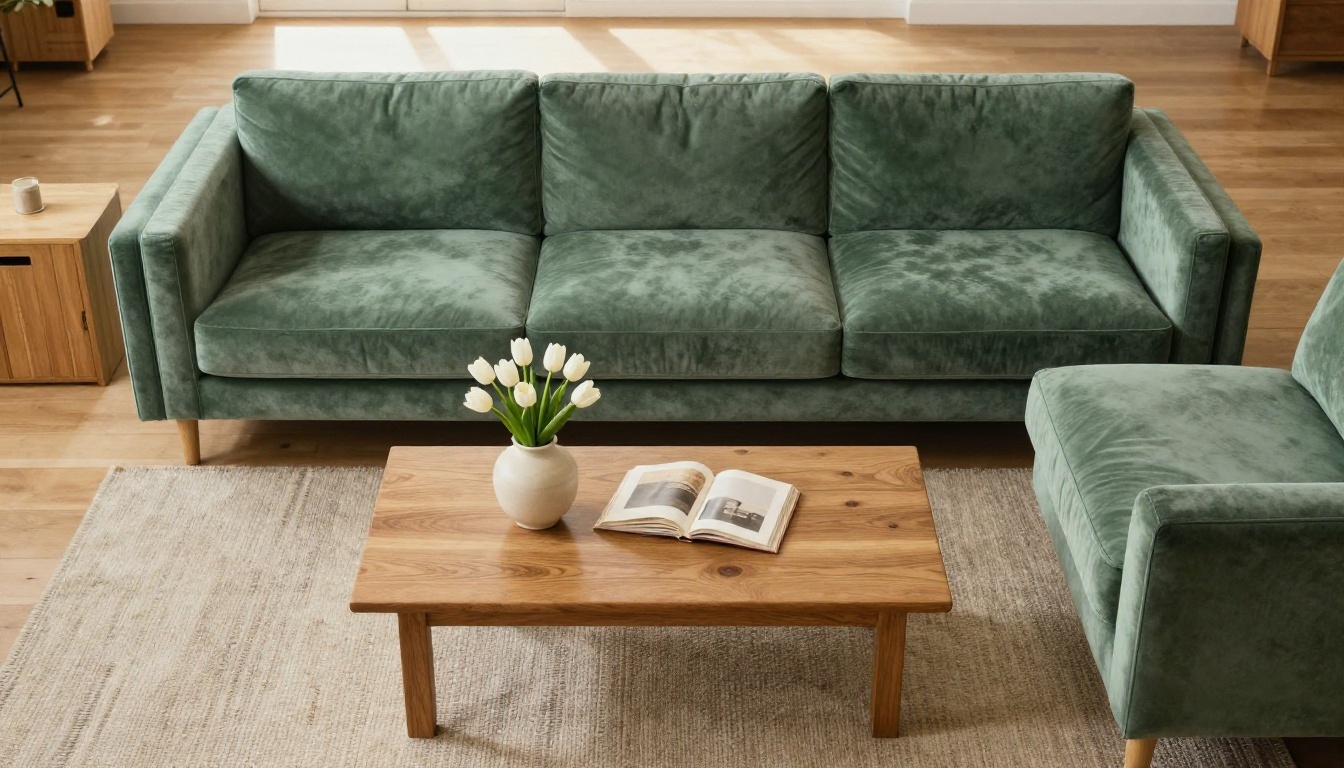
Prompt: Aerial top-down photograph of a Scandinavian living room with a sage green velvet sofa, oak coffee table with an open art book and a ceramic vase of white tulips, wool rug with subtle texture, warm afternoon sunlight from a window at the top of frame throwing a rectangular light patch across the floor, 24mm lens f/5.6.
Settings: 16:9 for a presentation slide or 3:2 for a magazine spread. Interiors are where the high resolution pays off: fabric weave and wood grain stay readable when printed.
Misty Alpine Landscape
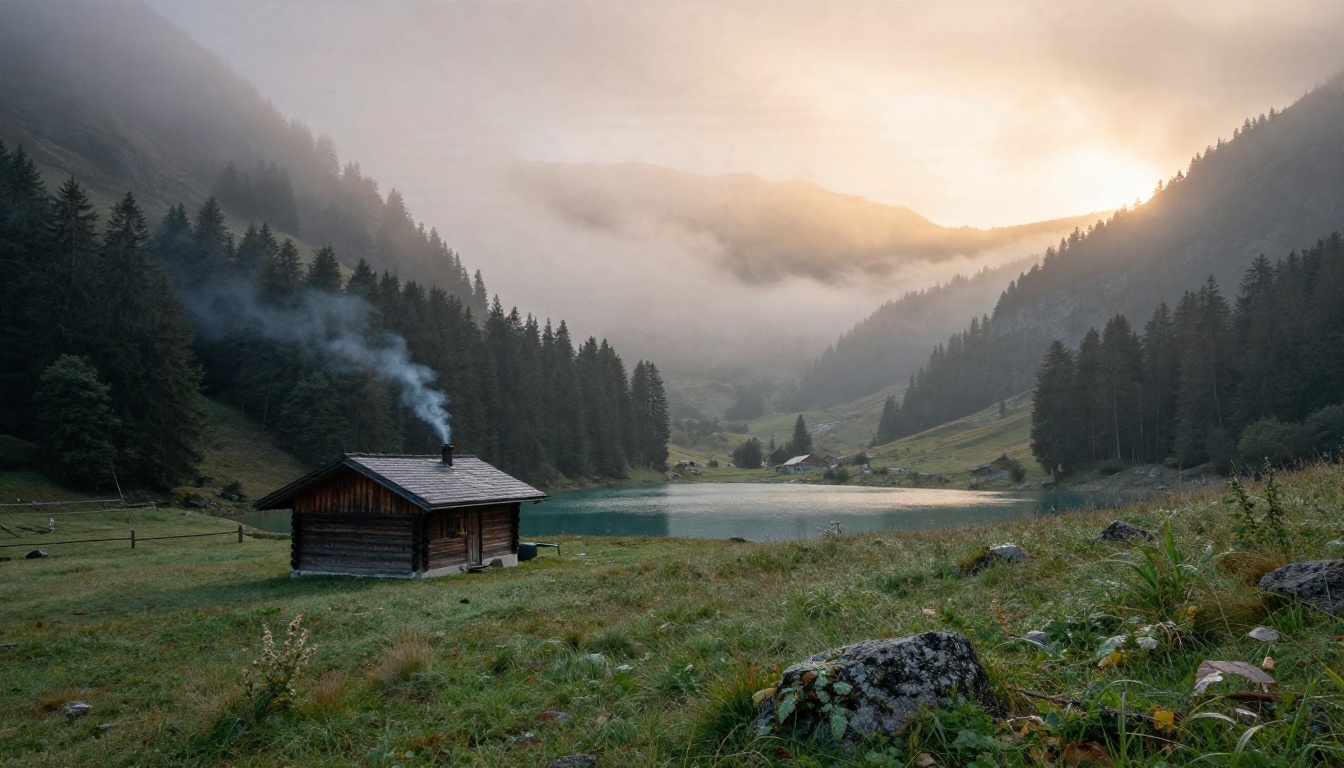
Prompt: Wide landscape photograph of a misty alpine valley at sunrise, a lone wooden cabin with a thin chimney smoke trail beside a turquoise lake, pine forest slopes fading into layered fog, warm golden light breaking from behind a distant ridge on the right, 16mm wide-angle lens f/8, crisp rock texture and dew-covered grass in the foreground.
Settings: the 3072x1536 size preset (2:1) makes a striking website banner with no cropping.
Rainy Street at Blue Hour
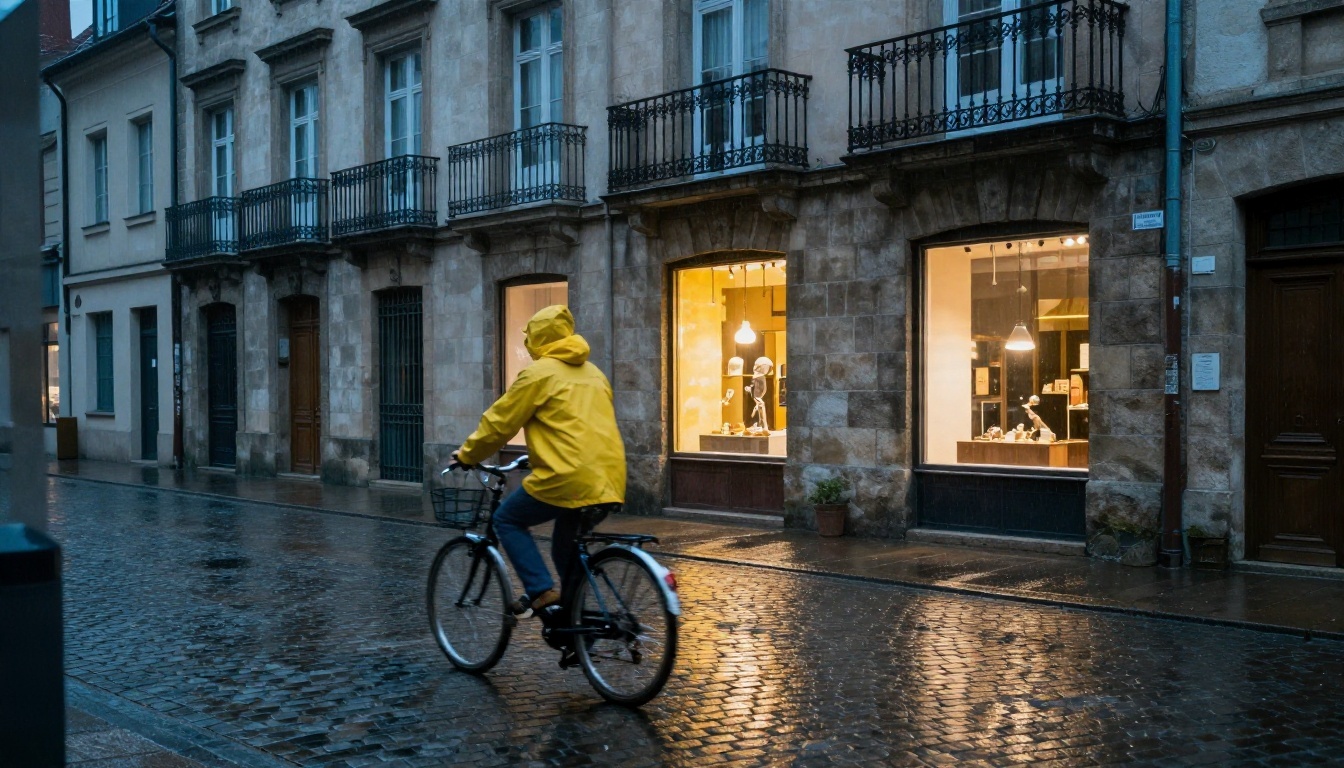
Prompt: Street-level photograph of a rainy evening in a European old town, a cyclist with a yellow raincoat crossing a cobblestone square, wet stone reflecting warm shop windows, stone facades with wrought iron balconies, soft blue-hour ambient light with warm window glow, 50mm lens f/2.2, slight motion blur on the bicycle wheels.
Settings: 16:9. Mixing a cool ambient light with warm window light gives the scene depth. Name both sources.
Lifestyle Scene at Golden Hour
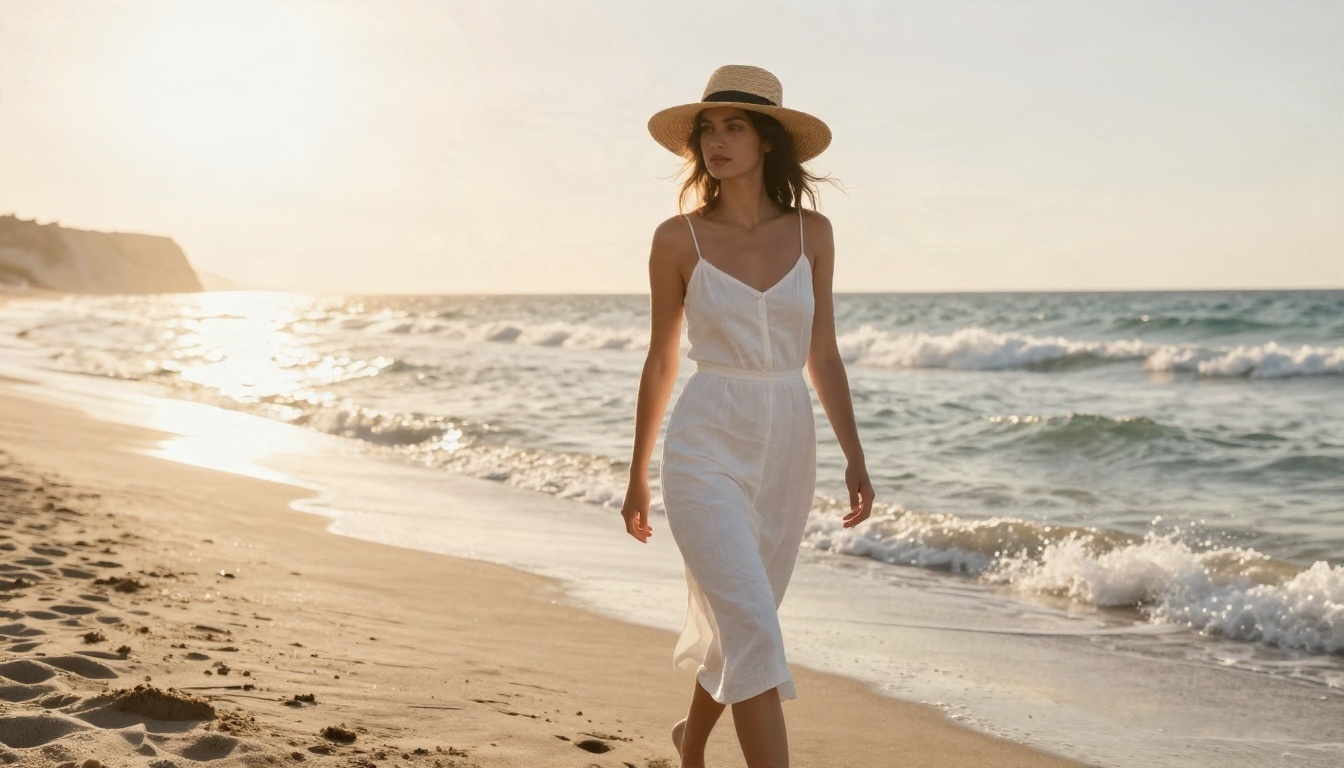
Prompt: Eye-level photograph of a young woman in a fitted white linen dress and straw hat walking along a sunlit Mediterranean beach at golden hour, gentle waves around her ankles, sea breeze moving her hair, backlight from the low sun on the left creating a warm rim light, 85mm lens f/2, compressed background of pale cliffs, sand grains and foam in sharp detail.
Settings: 3:2 or 2:3. Backlight and a named focal length are the two phrases that make lifestyle scenes look like real campaign photography.
Mistakes That Waste Credits
Most disappointing results come from the same handful of habits.
- Vague lighting. "Nice lighting" gives you flat, generic output. Name a direction and a quality.
- Too many subjects. Three people, a dog and a car in one frame spreads detail thin. Start with one main subject and add background elements gradually.
- Fighting the ratio setting. Choosing a size preset while a ratio is still selected means the preset is silently ignored.
- Ignoring the layout. If you will place a headline over the image, ask for "empty negative space on the left third" in the prompt rather than editing it in later.
- Asking for readable text. Photographic scenes work best without lettering. Add copy afterwards in a design tool.
- Changing everything at once. If a second attempt is worse, you will not know why. Adjust one sentence per run.
- Skipping the zoom check. Always inspect the render at 100%. Hands, jewelry and small text-like patterns are where flaws hide.
💡 Tip: Write a "constraints" sentence at the end of every prompt: natural color, realistic textures, no text, no logos. It keeps results clean across styles.
Models to Pair With It
No single model is best at everything, and a short list of companions makes the workflow smoother.
The Newer V4.1 Pro
Recraft followed V4 Pro with a V4.1 revision in May 2026, and PicassoIA lists it as Recraft V4.1 Pro. If you like the behavior of V4 Pro, run the same prompt on both and compare. Differences are most visible in fine texture and in how closely long prompts are followed.
Vector and Other Options
A sensible pipeline: sketch concepts with a fast model, finalize the winning prompt on the Pro model, and generate the logo or icon version with the SVG variant so it scales to any size without pixelation.
Make Your Own Images Today
You now have the full routine: a prompt in five parts, a ratio chosen before you generate, one change per run and a zoom check at the end. The fastest way to improve is to run your own subject through it.
Open Recraft V4 Pro on PicassoIA, paste one of the example prompts above, and replace the subject with your own: a product you sell, a room you are designing, a place you want on your wall. Then try a second version with a different light direction and compare the two side by side. If you want to see what else is available, browse every image model at picassoia.com/en/all-models and build your own set of favorites.


