That photo from your grandmother's 70th birthday? The one where her face is barely recognizable because the original was shot on a cheap 2-megapixel camera, or worse, scanned from a crumbling print? That's not a lost cause anymore.
AI upscaling has completely changed what's possible with photo restoration. Where traditional software could only guess and blur, modern neural networks actually reconstruct missing information, pulling detail from thin air based on patterns learned from millions of real photographs. The results are genuinely startling.
This article breaks down exactly how the process works, which tools produce the best results for specific types of grain and damage, and how to run the whole workflow yourself without any technical background.
Why Photos Go Grainy in the First Place
Not all grain is the same. Understanding what you're dealing with changes which tool you should pick.
High ISO Noise vs. Sensor Limits
When a camera shoots in low light, it cranks up the ISO setting to gather more signal from the sensor. The problem is that boosting ISO amplifies not just the light signal but also the random electrical noise inherent in every sensor. The result is what photographers call luminance noise (gray speckles) and chroma noise (random colored pixels, often red and green).
Older cameras had smaller sensors with less light-gathering capacity, so almost anything shot indoors before 2010 carries some degree of noise. Smartphone photos from the early iPhone era are particularly notorious for this.
Age, Scanning, and Compression Damage
Film photographs degrade over decades. Silver halide crystals in the emulsion break down, causing color shifts and increased apparent grain. Improper storage (humidity, heat, direct sunlight) accelerates this dramatically.
Scanning adds another layer of artifacts. A flatbed scanner at 300 DPI introduces its own limitations. If you then saved the scan as a JPEG and compressed it further, you've stacked JPEG block artifacts on top of film grain on top of scanner noise.
Digital photos from the early 2000s have a different problem: tiny sensors, aggressive JPEG compression, and resolutions that seemed fine on a 15-inch CRT monitor but look absolutely tiny on a modern 4K display.
💡 Know your grain type before choosing a tool. ISO noise in a recent digital photo responds differently to AI processing than aged film grain from a 1960s print.
What AI Upscaling Actually Does
The difference between old-school upscaling and AI upscaling is not a matter of degree. It's a completely different category of operation.
How Neural Networks Reconstruct Detail
Traditional upscaling takes existing pixels and mathematically interpolates between them. Bicubic interpolation, for example, blends neighboring pixel values to create new ones. The result is always a blurred approximation because no new information exists.
AI upscaling, specifically models trained on super-resolution tasks, work differently. They analyze the degraded image and compare it against patterns learned from millions of high-resolution photographs. When the model sees a region of pixels that looks like a human eye buried under noise, it doesn't just smooth it out. It synthesizes what that eye most likely looked like based on real anatomy, skin texture, iris structure, and lighting physics.
This is why results from models like Real ESRGAN can look almost impossibly sharp. They're not "revealing" hidden detail. They're making an extremely well-informed prediction about what detail belonged there.
Why 4x Upscaling Is So Much Harder
Not all upscaling factors are equal. A 2x upscale from a 1000-pixel-wide image produces a 2000-pixel result. That's manageable for most models. A 4x upscale is where you start to see real differentiation between tools.
Cheap upscalers at 4x produce visible hallucinations: skin that looks plastic, hair that clumps unnaturally, backgrounds that sharpen into incorrect patterns. High-quality models like Clarity Pro Upscaler and Image Upscale by Topaz Labs (which goes up to 6x) have been specifically trained to avoid these artifacts at high magnifications.
The Best Models for Each Problem
Choosing the right model matters more than most people realize. Here's how to match the tool to the specific problem.
Old Family Portraits and Film Scans
Old photographs carry two problems simultaneously: low resolution and film grain. The grain is part of the original image, so aggressive denoising can strip the photo of its authentic character. What you want is a model that reduces destructive noise while preserving organic film texture.
Clarity Pro Upscaler handles this balance extremely well. It was built specifically for photorealistic output, and its face-sharpening capabilities are particularly strong. For portraits where the face is the subject, this is usually the first model to try.
Crystal Upscaler from the same developer focuses specifically on portrait upscaling at 4x, making it the best choice when you have a close-up face requiring maximum detail recovery.
Low-Light and ISO-Heavy Digital Photos
Digital ISO noise has a particular texture: random colored pixels scattered across the frame. Real ESRGAN was trained on a dataset that included realistic noise degradation patterns, making it unusually effective at handling this specific grain type. It has been a community standard for years.
P Image Upscale by Prunaai is worth noting for speed: it produces sharp upscales in approximately one second, making it practical when processing batches of photos rather than spending minutes per image.
Maximum Resolution at Any Cost
If resolution is the only objective, Image Upscale by Topaz Labs reaches 6x magnification. This is the tool for turning a 500-pixel scan into a print-quality file.
Increase Resolution by BRIA and Google Upscaler both offer consistent 4x results, with Google's model showing particular strength on landscapes and architectural photos where sharp geometric edges matter.
How to Restore Grainy Photos on PicassoIA
The actual process takes less than two minutes once you know the steps.
Pick the Right Model First
Don't use the same model for everything. Look at your photo before choosing.
Upload and Set Your Scale
Once on the model page, the upload process is straightforward. Drag your image into the input area. Most models accept JPEG, PNG, and WebP formats without any resizing required beforehand.
For upscaling factor, start at 2x if you're unsure. It's tempting to jump straight to 4x, but a 2x upscale on a moderately good original often looks cleaner than a 4x upscale on a heavily degraded one. You can always run the 2x output through a second pass.
💡 Two-pass upscaling (2x then 2x again) often produces fewer artifacts than a single 4x pass. The model has more context to work with at each stage.
Review at 100% Zoom
Download the result and zoom in to 100% before declaring success. Check these three areas:
- Hair and fine edges: These are where most upscalers introduce artifacts first.
- Skin texture: Should look organic, not plastic or over-smoothed.
- Background areas: Uniform backgrounds sometimes develop strange repeating patterns in lower-quality models.
If the result isn't right, try a different model. Recraft Creative Upscale adds detail in a more interpretive way that sometimes recovers texture purely technical models miss.
Before vs. After: What Good Restoration Looks Like
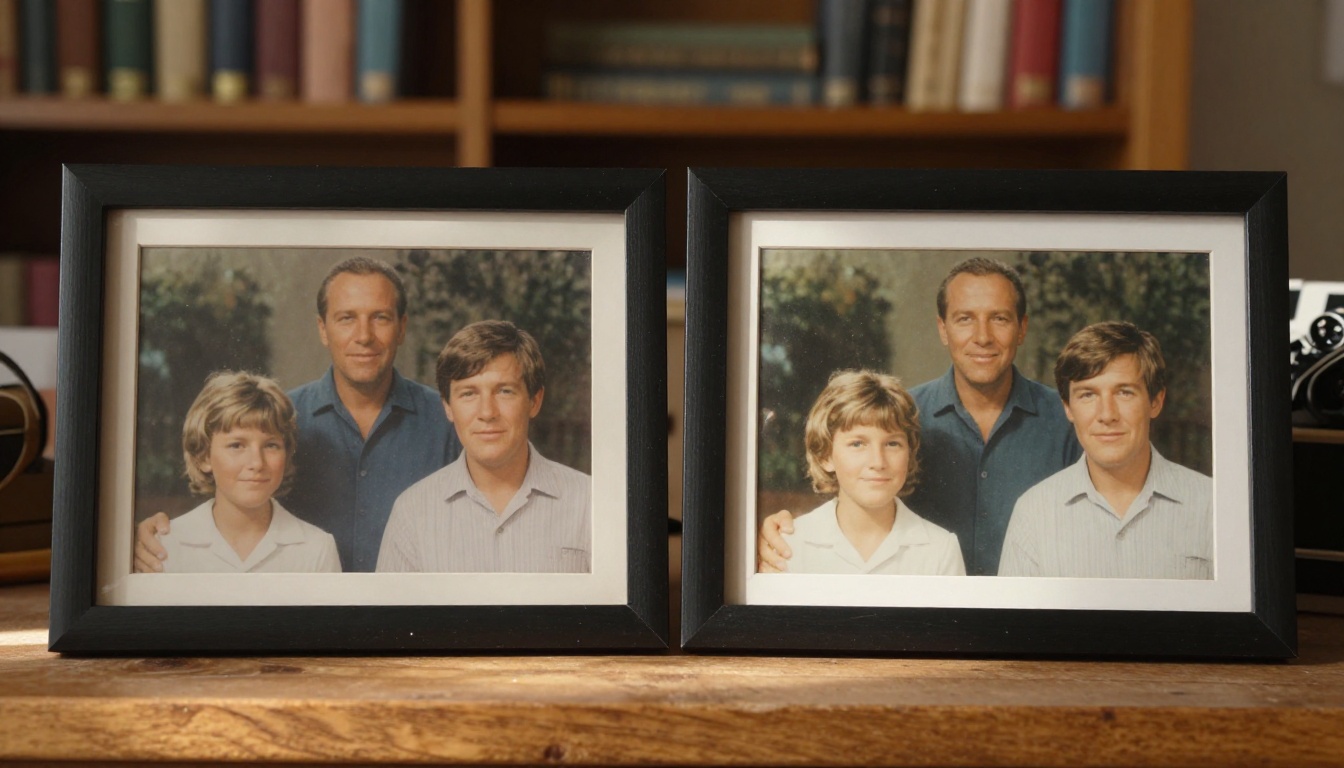
The most common mistake when evaluating results is comparing the upscaled image to the original at 100% zoom. The right comparison is looking at the upscaled version at the same apparent magnification you used when the original looked acceptable on a smaller screen.
What Changes in a Good Restoration
When a high-quality AI upscaler works correctly, specific things change:
- Individual strands of hair become distinguishable where before there was a blurry mass
- Pores and skin texture appear naturally without looking artificially sharp
- Text and small details (a sign in the background, a pin on a lapel) become legible
- Eye catchlights become visible and round rather than smeared
- Fabric textures (a tweed jacket, a lace collar) show their actual weave structure
None of this is fabricated misleadingly. The AI fills in statistically likely detail based on what real photographs of these subjects look like. The result is a more faithful representation of the original scene than the degraded version ever was.
When Results Fall Short
AI upscaling has real limits. Heavily over-compressed JPEGs with block artifacts respond poorly because the model works with fundamentally corrupted information. If a photo has been compressed to the point where original tonal relationships are destroyed, no upscaler can fully undo that.
Motion blur is a separate problem from grain entirely. Upscaling a motion-blurred photo makes it bigger but still blurry. For that problem, a deblurring tool is the right solution, not a super-resolution model.
💡 JPEG block artifacts (the tile-like squares in heavily compressed images) can be partially reduced by running the photo through a dedicated artifact removal model before upscaling.

Super-resolution is rarely the only tool needed for a seriously damaged photo. It works best as part of a sequence.
Inpainting for Physical Damage
Upscaling improves resolution but can't fix a tear through a photograph or a water stain obscuring part of an image. For physical damage, AI inpainting fills damaged regions based on surrounding context, synthesizing plausible content to replace missing areas.
The correct sequence: upscale first, then inpaint. A higher-resolution image gives the inpainting model more context to work from, producing more convincing repairs.
Background Removal After Restoration
Once you have a sharp, high-resolution restored portrait, isolating the subject for a new background becomes straightforward. PicassoIA's background removal capability works far more accurately on high-resolution source images because the model can see the precise boundary between subject and background.
This opens up options that simply weren't possible with the original grainy file: compositing a restored portrait onto a clean neutral background, printing it as a gift, or placing it alongside more recent family photos in a digital album.
Face Sharpening as a Separate Step
Some restoration workflows benefit from a dedicated face sharpening pass in addition to general upscaling. While models like Clarity Pro Upscaler and Crystal Upscaler include face-specific processing, combining a general upscale with a targeted face restoration pass can produce results neither tool achieves individually.
This layered approach, running multiple specialized tools in sequence, is how professional photo restorers work. Every tool in the chain is available directly through PicassoIA.
Practical Scenarios: Which Workflow Fits
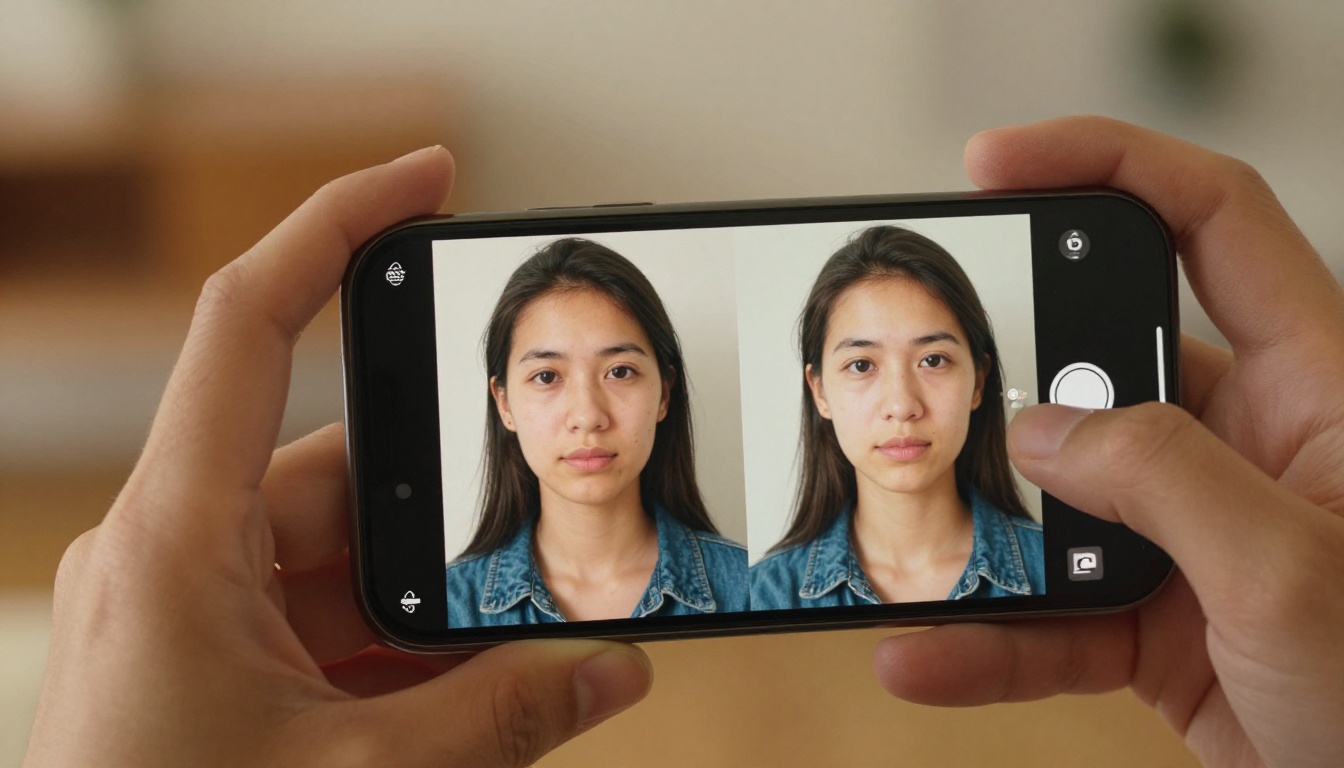
Different starting materials call for different approaches. Here are four common scenarios with the right workflow for each.
Scenario 1: Smartphone photo, shot in low light, taken in 2015
This is digital noise from a small sensor. Start with Real ESRGAN at 2x. If the noise is particularly dense, run Clarity Pro Upscaler at 2x first, then run the result through P Image Upscale for the second pass.
Scenario 2: Scanned print from the 1970s, faces important
This is film grain combined with scanning artifacts. Use Clarity Pro Upscaler at 4x for the face-specific processing. If the result feels slightly over-processed, Recraft Crisp Upscale preserves a more natural texture.
Scenario 3: Group photo thumbnail, people need to be identifiable
Maximum resolution is the priority. Image Upscale by Topaz Labs at 6x. This is the highest magnification available and the model consistently maintains facial integrity at extreme scales.
Scenario 4: Old photo with a tear and missing corner
Upscale first with the appropriate model based on the photo type, then use inpainting to repair the physical damage on the higher-resolution file.
3 Mistakes That Ruin Results
Before you start, these are the errors that waste the most time.
- Using 4x on a heavily compressed JPEG. The block artifacts get upscaled alongside the image. Run artifact removal first, then upscale.
- Judging results at a zoomed-out view. Always check at 100% zoom on the final resolution before deciding.
- Using the same model for every photo type. Film grain, digital noise, JPEG compression, and blur each respond to different tools.
💡 Save your original file before processing. Always work on a copy, never the source file.
Start Restoring Your Photos Right Now
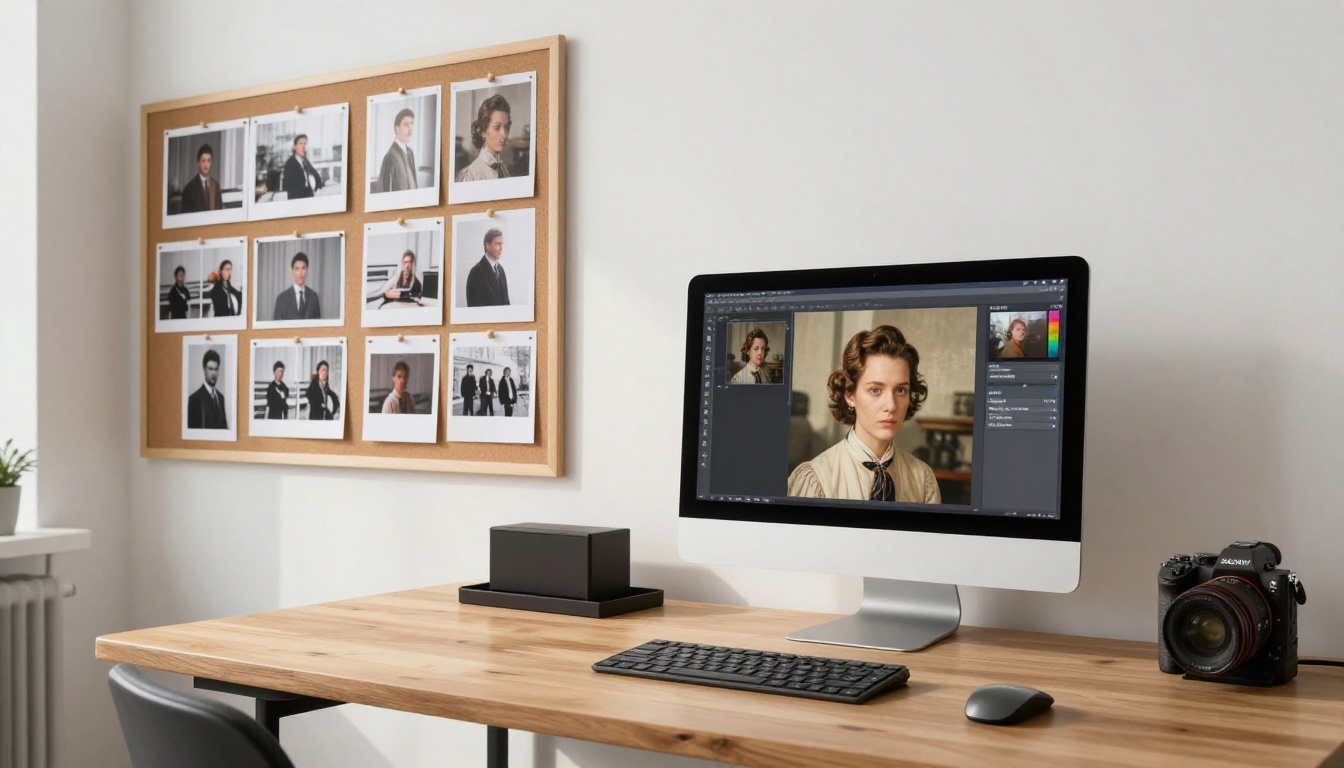
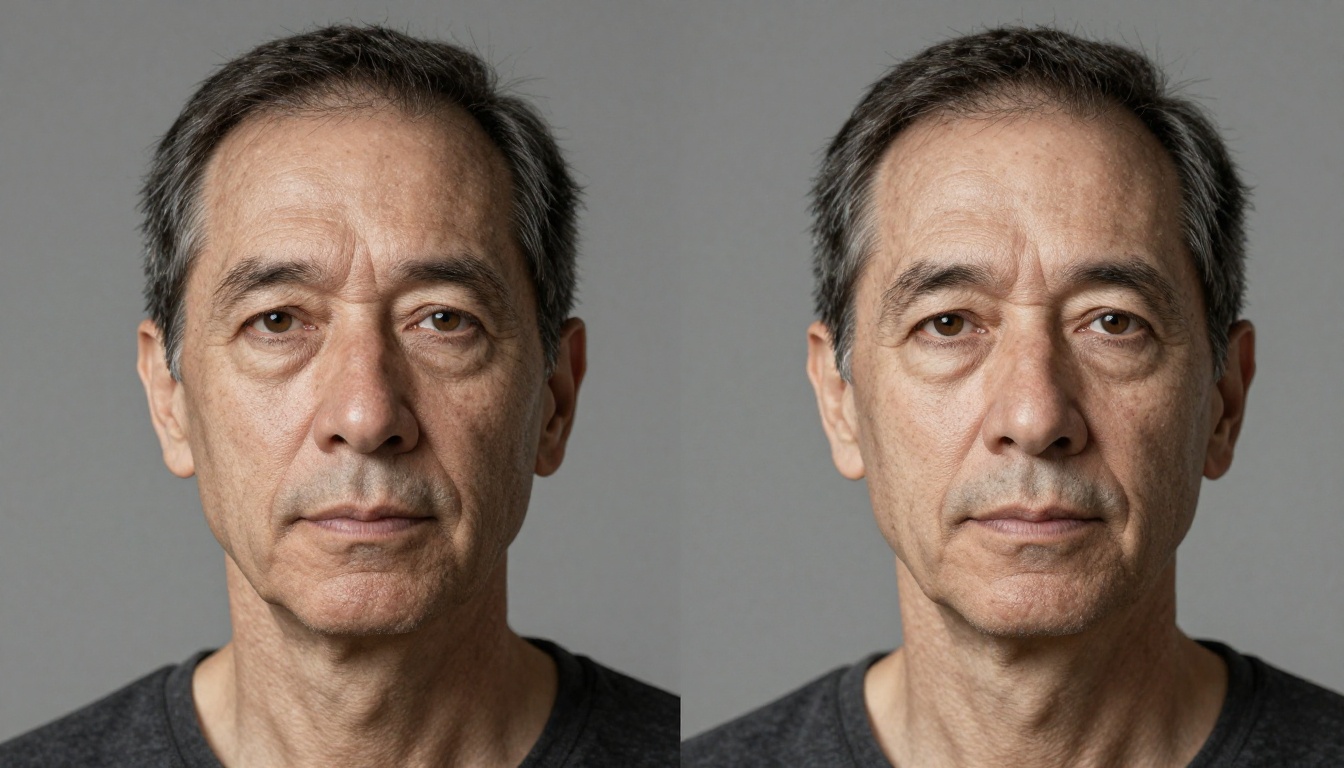
Every grainy, blurry, or faded photo in your collection is a candidate for AI restoration. The technology is accessible, the results are immediate, and the process requires no technical knowledge.
PicassoIA's super-resolution collection handles every scenario:
Pick the photo that bothers you most. Upload it. Try two or three models and compare the results side by side. The difference between what you start with and what you can achieve is, in most cases, remarkable.
The tools are there. The only step left is using them.


