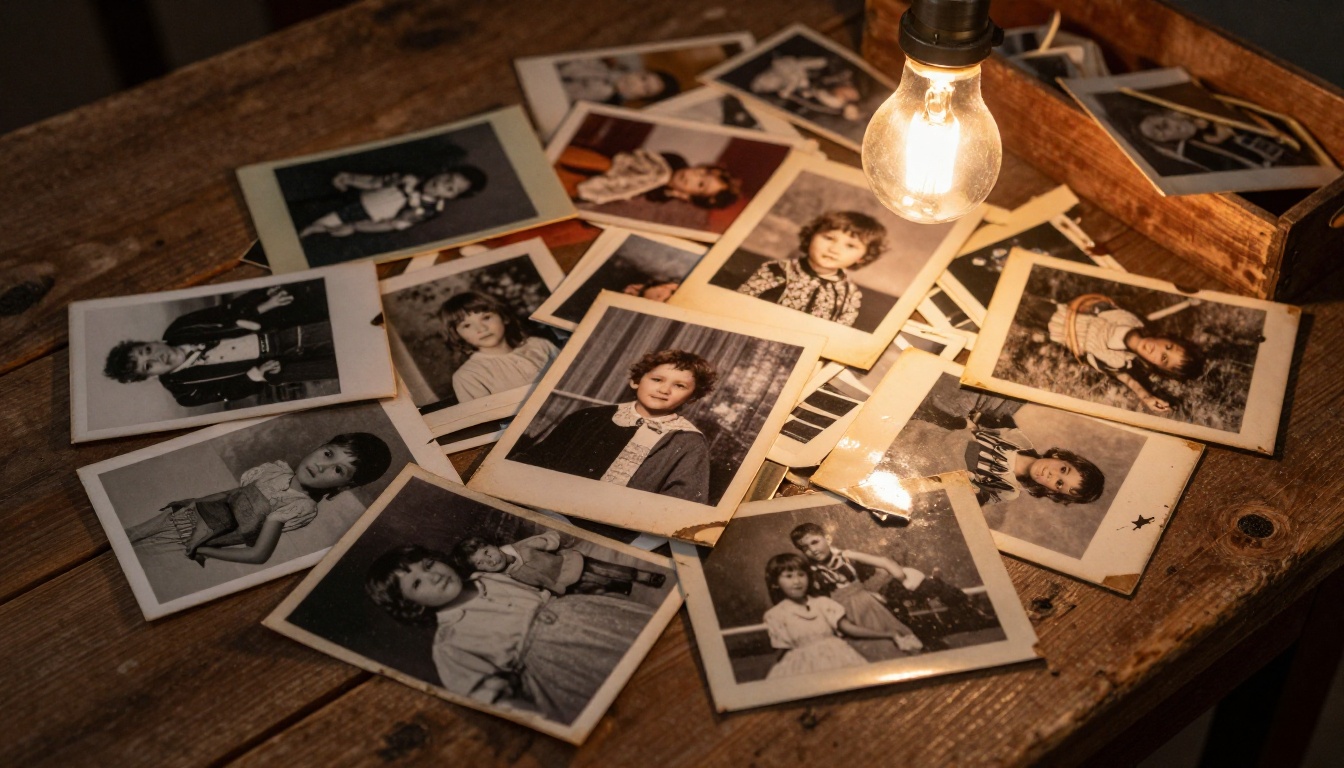
The photographs sitting in shoeboxes in your attic are disappearing. Not all at once, but slowly, year by year, the silver emulsion fades, the paper yellows, and the faces of people you love become harder to make out. If you have ever held one of those deteriorating prints and wondered whether anything could be done, the answer today is a definitive yes, and the results will genuinely surprise you.
AI-powered photo restoration has moved far beyond simple filters. Modern machine learning models trained on millions of images can detect scratches, reconstruct missing detail, add photorealistic color to black and white prints, and upscale a blurry wallet-sized portrait to a crisp, frameable image. This article walks you through exactly how the process works, which types of damage AI handles best, and how to get the sharpest, most accurate results from your restored family photographs.
Why Old Photos Fall Apart
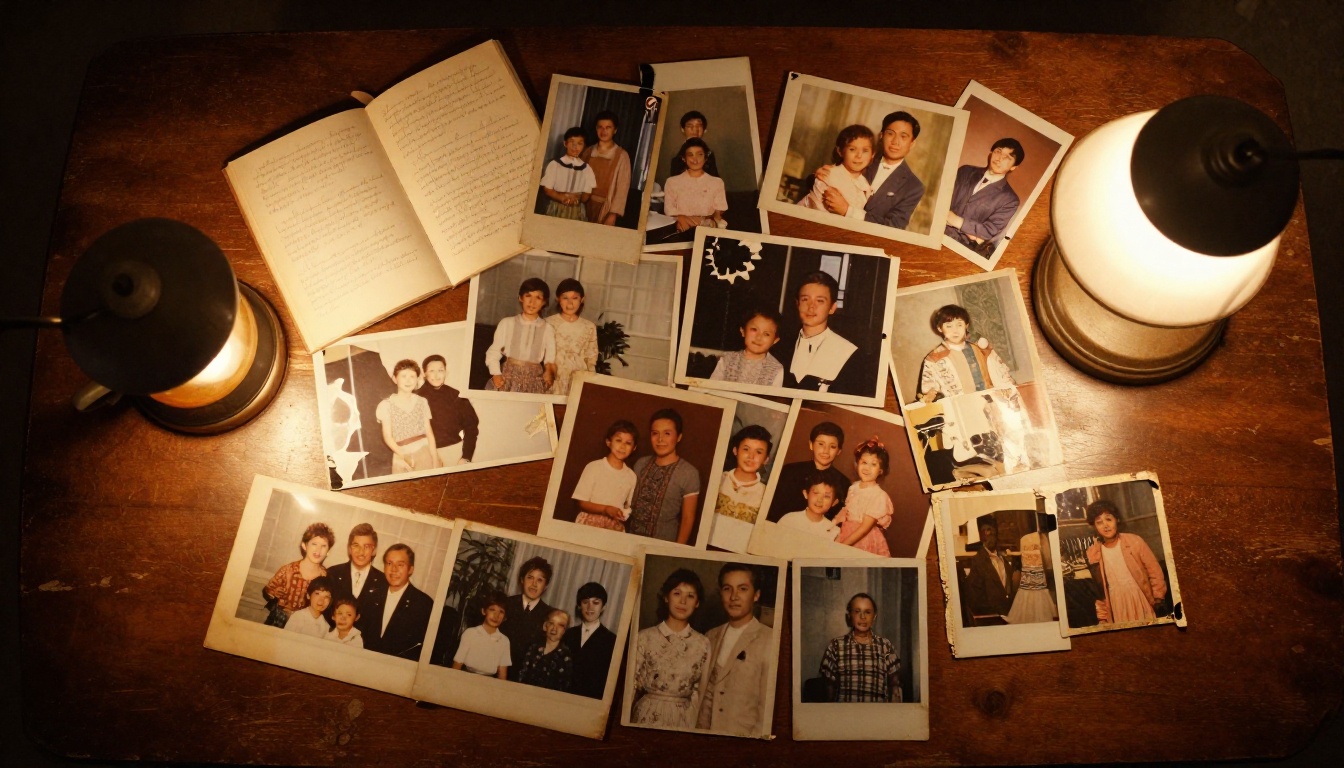
The oldest photographs in most family collections are silver gelatin prints. Silver is unstable over long timescales, and exposure to humidity, light, and pollutants causes the silver particles to migrate and oxidize. Color photographs from the 1970s and 1980s face a different enemy: the cyan, magenta, and yellow dye layers degrade at different rates, causing the characteristic orange or red cast you see on old Kodachrome and Ektachrome prints.
Most family photos spent their lives in albums with acidic pages, in hot attics, or in humid basements. That is the real reason so many of them are in poor condition today. It was not neglect, it was physics.
The Chemistry Behind Fading
Photographic paper was never designed to last more than a few decades without archival storage conditions. The result is a predictable sequence: first the highlights fade, then the midtones flatten, then the shadow detail disappears entirely. By the time a print is 50 or 60 years old, it may have lost as much as 30 to 40 percent of its original tonal range, making the image look flat, pale, and lifeless.
The 4 Most Common Damage Types
Knowing what type of damage you are dealing with helps you choose the right AI tool for the job.
| Damage Type | What It Looks Like | AI Fix Available |
|---|
| Fading | Washed-out, low-contrast, pale tones | Yes, contrast and tone recovery |
| Scratches and Tears | White or dark lines, missing corners | Yes, inpainting and scratch removal |
| Water Damage | Tide marks, staining, emulsion lifting | Partial, depends on severity |
| Blurriness | Soft focus, camera shake, low resolution | Yes, AI upscaling and sharpening |
Most photographs have more than one type of damage. A typical 1950s print might be faded, have a corner torn off, and be scanned at too low a resolution to print at any useful size. The good news is that AI handles each of these problems with a different specialized approach, and they can be applied in sequence.
What AI Photo Restoration Actually Does
The phrase "AI photo restoration" covers several distinct processes that are often confused. It is worth knowing what is happening under the hood, because it helps set realistic expectations for what the technology can and cannot do.
How Neural Networks Read Damage
A well-trained image restoration model does not simply apply a sharpening filter. It has been trained on millions of example image pairs, absorbing what a face should look like at a given resolution, what fabric texture looks like under different lighting conditions, and what a clear sky should look like behind a portrait. When it encounters a scratched or faded area, it uses that stored knowledge to reconstruct plausible detail rather than just averaging neighboring pixels.
This is why modern AI restoration produces results that look genuinely photographic rather than processed. The model is inferring detail in a controlled, statistically informed way based on everything it absorbed during training.
What AI Can and Cannot Fix
💡 Realistic expectations matter. AI restoration works best on faces, foliage, and textured surfaces. It struggles with fine handwritten text, complex architectural detail, and areas where more than 40 percent of the image data is missing.
AI handles these problems very well:
- Fine scratches and dust spots across large areas of the image
- Noise and grain from fast film or poor scanning
- Upscaling from small print scans to print-ready resolution
- Colorization of black and white images with historically accurate palettes
- Mild to moderate fading and contrast loss
AI struggles with:
- Large physical tears where image content is entirely absent
- Severe water damage that has lifted or dissolved the emulsion layer
- Motion blur on fast-moving subjects in the original capture
- Handwritten inscriptions directly on the photograph surface
Digitizing Your Photos Before Restoring Them
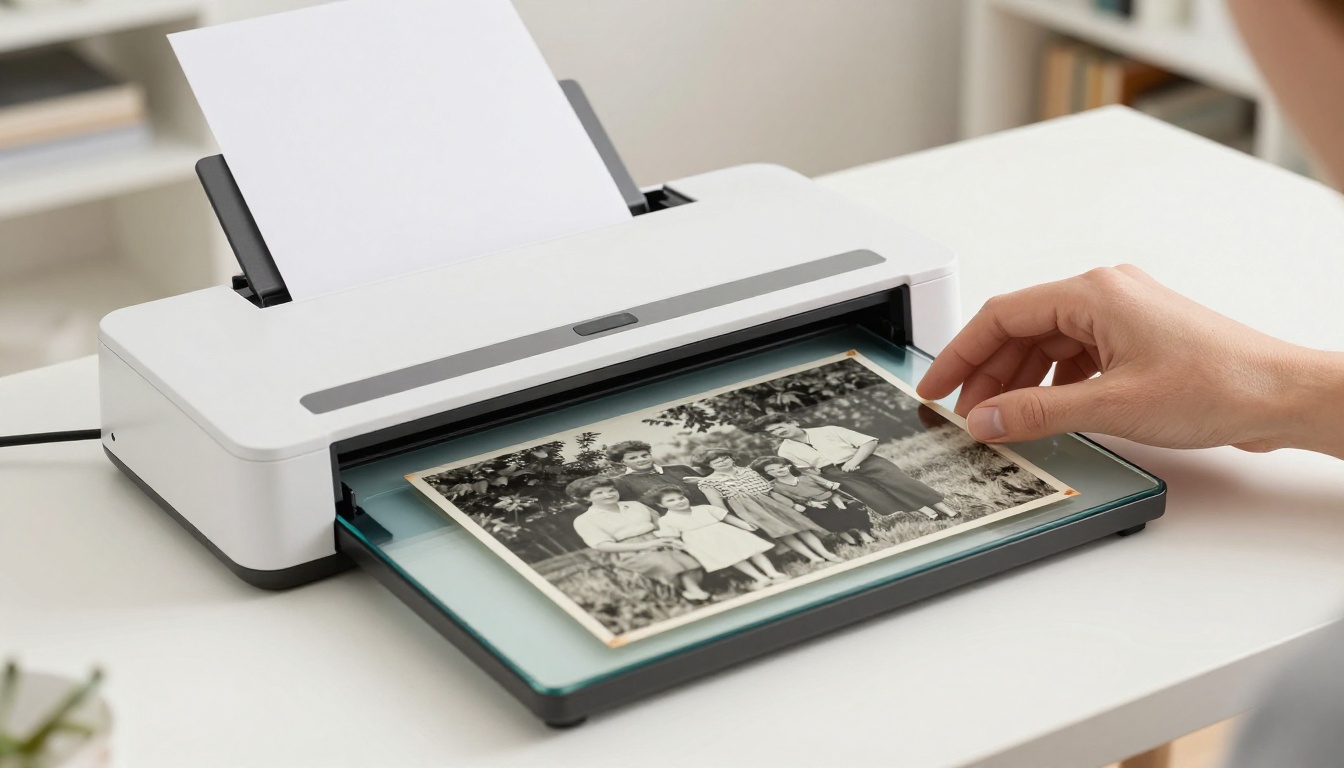
AI restoration software works on digital files, so the first step is always to digitize your physical prints. The quality of your scan directly determines the quality of your final result. A poorly scanned photograph gives the AI less information to work with, which means less accurate reconstruction of damaged areas.
Scanner vs. Smartphone
A flatbed scanner will always outperform a smartphone camera for this purpose. Smartphones introduce lens distortion, color casts from ambient lighting, and uneven focus across the print surface. A dedicated flatbed scanner maintains a perfectly flat, evenly lit scan plane, which is exactly what you need to capture the full tonal range of an aged photograph.
If you do not own a scanner, most libraries and copy shops have them available. For a large family collection, a mid-range flatbed scanner is a worthwhile investment that pays for itself quickly.
Scanning Settings That Make a Difference
| Setting | Minimum | Recommended |
|---|
| Resolution (DPI) | 600 DPI | 1200 DPI for small prints |
| Color Mode | 8-bit RGB | 16-bit RGB |
| File Format | JPEG at 100% | TIFF for archival quality |
| Dust Removal | Optional | Enable if available |
Scanning at 1200 DPI gives the AI restoration model far more data to work with. A 4x6 inch print scanned at 1200 DPI produces a 7200x4800 pixel file, large enough for the AI to identify and fill very fine scratches with precision. Scanning in 16-bit color captures detail in shadows and highlights that 8-bit scanning clips entirely.

The Best AI Approaches for Photo Repair
Once you have a clean, high-resolution scan, the actual restoration process breaks down into several stages. You may need one or all of them depending on the condition of the original.
AI Upscaling for Blurry or Low-Res Photos
Many old family photographs are small. Wallet prints, passport-style photos, and early snapshots are often no larger than 2x3 inches. Even scanned at high resolution, a 2x3 print does not produce a file large enough to print and frame at useful sizes without AI upscaling.
AI super-resolution models use a trained neural network to predict what additional pixel detail would exist if the image had been captured at a higher resolution. The results from the best modern models are genuinely remarkable, adding fine skin texture, hair strand detail, and fabric weave patterns that the original scan simply did not contain.
On PicassoIA, the Clarity Pro Upscaler produces photorealistic upscaling results specifically optimized for portrait and face restoration. The Topaz Image Upscale model can scale images up to 6x their original size while preserving edge sharpness. For a faster workflow with equally sharp output, P Image Upscale delivers sharp photos in under a second.
Scratch and Noise Removal
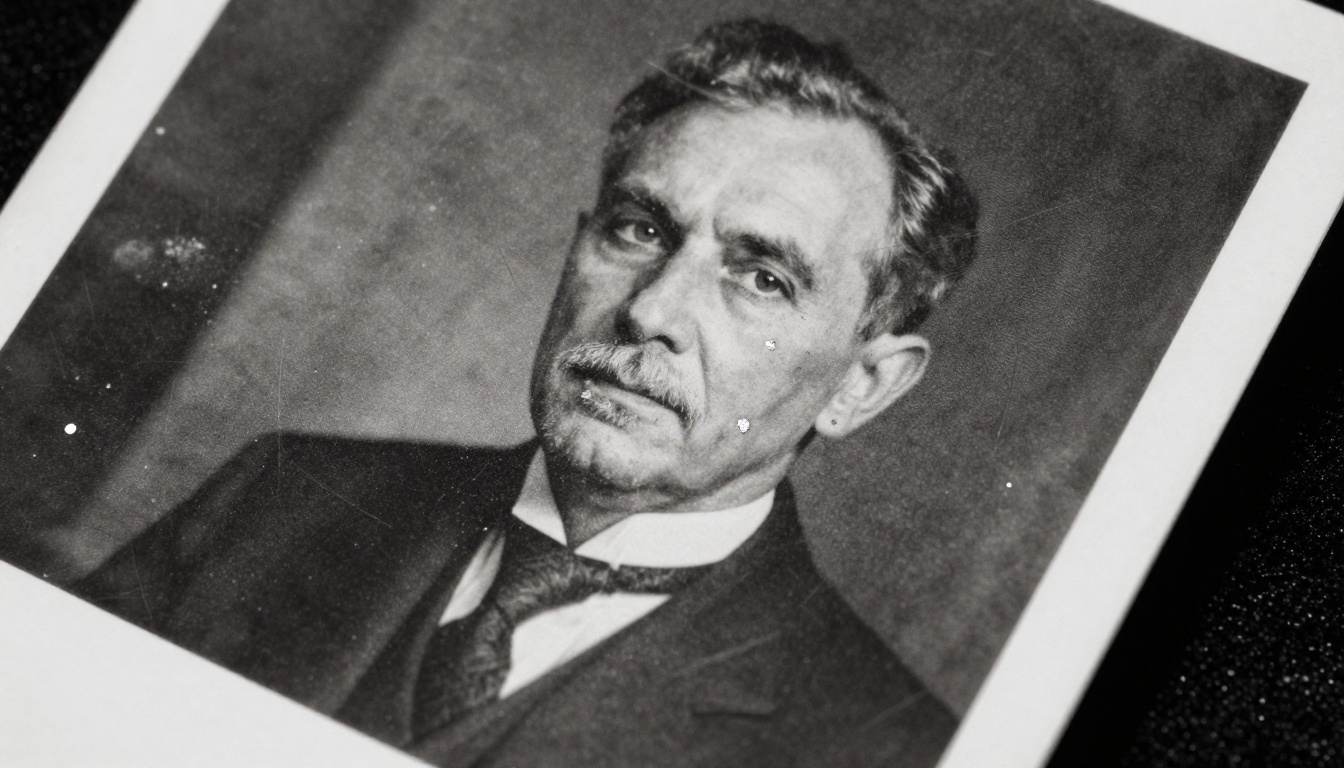
After upscaling, the next priority is typically removing physical damage: scratches, fold lines, dust spots, and grain noise. AI inpainting models are designed exactly for this purpose, identifying damaged regions automatically and filling them using surrounding image context.
For noise reduction specifically, Real ESRGAN on PicassoIA is one of the most widely used models for removing grain and noise artifacts from older photographic prints while retaining genuine image detail. The Crystal Upscaler is particularly effective for portrait photographs where fine facial detail needs to be recovered through the repair process.
Colorize Black and White Photos
Colorization is arguably the most emotionally impactful step in restoring old family photos. When a black and white portrait of your grandparents is rendered in natural skin tones, the effect is striking. It bridges the psychological distance created by the monochrome format and makes the subjects feel immediate and real.
Modern AI colorization is not guesswork. Models trained on massive paired datasets have absorbed the fact that grass is green, that different skin tones have specific spectral signatures, and that mid-century fabric dyes had characteristic palettes. The results are not always perfect, but they are almost always emotionally powerful.
💡 Tip: For best colorization results, scan at high contrast. A scan that clearly distinguishes tonal values in the original gives the AI more information to assign plausible colors accurately.

How to Use AI Upscaling on PicassoIA
PicassoIA gives you direct access to the most capable AI upscaling and photo repair models without any software installation. The entire process runs in your browser in minutes.
Choosing the Right Model
For old family photographs, the choice of model depends on the primary type of damage you are dealing with:
Step 1: Upload Your Scanned Photo
Navigate to your chosen model on PicassoIA and click the upload button. Drag and drop your scanned image file or browse to select it. Both TIFF and high-quality JPEG files work well. Do not compress your scan before uploading, as this discards the detail the AI needs to do its best work.
Step 2: Set Your Upscale Factor
Most PicassoIA upscaling models let you choose between 2x and 4x, with some going to 6x. For a small original scan, 4x is a good starting point. For a scan that is already reasonably large, 2x often produces the cleanest results without over-processing fine details.
Step 3: Run the Model
Click the generate button and wait. Most upscaling jobs finish in under 30 seconds. The platform shows a progress indicator while the model processes your image on high-performance cloud hardware.
Step 4: Download and Compare
Once processing finishes, download the result and compare it against your original scan at 100 percent zoom. Look at the face detail, the texture of clothing, and any areas that had scratches or noise. In most cases the improvement is immediately obvious. If the result looks over-sharpened, try Recraft Creative Upscale instead, which adds depth and detail with a more natural, organic feel.
Getting the Most from Your Restored Photos
A restored photo file is only as useful as what you do with it. Here are the most meaningful ways to put the results to work.
Printing Restored Photos
AI upscaling typically produces files large enough to print at 20x30 cm at 300 DPI, which is the standard for photo-lab quality prints. For larger prints, run the restored file through a second pass using Google Upscaler, which can enlarge photos 4x without losing edge detail.
Use a professional photo lab rather than a home inkjet printer for final prints. The color gamut and paper quality from a dedicated lab make a significant difference in how restored colors render, especially for colorized black and white originals where the palette needs to be reproduced accurately.
Archiving for the Next Generation
Once you have restored versions of your most important photographs, archive them properly so the work is not lost.
- Store files in TIFF format at full resolution with lossless compression
- Back up to at least two separate locations: an external drive plus cloud storage
- Create a simple naming convention:
surname_year_description.tiff
- Share a digital album with family members so the collection is distributed across multiple households
💡 Archival tip: The Library of Congress recommends archival-quality TIFF files as the standard for long-term digital preservation of photographic material.
Sharing the Results
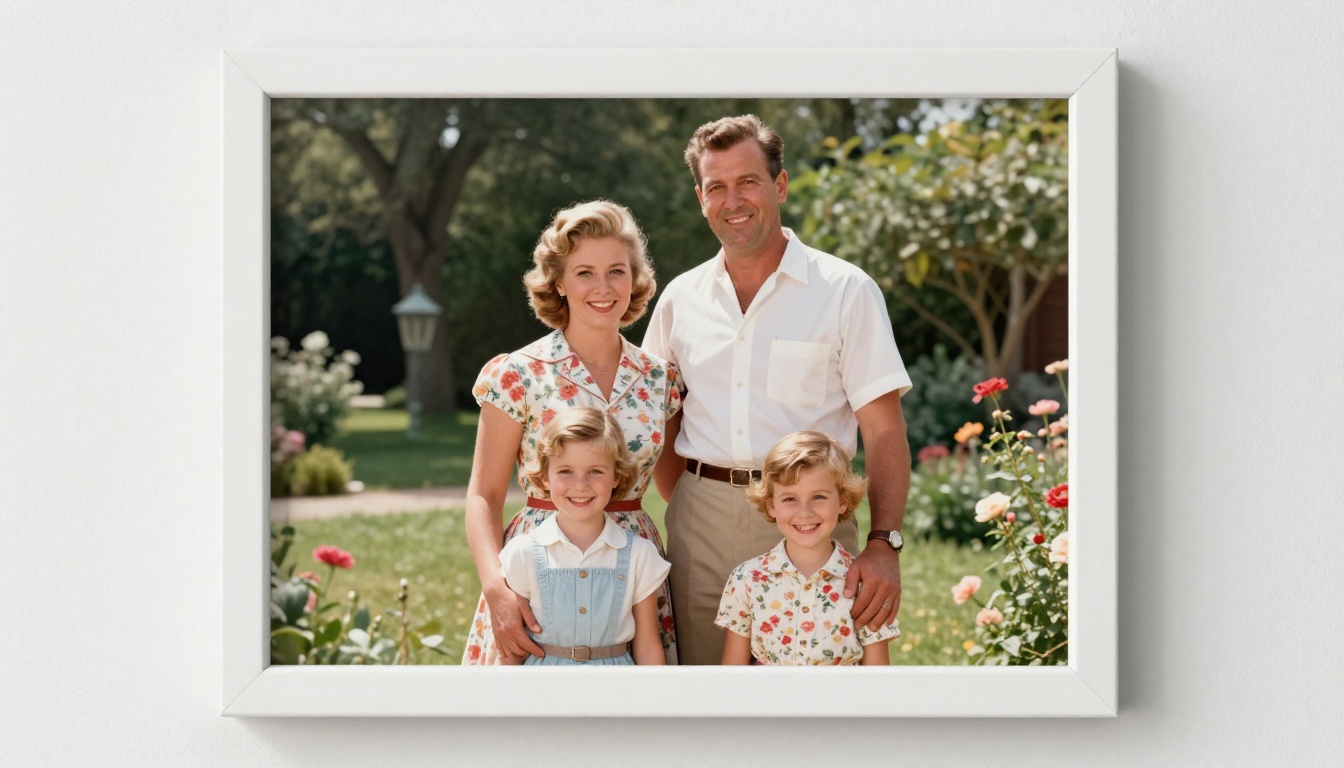
Sharing a restored photograph with older family members who remember the people in the image is one of the most rewarding experiences possible with this technology. A colorized portrait of a grandparent who passed away decades ago can be profoundly moving for people who only knew them from faded black and white prints.
For maximum impact, consider printing and framing the restored version alongside the original. The comparison makes the technology's capabilities immediately visible and tells a story about the passage of time that words cannot.
Picking the Right Model for Your Photo
The choice often comes down to what matters most in your specific photograph. Here is a quick reference:
Many users find that running a photograph through two models in sequence, first upscaling with Clarity Pro Upscaler and then refining with Recraft Crisp Upscale, produces the most balanced results across different types of source material.
Your Family Photos Deserve Better
That shoebox in the attic is not a problem without a solution anymore. The technology to repair scratched prints, bring faded colors back, and scale a tiny snapshot into a frameable portrait exists right now, and it works without any technical background or expensive software.
PicassoIA puts these AI restoration models directly in your browser. Upload a scan, choose a model, and see the result in seconds. The models referenced throughout this article, from Clarity Pro Upscaler to Topaz Image Upscale, are all available to try today with no installation required.
Start with the photograph you care about most. Scan it at 1200 DPI, upload it to PicassoIA, and run it through one of the super-resolution models. The result will show you exactly what AI photo restoration is capable of, and you will probably want to work through your entire collection afterward.