Soft video is one of the most frustrating problems in content creation. You recorded what looked like a perfect shot, but on playback it is blurry, lacks definition, or just does not have that crisp quality you were hoping for. The good news: AI can fix that, and it works faster and better than any manual sharpening filter you have tried before.
This article covers exactly how to sharpen soft video with AI, which tools do the job best, and a step-by-step walkthrough using the models available on PicassoIA today.
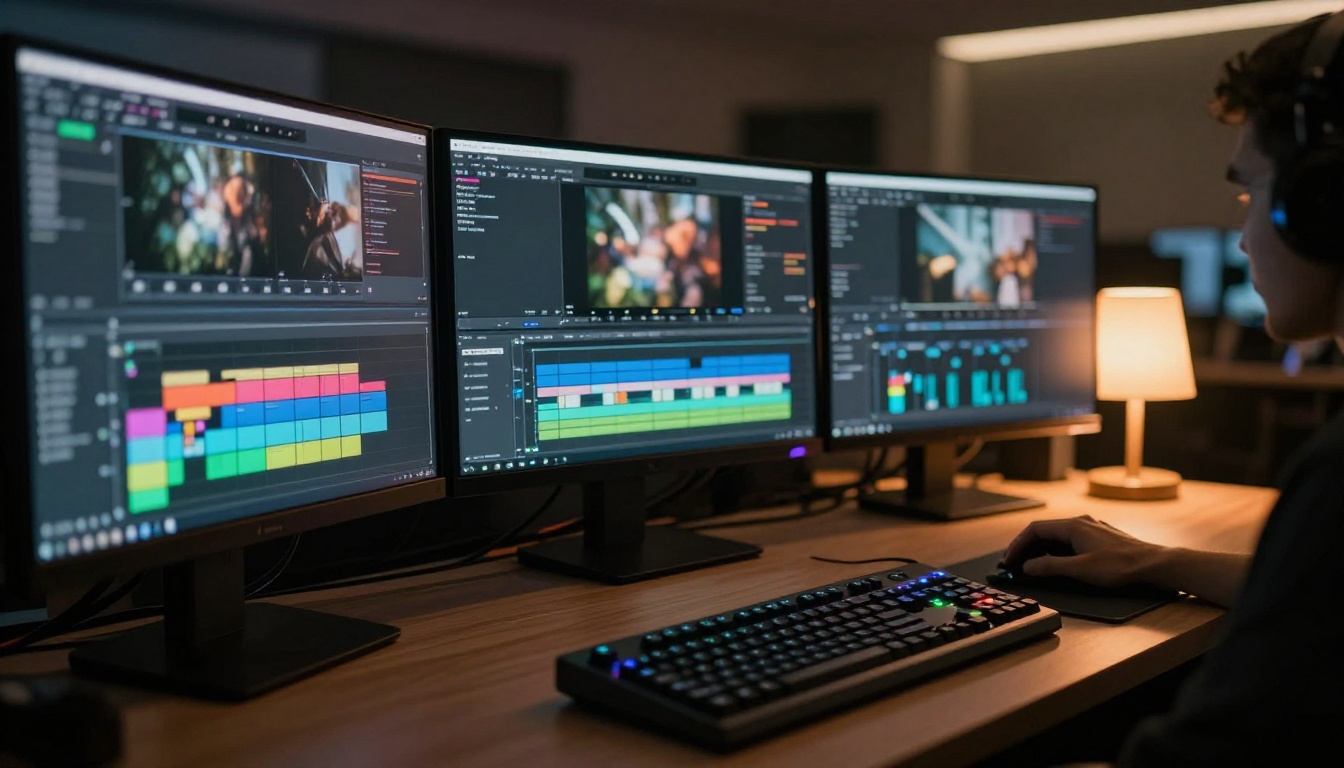
Why Your Video Looks Soft
Before fixing anything, it helps to understand the actual cause. Soft video is not always a focus problem. There are at least three distinct causes, and each one responds differently to AI enhancement.
The 3 Main Causes
1. Out-of-focus shooting is the most obvious culprit. Your camera's autofocus hunted during recording, or you set a manual focus point that drifted. The result is a frame where edges bleed and fine detail disappears into the background.
2. Motion blur happens when your subject, or the camera itself, moves too fast relative to your shutter speed. Every frame contains ghosting and streak artifacts. This is especially common in phone video shot in low light, where the camera extends shutter time to compensate for exposure and every small movement translates directly into softness.
3. Compression artifacts are often overlooked. Social platforms, streaming services, and even export codecs strip data from your video to reduce file size. The result looks soft, blocky in dark areas, and lacks the micro-contrast of the original footage. What you see is not actually blur but missing information.
💡 Pro tip: Identify which type you are dealing with before picking a tool. Motion blur needs temporal processing. Compression artifacts need detail reconstruction. Focus issues need structural sharpening. Applying the wrong fix makes things worse.
When It Happens After Export
Sometimes footage looks fine in your editor but turns soft after upload. This is almost entirely a compression issue. YouTube, Instagram, and TikTok all re-encode your video on their servers, sometimes aggressively. Uploading at a higher bitrate or resolution gives the platform's encoder more data to work with, and AI upscaling before upload is one of the most effective ways to combat this problem entirely.
Short clips under 60 seconds are processed faster and tend to hold quality better. If you are uploading a long video, consider breaking it into segments, processing each one separately, and re-joining them before final upload.
Traditional sharpening tools apply mathematical filters, basically adding contrast to edges. They work to a point, but they also amplify noise, create halos around edges, and do not actually restore lost information. AI works differently at a fundamental level.
Frame-by-Frame Sharpening
Modern AI video enhancement models are trained on millions of video frames. They have learned what a sharp, detailed version of a soft frame should look like. When you feed them a blurry input, they do not just sharpen edges. They reconstruct textures, restore fine detail in hair and fabric, and add back the micro-contrast that separates professional footage from amateur video.
The best models process each frame individually while also analyzing adjacent frames for temporal consistency. This prevents the flickering and inconsistent sharpness that older single-frame tools produce. The output looks like it was always sharp, not like it was sharpened afterward.
Noise vs. Blur: Not the Same Fix
This distinction matters more than most people realize.
| Problem | What It Looks Like | AI Fix Needed |
|---|
| Gaussian blur (focus miss) | Smooth, creamy edges | Structural sharpening |
| Motion blur | Directional streaks | Temporal deblur |
| Compression noise | Blocky patterns, banding | Artifact removal and upscaling |
| Noise grain | Speckling in shadow areas | Denoising before sharpening |
Choosing the wrong model for the wrong problem gives you worse results than doing nothing at all. A denoiser applied to motion blur makes the streaks look worse. A sharpening model applied to noisy footage amplifies every grain speck and creates artificial-looking texture throughout the image.
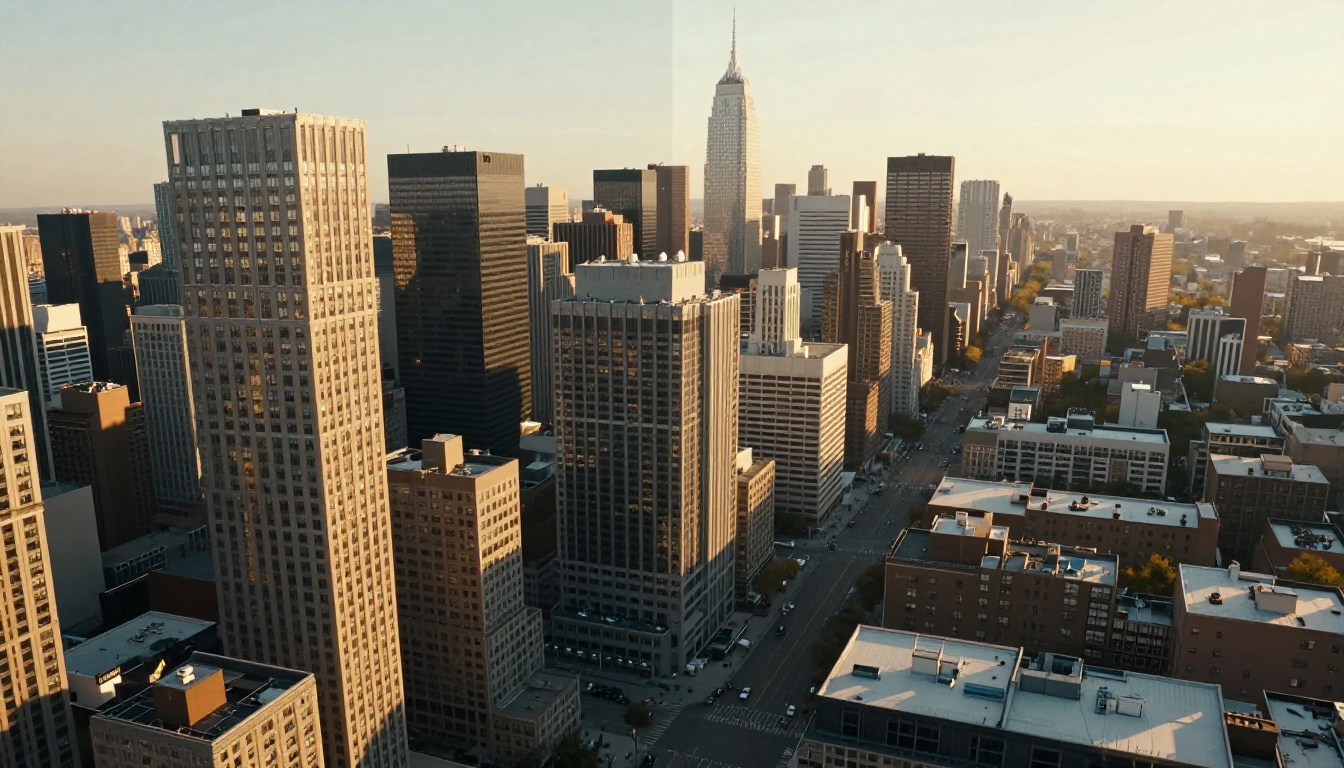
There are several models on PicassoIA built specifically for video sharpening and quality restoration. Here is an honest breakdown of each one and where it performs best.
Topaz Video Upscale
Topaz Video Upscale is widely considered the industry standard for AI video sharpening. It handles all three types of softness described above. The model can output at 4K and up to 120fps, and it is particularly strong on motion blur and compression artifact removal. If you only use one tool, this is the one to start with.
What makes it stand out is Topaz Labs' proprietary training data. The model has been specifically trained on real-world video degradation, not just synthetic blur kernels from a lab setting. The results hold up even on heavily compressed social media footage that has been re-encoded multiple times.
Crystal Video Upscaler
Crystal Video Upscaler by Philz1337x is the choice for portrait-heavy content. It is optimized for skin texture, facial detail, and hair reconstruction. If you are working with talking-head video, interviews, vlogs, or any footage where faces are the primary subject, Crystal produces noticeably better skin texture results than general-purpose upscalers.
It outputs at up to 4K and preserves natural skin tones without over-smoothing, which is a common problem with AI face enhancement tools that tend to make skin look airbrushed and synthetic.
Real ESRGAN Video
Real ESRGAN Video is the open-source powerhouse in this category. ESRGAN (Enhanced Super-Resolution Generative Adversarial Network) has been adapted specifically for video, and it runs frame-by-frame upscaling with excellent edge reconstruction and fine texture recovery. It is particularly effective on older footage, archival video, and clips that have been repeatedly compressed across different platforms.
For footage with significant compression damage, it consistently outperforms simpler bicubic upscalers and produces textures that look genuinely recovered rather than synthetically generated.
Bria Video Increase Resolution
Bria Video Increase Resolution goes further than most, offering upscaling all the way to 8K. For content destined for large screens, professional broadcast, or high-end commercial delivery, this model gives you resolution headroom to spare. The processing is thorough and adds genuine detail rather than just interpolating pixels between existing ones.
💡 When to use it: Bria Video Increase Resolution is the right call when your final output needs to survive heavy re-compression on a major platform, or when you are delivering to a client with 4K or higher resolution requirements and the original footage was shot below that.
Runway Upscale v1
Runway Upscale v1 slots in as the fastest option for quick turnarounds. Its outputs are clean and consistent, making it useful for batch processing multiple clips where you need reliable results without spending time on settings. It is less aggressive than Topaz on heavy compression artifacts but handles focus softness and mild motion blur well.
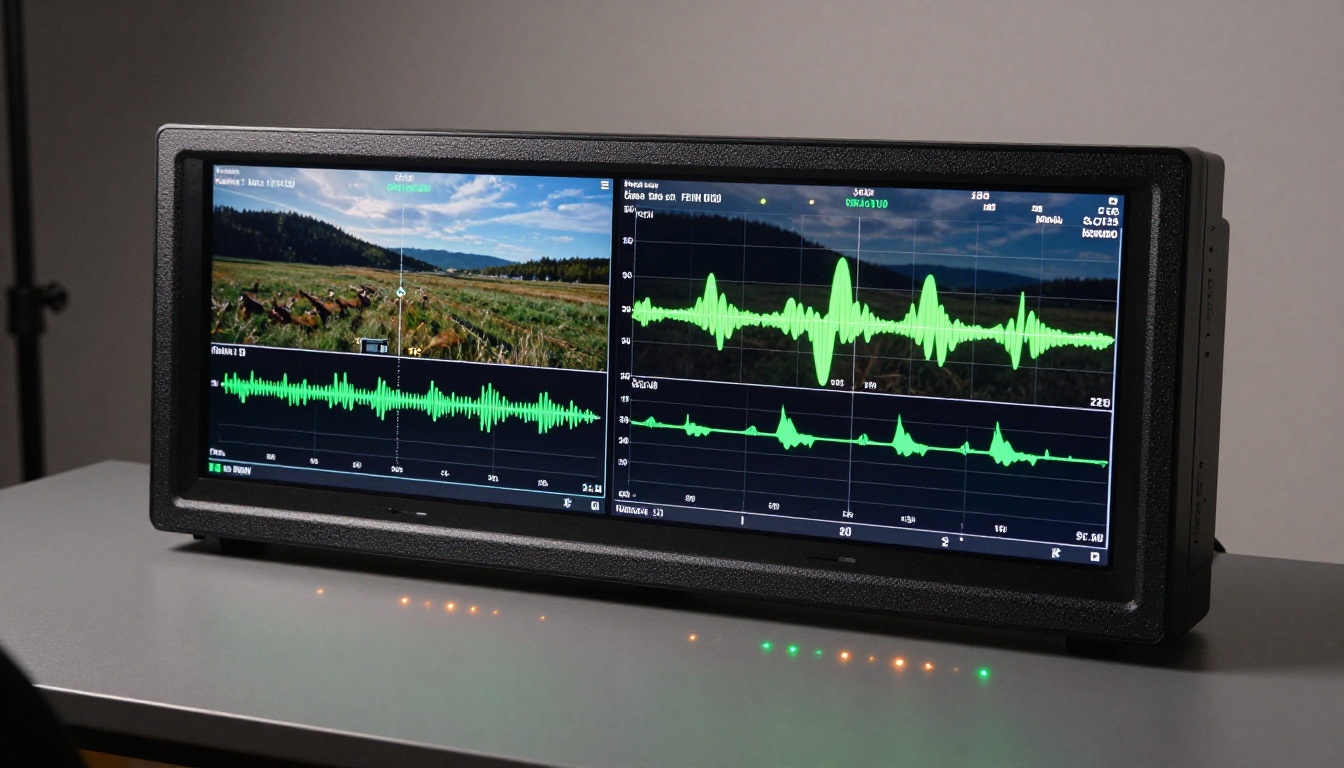
How to Use Topaz Video Upscale on PicassoIA
Topaz Video Upscale is available directly on PicassoIA with no software installation, no GPU rental, and no complicated local setup. Here is how to run it from start to finish.
Step 1: Prepare Your Clip
Before uploading, trim your video to the section that needs sharpening. You do not need to process the entire file if only a portion is soft. Keeping clips under 60 seconds also speeds up processing significantly and reduces the chance of timeout errors on long or high-resolution files.
Supported formats: MP4, MOV, AVI, WebM. For best results, upload the highest-quality version you have, even if it is soft. The model needs real data to work with, and a higher-bitrate source always produces better enhancement output than a pre-compressed one.
Step 2: Upload and Configure
- Open Topaz Video Upscale on PicassoIA
- Click Upload Video and select your clip from your device
- Choose your output resolution: 2K for web delivery, 4K for professional output
- Select the enhancement mode: Dehalo for focus softness and ringing, Motion for camera shake and subject movement blur, Low Resolution for compressed or heavily degraded footage
- Set output frame rate if you want smooth slow-motion playback or a specific fps target for your delivery format
💡 Parameter tip: If you are unsure which mode to pick, start with "Low Resolution." It handles multiple degradation types simultaneously and rarely produces artifacts or over-sharpened edges on standard footage.
Step 3: Process and Download
Click Run and wait for processing to complete. Processing time varies with clip length and output resolution. A 30-second clip at 4K typically takes between 2 and 4 minutes depending on server load.
When complete, preview the result before downloading. Zoom into fine detail areas like hair, fabric texture, or background foliage. These are the areas where AI sharpening is most visible and where problems like halos or artificial texture show up first.
If the result is not sharp enough, re-run with a higher enhancement strength setting. If there is over-sharpening visible as halos or artificial-looking edges, reduce strength by one step and re-process.

Real Results: Before vs After
The difference AI sharpening makes varies by footage type. Here is what to expect in practice across the two most common scenarios.
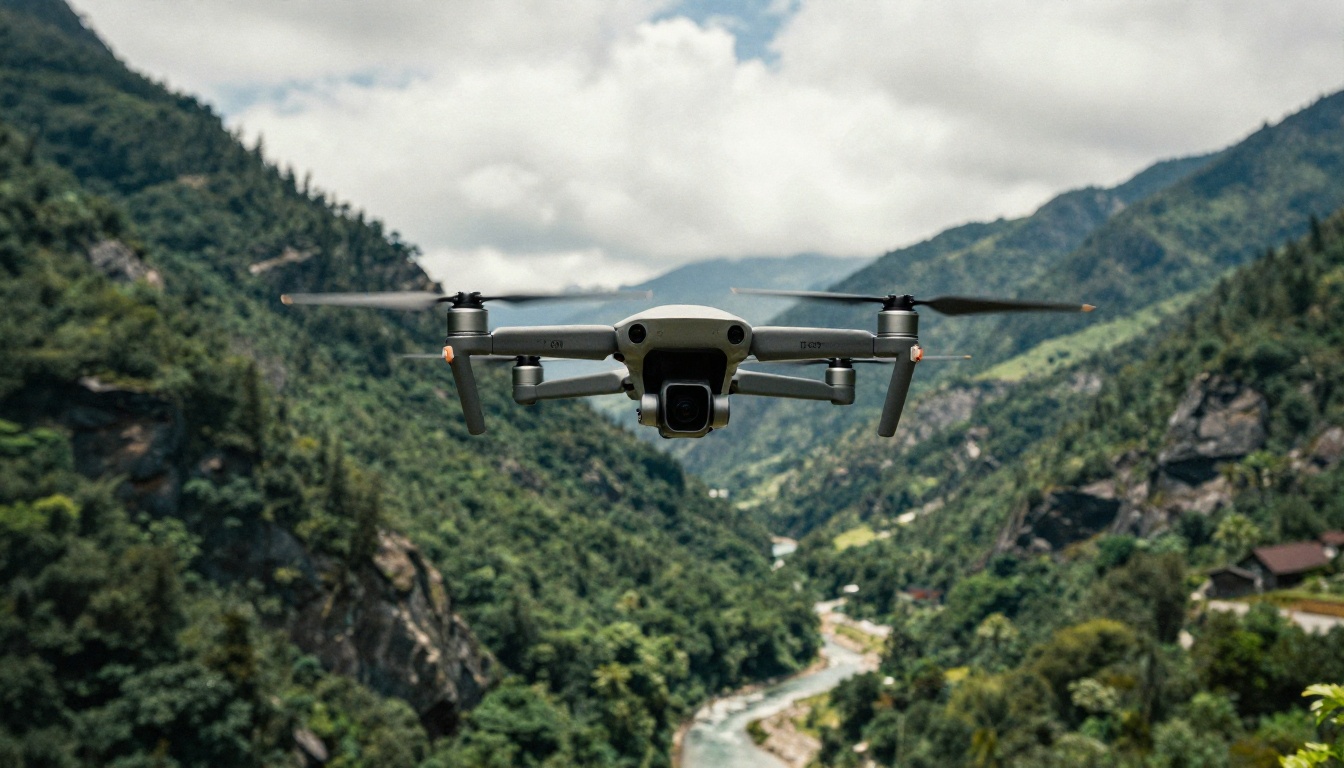
Drone Footage
Drone video is especially prone to softness because of three factors that frequently combine: small sensors on consumer drones, propeller vibration causing micro-shake in every frame, and aggressive in-camera compression to fit footage onto an SD card at manageable file sizes.
Running drone footage through Crystal Video Upscaler or Topaz Video Upscale typically produces dramatic results. Fine texture in ground surfaces, leaf detail in trees, and building edge definition all sharpen considerably. The processing also stabilizes the micro-jitter caused by propeller vibration, which contributes to the softness perception even beyond optical blur.
Phone Camera Video
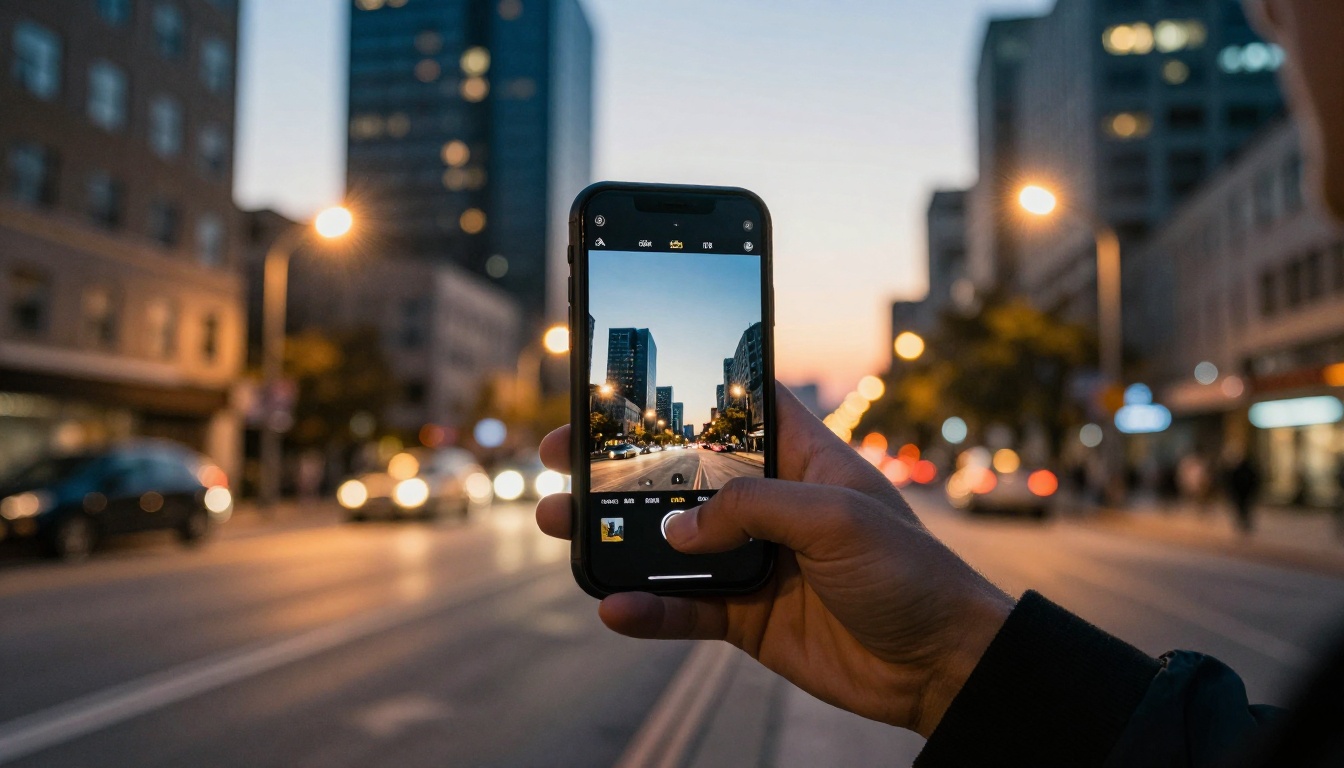
Modern phones shoot excellent video in good light, but performance drops fast as conditions deteriorate. Night mode video, indoor shots, and anything involving significant subject or camera motion tends to come out soft and noisy in equal measure.
The combination that works best for phone footage: run through Real ESRGAN Video first for noise reduction and artifact removal, then feed the output through Topaz Video Upscale for structural sharpening. The denoising pass removes grain before sharpening so the upscaler does not accidentally amplify noise into the final output.
This two-step process adds a few minutes to your workflow but the quality difference on phone footage is immediately visible.
5 Things That Affect Your Results
Not all soft video sharpens equally. These factors have the biggest impact on how good your output will be.
1. How soft is the original?
AI can restore detail, but it cannot invent data that was never captured. Slightly soft footage sharpens beautifully and convincingly. Heavily blurred footage will improve but may not reach fully professional quality no matter which model you use.
2. What is the original resolution?
A 1080p soft clip has more raw data for the AI to work with than a 480p soft clip. Higher starting resolution consistently produces better enhancement results when upscaling to 4K.
3. Is there temporal inconsistency?
Footage where sharpness varies frame-to-frame (autofocus hunting, camera shake, variable lighting) is harder to process cleanly. Models that use temporal processing across multiple frames handle this better than single-frame processing models.
4. How much noise is in the clip?
Noise and blur need to be addressed in the correct order. Denoise first, then sharpen. Running both processes in the wrong sequence adds visible artifacts and amplifies grain into the final output.
5. What is your output destination?
If your final destination is social media, the platform will re-encode your video anyway. In that case, upscale to 4K before upload, even if your original was 1080p. Giving the platform's encoder a higher-resolution source produces a noticeably sharper final result than uploading a 1080p file and letting the platform's algorithm decide how to compress it.
💡 Quick workflow: For Instagram Reels or TikTok, process with Bria Video Increase Resolution to 4K, then upload. The platform's compression algorithm has more data to preserve, and your output stays significantly sharper than uploading compressed 1080p would allow.
Use this table when deciding which model fits your specific footage problem.
What to Do When One Pass Is Not Enough
Sometimes a single AI pass does not fully fix the problem. This happens most often with older footage, heavily compressed social media clips, or video recorded in poor lighting conditions where noise and blur combine into a difficult mixed degradation.
The multi-pass approach: run your clip through a denoising or artifact removal pass first using Real ESRGAN Video, then put the output through Topaz Video Upscale for final sharpening and resolution increase. This two-step process consistently outperforms any single-model approach on difficult footage with multiple types of degradation.
What to watch for: After a second pass, check carefully for over-processing signs. Skin tones that look plastic, edges with white halos, or textures that look synthetically detailed rather than naturally sharp are signs that processing has gone too far. In those cases, blend the processed clip with the original at 70 to 80 percent opacity in your video editor to dial back the AI effect to a natural-looking level.
The tools covered in this article are all available right now on PicassoIA, no complex sign-up, no GPU costs, no software to install locally. You upload your clip, pick your model, and get a sharper result back in minutes.
Start with Topaz Video Upscale if you are not sure where to begin. It handles most footage types reliably and gives you clear settings to adjust based on your specific problem. For portraits and talking-head video, go straight to Crystal Video Upscaler. For anything heavily compressed or archival, Real ESRGAN Video is the first tool to reach for.
Sharp video is the difference between content that looks professional and content that gets scrolled past without a second glance. The AI to fix your footage already exists, runs in your browser, and costs nothing to try. Pick up a soft clip from your archive and run it through any of these models today. The results will speak for themselves.


