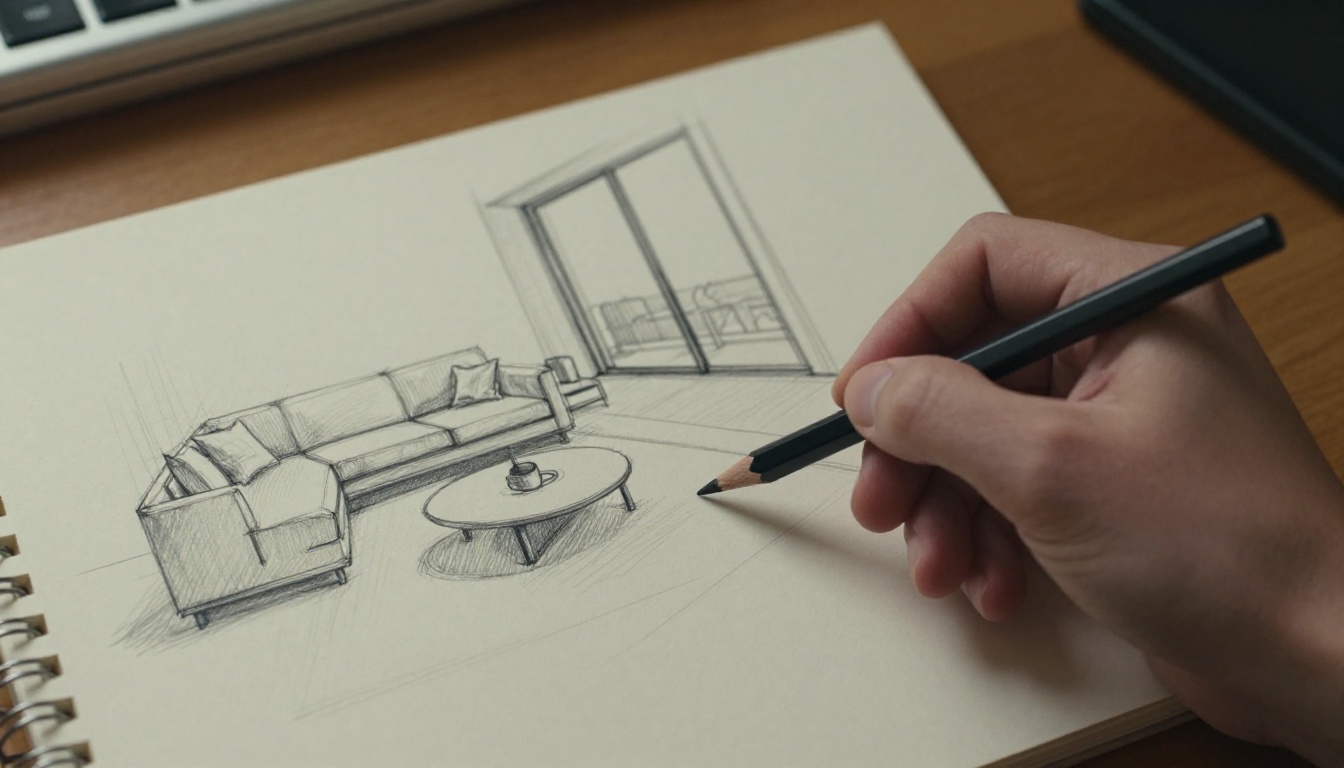
A pencil sketch holds more design intent than most people give it credit for. The proportions are right, the window rhythm is right, the overhang above the entrance is exactly what you meant. What it lacks is material, light and atmosphere, the things a client needs to see before saying yes. Sketch to render AI closes that gap in the time it takes to finish a coffee, and with the right workflow it costs nothing to try.
This article shows how to turn a rough drawing into a photorealistic render for both architecture and interior design. You will see how edge-controlled models keep your lines intact, which settings change the result, how to write prompts for exteriors and rooms, and how to fix, relight and upscale the output until it is ready for a client board.
What Sketch to Render AI Does
A sketch to render model reads the structure of your drawing and paints a believable surface on top of it. Walls stay where you drew them. Windows keep their rhythm. The prompt decides everything your pencil could not say: concrete or timber, morning haze or dusk glow, linen sofa or leather armchair.
From Lines to Light
The best models for this job use edge detection or depth estimation as invisible scaffolding. Your drawing becomes a map of contours, and the generator fills the space between them. That is why the output respects your massing instead of inventing a different building. A plain text-to-image prompt cannot do this, because it has no idea what your floor plan or elevation looks like.
Three inputs drive every result:
- The control image: your sketch, photographed or scanned.
- The prompt: materials, light, weather and camera.
- The strength settings: how tightly the output follows the lines versus the words.
Free Versus Traditional Rendering
Classic visualization means modelling the scene, assigning materials, placing lights and waiting for the renderer. It gives exact results, but it front-loads hours of work before anyone knows whether the concept is worth it. AI rendering flips the order: you see a believable image first, then decide what deserves a proper model.
| Factor | Traditional rendering | Sketch to render AI |
|---|
| First usable image | Hours to days | Seconds to a minute |
| Input needed | Full 3D model | Pencil sketch or photo |
| Software cost | Licence plus a capable GPU | Browser based, free options available |
| Iteration | Rebuild, then re-render | Edit the prompt, run again |
| Dimensional accuracy | Exact | Approximate, check against drawings |
| Best for | Construction documents, final marketing | Concept design, client mood, material studies |
Use the free route for early decisions and keep your CAD or BIM model for the drawings that actually get built.

💡 Tip: Treat the AI render as a conversation starter, not a construction document. Dimensions can drift by a few percent, so keep measuring from your drawings.
Who Benefits Most
Sketch to render AI pays off fastest for people who think by drawing:
- Architects testing three massing options before opening a modelling tool.
- Interior designers showing a client the same room in three palettes.
- Students turning studio sketches into presentation boards without a render farm.
- Renovators and homeowners checking whether a kitchen layout feels right before hiring a contractor.
- Real estate marketers staging a plan for a property that is not built yet.
In every case the drawing stays the source of truth. The render is a fast, cheap way to ask "what if" before real money gets involved.
Prepare Your Sketch First
Weak input gives weak output. The model can only follow lines it can see, so ten minutes spent on the drawing saves an hour of reruns.
Scan or Photograph Cleanly
- Shoot straight down from above, not at an angle, so verticals stay vertical.
- Use daylight or two lamps at 45 degrees so shadows never cross the page.
- Crop tight with a small margin and save as PNG or JPG.
- Raise the contrast so graphite reads dark against a white background.
Choose the Right Drawing Type
Not every drawing behaves the same way once it becomes a control image.
| Drawing | Strength | Prompt tip |
|---|
| Perspective sketch | Gives the model a camera angle to respect | Name the lens, such as 28mm or 35mm |
| Elevation | Clean, flat facade geometry | Ask for a straight-on elevation view |
| Floor plan | Works for top-down views | Draw furniture with clear outlines |
| Massing model photo | Strong depth information | Pair with a depth model |
Simple line weights beat dense hatching. Heavy cross-hatching can be read as texture and leak into the render as dirty surfaces, so keep shading light or leave it out.
Pick the Right Model
PicassoIA hosts several control models. Each one reads your drawing differently, so the choice changes the outcome.
Edge Control With Flux Canny
Flux Canny Pro extracts contour lines from your control image and generates a new picture that follows them. It is the closest match to how a sketch behaves, because a sketch is already made of edges. The model page lists JPG and PNG output, diffusion steps up to 50, a seed for repeatable results and optional prompt upsampling. Flux Canny Dev is the Dev variant of the same control approach, handy for testing a sketch before you commit to a final run.
Depth Control With Flux Depth
Flux Depth Pro and Flux Depth Dev work from a depth map instead of outlines. They suit photographs of massing models, or interiors where the feeling of space matters more than exact line placement. If your sketch has strong perspective and few lines, depth control can look more natural than edges alone.
Photoreal Finish With Seedream 5 Pro
Seedream 5 Pro produces sharp 2K images from a text description. Use it to test mood: describe the finished room in words, compare the result with your Canny render, and borrow its light and palette for your next prompt.
Flux Canny Pro Step by Step
Flux Canny Pro is the model to try first. Setup takes a few minutes the first time, and the sample runs on the model page finished in roughly 16 to 24 seconds each.
- Open the model page. Go to Flux Canny Pro on PicassoIA.
- Upload your control image. Drop in your sketch. JPEG, PNG, GIF and WebP files are accepted.
- Write the prompt. Describe materials, light, setting and camera in one or two sentences.
- Set guidance. The default is 30. Lower it toward 20 or 25 if the image feels stiff, and raise it if your materials are being ignored.
- Set steps. The default is 50 for fine texture. The sample runs on the model page used 28 and 50, so 28 is a sensible draft setting.
- Pick the output format. JPG for boards and web, PNG when you plan to composite further.
- Fix a seed once the composition looks right, then change only the prompt to test materials.
- Run and compare. Lay the result over your sketch and check proportions before sharing.
| Setting | Default | What to do |
|---|
| Steps | 50 | 28 for drafts, 50 for finals |
| Guidance | 30 | 20 to 25 for looser results |
| Output format | jpg | png for compositing |
| Safety tolerance | 2 | Leave as is for architecture |
| Prompt upsampling | Off | Turn on when the prompt is short |
| Seed | Random | Fix it to compare prompts fairly |
Check the First Result
Before you iterate, compare the render with the sketch using this short checklist:
- Openings: do windows and doors sit where you drew them, and in the same count?
- Roof and massing: are overhangs, setbacks and heights preserved?
- Scale cues: do doors, stairs and furniture look human sized?
- Materials: does each surface read as the material you named?
- Light: do shadows fall in one consistent direction?
If two or more checks fail, simplify the prompt and redraw the sketch with firmer lines. If only one fails, repair it with an editing model instead of rerunning.

💡 Tip: Run three seeds on the same sketch and prompt. One of them will usually handle the roofline or window pattern better than the others, and you can lock that seed.
Architecture and Interior Prompts
The prompt carries everything the sketch cannot. A reliable structure is subject, materials, light, camera, mood. Photography words such as "photograph", "35mm lens" and "film grain" push the result toward realism, while "3D render" pushes it toward a plastic look.
Exterior Prompt Formula
Use this order: building type, materials, setting, light and weather, camera and lens.
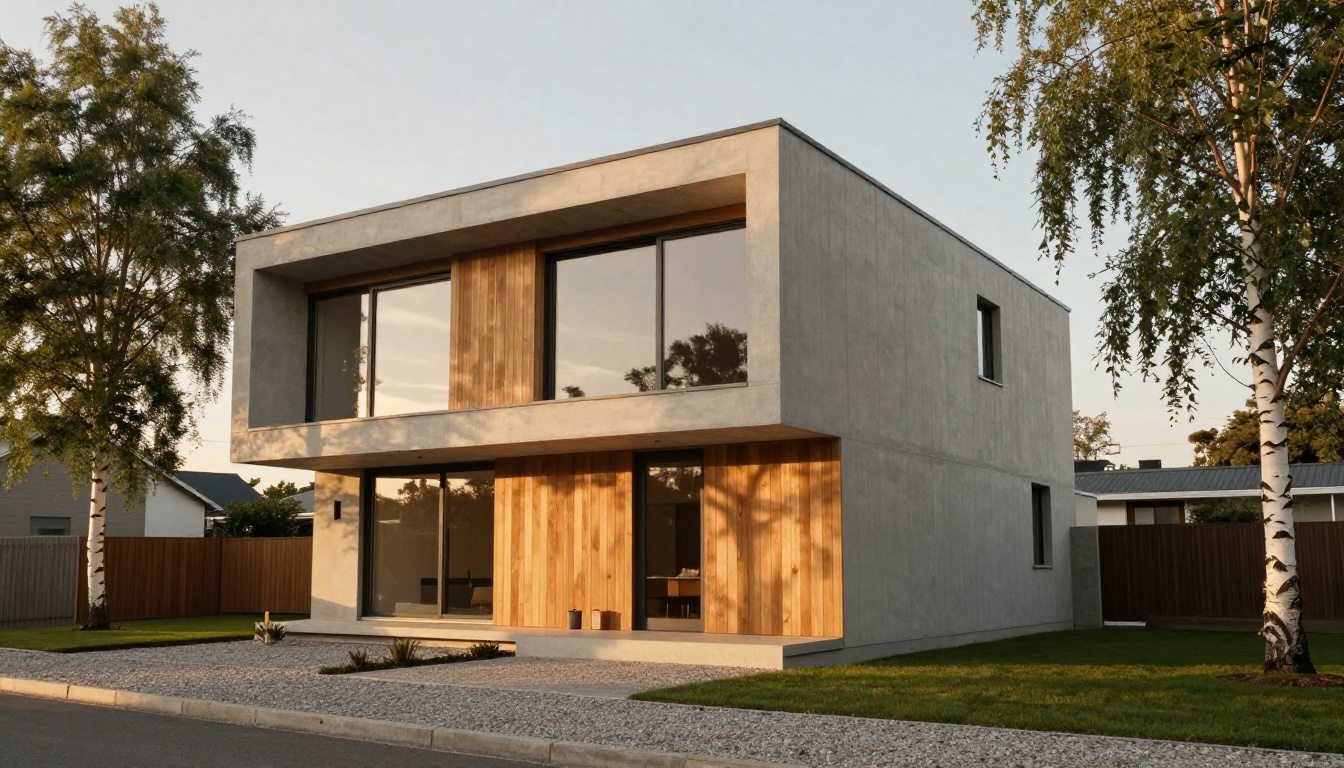
Photograph of a contemporary two-storey house, pale board-formed concrete walls, warm oak cladding, floor-to-ceiling glazing, young birch trees and a gravel path, golden hour light from the right, 24mm lens, low angle, natural film grain.
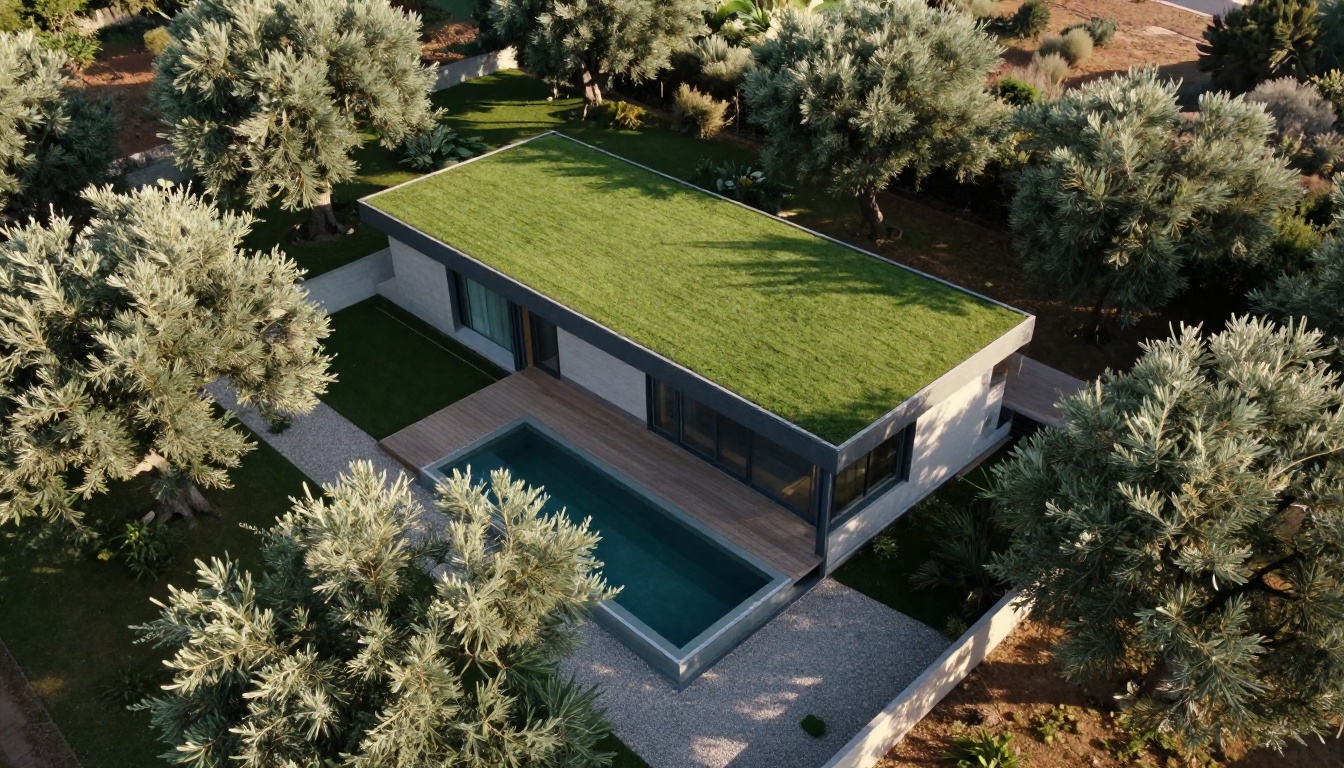
For site plans and aerial views, name the surroundings: olive trees, timber deck, pool, gravel garden. The sketch gives the footprint, the prompt gives the landscape.
Interior Prompt Formula
For rooms, use: room type, furniture, materials, window and light direction, lens.
Bright Scandinavian living room, linen sectional sofa, round oak coffee table, pale wood floor, tall window on the left with soft morning sun, 28mm lens, natural textures.
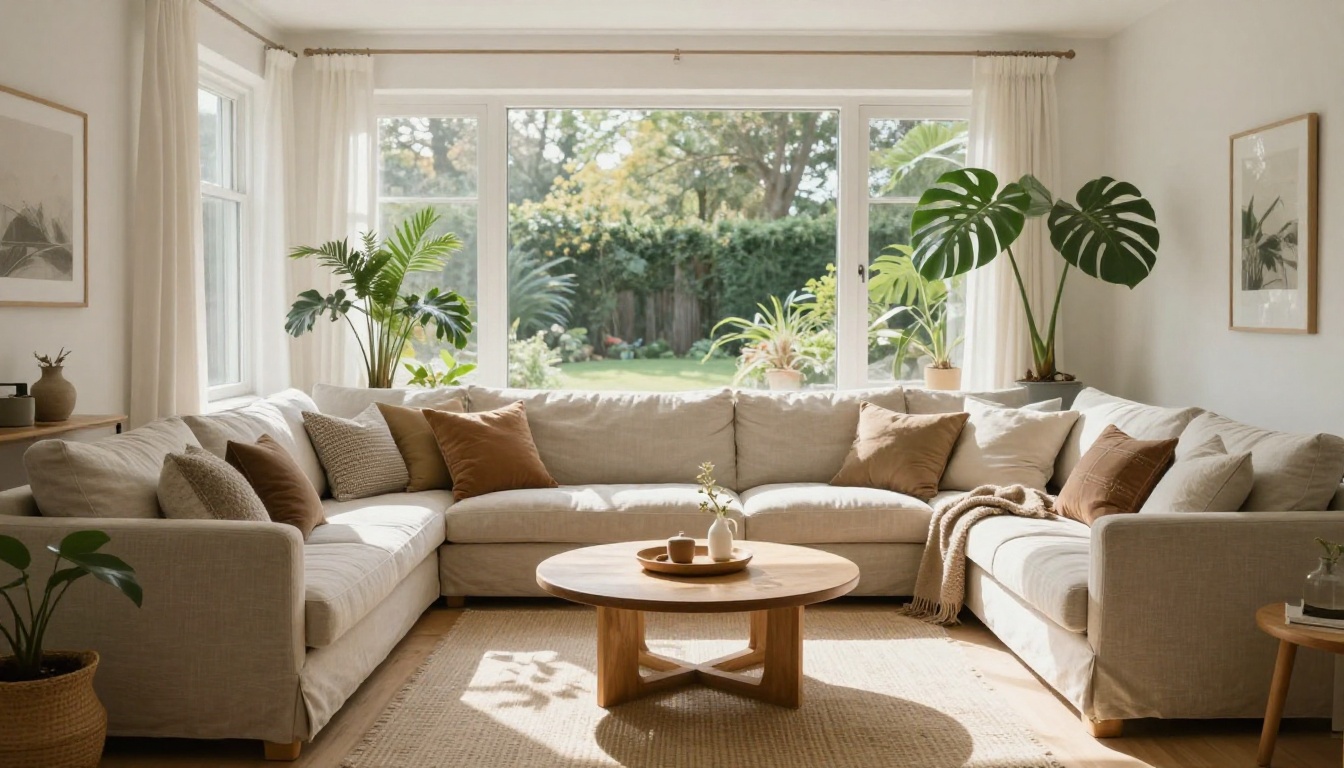
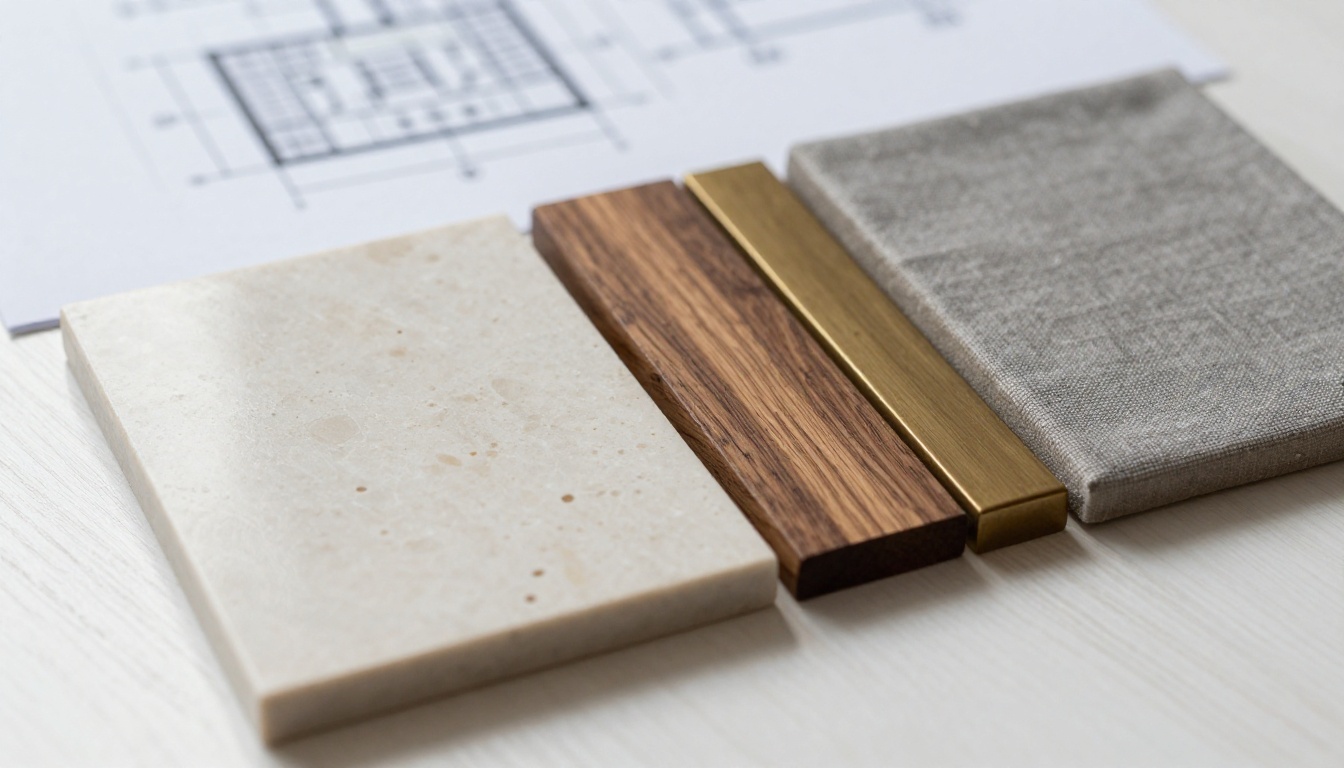
Specific material words do more work than adjectives like "beautiful" or "luxury". Good ones include honed travertine, board-formed concrete, matte plaster, brushed brass, zellige tile and raking light.
Swap Materials Without Redrawing
Fix the seed, keep the same sketch and change only the material words. Walnut becomes white oak, travertine becomes terrazzo, brass becomes matte black. In ten minutes you have a material study that would take a day to build in traditional software.
| Change this | To this | Effect |
|---|
| Walnut cabinets | White oak cabinets | Lighter, softer room |
| Travertine floor | Dark terrazzo | Higher contrast, more pattern |
| Brass fittings | Matte black fittings | Cooler, more graphic |
| Plaster walls | Limewash walls | Warmer, more texture |
Fix, Relight and Upscale
A first render rarely lands perfectly. Instead of rerunning from scratch, repair the weak parts and keep the good ones.
Edit One Area at a Time
Flux Fill Pro edits and extends images, so you can repaint a single wall, replace a balcony railing or extend the canvas to show more garden. Qwen Image Edit Plus takes plain instructions such as "replace the sofa with a green velvet one", and Flux Kontext Fast is useful for quick edits while a client is watching.
Relight From Day to Dusk
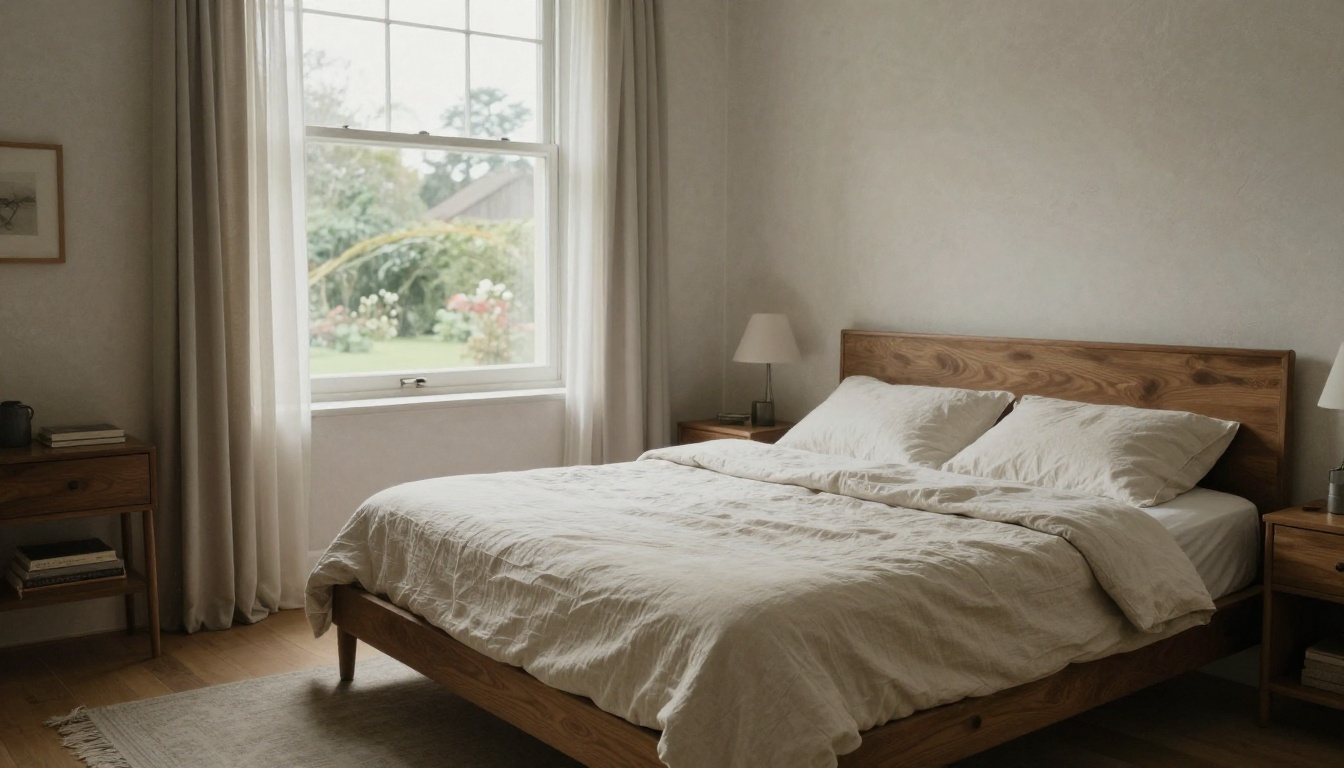
Qwen Image Edit Plus LoRA Relight changes the lighting of an existing image. That gives you a day version and an evening version of the same room without a second render. Clients respond strongly to a warm dusk view with the lamps on.
Upscale for Presentation Boards
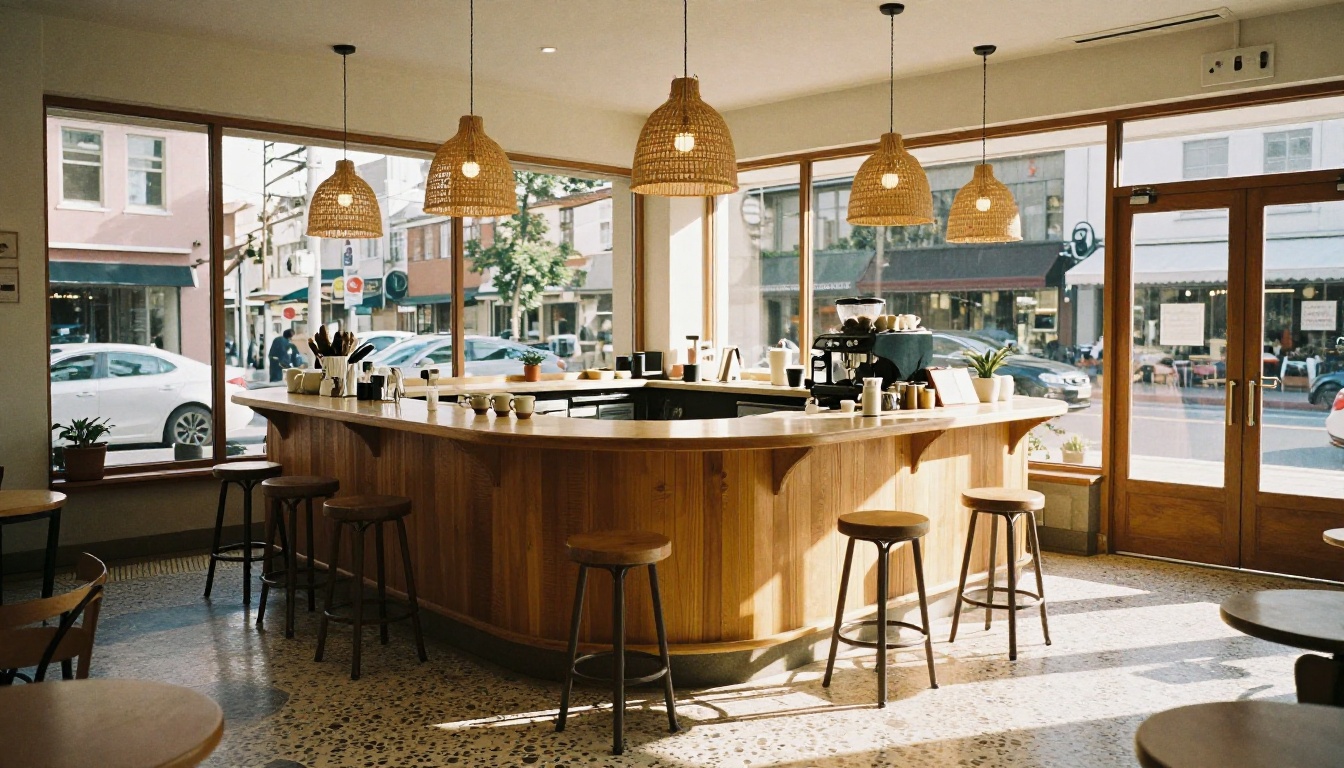
AI renders usually arrive near screen resolution. Before printing on a large board, upscale them.
💡 Tip: Upscale last. Fix composition, light and materials at normal size, then enlarge the one version you plan to present.
Mistakes That Waste Renders
| Mistake | Fix |
|---|
| Faint pencil lines | Trace over them with a darker pen, then rescan |
| Contradicting words such as "minimalist" and "ornate" | Pick one direction per prompt |
| Changing the seed every run | Fix the seed, vary one word at a time |
| Trusting the dimensions | Check every render against the real drawing |
| Using "3D render" in the prompt | Write "photograph" and name a lens |
| Rerunning instead of editing | Repaint only the weak area |
| Dense hatching on the sketch | Lighten the shading or erase it |
Most bad results trace back to one of these seven. Fix the input first, then the prompt, then the settings.
Try Your Own Sketch Today
Pick one drawing you already have: the napkin floor plan, the facade you sketched on a train, the room you keep redesigning in your head. Photograph it, open Flux Canny Pro on Picasso IA, upload the image and run your first prompt. Then swap the materials, relight the scene with Qwen Image Edit Plus LoRA Relight and upscale the winner with Real ESRGAN.
Every model on Picasso IA is a click away at picassoia.com/en/all-models, so you can test your sketch against several of them in one afternoon. Your best design is probably already on paper. Go and see what it looks like built.


