You had the words. You just could not see them yet.
That is the core problem every screenwriter, content creator, and filmmaker faces when staring at a finished script. The scene exists on paper, the dialogue is locked, the action lines are clear. But without a camera, a crew, a location, and a budget, the image stays stuck in your imagination.
AI video changes that. Text-to-video generation has reached a point where a well-written scene description can produce a credible cinematic rendering in under two minutes. Not concept art. Not a rough animatic. An actual moving image with lighting, atmosphere, and motion.
This article walks you through exactly how that process works, which models are built for it, and how to write prompts that translate your script's intent into screen-ready results.
Why a Script Is Just the Start
The Visualization Gap
A script is a blueprint, not a film. The gap between "EXT. ROOFTOP - DUSK - The city stretches out below her, indifferent" and an actual rendered image of that scene is enormous. For decades, only productions with real money could cross it.
The traditional workaround was storyboarding: rough drawings meant to communicate what each shot would look like before the camera rolled. But storyboards are static, time-consuming, and require an artist who can translate your vision into visuals.
AI video collapses that gap entirely. You describe a shot the way you would write it in a script, the model renders it as moving video, and you have a visual reference in minutes.
What AI Video Actually Does
Modern text-to-video models do not simply paste a stock image into a video timeline. They generate motion, simulate physics, and render temporal coherence across frames. The best models today can:
- Produce realistic camera movements (push-in, pan, orbit)
- Maintain consistent lighting across a scene's duration
- Generate believable cloth, hair, and environmental physics
- Sync audio and sound design with visual events (in select models)
The result is not broadcast-ready footage. But for pre-visualization, pitch decks, social content, and micro-cinema, it is more than good enough.
From Text to Scene: How It Works

Breaking Your Script into Prompts
The first thing to accept is that your script and your AI video prompt are different documents. Your script is written for a human reader. Your prompt is written for a machine renderer.
A scene might read:
Maya walks to the window. She stares out at the rain. She does not speak.
As a script line, this is powerful because of what it implies. As an AI video prompt, it is incomplete. The model needs:
- Subject: Who is Maya? Age, build, clothing, hair?
- Environment: Interior or exterior? What floor? What does the rain look like outside?
- Lighting: Is the room dark? Is she backlit by the grey sky?
- Camera: Are we close on her face, or wide on the room?
- Mood: Slow and still? Rain drumming against glass?
A usable prompt for that same scene might look like: "A young woman in her early 30s wearing a white linen shirt stands at a large rain-streaked window in a dim modern apartment, her back to the camera, staring at the grey wet cityscape below, soft overcast window light from the front, slow push-in camera move, shallow depth of field on her silhouette, photorealistic, cinematic grain."
That is the translation work. Script to prompt is its own craft, and it is worth practicing.
Scene-by-Scene vs. Single-Shot Approach
There are two ways to attack a script with AI video tools:
| Approach | What It Is | Best For |
|---|
| Single-Shot | One prompt per scene, rendered as a 5-10s clip | Quick pre-viz, pitch decks |
| Shot List | Multiple prompts per scene, each covering one angle | Film production, detailed breakdowns |
| Sequence Build | Prompts written as a progression, edited together | Short films, trailers, social cuts |
For most creators starting out, the single-shot approach is the fastest way to build a visual library of your script. Once you are comfortable with prompt translation, moving into shot-list mode gives you more editorial control.
The Best Models for Script-to-Scene Work
Not all text-to-video models are built the same way. Some prioritize speed, others prioritize photorealism, and a few now include native audio generation. Here is a breakdown of the ones worth using for script-to-scene work.
Kling v3 Video: Cinematic Shots on Demand
Kling v3 Video is one of the strongest models available for producing cinematic output from text prompts. It handles complex scene descriptions with consistent lighting, realistic motion, and strong character coherence across a clip's duration.
Where Kling v3 Video separates itself is in camera movement fidelity. When you describe a specific shot type (slow pan, dolly push, orbit), the model executes it with a believability that older models struggled to achieve. For script-to-scene work that requires a specific directorial feel, this is a go-to choice.
Seedance 2.0: Audio-Synced Scene Generation
Seedance 2.0 takes script visualization one step further by generating built-in audio alongside the video. Rain, wind, ambient city noise, footsteps: the model produces synchronized sound that matches the visual action.
For screenwriters working on atmospheric scenes where sound is part of the mood, Seedance 2.0 removes a post-production step entirely. You describe the scene, and you get picture and sound together.
Veo 3: Photorealistic Scenes with Native Audio
Veo 3 from Google sits at the top of the photorealism bracket. Its rendering of outdoor environments, natural lighting conditions, and human motion has a quality that makes it harder to distinguish from real footage than most competitors.
It also includes native audio generation. For scripts set in exterior locations, daylight environments, or scenes requiring high visual credibility, Veo 3 produces results that hold up under scrutiny.
💡 Tip: Veo 3 performs especially well when your prompt specifies natural lighting conditions. Descriptions like "overcast afternoon light diffused through clouds" or "golden hour backlight from the west" translate into noticeably better output than generic "outdoor daytime" instructions.
Gen 4.5 by Runway: Motion That Feels Real
Gen 4.5 by Runway is optimized for cinematic motion. Where other models sometimes produce stilted or slightly mechanical movement, Gen 4.5 generates clips where the motion feels intentional, weighted, and visually composed.
For action sequences, dramatic entrances, or any scene where movement carries emotional meaning, Gen 4.5 is the model to reach for.
LTX 2 Pro: 4K Scenes Without the Studio
LTX 2 Pro by Lightricks generates video at 4K resolution, which puts it in a different tier for output quality. If your intended use for the rendered scene is anything beyond internal reference, including client presentations, festival submissions, or social posts where visual sharpness matters, 4K output makes a real difference.
Other strong models worth using:
- Kling v2.6: general-purpose cinematic output at 1080p
- Sora 2: text-to-video with synced audio from OpenAI
- Pixverse v6: atmospheric and dramatic scenes with built-in audio
- Wan 2.7 T2V: high-quality 1080p generation at speed
- Hailuo 2.3: cinematic tone and strong visual depth
How to Use Kling v3 Video on PicassoIA
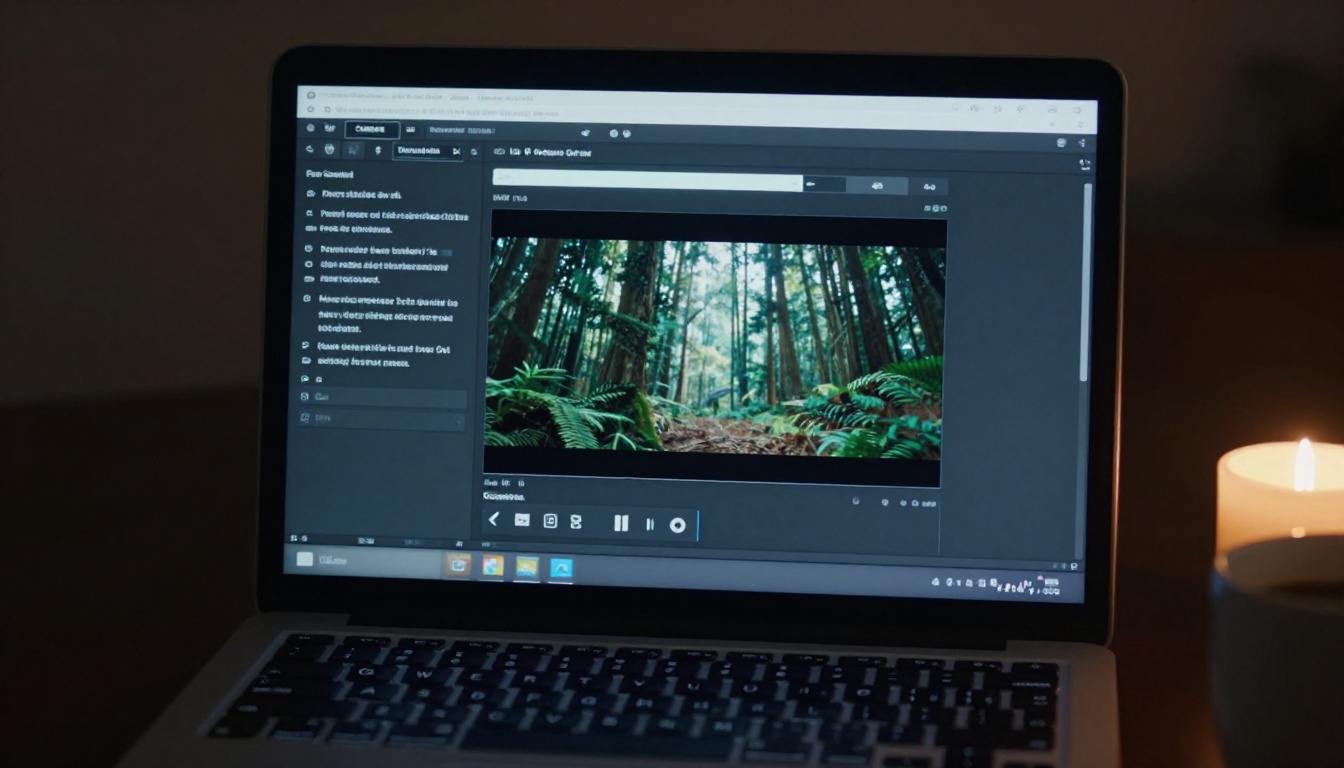
Kling v3 Video is available directly on PicassoIA with no setup required. Here is how to go from your script to a rendered scene.
Step 1: Write Your Scene Prompt
Open the model page and locate the text input field. This is where your translation work pays off.
Write your prompt following this structure:
- Subject: Who or what is in the frame, and what are they doing?
- Environment: Where is this? Interior or exterior, with specific location details
- Lighting: The direction, quality, and color temperature of your light source
- Camera: Shot type and movement (close-up, wide, push-in, static)
- Mood and Atmosphere: The overall feeling the scene should carry
- Style note: Photorealistic, cinematic grain, or a specific film reference if useful
Avoid vague instructions. The more specific your prompt, the less the model has to guess.
Step 2: Configure Duration and Motion
Most scenes from a script will work best at 5 to 10 seconds per clip. This is enough time for a meaningful camera move or a single beat of action to play out.
If your scene has a specific motion requirement, state it explicitly in the prompt. Kling v3 Video responds well to camera direction language: "slow dolly forward," "static wide shot," "low-angle push-in from ground level."
💡 Tip: When in doubt, choose a static frame for your first pass. A well-composed static shot will almost always look better than a poorly executed camera move, and gives you a clean base to react to before adding motion.
Step 3: Refine and Iterate
Your first output is a draft, not a final. Treat it the way you would treat a first cut in an edit suite: note what works and what does not, then adjust the prompt.
Common refinement moves:
- Lighting is wrong: add more specific light direction language
- Character looks off: add more detail to their physical description
- Motion is too fast: describe the movement as "very slow," "gentle," or "subtle"
- Mood does not land: add sensory details (temperature, texture, ambient sound)
Iteration is the process. Plan for two to four rounds per scene.
Prompts That Actually Work
Write Like a Shot List
The most consistent prompt format for cinematic AI video is borrowed directly from film production: write your prompt the way a director of photography would describe a shot to their crew.
This means specifying:
- Lens choice: 24mm wide, 85mm portrait, 200mm telephoto compression
- Aperture feel: Wide open (blurred background) or stopped down (everything in focus)
- Lighting rig: Where is the key source? Is there a fill? A practical light in the frame?
- Time of day: Not just "day" or "night" but "15 minutes after sunset," "overcast noon," "3am with one streetlight"
The specificity is not pedantry. It is information the model uses to make real decisions about the rendered image.
Lighting, Mood, and Camera Language
These three elements do more for the quality of your output than any other single factor.
Lighting vocabulary that models respond to well:
- Volumetric light / god rays through a gap in clouds
- Hard side light / one-sided Rembrandt-style illumination
- Practical source light (lamp, candle, screen glow from within the scene)
- Golden hour / blue hour / overcast diffuse daylight
- High contrast with deep shadows / low-contrast flat fill
Camera language that produces results:
- "Slow push-in from medium to close-up"
- "Static wide establishing shot"
- "Low angle looking up at the character against the sky"
- "Aerial descending shot from above the rooftop"
- "Handheld follow shot with slight natural shake"
💡 Tip: Avoid the word "dramatic" without qualifying it. "Dramatic" means nothing without context. "Hard side light with deep shadows casting across half the face" is dramatic and specific. The model knows what to do with the second description.
3 Common Mistakes That Kill Your Output
Most weak AI video outputs trace back to a small set of repeatable errors. Here are the three most common, and what to do instead.
1. Writing the prompt for a human, not a model
Poetic script language ("she carries the weight of every mistake she ever made") does not translate to visual instructions. Rewrite it as visible action and environment: "a woman in her 40s stands in an empty kitchen at 2am, staring at a glass of water on the counter, expressionless, cold overhead fluorescent light."
2. Skipping camera and lighting details
Prompts that do not specify these elements leave the model to guess. The model's default choices are often generic and flat. Camera framing and lighting conditions are free to describe and they have an outsized impact on output quality relative to the effort of adding them.
3. Expecting one pass to be final
The first output is a starting point. Creators who accept it without iteration produce work that looks like a tool demo. Creators who refine it produce scenes that look like intentional filmmaking. The difference is one or two additional passes.
A simple self-check before submitting your prompt: Does it specify a lighting source, a camera angle, and at least one sensory detail beyond the action itself? If not, add those three things before you run it.
Real Scenes Worth Trying Today
Short Films and Micro-Cinema
The most obvious use case, and one of the most rewarding. A 90-second short film requires roughly 10 to 15 distinct scenes. With AI video, a single creator can pre-visualize the entire script in a day, generate a rough cut for feedback, and use that cut to attract collaborators or funding.
Micro-cinema creators, those making films under 5 minutes for festival circuits, social platforms, and personal projects, are already using text-to-video tools to produce work that would have required a small crew just two years ago. Models like Veo 3 and LTX 2 Pro bring the visual quality high enough to make that work credible on screen.
Marketing Spots and Brand Stories
Brands need video. Agencies charge for it. AI video closes that gap for smaller budgets. A product launch sequence, a founder story, a brand values reel: each of these follows a script. Turning that script into a visual asset is now a prompt-writing job.
Models like Kling v3 Video and Pixverse v6 produce output with enough visual polish for branded content that lives on social feeds, websites, and email campaigns.
Social Content with Cinematic Weight
Short-form social video performs better when it has visual weight: real composition, real lighting, a sense that someone thought about what the frame looks like. AI video gives individual creators access to that cinematic quality without a production crew.
A single well-crafted prompt for Seedance 2.0 or Veo 3 can produce a 6-10 second clip that stops someone mid-scroll more effectively than anything shot casually on a phone. That attention gap is the opportunity.
For creators posting to Instagram Reels, TikTok, or YouTube Shorts, the bar is not a Hollywood production. It is visual intentionality, and that is exactly what a thoughtful AI video prompt delivers.
Start Rendering Your Scenes Now
The tools are here. The models are capable. The only remaining variable is the quality of your prompts, and that improves every time you use them.
Pick one scene from your script. A scene you already know visually. Translate it into a structured prompt using the format in this article. Run it through Kling v3 Video or Seedance 2.0 on PicassoIA. See what comes back.
The first result will probably surprise you. Whether it surprises you in a good way or a bad one, you will learn something about how to describe your script's visual world in a language that AI video models can work with.
That learning compounds fast. By the time you have run five scenes through the process, your prompt quality will have jumped significantly. By ten scenes, you will have a pre-visualization library that would have cost ten times as much to produce through any traditional method.
PicassoIA gives you access to all the models covered in this article, including Kling v3 Video, Seedance 2.0, Veo 3, LTX 2 Pro, Gen 4.5, and Wan 2.7 T2V, all in one place with no separate subscriptions required.
Your script is already written. The scenes are waiting.


