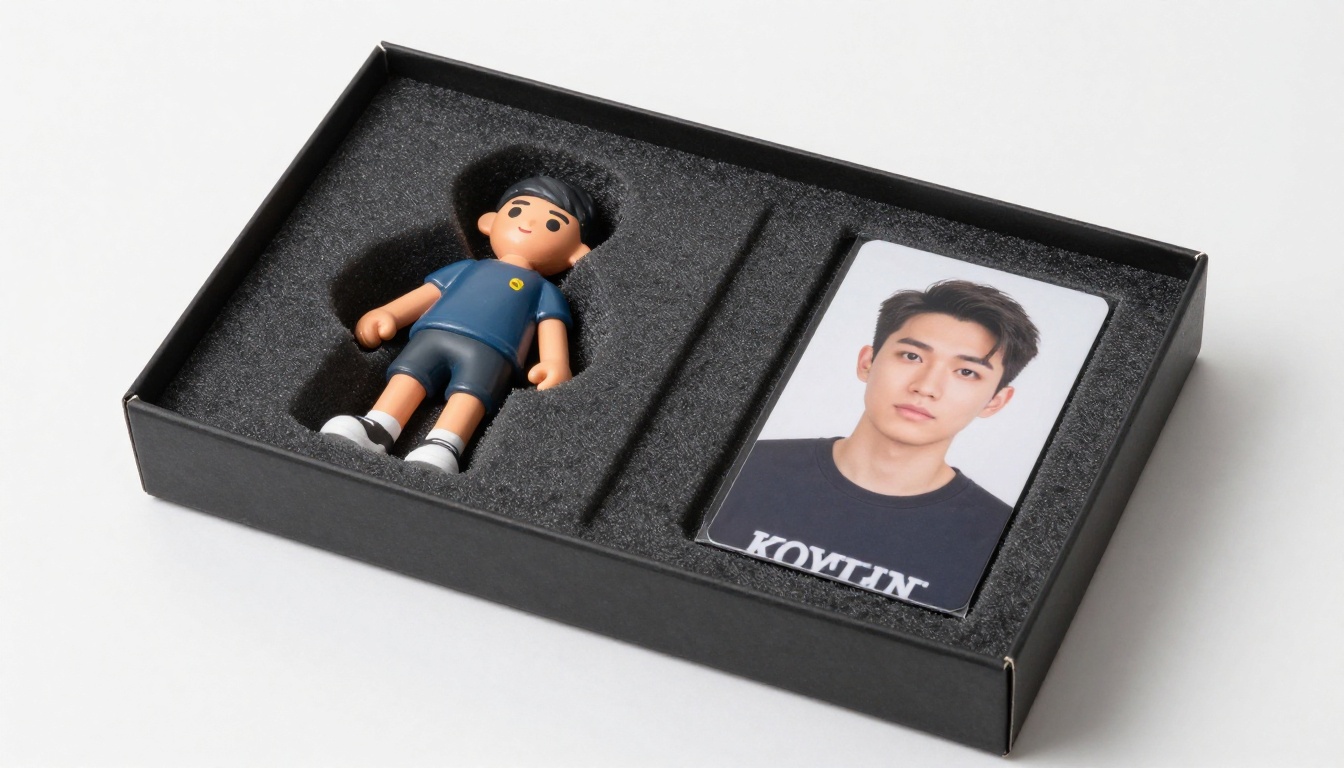
Turning a selfie into a 3D-printed figurine is now a two-step process powered by AI: generate a high-quality portrait from your photo, then convert it into a printable 3D model. This article breaks down every stage, from selfie preparation to mesh generation to at-home or online printing, with specific tools and workflow tips for each step.
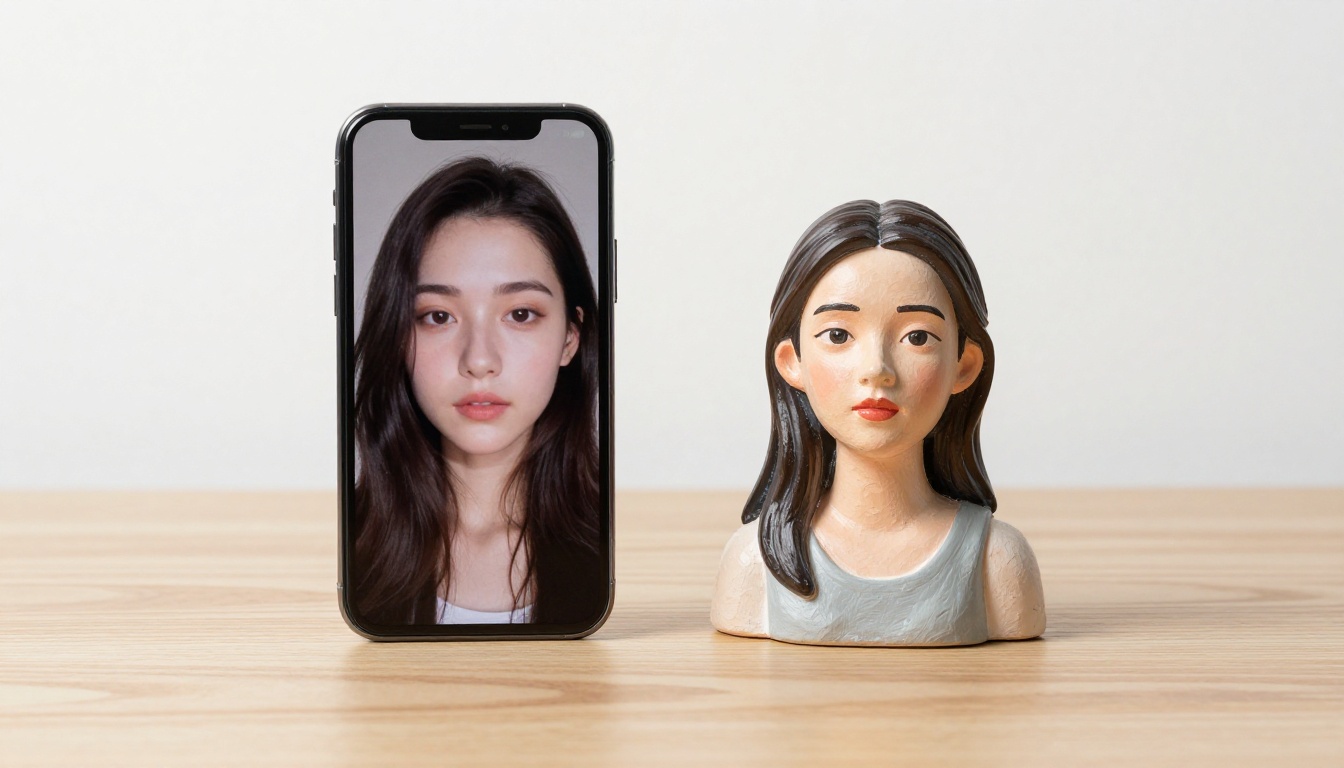
That tiny sculpture sitting on someone's shelf that looks exactly like a real person? It started as a selfie taken on a phone. AI image generation has completely changed what is possible, and the barrier to entry is nearly zero now. You do not need a 3D artist, a photogrammetry rig, or months of learning specialized software. A clear photo of someone's face, the right AI tools, and a basic understanding of the workflow is all it takes to turn a selfie into a 3D figurine with AI.
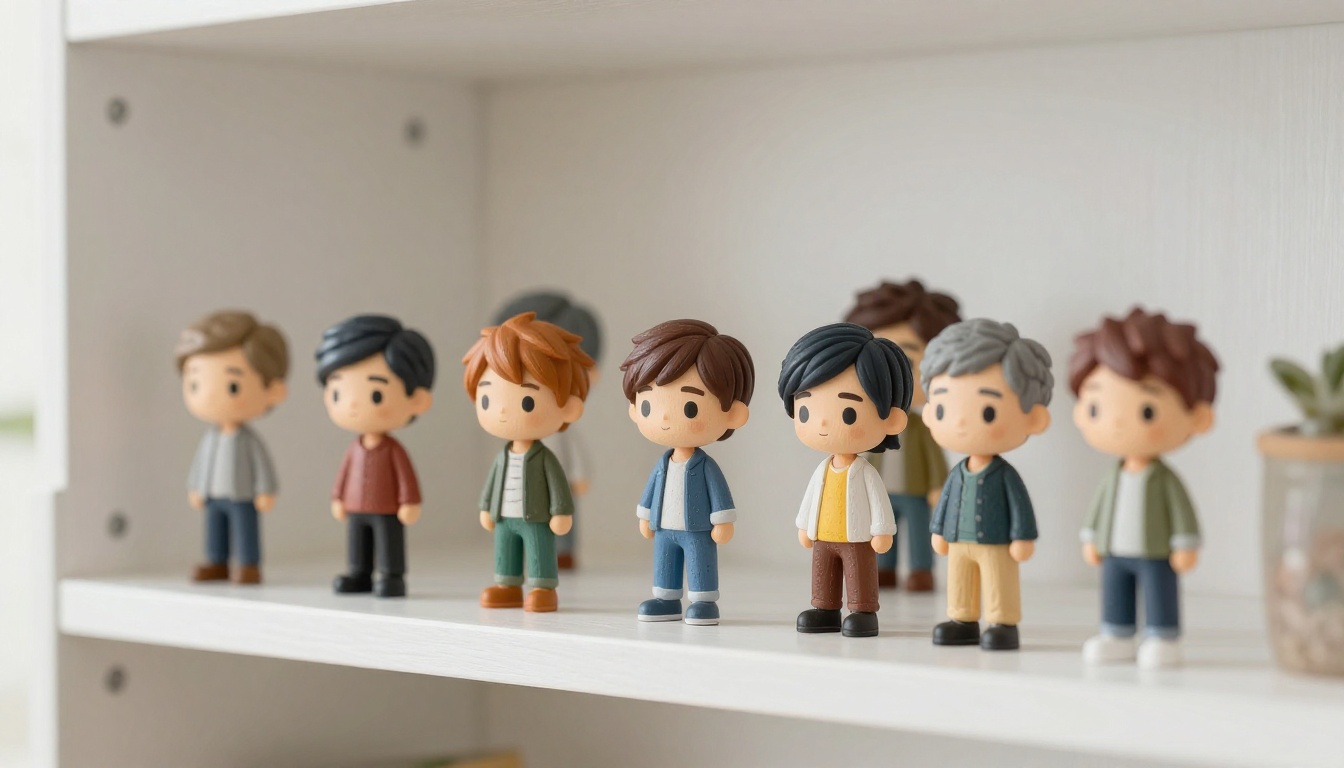
This is not science fiction. People are already printing personalized figurines for weddings, gaming communities, sports teams, and gifts. The technology pipeline that makes it possible has matured rapidly, and in 2027, it is more accessible than ever.
What the Result Actually Looks Like
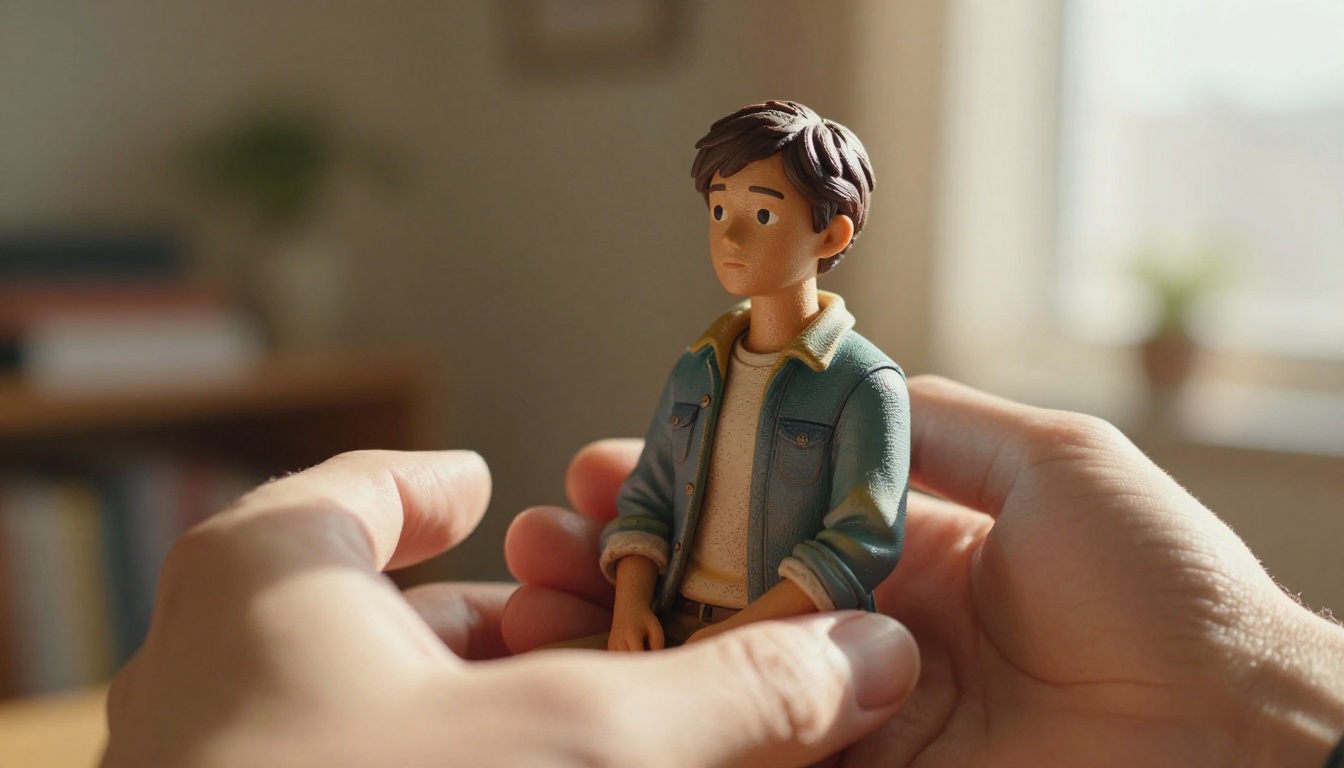
Before getting into process, it helps to understand what you are actually making. A finished AI-generated selfie figurine is a physically printable 3D model that captures the unique facial geometry of a real person. At its best, the output shows:
Accurate facial proportions (jawline shape, nose bridge, eye spacing)
Customizable pose, clothing style, and print scale
Surface detail suitable for FDM or resin printing
Paintable features that can be finished for maximum realism
The difference between a generic figurine and one built from a real selfie is immediately obvious. The AI captures the specific structure of a face rather than producing a generic human form.
From Phone Photo to Physical Object
The full pipeline moves through four stages: portrait generation, AI depth estimation, mesh generation, and 3D printing. Each stage has its own tools, and the quality of your final figurine depends heavily on decisions made at step one.
A standard smartphone selfie is actually sufficient as input. What matters more is the quality of the 2D portrait you generate or refine from that photo before feeding it into a 3D reconstruction tool.
The Realism Factor
The more information an AI can extract from a face, the more accurate the 3D model becomes. Frontal shots provide the best symmetry data. Slight three-quarter angles add depth cues that help AI depth estimation algorithms. Harsh shadows work against you. Diffused natural light works in your favor.
💡 The highest-quality figurines start from AI-upscaled or AI-refined portraits, not raw selfies. Running your photo through a super-resolution tool first maximizes the facial detail that the 3D AI has to work with.
How AI Reads a Face
The technology behind photo-to-3D conversion is not magic, though it can feel that way. Two primary approaches power most tools available today.
Facial Geometry Extraction
Modern AI models trained on millions of 3D face scans have learned to recognize the geometric relationships in a human face from 2D projections. From a single photo, they can infer:
Orbital depth (how deep the eye sockets sit relative to the brow ridge)
Nasal projection (how far the nose extends from the face plane)
Mandibular structure (jawline shape and chin projection distance)
Cheekbone prominence and overall facial width-to-height ratio
This is not guesswork. It is learned statistical inference based on the millions of real faces these models have processed during training.
Depth Mapping from a 2D Photo
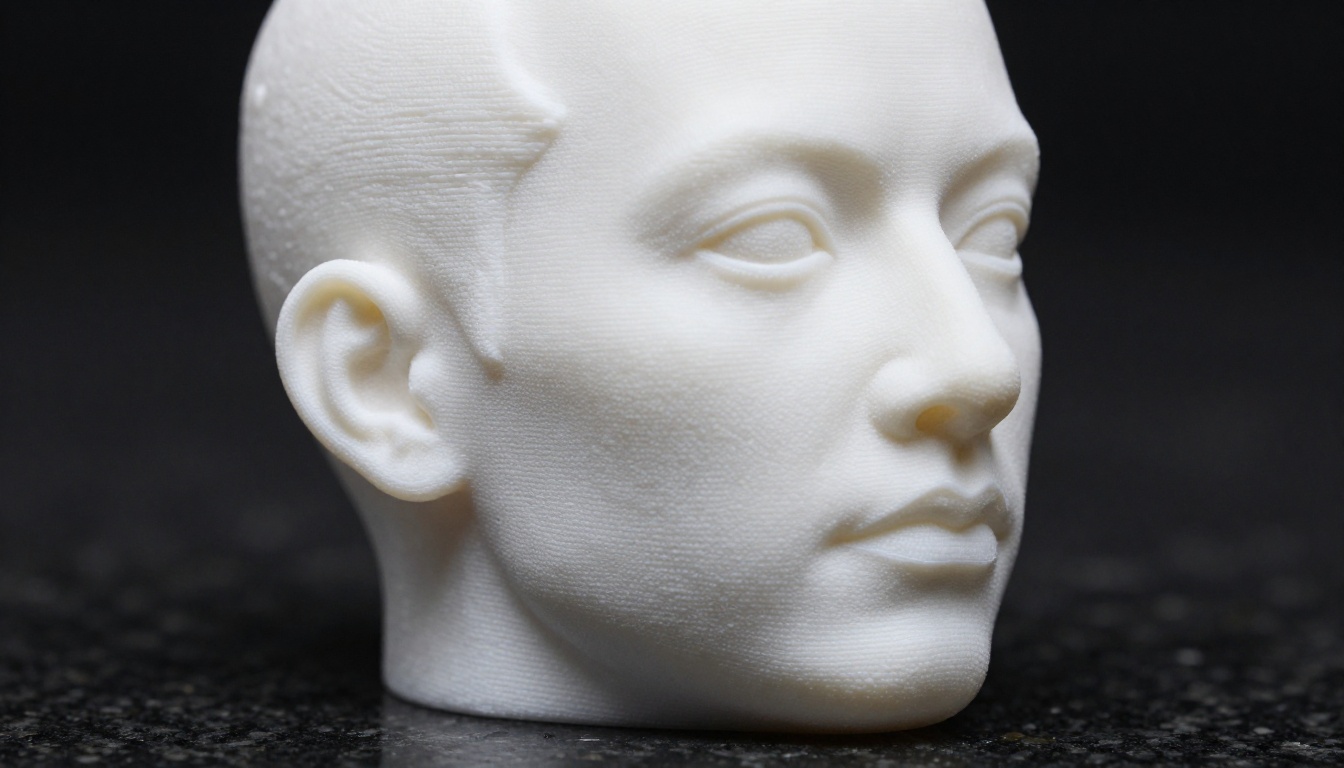
Depth estimation AI creates a grayscale map where lighter pixels represent surfaces closer to the camera and darker pixels represent surfaces further away. Applied to a portrait, this produces a usable 3D height map of the face.
That height map feeds into mesh generation, where software converts the 2D depth data into a 3D polygon mesh. The result is not as detailed as a LiDAR scan, but it is more than sufficient for a figurine that reads as a recognizable likeness at typical display sizes of 10 to 20 centimeters.
The Two-Stage Process Explained
The cleanest workflow separates this job into two distinct stages. Conflating them is where most beginners go wrong.
Stage 1: Generate a High-Quality Portrait
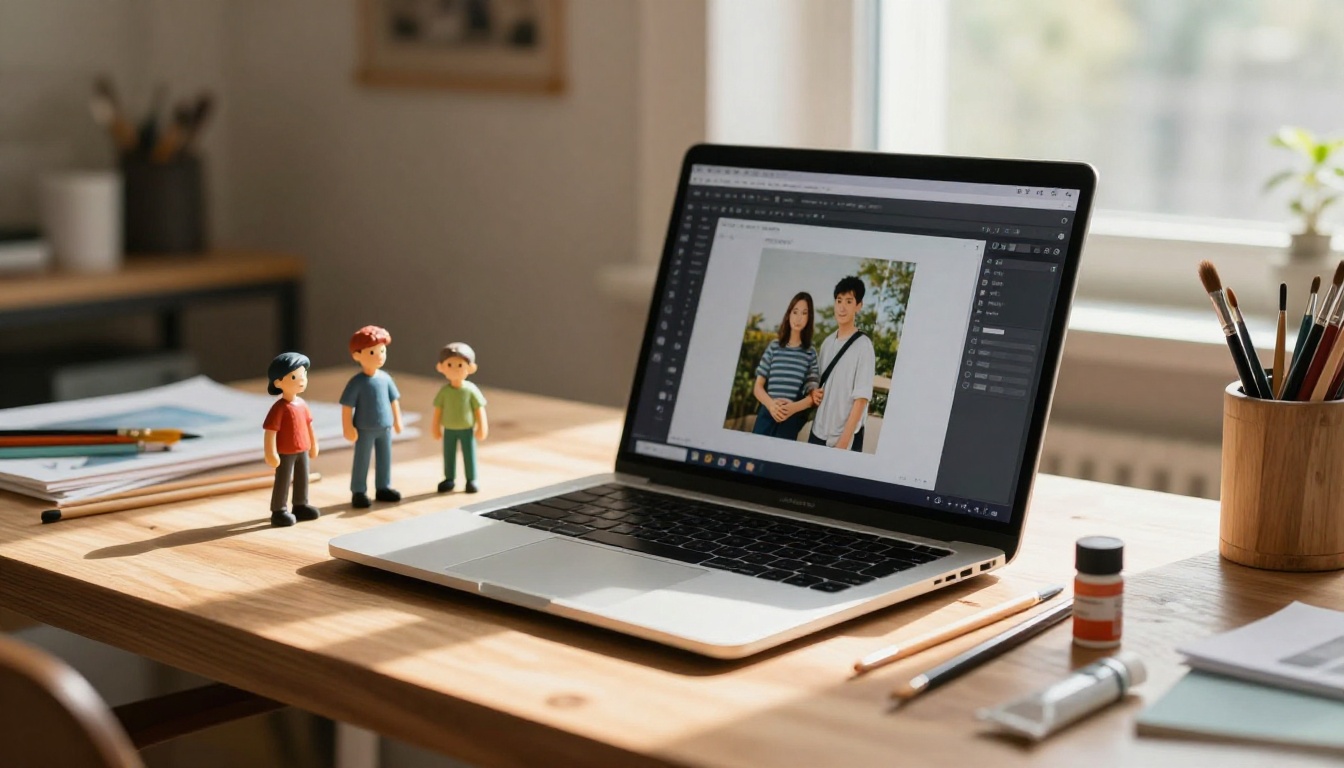
This is where AI image generation does the heavy lifting. Instead of feeding a raw selfie directly into a 3D tool, you first use an AI image generator to produce a clean, high-resolution, idealized portrait based on the selfie. This step:
Corrects lighting and exposure inconsistencies in the original photo
Removes background distractions that confuse 3D tools
Sharpens facial features to increase mesh accuracy
Optionally applies stylization (chibi proportions, fantasy costume, realistic studio portrait, etc.)
The portrait you generate here is the actual input to your 3D pipeline. Better portrait quality directly translates to better 3D output quality.
Stage 2: Photo to Printable 3D Model
With a polished portrait ready, the 3D stage takes over. Dedicated conversion tools accept that portrait and output:
A depth map of the face
A 3D mesh in STL, OBJ, or GLB format
Optional texture maps that serve as painting color guides
The STL or OBJ file is what you send to a 3D printer or upload to a print service. At this point, the digital work is done.
The Best AI Tools for This in 2027
Several tools handle different parts of the pipeline. Knowing which to use for what saves significant time.
Free tools exist at every stage of this pipeline, but they come with trade-offs: lower resolution outputs, watermarks, slower processing, or limited monthly generations. For a one-time personal project, free tiers work fine. For ongoing production of personalized figurines as gifts or for a small business, paid plans at both the portrait generation and 3D conversion stages are worth the investment.
💡 The single highest-impact upgrade you can make is using a custom-trained LoRA for the person you want to figurinize. A LoRA trained on 10-20 photos of one individual produces portraits far more accurate than a single-image reference alone.
Which Tool Fits Your Goal
One-off personal figurine: PicassoIA Image plus a free Tripo3D tier
Personalized gift: Train a LoRA with P Image Trainer, generate portrait, then convert to 3D
Small figurine business: Full paid stack for volume and consistent quality
Chibi or stylized figurine: PicassoIA Image with style-specific prompts
How to Use PicassoIA for Figurine Portraits
PicassoIA Image handles the portrait generation stage with a high degree of control. Here is the exact workflow for producing a figurine-ready portrait from a selfie.
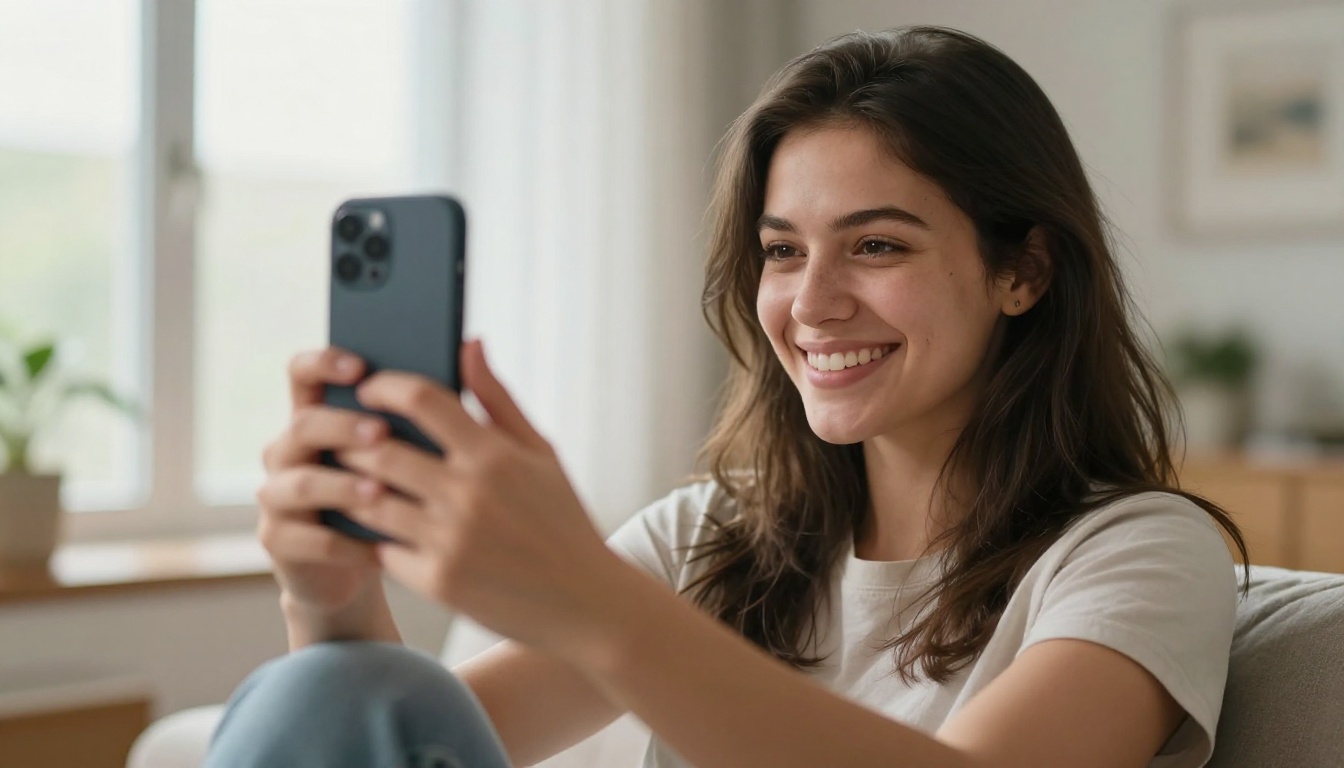
Step 1: Prepare Your Reference Photo
Take or select a selfie with these qualities:
Front-facing or 15-degree angle (avoid extreme side profiles)
Even lighting, preferably diffused natural light or indoor ambient
Clear or simple background that does not compete with the face
High resolution: at least 1000px on the short side
The more face data you give the AI, the more accurate the generated portrait will be.
Step 2: Generate a Clean Portrait
Open PicassoIA Image and use an img2img or reference-image workflow. Write a prompt describing the exact portrait you want:
Portrait of [person description], front-facing, neutral expression,
white studio background, soft diffused lighting, photorealistic,
8K, sharp facial features, no harsh shadows
Run four to eight variations and select the one with the most accurate facial likeness. The goal is a clean, front-lit portrait with no background distractions.
Step 3: Train a Custom LoRA for Accuracy
For maximum accuracy, especially for gifts where the likeness needs to be clearly recognizable, use P Image Trainer to train a custom LoRA on 10-20 photos of the specific person.
A trained LoRA embedded into your generation workflow produces portraits where the face matches with a fidelity that a single-image reference cannot achieve. Training takes 20-40 minutes, but the results are significantly more accurate than any single-photo approach.
Step 4: Create Angle Variations with Flux Redux
Once you have a strong base portrait, Flux Redux Dev lets you create variations with different angles, lighting setups, or subtle pose changes without regenerating from scratch. This is useful when you need a specific angle that provides better depth cues for the 3D conversion tool.
Step 5: Export and Feed to Your 3D Tool
Save your final portrait as a PNG at maximum resolution. Upload to your chosen 3D conversion tool. Most tools accept a single portrait image and take 30 seconds to 3 minutes to generate the initial mesh. Download the STL or OBJ file when ready.
Tips for a Better Source Selfie
The garbage-in-garbage-out principle applies strongly here. Small improvements to your input selfie translate directly into better 3D models.
Lighting Matters Most
Avoid these lighting situations:
Harsh overhead lighting that creates deep shadows under the nose and eyes
Backlighting that silhouettes the face against a bright background
Mixed color temperatures (warm tungsten bulbs mixed with cool daylight)
Prefer these instead:
Diffused window light positioned in front of or to the side of your face
Overcast outdoor light, which acts as a giant natural softbox
Ring light at camera level for shadow-free, even illumination
Angles That Work Best
Angle
3D Model Quality
Notes
Dead-on frontal
High symmetry data
Can appear flat in portrait
15-degree rotation
Best overall
Preferred for AI tools
30-degree rotation
Good depth cues
Some detail loss on far side
Profile (90 degrees)
Poor
Avoid for 3D conversion
Expression and Eyes
Three things matter here more than anything else:
Neutral expression or subtle smile: avoids mouth distortion in the mesh
Eyes fully open: the orbital region is critical for likeness recognition
No squinting: compressed eye geometry reduces the data AI can extract
💡 Take 10-15 selfie variations in quick succession. Subtle differences in expression and micro-rotation give you more material to select from when choosing the best input for AI processing.
Printing Your AI Figurine
Once you have a 3D file in STL or OBJ format, you have two main routes to a physical figurine.
At-Home Printing Basics
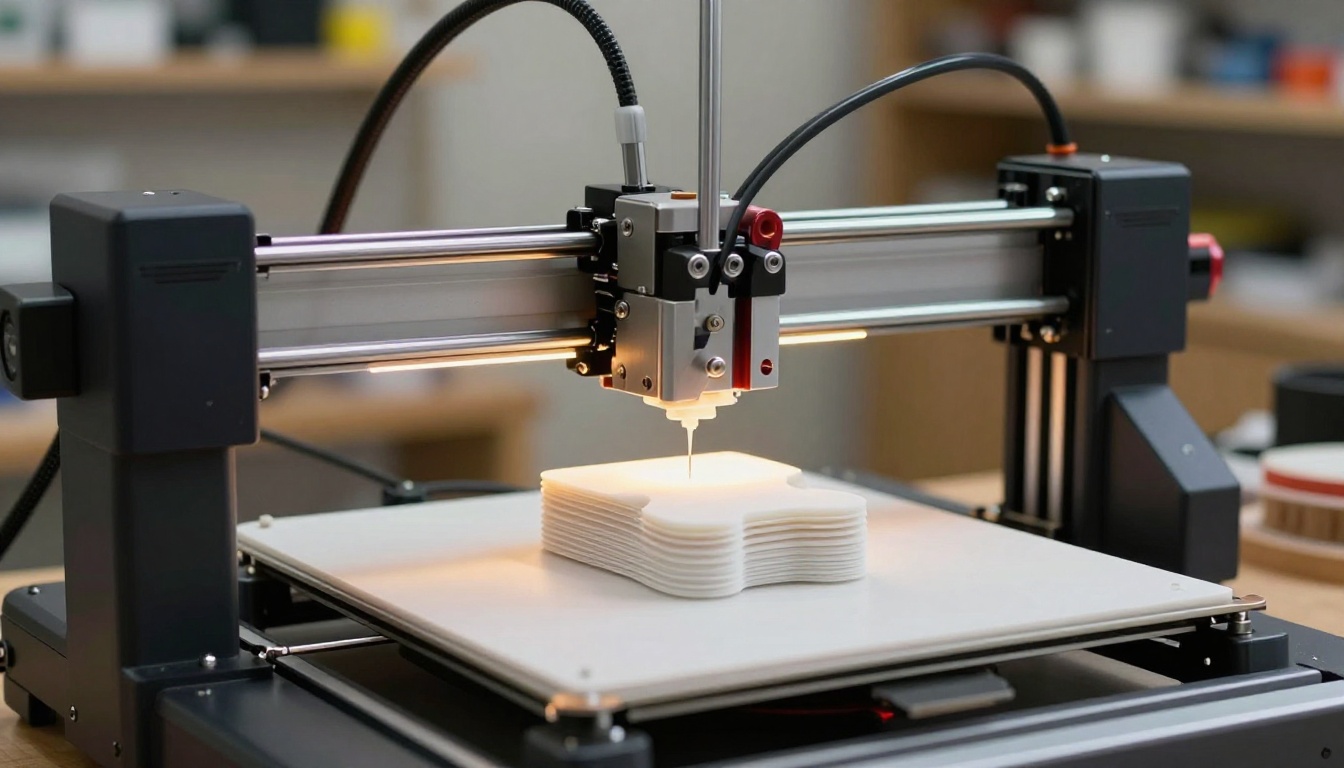
If you own or have access to a 3D printer, this is the most cost-effective option for multiple prints. Important considerations:
Resin printers (MSLA/DLP) produce significantly better facial detail than FDM printers. For a figurine where facial likeness matters, resin is the correct choice. At 0.02mm layer height, resin printers capture enough detail to make the face clearly recognizable.
Recommended settings for figurines:
Layer height: 0.02 to 0.05mm
Print scale: 100mm to 200mm height gives the best detail-to-practicality ratio
Supports: Add manual supports under the chin and any outstretched limb features
Post-processing: Sand from 400 grit to 2000 grit before painting for a smooth skin surface
Online Print Services
No printer? Multiple online services accept STL files and ship finished figurines directly to your door:
Shapeways: High-quality resin, multiple material options, reliable finish
Sculpteo: Fast turnaround, solid print quality
Treatstock: Global workshop network, competitive pricing
Local maker spaces: Often cheapest, allows direct communication on quality
For gifts, many services offer painting and finishing as an add-on, delivering a polished, finished figurine without requiring any manual work on your end.
Painting for Maximum Realism
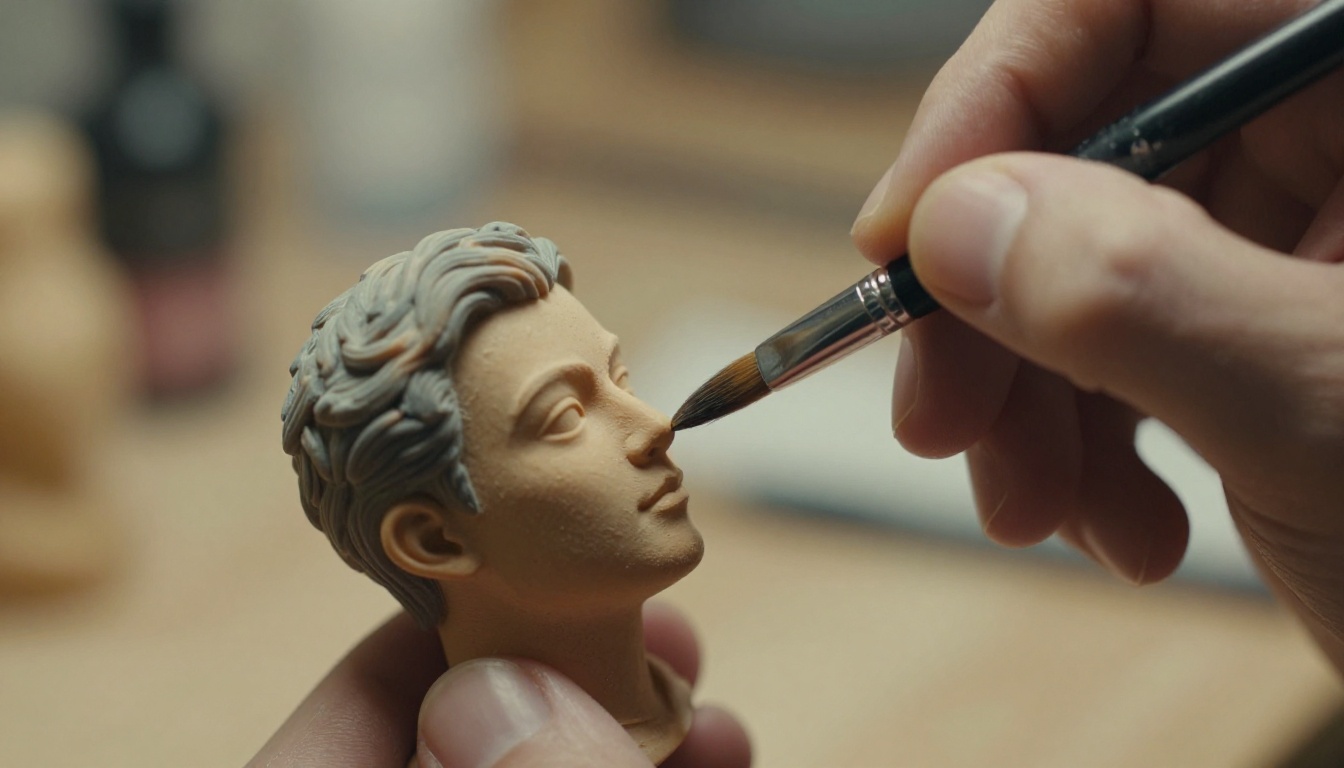
A printed but unpainted figurine looks impressive. A painted one looks alive. Basic painting workflow:
Prime with grey or white spray primer (two to three thin coats, let dry fully)
Base coat skin tones using acrylic paint with a flat brush
Layer darker tones into recesses like eye sockets, nose sides, and the neck shadow area
Highlight prominent surfaces with lighter mixed skin tones
Detail pass: eyes, eyebrows, lips, hair, and clothing colors
Seal with matte varnish to unify the finish and protect the paint
No artistic skill is required to do this adequately. Using reference photos of the person while painting allows the brain to autocorrect toward accurate likeness recognition naturally.
Common Problems and How to Fix Them
Even with a solid workflow, specific issues come up consistently.
The Face Looks Too Generic
Cause: The AI portrait did not capture the specific person's features accurately enough.
Fix: Train a custom LoRA with P Image Trainer using 15-20 diverse photos of the person. A trained LoRA increases likeness fidelity by a large margin compared to single-reference generation.
Holes or Artifacts in the Mesh
Cause: The depth map had ambiguous areas, usually where shadows were too dark or facial features too small to resolve clearly.
Fix: Use a mesh repair tool (Meshmixer is free) to fill holes before printing. Alternatively, regenerate from a better-lit source portrait and retry the conversion.
Scale Is Off After Slicing
Cause: Most AI 3D tools export at arbitrary or inconsistent scale units.
Fix: Open the file in Blender or your slicer software and manually set the Z height to your target (e.g., 150mm). Scale all three axes equally to maintain correct proportions.
What Makes a Figurine Worth Printing
Not every AI-to-3D output is worth sending to a printer. Before committing to a print job, evaluate your mesh against these criteria:
Criteria
What to Check
Likeness
Does the face read as the correct person at first glance?
Mesh cleanliness
No holes, no non-manifold edges, no inverted normals
Detail resolution
Face features are sharp, not blurred or mushy
Proportion accuracy
Head-to-body ratio looks natural and balanced
Printability
No thin unsupported overhangs below 45 degrees
If the mesh passes all five checks, it is print-ready. If it fails on likeness, regenerate from a higher-quality portrait. If it fails mesh quality, run it through Meshmixer for repair before printing.
Start Creating Yours Right Now
The entire process described here, from selfie to print-ready file, can happen in under two hours for a first attempt. With practice, 30 to 45 minutes covers it comfortably.
All the tools are available today. PicassoIA Image handles the portrait generation stage with no prior design knowledge required. P Image Trainer takes the accuracy much further when you need a precise, recognizable likeness. Flux Redux Dev gives you the angle variations and portrait iterations that 3D conversion tools need to build accurate geometry.
Pick a selfie. Generate a portrait. Convert it to 3D. Print it, paint it, display it. The physical object that comes out at the end is real and tangible, made from a single photograph, powered entirely by AI.
Open PicassoIA Image and see what your face looks like as a figurine.