You don't have to draw well. You never did. The idea that creating beautiful art requires years of training, expensive tools, or some innate talent has always been a gate that kept most people out. AI has just kicked that gate off its hinges. Today, a stick figure, a squiggly outline, or a rough napkin sketch is all you need to generate photorealistic images that would take a professional illustrator hours to produce. This is not a gimmick. It is a real, working technology that anyone with a smartphone or laptop can use right now to turn doodles into real art with AI.
What AI Actually Sees in Your Doodle
Your doodle looks like scribbles to a person. To an AI model, it is a map.
Lines as creative blueprints
Every stroke you make carries structural information: where edges are, what the rough shape of something is, where the foreground ends and the background begins. AI image models trained on millions of images have learned that a certain type of curved line typically means a face, a certain angular shape usually means architecture, a rough oval with stick limbs is unmistakably a person. The model does not "see" bad drawing. It sees intent.
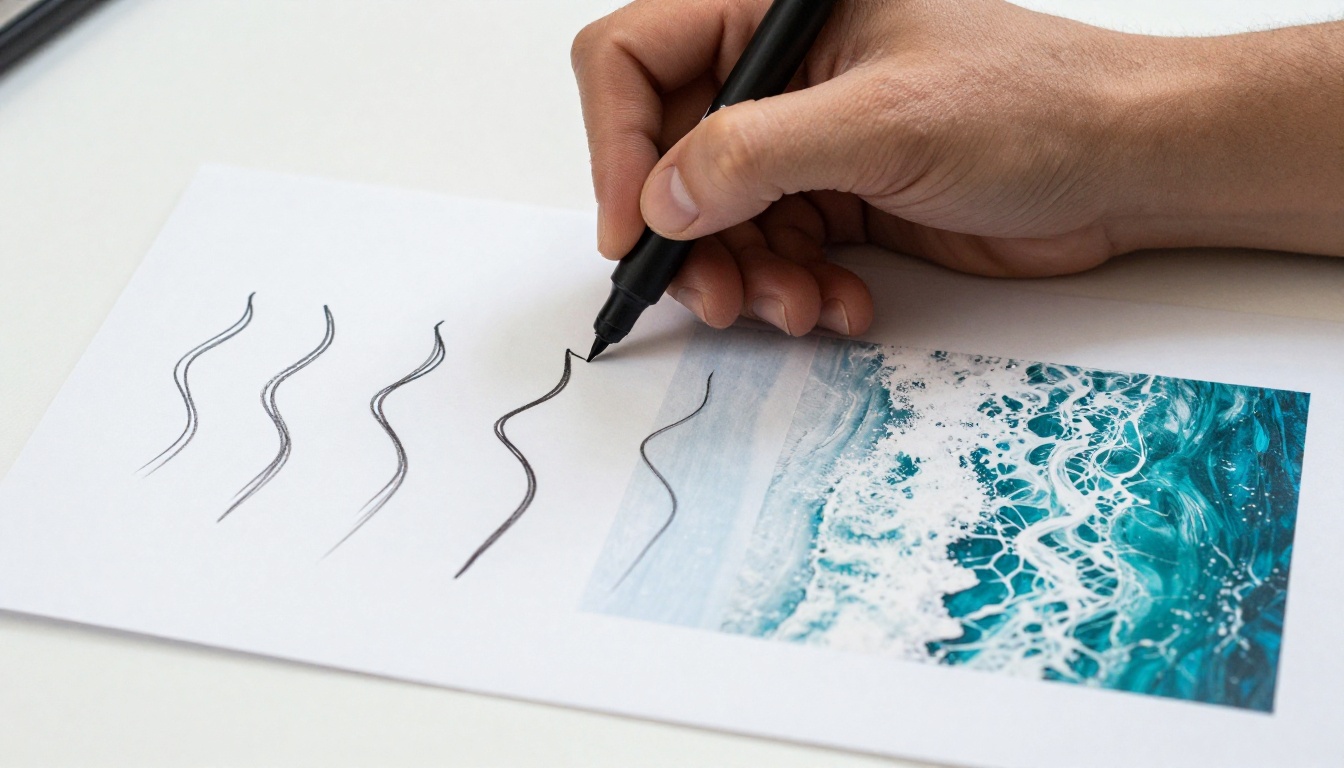
When you draw, you are essentially writing a spatial description. The AI reads that description and fills it with photorealistic detail using everything it has absorbed from its training data. A rough circle with two dots and a curve becomes a face full of personality. Five wavy lines become a realistic ocean. That sloppiness you are embarrassed about is actually creative freedom in disguise.
Rough or precise, both work
The surprising thing is that the AI does not need precision. In fact, loose, gestural doodles often produce more dramatic transformations than careful line drawings because the model has more room to interpret and fill in creative details on its own. If you want tight compositional control, draw carefully. If you want the AI to surprise you, stay loose and let the text prompt carry the stylistic weight.
💡 Pro tip: The looser your doodle, the more the AI interprets it. If you want precise control over structure, draw more carefully. If you want the AI to surprise you, stay loose.
The 3 Technologies Making This Possible
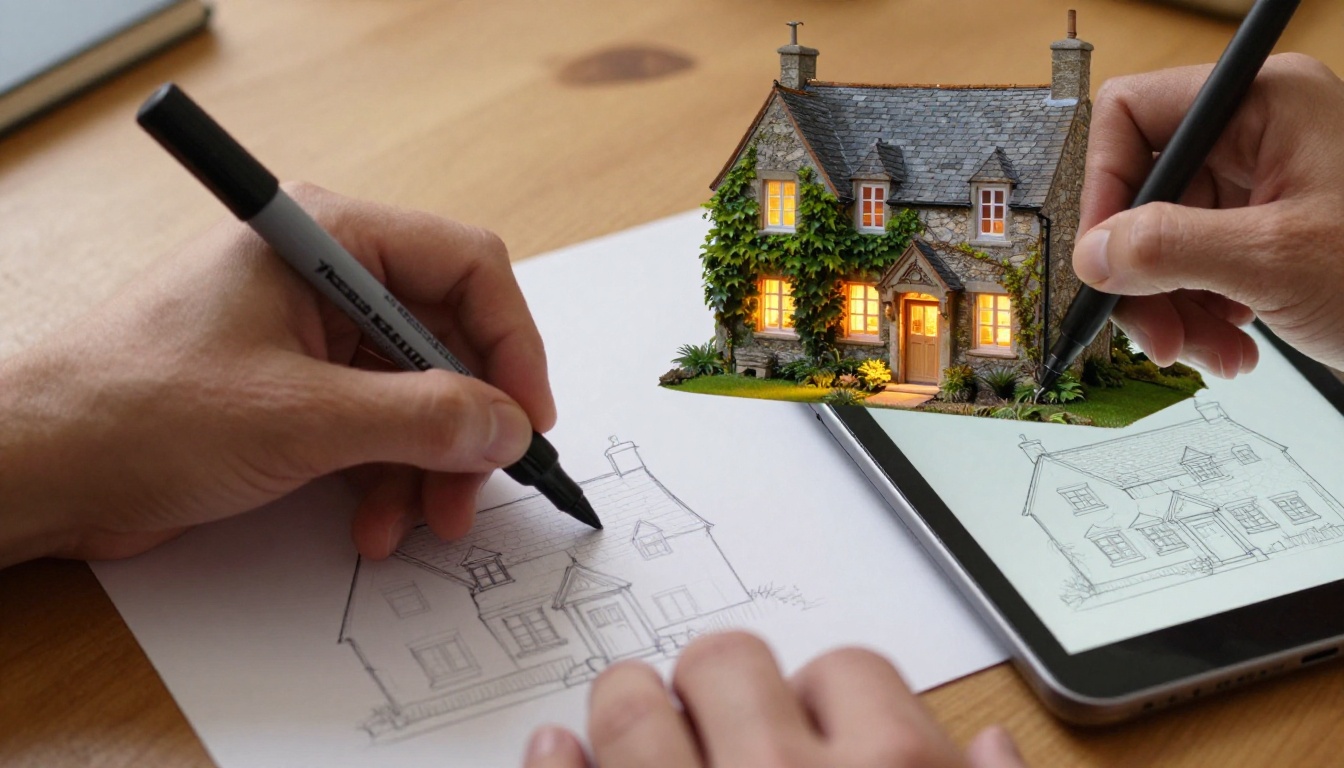
Not all doodle-to-art tools work the same way. Three distinct approaches power most of what is available today, and each has real differences in what it produces and how much it respects your original drawing.
ControlNet Scribble: the original
ControlNet Scribble is the model that started it all for sketch-based generation. It was developed as an extension for Stable Diffusion and works by extracting the structural edges from your sketch and using them as a guiding map for the image generation process. The text prompt you write steers the style and subject, while the scribble map steers the composition and layout. The result is an image that respects your layout but renders it in whatever visual style you describe.
This remains the most widely used approach for doodle conversion because it is forgiving, fast, and works with literally any type of sketch: a pencil drawing photographed with your phone, a digital sketch made with your finger, or even a photograph of something you drew in the margin of a notebook.
Flux Canny: structure at a higher level
Flux Canny Pro and Flux Canny Dev take a different route. Instead of treating your sketch as a loose guide, the Canny approach extracts hard edge maps: crisp outlines that define exactly where object boundaries sit in space. This gives you tighter structural fidelity. When you need the AI to respect specific proportions or positions in your drawing, Canny-based models deliver more predictable and architecturally accurate results.
Depth models for 3D structure
Flux Depth Pro goes one step further by estimating a depth map from your input, allowing the AI to understand which parts of your drawing are closer to the viewer and which recede into the background. This produces images with convincing spatial depth even from flat 2D doodles. It is particularly effective for landscape sketches, interior scenes, and anything where perspective and depth of field matter.
5 Doodle Types That Work Best
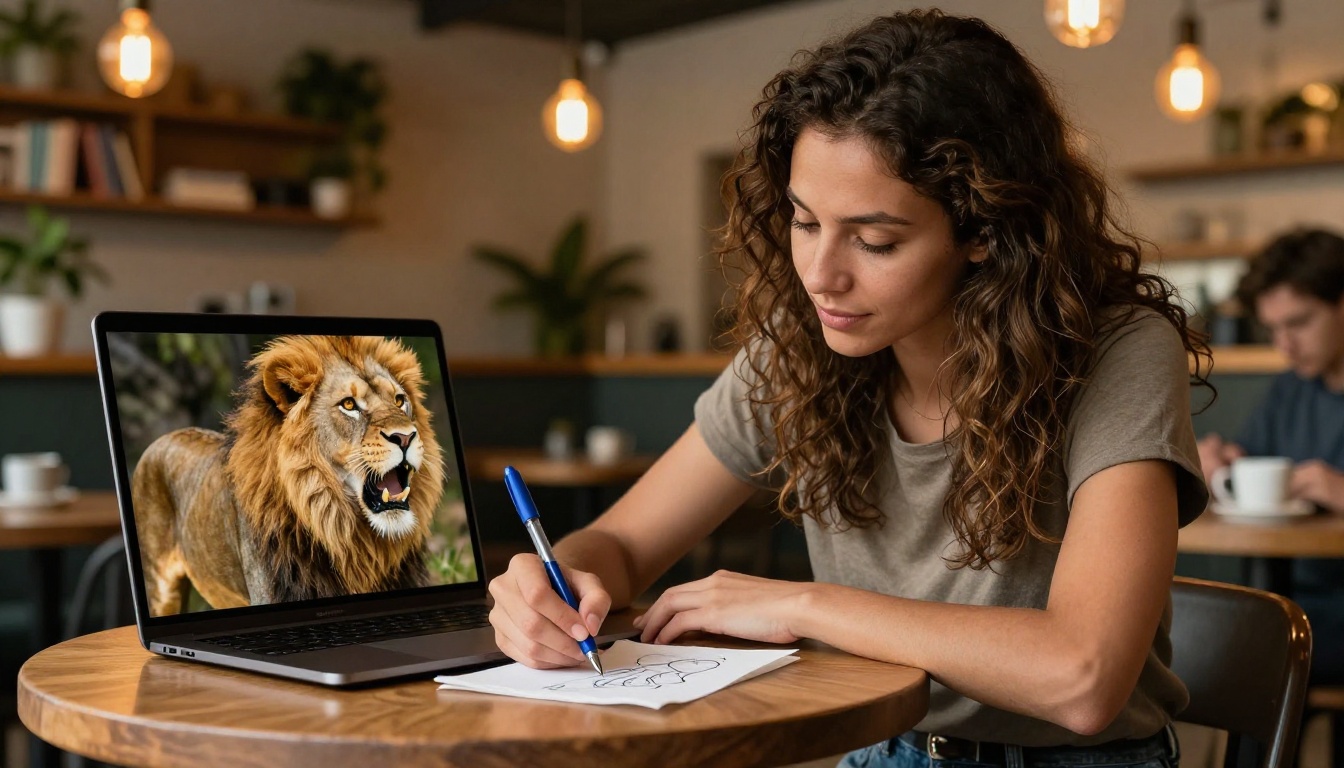
Not every type of sketch produces equally strong results. Based on how these models process input, certain subject categories consistently produce outstanding output quality.
| Doodle Type | Why It Works | Best Model |
|---|
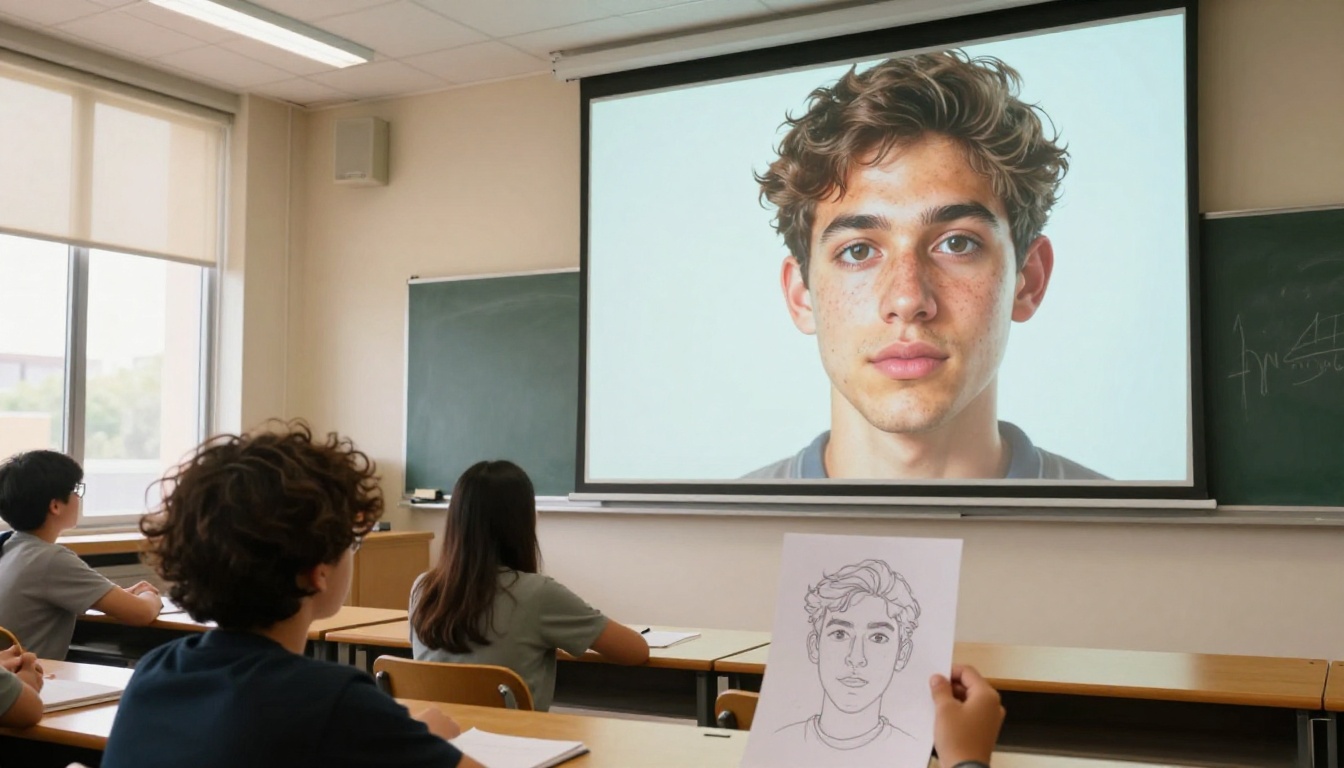
| Portraits and faces | Facial structure is heavily weighted in training data | ControlNet Scribble |
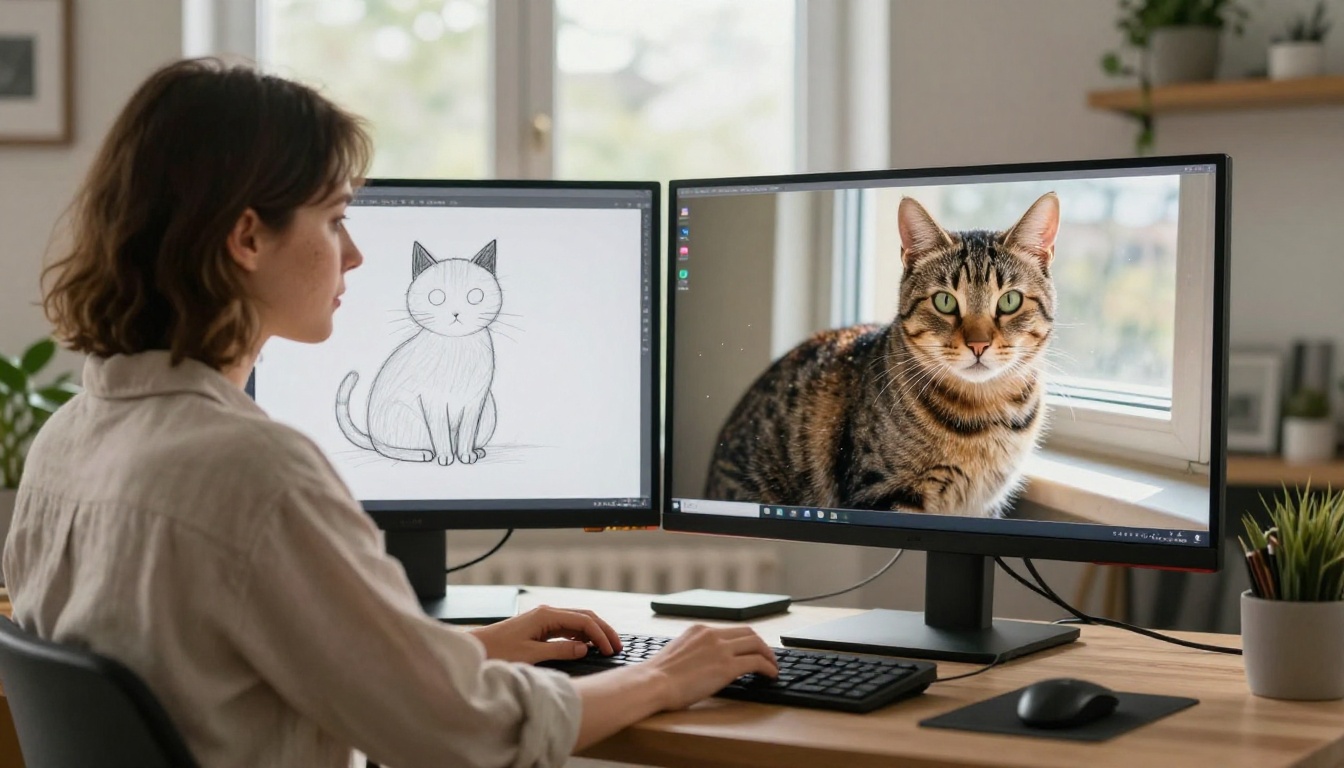
| Animals | Rough silhouettes carry enough species information | Flux Canny Dev |
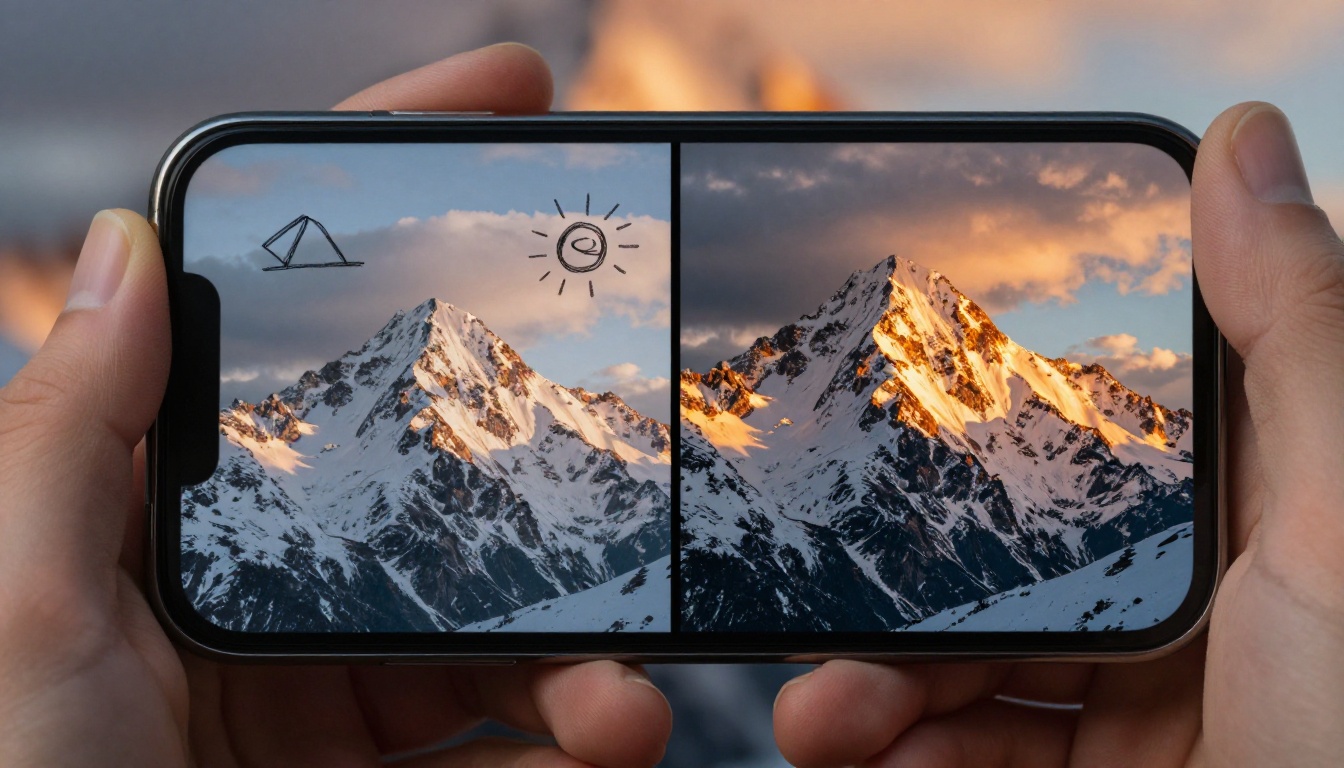
| Landscapes and nature | Simple horizon lines carry enormous spatial data | Flux Depth Pro |
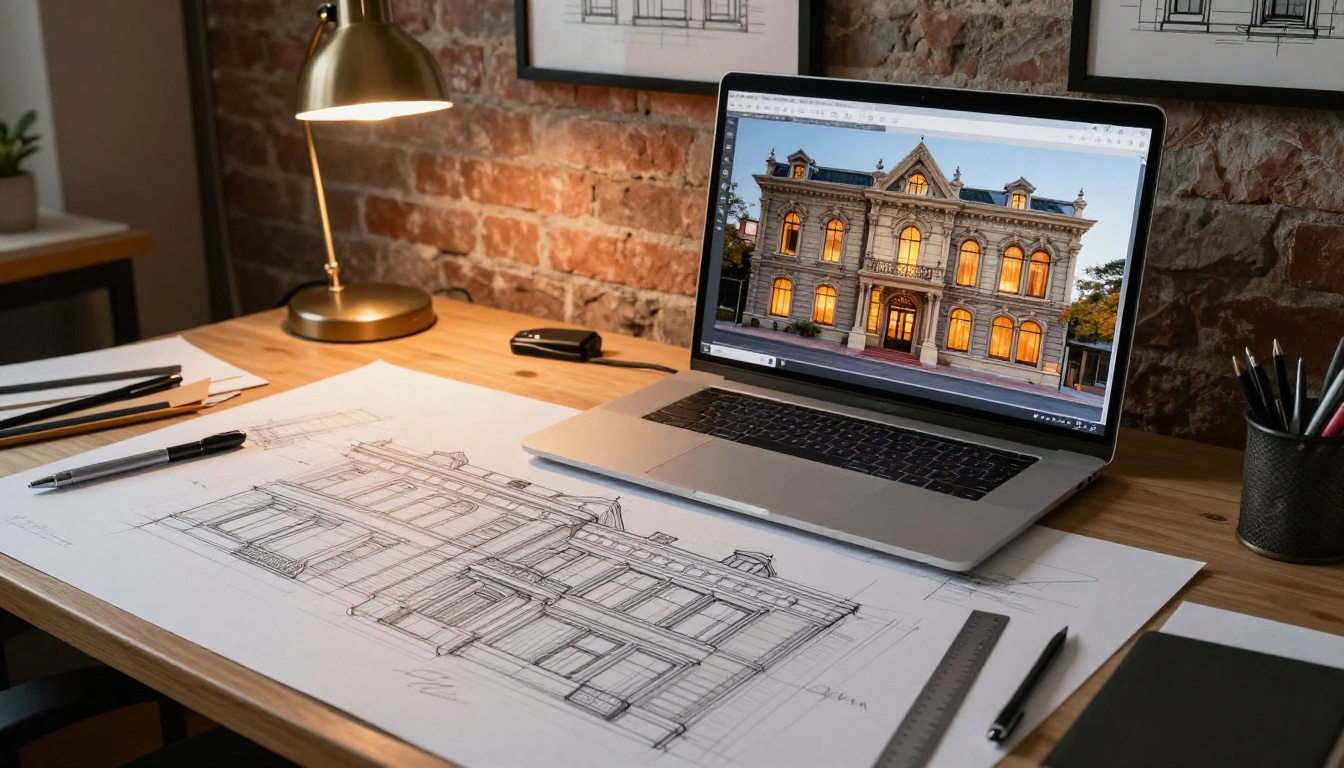
| Architecture and buildings | Angular edges translate cleanly to real structures | Flux Canny Pro |
| Objects and products | Even rough shapes produce polished-looking renders | SDXL ControlNet LoRA |
Animals and faces tend to be the most forgiving starting points for beginners. The AI has seen so many examples of these in training that even a very rough sketch gets interpreted accurately. Architecture and objects reward more precise line work but also benefit significantly from clean edge extraction via the Canny models.
How to Use ControlNet Scribble on PicassoIA
ControlNet Scribble is available directly on PicassoIA with no complex setup beyond a free account. Here is exactly how to use it.
Step 1: Prepare your sketch
Your drawing does not need to be digital. Draw something on paper, take a photo with your phone, and you are ready. A few things matter here for best results:
- Contrast matters most: Dark lines on a white background work best. Avoid grey or faded pencil sketches when possible, or boost contrast before uploading.
- Crop the whitespace: Fill most of the frame with your drawing. Unused white space reduces the model's attention on your actual subject.
- One subject at a time: One main focal element works better than a cluttered scene, especially when you are just starting out.
Step 2: Write a strong prompt
This is where most people underinvest and wonder why their results are mediocre. Your prompt steers everything that is not determined by your sketch: the lighting, the mood, the textures, the background environment, and the overall visual style.
Weak: "a house"
Strong: "a cozy stone cottage at golden hour, ivy-covered walls, warm amber light glowing from the windows, soft bokeh background with autumn trees, photorealistic, 8K, Kodak Portra 400"
💡 Prompt structure that consistently works: [Subject and action] + [Setting and environment] + [Lighting conditions] + [Mood] + [Quality modifiers]
Always close your prompt with quality modifiers: photorealistic, cinematic lighting, 8K, high detail, film grain, Kodak Portra 400. These consistently push output quality significantly higher at no extra cost.
Step 3: Set the control strength
The control strength parameter is the single most important setting. It controls how strictly the AI follows your sketch's structure:
- High (0.8 to 1.0): The AI stays very close to your drawing. Use this for precise compositional requirements.
- Medium (0.5 to 0.7): A balance between following your sketch and creative interpretation. This is the sweet spot for most doodles.
- Low (0.2 to 0.4): The AI uses your sketch as a very loose suggestion. The output will diverge significantly, which can produce beautiful, unexpected results.
Start at 0.6 for your first generation and adjust based on what you see.
Step 4: Generate, evaluate, and iterate
Hit generate. Your first result is rarely your final result. The real skill in using these tools is iteration: adjust the prompt, tweak the control strength, try a different seed. Three to five generations with small changes between them typically produces something genuinely excellent.
When you get a result you like, note the seed number immediately. This lets you reproduce that composition exactly and make small prompt adjustments while keeping the same structural arrangement. Without saving the seed, you will not be able to return to that specific visual outcome.
More Models Worth Trying
Once you are comfortable with ControlNet Scribble, these models open up different creative directions depending on your goals.
SDXL ControlNet LoRA for stylistic range
SDXL ControlNet LoRA brings the power of Stable Diffusion XL's higher resolution and richer detail into the ControlNet framework. It is particularly strong for artistic styles: if you want your doodle rendered as a watercolor painting, an oil portrait, or a vintage illustration, this model has enormous stylistic range. For pure photorealism, Flux-based models have an edge, but SDXL Multi ControlNet LoRA goes further by letting you stack multiple control signals simultaneously, combining a scribble map with a depth map or pose reference. This gives you remarkable precision over the final image at the cost of slightly more complex setup.
RealVisXL for photorealism
RealVisXL v3 Multi ControlNet LoRA was specifically trained to produce output that looks like actual photography. If your goal is photorealistic images from a doodle, this model is optimized for that outcome. It handles human skin tones, material textures (fabric, metal, stone, wood), and environmental lighting with particular accuracy. Portrait and figure doodles especially benefit from this model.
Dreamshaper XL Turbo for speed and warmth
Dreamshaper XL Turbo is fast and versatile with a distinct painterly warmth that many users strongly prefer over the clinical precision of Flux-family models. It pairs well with ControlNet conditioning and is a strong choice when you want results quickly without sacrificing visual quality or creative character.
6 Common Mistakes to Avoid
Most failed or disappointing generations trace back to a small number of repeatable mistakes. Knowing them in advance saves significant frustration.
Writing no prompt at all
Some people upload their sketch and hit generate without writing a prompt. These models respond to your sketch for structure and your prompt for everything else. No prompt means the AI guesses at style, lighting, and content from scratch, producing generic, flat results. Always write a meaningful scene description.
Overcrowding the composition
A doodle with five different objects, two people, a background scene, and handwritten text gives the AI too many competing signals. Pick one clear focal subject per generation, especially when learning. Complexity comes later after you understand how the model interprets different types of input.
💡 Rule of thumb: If your doodle would confuse a five-year-old, it will likely confuse the AI too. Simplify the drawing and use the prompt to add descriptive richness.
Setting control strength too high. A control strength of 1.0 forces the AI to follow every pixel of your sketch rigidly. This sounds ideal but often produces stiff, awkward results because the model has no room to interpret and fill in natural-looking details. Pull it back to 0.6 to 0.7 for most doodles.
Uploading low-contrast images. If you photograph a pencil sketch on cream paper under dim lighting, the edge extraction produces a muddy, low-information map. Use clean white paper, good lighting, or increase image contrast digitally before uploading. The quality of your input image directly determines the quality of the extracted control signal.
Using single-word prompts. "Cat." "Tree." "City." These are not prompts. They are topics. A prompt describes a scene: what the subject is doing, where it is, what the light looks like, what the atmosphere feels like. Ten specific words will always beat two vague ones.
Expecting perfection on the first try. The average skilled user of these tools generates eight to fifteen variations before selecting one to refine further. First attempts are starting points, not finished products. The iteration is the process, and every generation teaches you something about how to adjust the prompt and settings for the next one.
What People Are Actually Making
The real-world applications span far wider than most people expect when they first encounter these tools:
- Product designers sketch early-stage concepts by hand and use AI to quickly visualize polished versions before committing to hours of 3D modeling
- Architects draw rough elevation sketches and generate atmospheric renderings to show clients before any detailed technical drawings exist
- Writers and authors doodle character faces and convert them to reference portraits for their books, scripts, or game projects
- Social media creators produce unique, high-quality visual content without a photography budget or design team
- Parents and educators help children see their drawings brought to life as a way to build creative confidence and interest in art
- Game developers rapidly prototype character and environment concepts during early production stages
The democratizing effect is real and measurable. Tasks that once required either significant skill or a significant budget are now accessible to anyone with an idea and ten minutes to experiment.
Match Your Goal to the Right Model
Matching your sketch type and creative goal to the right model makes a meaningful difference in output quality. Use this as a quick reference:
Your Doodle Is Already Waiting
Your next image is already in your hand. It is that rough sketch you made during a meeting, the doodle on the back of a receipt, the shape you traced in a notebook margin. None of that requires artistic talent. It requires a clear prompt, the right model, and a few minutes of iteration.
PicassoIA gives you direct access to ControlNet Scribble, Flux Canny Pro, Flux Canny Dev, Flux Depth Pro, RealVisXL Multi ControlNet, Dreamshaper XL Turbo, and every other model in this article without any complex setup or software installation. Open a model page, upload your sketch, write your prompt, and generate.
The worst case is that you get something interesting. The best case is that you get something you never expected to be able to make.
Pick up a pen. Draw anything. See what happens.


