Product design has always started the same way: a pencil, a blank page, and an idea scratched in lines. The gap between that sketch and a polished mockup used to cost thousands of dollars in 3D modeling software or days waiting on a freelance renderer.
Now, AI closes that gap in about five minutes.
This is not about vague possibilities that might arrive someday. Right now, models trained on structural edge data can read the contours of your pencil drawing, extract the geometry of the product you intended, and generate a photorealistic render that looks like a commercial product photo. No 3D modeling. No Illustrator. No design degree.
This article covers exactly how it works, which AI models produce the best results, and a step-by-step workflow you can run today on PicassoIA.
Why Sketches Still Work in 2027
The Gap Between Concept and Presentation
Every product designer knows this feeling: you have a concept that is fully formed in your head, your sketches communicate it perfectly to you, and then a client or stakeholder looks at the drawing and sees nothing. They cannot read construction lines. They cannot mentally subtract the annotation marks. They see a mess of pencil on paper.
This is not a failure of imagination on their part. It is a communication problem, and it is expensive. Product reviews get delayed. Iterations pile up before anyone has approved the core concept. Budget gets consumed before a single prototype is built.
A photorealistic mockup solves this immediately. Clients respond to renders. They give feedback on real-looking objects instead of abstract line drawings. The approval cycle shortens, sometimes dramatically.
What Clients Actually Respond To
Research in product development consistently shows that visual fidelity accelerates decision-making. When stakeholders see a photorealistic image, they engage with the actual design: proportions, materials, color, form. When they see a sketch, they engage with the sketch itself, asking questions like "what does this line mean?" instead of "should the handle be more angular?"
The implication is significant. The faster you can convert a sketch into a render, the faster your entire design iteration cycle moves.
How AI Reads a Sketch
Canny Edge Detection Explained Simply
When you run your sketch through an edge-detection AI model, it does something remarkably similar to what a human eye does when reading a line drawing: it identifies where transitions happen. High contrast edges, where dark pencil meets white paper, get extracted as structural data.
This edge map becomes the controlling input for image generation. The AI is told: "generate a photorealistic image, but the edges in your output must match this structural map." The result respects your original proportions and form language, while filling in realistic materials, lighting, and texture.
Flux Canny Pro and Flux Canny Dev are the most capable models for this workflow. Flux Canny Pro prioritizes precision and detail fidelity. Flux Canny Dev trades a small amount of precision for faster generation, making it useful for rapid iteration rounds.
💡 Tip: The cleaner your sketch, the better the edge map. Use a dark pen or marker over your initial pencil lines before uploading. High contrast between line and paper produces more accurate edge extraction.
Depth Maps and Structure Control
Canny edge detection works on 2D line information. Depth maps add a third dimension: they encode how far each part of the object is from the viewer. For product mockups, this is particularly useful because it preserves the sense of volume and three-dimensionality in the output.
Flux Depth Pro and Flux Depth Dev extract depth information from your source image and use it to anchor the structure of the generated output. For product designs with clear foreground and background separation, such as a bottle on a table or a device held in a hand, depth-guided generation produces renders with more convincing spatial presence.
Best AI Models for Sketch to Mockup
Flux Canny Pro for Edge-Perfect Renders
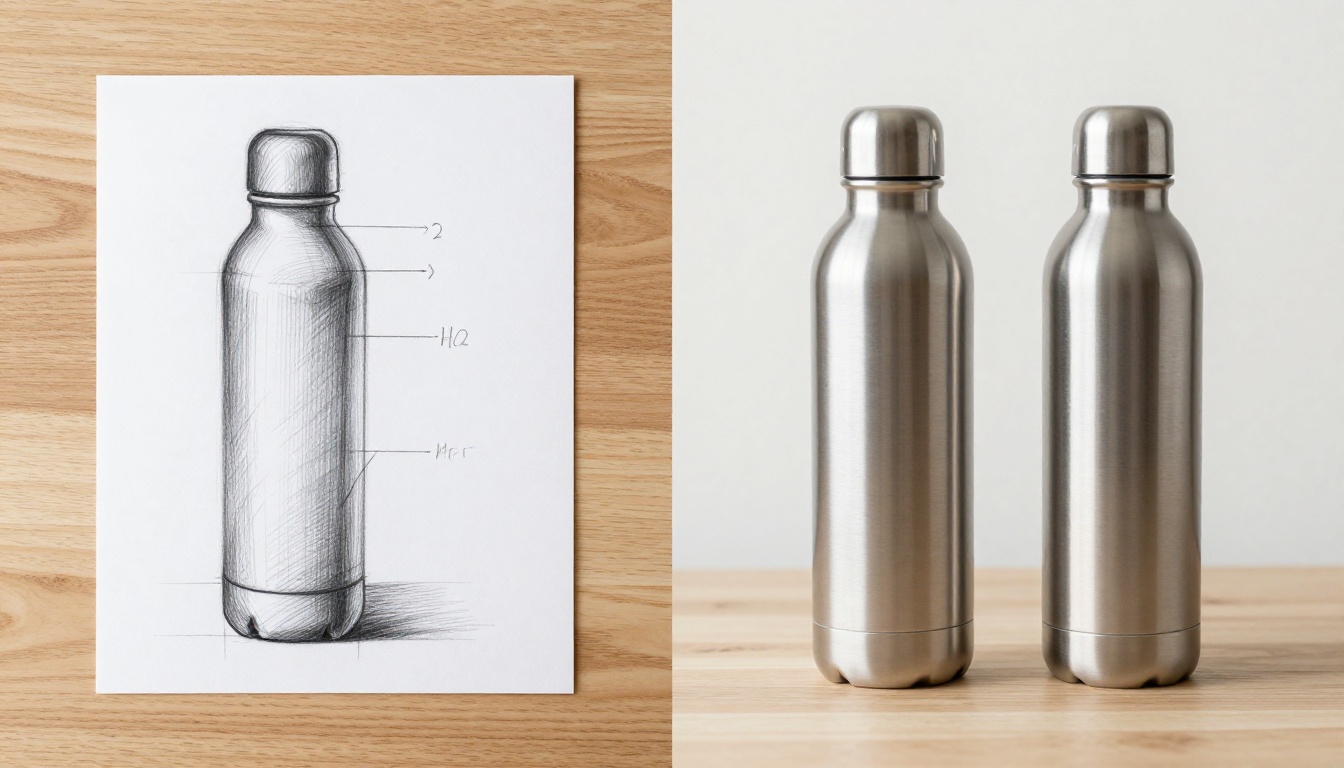
For the initial conversion step, Flux Canny Pro is the strongest tool available. It takes your sketch as a structural control input and generates an image where the geometry of your original drawing is preserved with high fidelity.
When to use it:
- Product contours that need to be exact
- Detailed mechanical or technical sketches
- Any design where the silhouette is the defining feature
Parameter tips:
- Set Control Strength between 0.7 and 0.85 for most sketches. Higher values enforce the structure more rigidly; lower values give the model more creative latitude.
- Use a descriptive material prompt: "brushed aluminum product, studio lighting, white background, commercial photography"
- Avoid specifying colors in the prompt if you want the model to interpret material logically from the form
Flux Depth Pro for 3D-Feeling Renders
Flux Depth Pro shines on sketches that have clear depth cues: perspective lines, foreshortening, objects at multiple distances. It reads the implied three-dimensionality of your drawing and reinforces it in the render.
Best for:
- Product sketches with perspective views
- Multi-object compositions
- Packaging designs showing front-and-side three-quarter views
Product Packshot for Final Presentation
Once you have a base render, Product Packshot brings it to commercial-photography quality. This model specializes in the clean, controlled aesthetic of e-commerce and marketing photography: neutral backgrounds, precise lighting, sharp product edges.
Combine it with Product Shadow to add the natural cast shadows that make a floating product image feel grounded, and Product Cutout to precisely isolate the product from any background you do not want in the final composition.
How to Use Flux Canny Pro on PicassoIA
This is the core workflow. It covers the full pipeline from sketch to presentation-ready mockup.
Prepare Your Sketch
Before uploading anything, spend two minutes preparing your sketch:
- Ink your primary lines. Use a 0.5mm Pigma Micron or any dark pen over your most important contour lines. AI edge detection reads contrast, not artistic intent.
- Scan or photograph at 300dpi minimum. Phone cameras are fine if the lighting is even. Avoid shadows across the paper surface.
- Crop tightly. Remove empty margins. Center the product in the frame.
- Save as PNG or JPG. PNG preserves more edge detail for complex sketches.
Upload and Set Parameters
On Flux Canny Pro:
- Upload your sketch as the control image
- Write a precise material prompt: describe the product material, lighting setup, and background you want. Example: "matte white plastic bottle, soft studio light from upper left, clean white background, commercial product photography, 8K sharp"
- Set Control Strength to 0.75 for a first pass
- Generate two to three variations before committing to a direction
Refine With Flux Fill Pro
Your first render will have areas that need work. A seam that resolved oddly. A handle that softened in an unexpected way. A material transition that looks wrong.
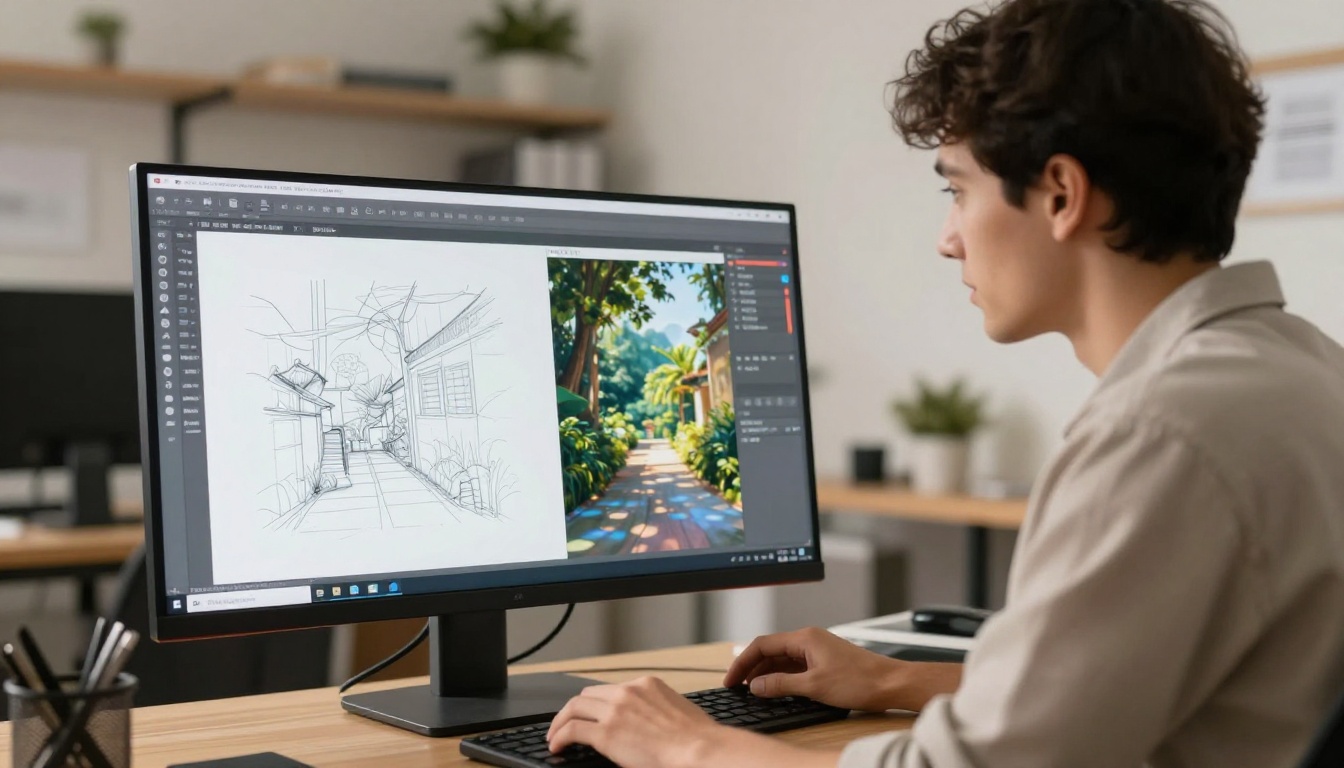
Flux Fill Pro handles this through inpainting: you mask the specific area and describe what you want it to look like. The rest of the image stays intact.
This targeted refinement approach is much faster than regenerating the full image and hoping the problem area resolves correctly. It also means you can iterate on individual details without losing what is already working in the rest of the render.
💡 Tip: For the final cleanup pass, try Flux Kontext Dev for text-based edits. Type instructions like "change the cap color to gold" or "add subtle brushed texture to the body" and it modifies the image accordingly.
Real-World Use Cases
Consumer Electronics
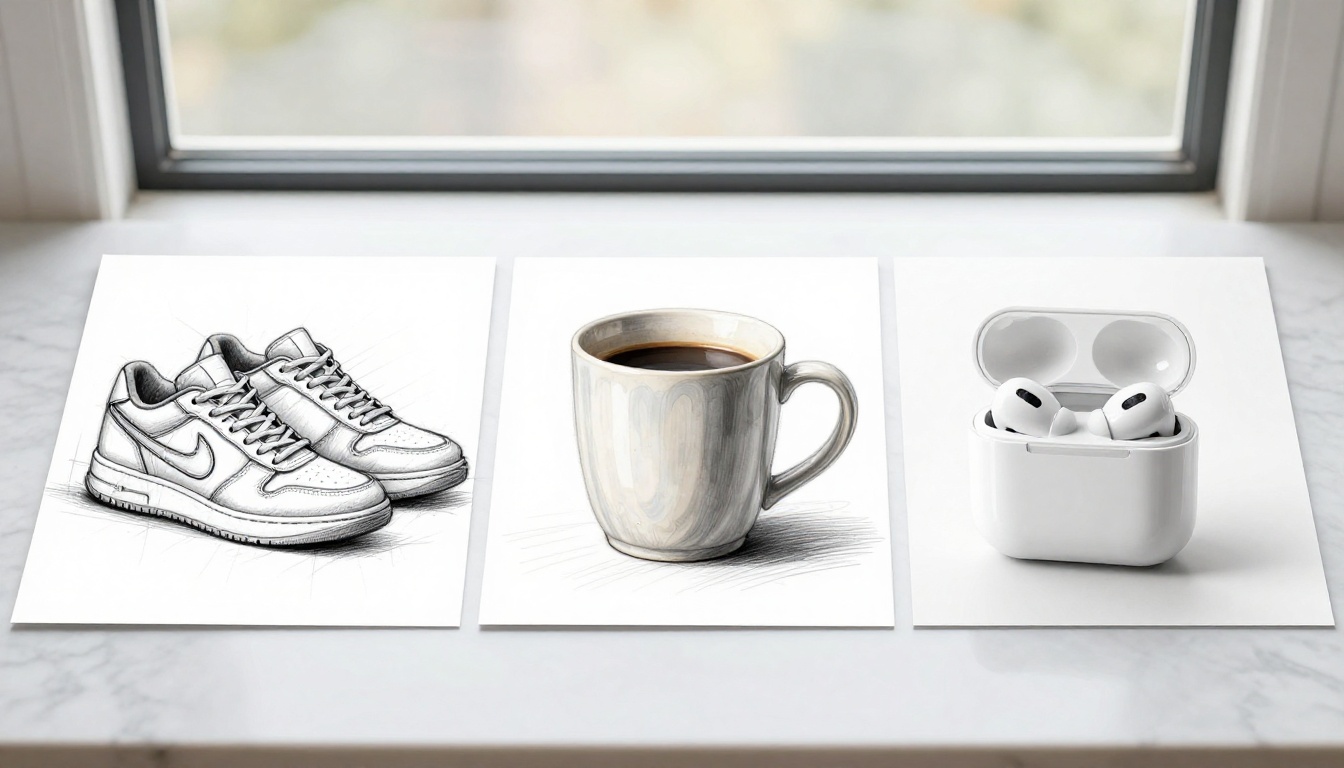
Smartphones, earbuds, smart devices: this category benefits enormously from sketch-to-render workflows because the engineering and industrial design teams often operate in parallel. A render produced from an early sketch can go to marketing weeks before a physical prototype exists.
Flux Canny Pro handles the tight geometric precision of electronics well. The flat planes, sharp edges, and precise screen bezels all respect the edge control input.
Apparel and Accessories
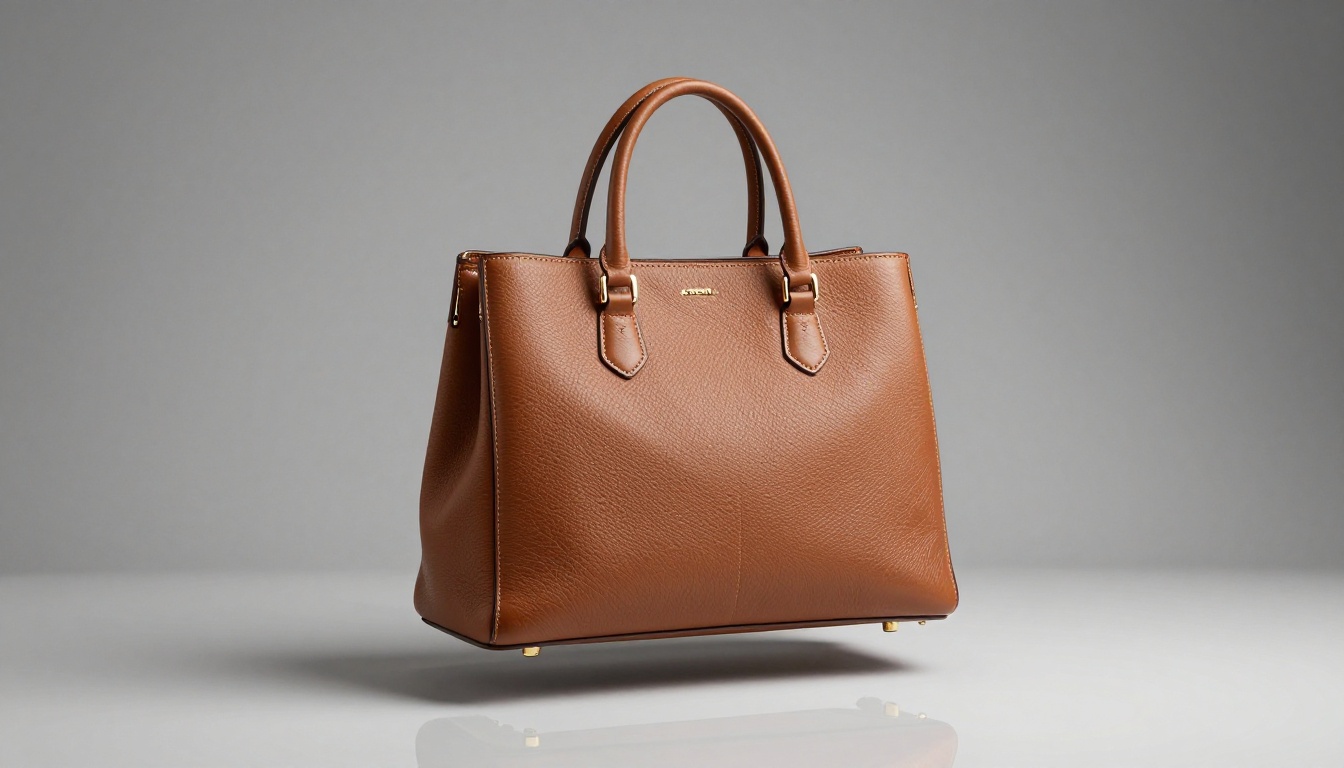
Fashion product mockups require material realism: leather grain, fabric weave, metal hardware sheen. A sketch provides the silhouette and proportion; the AI adds the surface.
For complex fabric products, use Flux Depth Pro to capture the three-dimensional drape implied in the sketch. Follow with Product Shadow to ground the piece in the final presentation.
Packaging Design
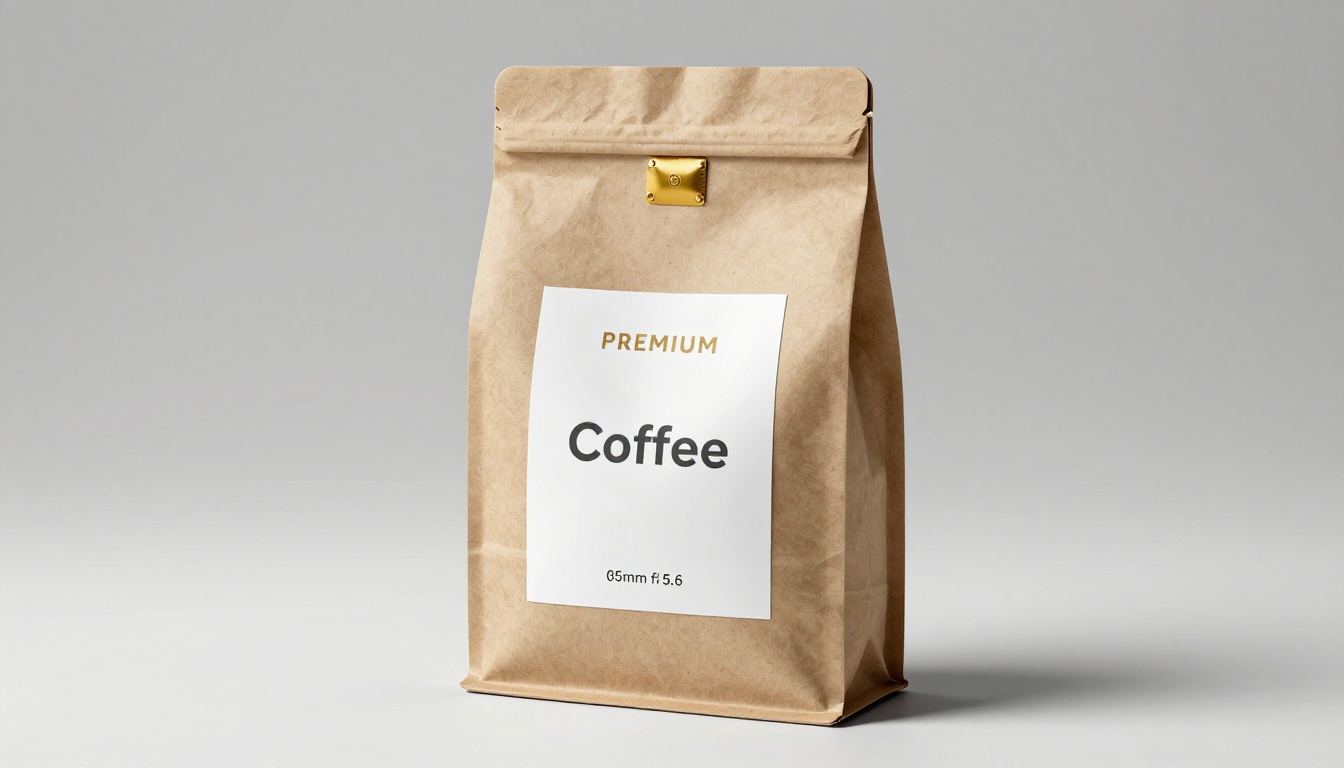
Packaging is one of the highest-value use cases for this workflow. A brand brief comes in, the designer sketches four or five structural concepts for a box, bag, or bottle, and within an hour, photorealistic renders of each concept are ready for the client review meeting.
Product Packshot is specifically built for this: it knows what commercial packaging photography looks like and produces output that matches that visual language exactly.
Tips That Actually Work
Sketch Quality Matters
The sketch-to-render pipeline is not magic. It reads edges and structure. If your sketch has ambiguous lines, cluttered background marks, or overlapping construction geometry, the output will reflect that ambiguity.
What separates good input from bad input:
- Clean primary contours: The outermost silhouette of the product should be drawn with a confident, unbroken line
- Minimal background noise: Erase construction lines and guide marks before uploading
- Consistent line weight: Varying line weights confuse edge detection. Use consistent pressure or a pen with uniform width
- Clear material boundaries: If a product has distinct surfaces (a rubberized grip versus a metal body, for example), mark those boundaries clearly
Prompt Engineering for Product Shots
The material prompt you write has enormous influence on output quality. A generic prompt produces a generic render. A specific one produces something presentable.
Weak prompt: "product photo of a bottle"
Strong prompt: "frosted glass water bottle with brushed stainless steel cap, volumetric studio light from upper left, crisp white background, photorealistic commercial photography, 8K, sharp focus, product on flat reflective surface"
The specific elements that matter most:
- Material descriptor: matte, glossy, brushed, frosted, leather, fabric
- Light direction: upper left, overhead, side-lit
- Background specification: white, gradient grey, natural surface
- Photography style qualifier: commercial photography, e-commerce, editorial
Batch Iterations Fast
One of the biggest advantages of AI-based mockups over traditional rendering is speed per iteration. Once your workflow is set up, generating five material variants of the same design takes ten minutes.
Use this systematically:
- Generate your base render from the sketch using Flux Canny Pro
- Use Qwen Image Edit Plus to generate color and material variants from that base
- Present all variants in the client review, structured as an options matrix
This approach shifts client conversations from "show me what it could look like" to "which of these five options do you prefer?" The latter produces faster and more decisive feedback.
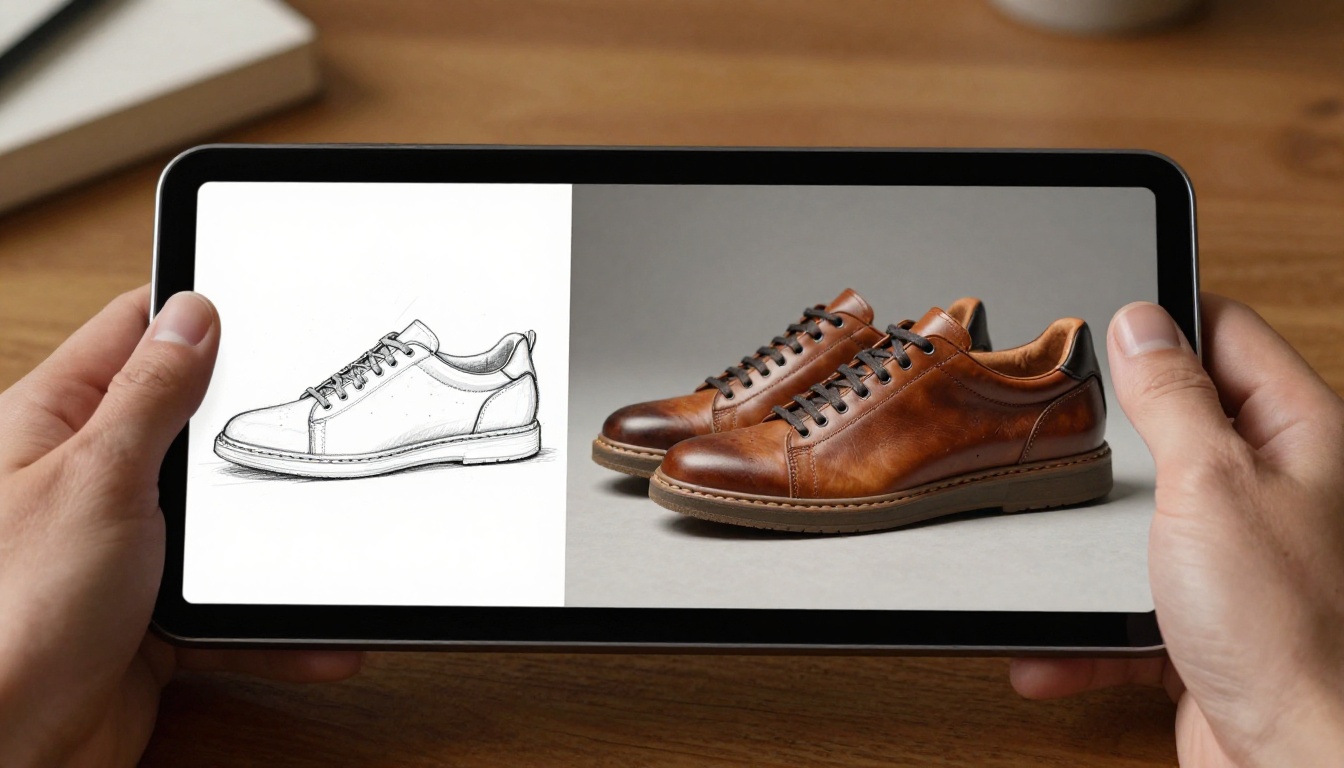
The sketch-to-mockup workflow described here is not theoretical. Every model referenced in this article is live and accessible on PicassoIA right now. The full pipeline from scanned sketch to presentation-ready product photo takes under thirty minutes on a first attempt. With practice, ten minutes is realistic.
What this does to design workflow is significant: it removes the rendering bottleneck entirely. Designers can stay in exploration mode longer, presenting more ideas to clients before committing to detailed development. Stakeholders get visual context earlier in the process. Feedback rounds become more productive.
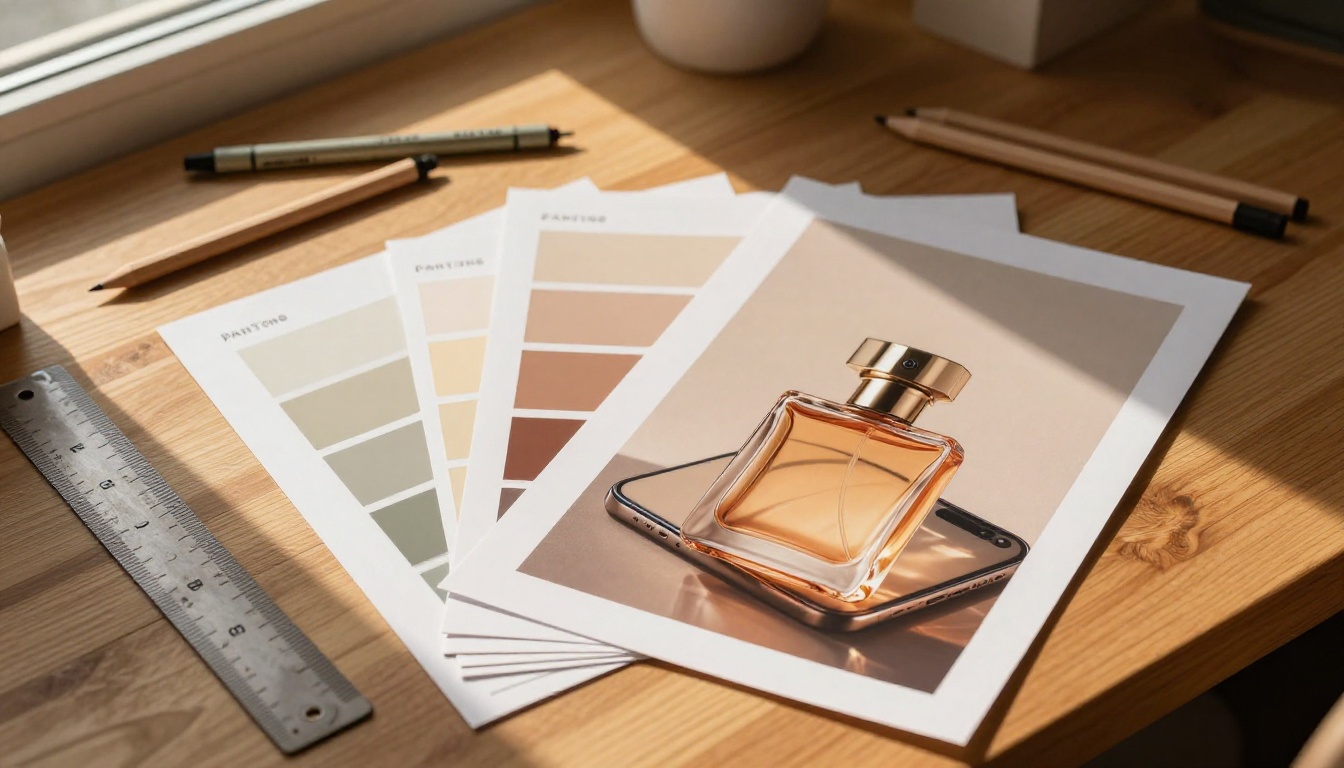
The starting point is your next sketch. Photograph it, upload it to Flux Canny Pro on PicassoIA, write a material prompt, and generate. The gap between your pencil and a photorealistic product image is now measured in minutes, not days.


