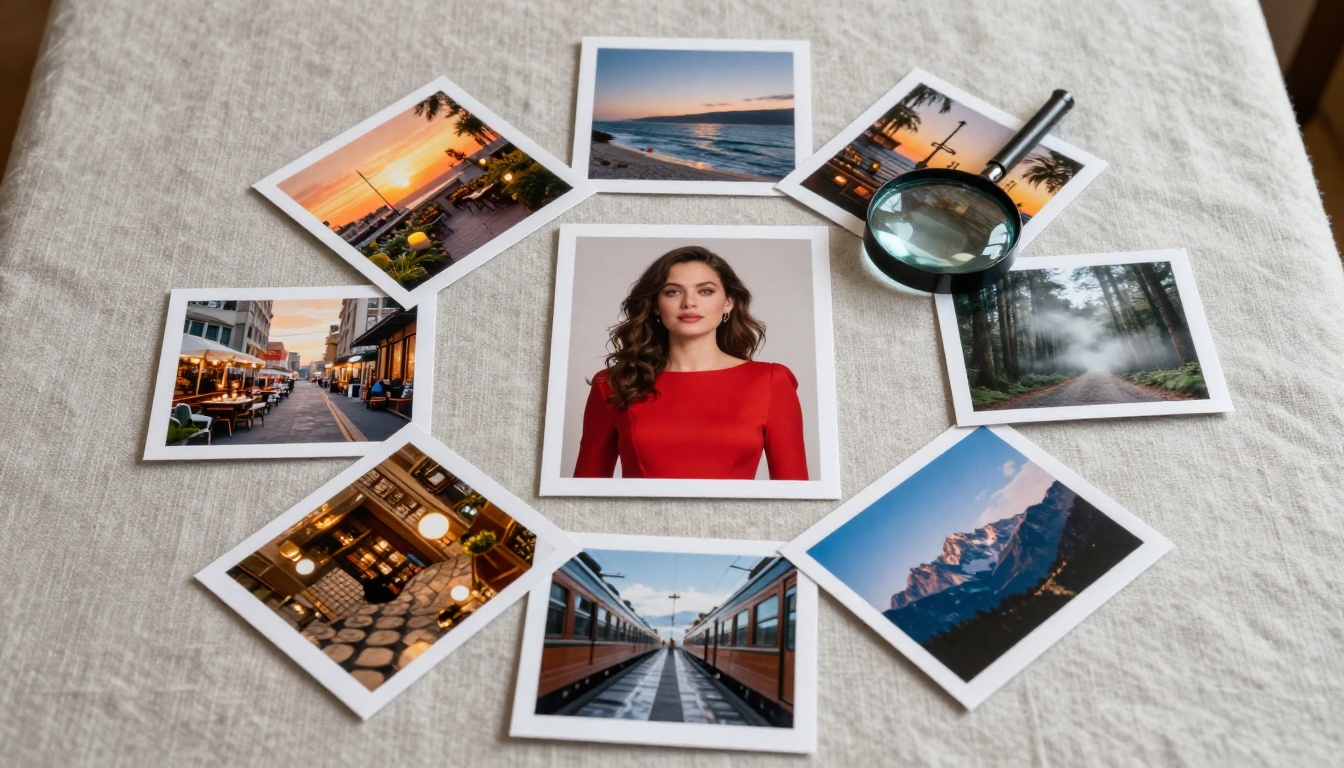
You have one photo on your phone. Maybe it's a portrait, a product shot, or a travel snap. What if that single image could become a 12-frame visual story, each scene showing a different moment, angle, or mood, all built in minutes using AI? That's exactly what AI storyboarding tools make possible today, and the workflow is simpler than most people expect.
Storyboards used to require an artist, hours of sketching, and multiple revision rounds. Now, with the right AI models and a clear prompt strategy, you can turn one photo into a full storyboard with AI in an afternoon, even if you've never drawn a single frame. The key is knowing which tools to use, how to prompt them, and how to sequence your frames into something that actually tells a story.
Why One Photo Is Enough
Most people assume storyboarding starts with dozens of reference images. In reality, a single strong photo carries everything an AI needs: a subject, a lighting direction, a color palette, a mood, and a visual anchor. The AI's job is to extrapolate from that foundation.
The Old Way vs. the AI Way
Traditional storyboarding required:
- A dedicated storyboard artist available for days or weeks
- Multiple reference photos to maintain visual consistency
- Revision cycles between director, artist, and producer
- Physical sketching tools or expensive illustration software
AI storyboarding changes all of that. One photo feeds directly into an image variation or image-to-image model. The AI reads the face, posture, lighting conditions, and background context, then builds new scenes that stay coherent with the original. You don't need ten reference images. You need one good one.
💡 The secret: AI models trained on massive image datasets have learned what "the same person in a different location" should look like. Your single photo becomes a template the model extends across scenes, maintaining identity while reimagining context.
What a Storyboard Actually Needs
A functional storyboard isn't about artistic polish. It's about communicating a sequence of visual moments clearly enough for a team to execute them. Each frame needs these five elements:
| Element | Why It Matters |
|---|
| Subject consistency | Viewer follows the same character or object across frames |
| Scene variety | Each frame advances the story or changes the context |
| Lighting logic | Mood shifts should feel intentional, not accidental |
| Compositional range | Mix close-ups, mediums, and wide establishing shots |
| Narrative arc | Frames should have a clear beginning, middle, and end |
AI handles all five when your prompts are structured with precision. The model supplies the visual execution. You supply the narrative intention.
What AI Does With Your Single Image
When you upload a photo to an AI image variation model, several things happen at once. The model encodes your image into a high-dimensional representation that captures its visual essence, then uses that encoding as a conditioning signal for generating new frames.
Image Variations and Scene Shifting
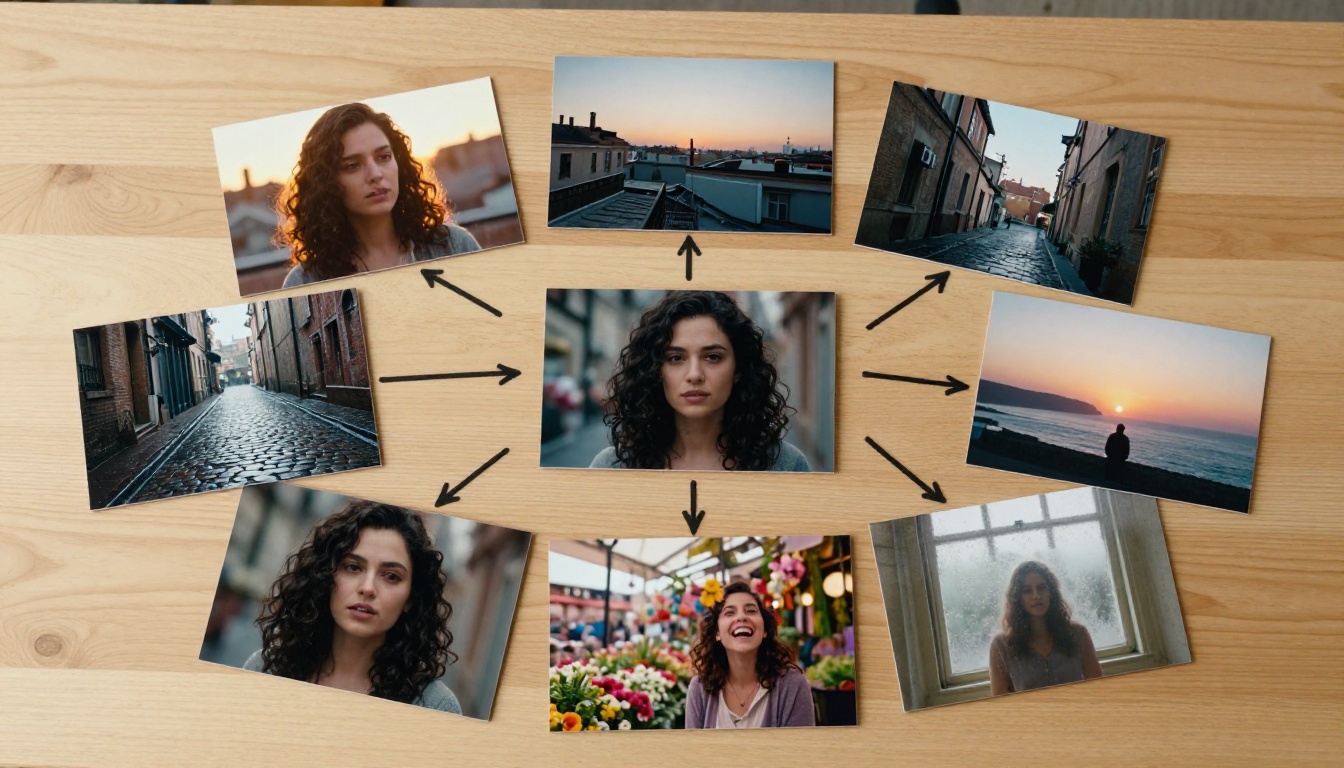
The most powerful capability for storyboarding is image variation: taking one image and producing multiple visually consistent outputs. Flux Redux Dev is built exactly for this workflow. It accepts a reference image and generates variations that maintain the core subject while allowing you to shift the environment, lighting, and framing through text prompts.
This is not a filter. The model genuinely relocates your subject into new scenes, adjusts lighting to match the new environment, and reconstructs background details convincingly. A portrait photo taken in a living room becomes the anchor for frames set on a rooftop, in a rain-soaked alley, or at the edge of the ocean, all featuring the same recognizable subject.
How Models Read Your Photo
AI models don't copy pixels. They interpret them. When your photo is processed, the model extracts:
- Facial structure and identity markers for character consistency across frames
- Clothing and accessories as persistent visual elements that should carry between scenes
- Lighting direction and quality as a reference baseline for new scene lighting
- Background depth and spatial relationships to understand how to reconstruct the subject in new environments
- Color temperature and tonal range which inform the palette of generated variations
The better your original photo's quality, sharpness, and lighting, the more signal the model has to work with. A photo shot in clean, even light gives the AI maximum flexibility. A photo with strong directional lighting creates a specific mood the AI will tend to carry forward unless you override it explicitly in your prompt.
The Role of Prompting in Scene Building
Uploading a photo gets you halfway there. The other half is your text prompt. For storyboard frames, prompts should describe five distinct layers:
- The new environment ("on a rain-soaked cobblestone street at night")
- The action or pose ("walking with an umbrella, mid-stride, looking ahead")
- The lighting setup ("amber street lamps from the left, blue neon reflections from the right, wet surface reflections below")
- The camera angle ("medium shot, 50mm lens perspective, eye level with the subject")
- The atmospheric mood ("tense, cinematic, shallow depth of field, slight motion blur")
The more specific your prompt per frame, the more control you have over your storyboard's emotional and narrative flow. Vague prompts produce random variation. Specific prompts produce intentional story.
How to Build Your Storyboard on Picasso IA
Here is the exact workflow for turning one photo into a multi-frame storyboard using Picasso IA's text-to-image tools.
Step 1: Choose Your Starting Photo
Your anchor photo sets the ceiling for what's possible. Pick one with these qualities:
- Clear, well-lit subject with a defined face or prominent focal object
- Neutral or simple background (easier for the AI to replace without artifacts)
- High resolution of at least 1024px on the short side for best results
- Frontal or three-quarter angle which gives the model the most facial and body data
Avoid heavily filtered, blurry, extremely dark, or heavily cropped photos for your anchor frame. You can push into dramatic and moody territory in your generated frames. Your source should be clean and informative.
Step 2: Use Flux Redux Dev for Variations
Navigate to Flux Redux Dev on Picasso IA. This model accepts an image input alongside your text guidance and produces visually consistent variations. For storyboard work, these settings produce the best results:
- Image weight: 0.6 to 0.75 (keeps subject recognizable while allowing genuine scene changes)
- Steps: 28 to 35 (higher step counts produce more refined, detailed output)
- CFG scale: 3.5 to 4.5 (higher values follow your text prompt more strictly)
Start with a moderate image weight. If your generated frames drift too far from the original subject, increase the weight. If frames feel too similar to the source photo and aren't changing scenes convincingly, lower it slightly.
Step 3: Define Your Scene Sequence Before Generating
Before touching the generate button, write out your complete storyboard sequence. A 9-frame storyboard for a short personal narrative might look like this:
| Frame | Scene Description | Shot Type | Lighting |
|---|
| 1 | Character at home, quiet morning | Medium shot | Soft overcast window light |
| 2 | Unexpected news arrives | Close-up | Flat indoor, neutral |
| 3 | Leaves the building with purpose | Wide establishing | Bright midday, high contrast |
| 4 | Walking through a busy market | Medium wide | Dappled afternoon shade |
| 5 | Pausing at a crossroads | Low angle medium | Golden hour backlight |
| 6 | Running down a narrow alley | Tracking medium | Dusk, long left-side shadows |
| 7 | Arriving at the destination | Wide establishing | Blue hour, city ambient |
| 8 | The key moment of confrontation | Close-up | Dramatic single lamp, night |
| 9 | Aftermath and reflection | Medium shot | Dawn, soft hopeful light |
Planning this before generating saves you enormous time and produces a more coherent final storyboard. You're building a shot list, not clicking generate at random.
Step 4: Generate and Refine Each Frame
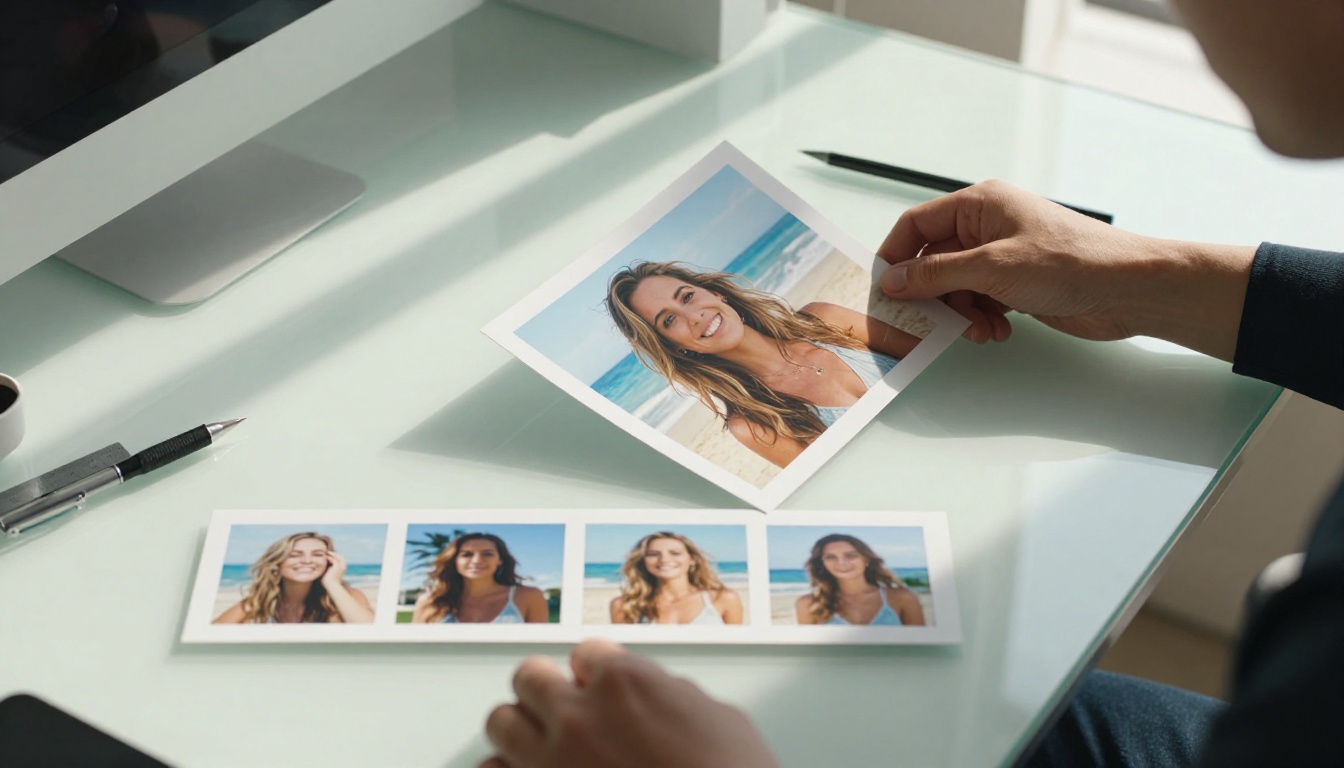
With your sequence planned, generate each frame using Flux Redux Dev. For each frame, upload your anchor photo, paste your frame-specific prompt, adjust the image weight for that scene's required variation level, and generate two to three options before committing.
For frames requiring significant environmental changes or where you want to edit specific elements within an already good frame, PicassoIA Image Editor Pro gives you inpainting and outpainting capabilities. Use it to fix a background detail, expand a frame's canvas, or replace a specific element without regenerating the entire image.
Storyboard Styles Worth Knowing
Not all storyboards serve the same purpose, and the style you choose shapes both how you prompt and which tools you prioritize.
Cinematic Sequences
For film pre-production or pitch decks, cinematic storyboards prioritize shot composition and lighting logic. Each frame should read like a movie still, with a clear focal point, intentional negative space, and lighting that communicates an emotional state. Prompts for cinematic storyboards should reference:
- Specific focal lengths ("85mm portrait compression" vs "24mm environmental wide")
- Film stock aesthetics ("Kodak Portra 400 color grading, slight halation in highlights")
- Industry lighting vocabulary ("motivated practical light sources," "three-point interview setup," "Rembrandt lighting from upper left")
💡 Tip: Reference real cinematographers in your prompts. "Lighting style of Roger Deakins in No Country for Old Men" gives the model a rich, specific visual target that produces more intentional results than "dramatic lighting."
Character-Driven Narratives
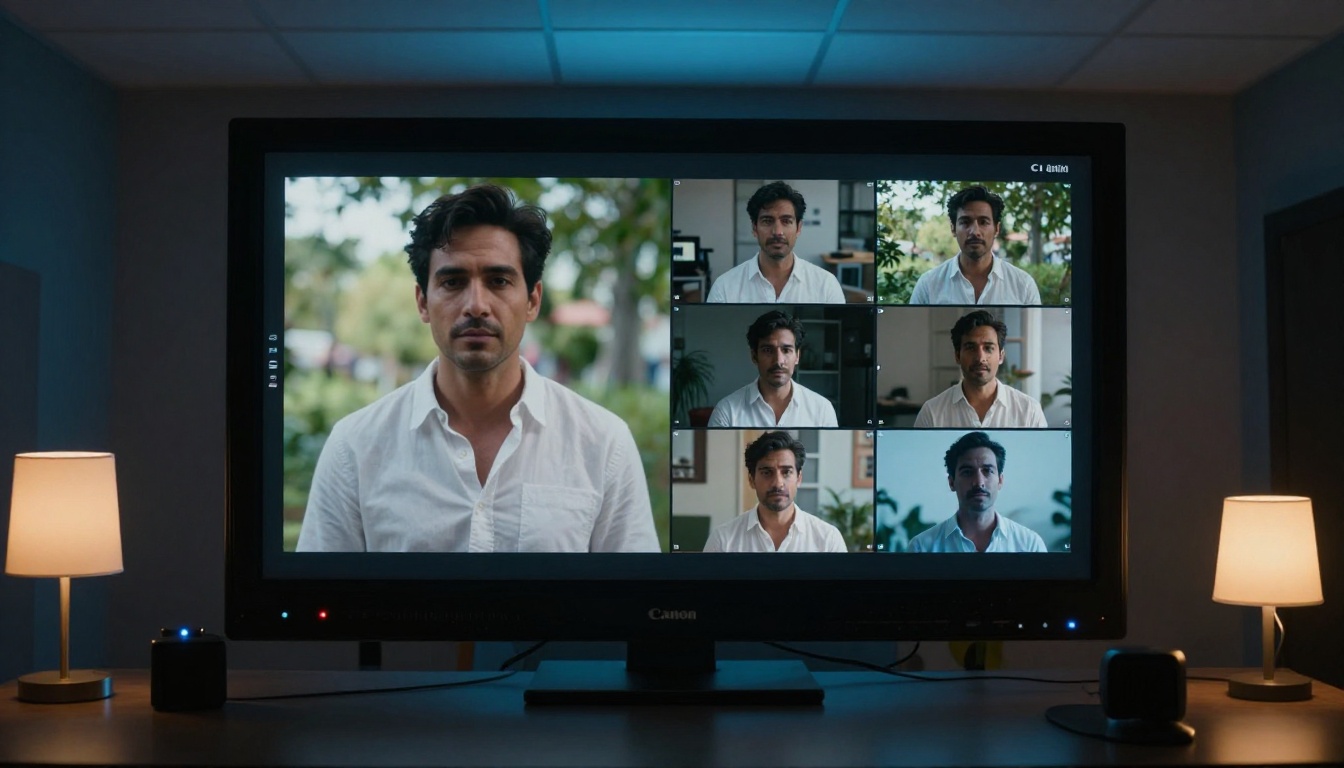
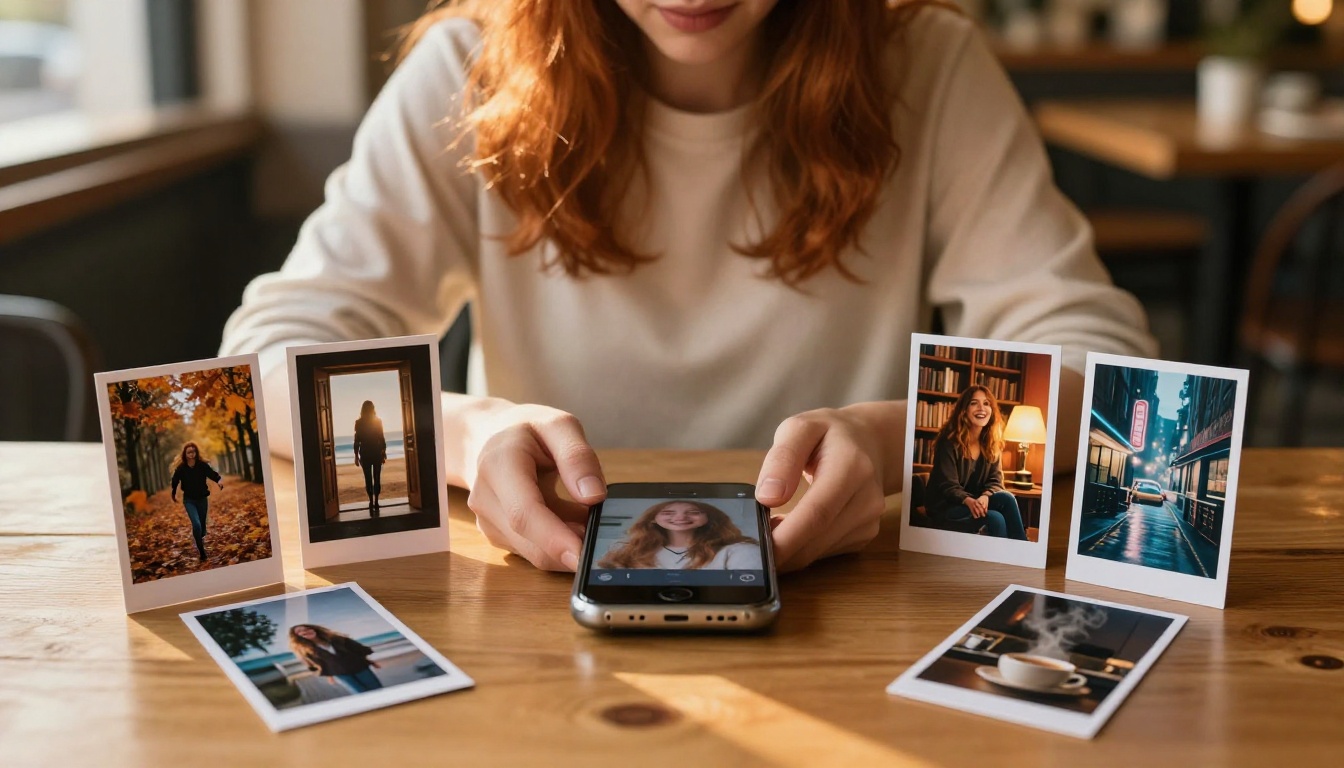
When your storyboard follows a character through an emotional arc, consistency across frames matters most. Keep image weight high at 0.75 or above in Flux Redux Dev to preserve facial identity. Vary the environment and lighting between frames. Keep the person's core visual identity stable.
Character storyboards work well for short film pitches, brand ambassador content, and personal creative projects where the subject needs to feel like the same person across radically different scenes.
Product Story Arcs
For brand and product storytelling, the "character" might be an object, a package, or a lifestyle moment rather than a person. The same workflow applies: one hero product shot becomes the anchor, and AI generates it across multiple lifestyle contexts, seasonal settings, or usage scenarios.
This approach produces significant value for:
- Social media content calendars where one shoot produces multiple contextual frames
- E-commerce galleries where a product needs to appear in lifestyle settings
- Campaign mood boards presented to clients before committing production budget
One anchor product photo can become a winter cabin scene, a summer rooftop, an urban kitchen, and a beachside moment in the same afternoon. The client approves the concept. Production then shoots exactly what they already know will work.
Tips That Actually Work
Prompt Structure for Consistency
Consistency across storyboard frames requires a prompt template. Build a base prompt that stays constant across every frame, then swap only the scene-specific elements:
Base layer (constant across all frames):
[Subject description], [consistent clothing description], photorealistic, Kodak Portra 400, 8k, film grain, shallow depth of field, cinematic
Variable layer (changes per frame):
[specific scene location], [character action or pose], [lighting setup], [camera angle and lens]
Write the variable elements first in your prompt, then append the base layer. This keeps the AI anchored to your subject while giving the new scene the prominence it needs in the generation.
Lighting as a Storytelling Tool
Lighting is the fastest way to signal an emotional shift between storyboard frames. Your lighting progression should be as deliberate as your scene progression:
| Lighting Type | Emotional Signal |
|---|
| Soft diffused window light | Calm, domestic, emotionally safe |
| High-contrast single light source | Tension, suspense, psychological pressure |
| Golden hour warm backlight | Hope, romance, transition moments |
| Blue-tinted ambient night light | Isolation, uncertainty, introspection |
| Warm practical lamps and candles | Intimacy, nostalgia, vulnerability |
| Harsh overhead fluorescent | Exposure, clinical detachment, harsh reality |
Build your lighting arc with deliberate intention. A storyboard where every frame uses the same lighting quality loses narrative power even when the scenes themselves change. Lighting is emotion.
When to Regenerate vs. Accept
Not every generated frame will be immediately usable. Apply this decision framework instead of regenerating blindly:
- Regenerate when: Subject identity has drifted significantly, key scene elements specified in your prompt are absent, or lighting directly contradicts your planned sequence logic
- Accept and adjust when: Minor background details are off but the composition and subject identity are strong, use PicassoIA Image Editor Pro to fix specific elements without starting over
- Revise your prompt when: The output is consistently wrong in the same way across multiple generations, your prompt contains an ambiguity the model is interpreting in a direction you don't want
Batch your regenerations. Generate all nine frames first. Then review them together as a complete sequence rather than evaluating each frame in isolation. Frames that work individually sometimes fail to work together, and frames that seem mediocre alone can fit perfectly within a sequence.
What You Can Do With Your Storyboard
For Creators and Social Media
A nine-frame AI storyboard built from one anchor photo gives you immediate, usable content:
- A complete Instagram carousel post with a built-in narrative arc
- Source material for Reels and TikTok transition sequences
- A visual content calendar template adaptable across multiple months with new prompts
- Pitch material showing brands and collaborators your creative vision before any shoot
The cost comparison with traditional photography is significant. One good source photo and two hours of AI iteration replaces a day-long multi-location shoot with a photographer, stylist, and editor.
For Filmmakers and Pre-Production
AI storyboards are now a standard part of pre-production for independent and mid-budget productions. Directors use them to:
- Communicate visual intent to cinematographers before expensive shoot days
- Get client or executive producer approval on style and tone before committing budgets
- Test multiple narrative approaches in hours instead of weeks
- Create rough animatics when combined with Picasso IA's video generation capabilities
The workflow from still storyboard to motion animatic is direct: generate your frames with Flux Redux Dev, then add motion to key frames using Picasso IA's text-to-video models to create a rough visual proof-of-concept that any stakeholder can evaluate immediately.

For Brand Campaigns
Agencies and brand teams use AI storyboards to compress the concepting timeline dramatically. Rather than commissioning full photoshoots for mood board approval, creative teams generate photorealistic storyboard frames within the same session where the brief is presented.
A storyboard built from one hero image can show a product or talent in a winter cabin, a summer terrace, an urban loft, and a mountain lookout, all generated in under an hour. The client approves the concept with confidence because they're looking at photorealistic frames, not rough sketches. Production knows exactly what to build and shoot because the vision is already visualized.
Start Telling Your Story
One photo is not a limitation. It's a starting point. With Flux Redux Dev on Picasso IA, that single image becomes the visual anchor for a complete storyboard, built frame by frame into a sequence as cohesive or as ambitious as your story demands.
The workflow described here works whether you're a solo creator with one phone photo, a filmmaker prepping a short film, a brand manager running a campaign, or a photographer expanding what a single shoot can produce. The barrier is not technical skill or expensive software. It's knowing what story you want to tell and being specific enough in each frame prompt to let the AI realize your vision.
Open PicassoIA Image, upload your photo, write your first frame prompt, and see where a single image takes you. The storyboard is already in the photo. The AI just needs to draw it out.