Three years ago, turning a text description into a 3D object required a professional 3D artist, days of modeling work, and expensive software. Today, you type a sentence and get a downloadable mesh in under two minutes. That shift is not subtle, and if you have not paid attention to what text-to-3D AI tools can produce right now, the gap between what you think is possible and what is actually possible has grown very wide.
This article breaks down how these tools work, which ones are worth your time, how to write prompts that produce usable geometry, and where AI-generated 3D objects fit into real creative and professional workflows.
What Text-to-3D AI Actually Produces
Before you open any tool, it helps to know what you are actually getting. Text-to-3D is not a single output format. Depending on the tool and its underlying model, you might receive a mesh (the classic .OBJ or .GLB file), a point cloud, a NeRF (Neural Radiance Field), or a Gaussian splat. Each of these has different use cases, and confusing them leads to frustration.
Meshes, point clouds, and NeRFs
A mesh is what most people mean when they say "3D model." It is a collection of polygons with UV maps and texture data. Meshes are importable into Blender, Unity, Unreal Engine, and every major 3D tool. They can be 3D printed. They are the most portable and useful output for most workflows.
A point cloud is a set of coordinates in 3D space, often with color values per point. It looks like a dense scatter of dots forming a shape. Point-E by OpenAI originally produced point clouds, which could then be converted to meshes. Point clouds are faster to generate but require extra steps to become usable assets.
A NeRF represents a scene as a continuous volumetric function. It is photorealistic from specific viewpoints but not trivially convertible to a mesh. NeRFs are extraordinary for visualization but tricky for actual asset pipelines.
Gaussian splatting is newer and faster than NeRFs, using 3D Gaussian distributions to represent scenes. Tools like Luma AI use this to produce high-quality 3D captures. The output looks stunning but has similar mesh-conversion friction.
For most practical purposes, you want a mesh output. That narrows the tool list and simplifies your expectations considerably.
The diffusion models behind it
Text-to-3D AI works by adapting the same diffusion model principles that power image generation, but extended into three-dimensional space. The two dominant approaches are:
- Score Distillation Sampling (SDS): The model uses a 2D diffusion model to iteratively optimize a 3D representation. DreamFusion pioneered this. It produces high-quality results but is slow, often taking 30 to 90 minutes per object.
- Feed-forward 3D models: Trained directly on large datasets of 3D objects (like Objaverse), these models produce outputs in seconds. Shap-E, Meshy, and Tripo3D use variations of this approach. Speed comes at some cost to geometric complexity.
The practical takeaway: fast tools use feed-forward models, slow tools use SDS. Both have their place depending on whether you need speed or quality.

The landscape changes quickly, but as of 2025 these are the tools consistently producing usable output for real projects.
Shap-E by OpenAI
Shap-E is OpenAI's open-source text-to-3D model. It generates implicit functions that can be decoded into meshes or NeRFs. You give it a text prompt, it gives you a 3D object in seconds. The meshes are low-poly by default, but they are clean, consistently structured, and immediately importable into any 3D tool.
Shap-E works well for:
- Simple geometric objects (chairs, tables, vehicles, bottles)
- Abstract shapes where photorealism is not required
- Rapid iteration when you need many variations quickly
It struggles with complex organic shapes, fine surface detail, and anything requiring photorealistic textures. But for conceptual modeling and quick prototyping, it delivers reliably.
Meshy AI
Meshy has become a go-to for game developers and product designers. It produces textured meshes from text prompts and supports multi-view image input. Its outputs are clean enough for game engines without heavy manual cleanup. The platform includes a web interface, API access, and Blender plugin support.
What sets Meshy apart is its texture quality. Where many text-to-3D tools produce flat or baked textures, Meshy generates PBR (Physically Based Rendering) materials, meaning the objects respond correctly to lighting in real-time engines. This matters enormously if your final destination is Unity or Unreal.
💡 Tip: When using Meshy, specify material type in your prompt. Writing "matte ceramic white vase" gets you better PBR output than just "white vase."
Tripo3D
Tripo3D has built a reputation for speed and production quality. Its model generates detailed meshes in under 10 seconds and offers a "refine" step that adds geometric detail after the initial generation. The platform is particularly popular in the product design and e-commerce space, where quick 3D mockups for visualization are valuable.
Tripo3D also supports image-to-3D, so you can feed it a reference photo and it will construct a 3D object from that image. This is useful when you have a rough visual reference but no 3D file yet.
Point-E and what it proved
Point-E was OpenAI's earlier attempt, producing 3D point clouds from text prompts in seconds. The outputs were rough, but the speed was unprecedented for its time. Its real contribution was proving that fast text-to-3D generation was possible, paving the way for the more refined tools that followed.
Point-E is largely superseded by Shap-E for most uses, but it remains relevant for researchers working directly with point cloud data.
Writing Prompts That Work in 3D
Image generation prompting and 3D generation prompting are not the same skill. Image models reward vivid visual description. 3D models reward geometric clarity.
What 3D models need that images don't
A 3D model has to look correct from every angle simultaneously. There is no hero shot that hides a bad side. This changes what your prompt needs to communicate:
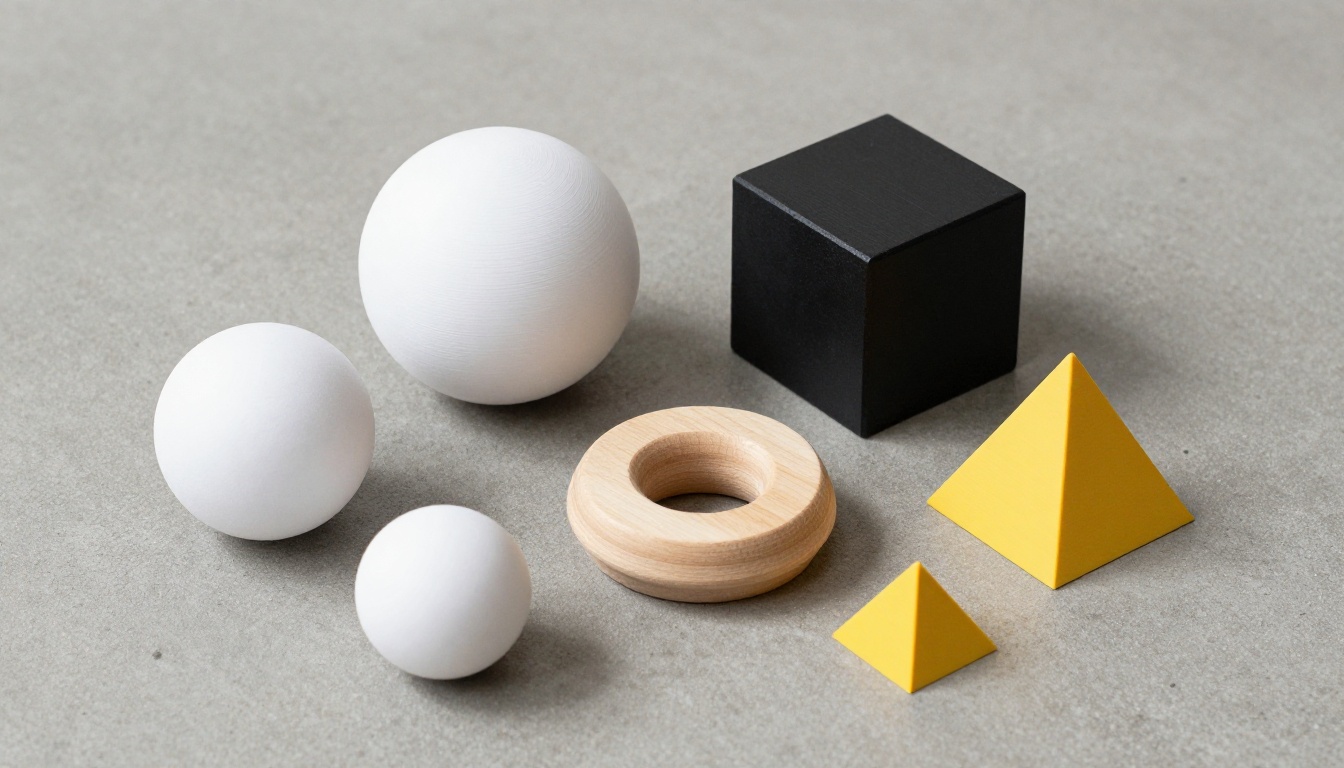
- Shape over appearance: Say "cylindrical body, flat base, tapered neck" rather than "beautiful modern bottle."
- Topology hints: Terms like "smooth surface," "angular edges," or "rounded corners" directly affect mesh structure.
- Material specificity: "Brushed aluminum," "matte ceramic," and "rough stone" produce different UV outputs.
- Scale anchoring: Mentioning familiar objects helps. "Coffee mug sized" or "fits in a hand" gives the model spatial grounding.
5 prompt structures that consistently deliver
Here are prompt templates that produce reliable output across most text-to-3D tools:
| Prompt Structure | Example | Works Best For |
|---|
[Material] [Shape] [Function] | "Ceramic round bowl with a flat rim" | Household objects |
[Style] [Character] [Pose] | "Low-poly cartoon bear sitting upright" | Game characters |
[Material] [Vehicle] in [condition] | "Rusted metal pickup truck, detailed" | Vehicles, props |
[Architectural element] with [detail] | "Stone archway with carved decorative trim" | Architecture |
[Creature] [pose] [surface detail] | "Dragon with folded wings, scaled skin texture" | Creatures |
💡 Avoid abstract adjectives like "futuristic," "mystical," or "beautiful." These add nothing to 3D geometry. Replace them with physical descriptors that describe shape, surface, and material directly.
Where These 3D Objects Actually Go
AI-generated 3D objects are not just experiments. They are entering real production pipelines across multiple industries right now.
Game assets and indie dev
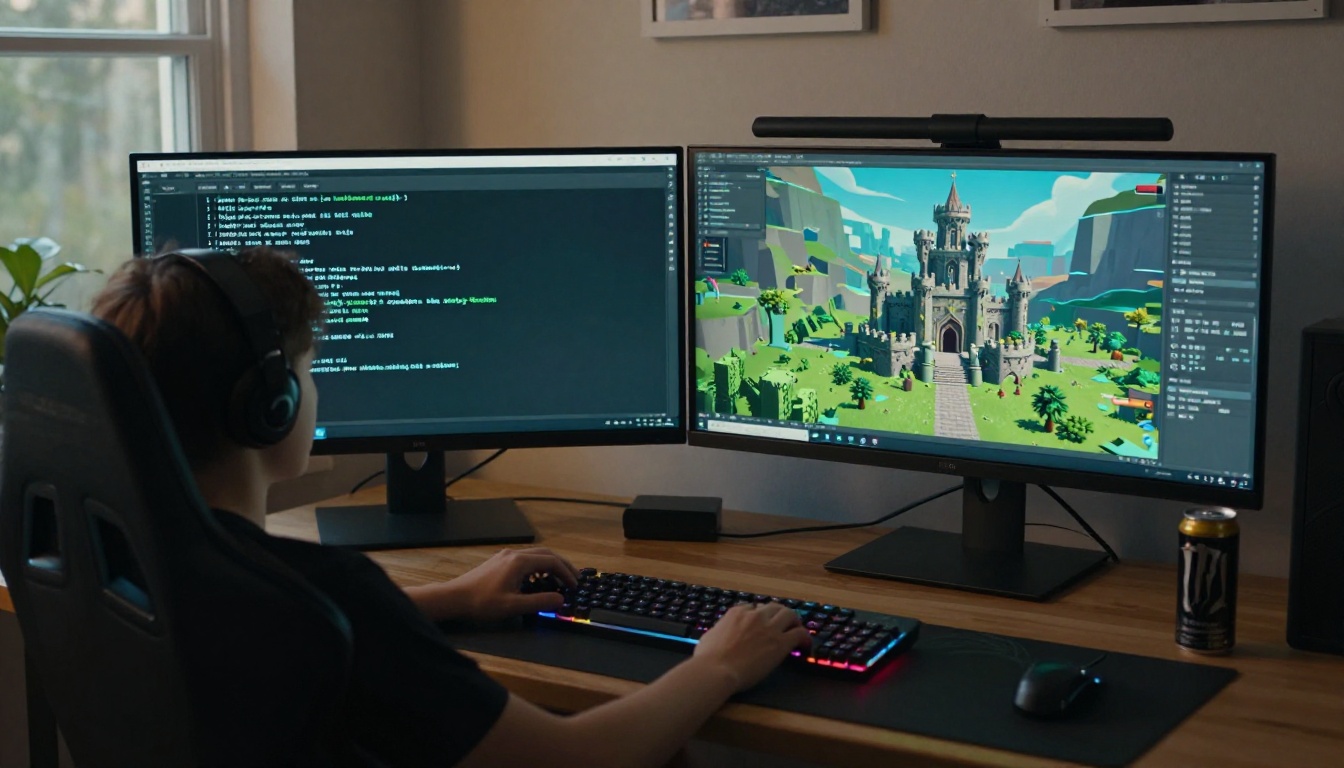
Indie game developers have arguably benefited most from text-to-3D AI. Building a complete game environment requires dozens to hundreds of 3D assets: furniture, props, environmental objects, vehicles, characters. Traditionally, each required hours of modeling time. With Meshy or Tripo3D, a developer can draft an entire scene's worth of assets in an afternoon.
The workflow typically looks like this:
- Generate base mesh from text prompt
- Import into Blender for topology cleanup
- Apply PBR materials or bake textures
- Export to the game engine
The AI handles steps that previously blocked non-artists from building rich game worlds. A solo developer with no 3D modeling background can now produce assets that would have required outsourcing to specialists.
Rapid product prototyping
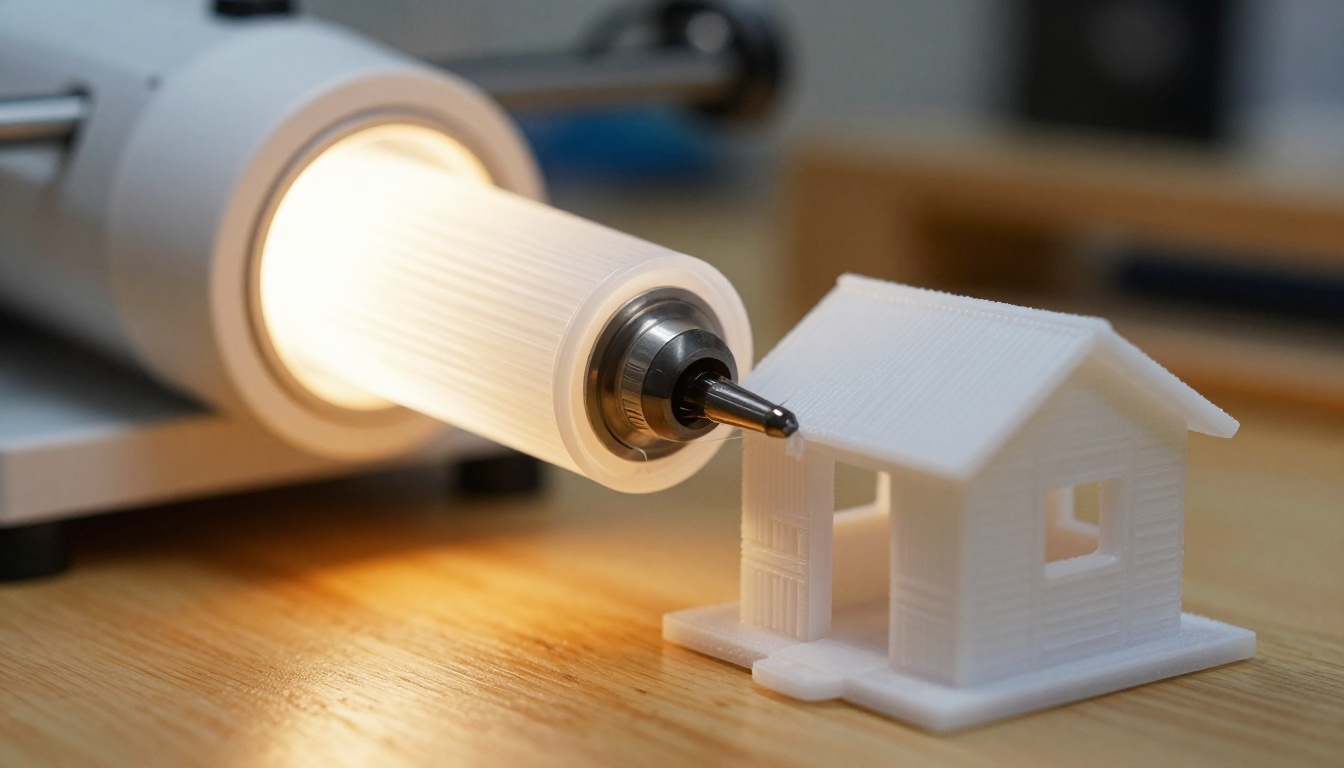
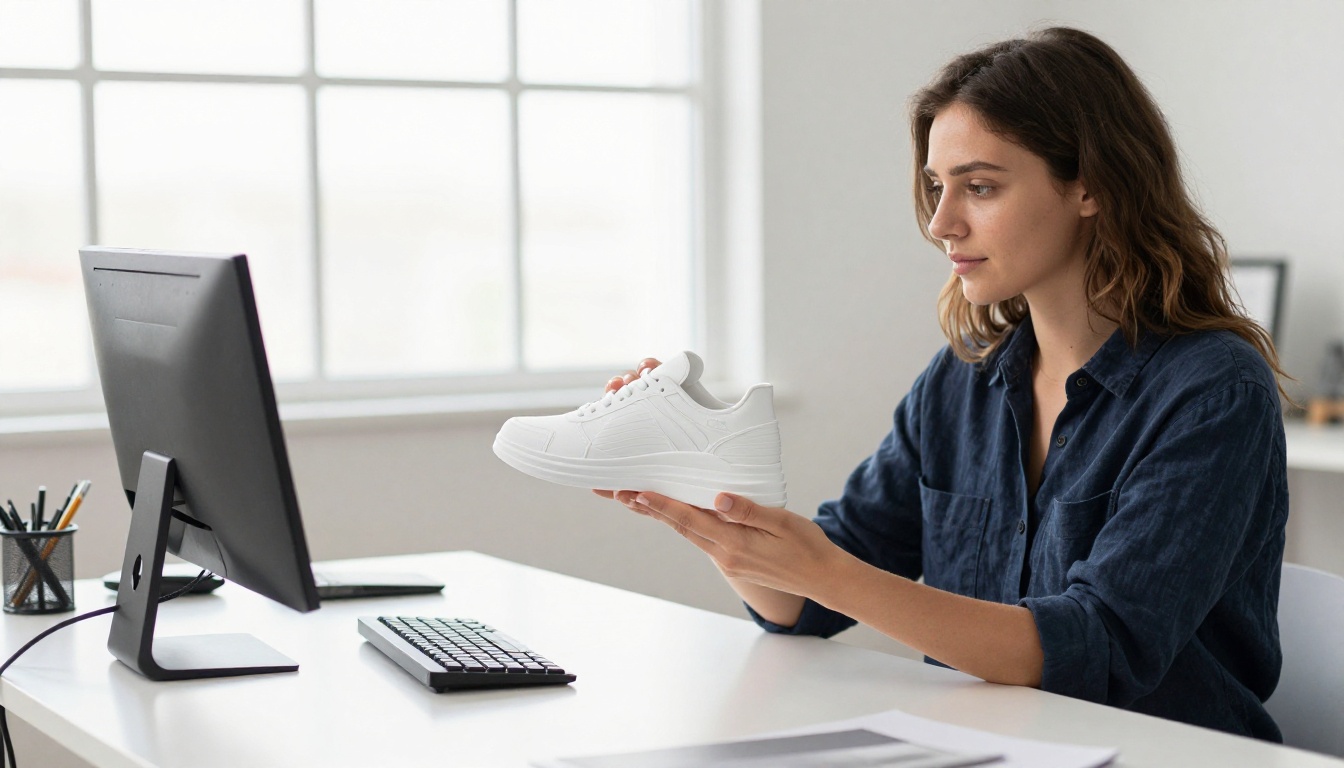
Product teams use text-to-3D to generate concept models before committing to CAD. The geometry is rarely precise enough for engineering, but for visualization and stakeholder approval, AI-generated 3D objects work extremely well. A product manager can generate a dozen variations of a product form in an hour, share them as rotating 3D previews, and narrow down the design direction before a single engineering hour is spent.
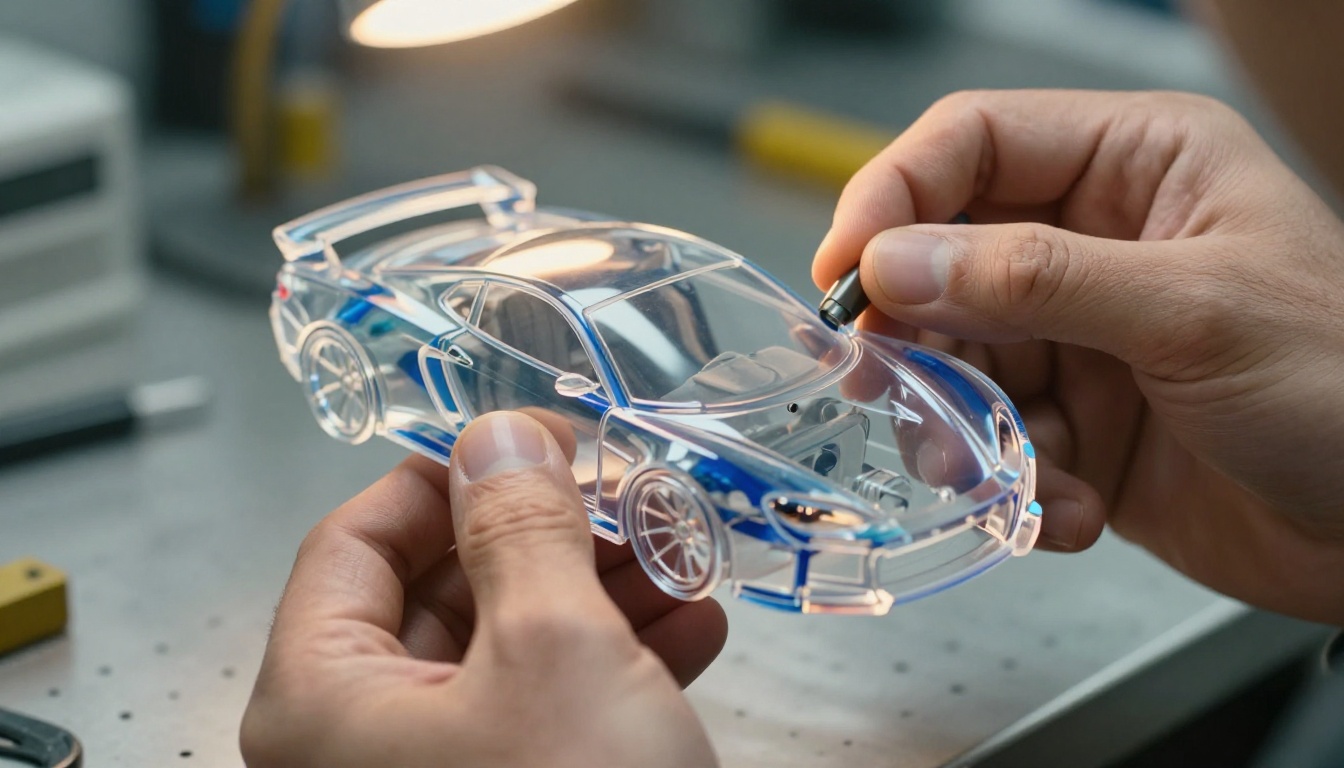
For physical prototyping, the mesh often goes through a cleanup pass in Blender or Fusion 360 before being sent to a 3D printer. But the starting point is dramatically faster than beginning from scratch.
AR, VR, and virtual worlds
Augmented and virtual reality applications require large libraries of 3D assets to build convincing environments. For virtual worlds, metaverse platforms, and AR overlays, the sheer volume of objects needed is enormous. Text-to-3D AI makes it feasible to populate entire virtual environments without proportional increases in budget or team size.
Platforms like Spatial, Mozilla Hubs, and various metaverse builders accept GLB mesh uploads directly. Combine AI-generated meshes with AI-generated textures and you have a content pipeline that one person can operate at scale.
The Limitations You Need to Know
Text-to-3D AI is genuinely impressive, but it has real constraints that trip people up if they go in without knowing them.
Topology quality varies wildly. AI-generated meshes often have non-manifold geometry, overlapping faces, or n-gons that cause problems in some workflows. Always run a mesh cleanup step in Blender (Mesh, Clean Up, Fill Holes, Merge by Distance) before using an AI mesh in a production pipeline.
Fine detail is the hardest problem. Text-to-3D tools handle broad shapes well. They struggle with small precise details: text on a label, fine mechanical joints, detailed facial features on characters. For anything requiring high geometric precision, AI output is a starting sketch, not a finished asset.
Consistency across variations is limited. If you generate the same object twice with the same prompt, you get different results. This is the same stochastic behavior as image generation. For production pipelines requiring consistent assets, you need to pin seeds or use the generated output as a reference for manual modeling.
Output formats matter. Not every tool exports to every format. Check that your tool of choice outputs .OBJ, .GLB, or .FBX depending on your destination. Some tools output formats that require conversion, adding friction to the pipeline.
How to Take Your 3D Workflow Further with AI Images
Even when your final output is a 3D object, AI image generation is a powerful part of the workflow. It serves two distinct roles: reference creation and texture sourcing.
Using image generators as concept references
Before you prompt a 3D tool, generate a reference image first. This is one of the most practical workflow improvements available right now. A photorealistic image of your intended object gives you:
- A clear visual target to align your 3D prompt toward
- A texture reference you can bake onto the mesh manually
- An approval image you can show to clients before producing the 3D asset
Tools like GPT Image 2 and PicassoIA Image are excellent for generating photorealistic reference shots of objects from multiple angles. You can then use those images as input for image-to-3D tools like Tripo3D or as texture maps in your 3D software.
💡 Workflow tip: Generate your object from the front, side, and 45-degree angle as three separate images. Many image-to-3D tools accept multi-view input and produce dramatically better meshes when given multiple angles to work from.
Models worth using on PicassoIA
For the image generation step in your 3D workflow, several models deliver strong results for product and object photography:
- GPT Image 2: Exceptional at product photography style renders. Clean backgrounds, accurate proportions, and material representation that closely matches physical objects. Ideal for generating reference images of objects you plan to model in 3D.
- Flux Redux Dev: Generates consistent variations of a base image. Once you have a reference object image, use Flux Redux to create angle variations, color variations, and material variations without re-prompting from scratch.
- PicassoIA Image: The platform's primary text-to-image model. Handles a wide range of styles and is fast enough for rapid iteration. Good starting point for concept exploration before moving to specialized models.
The combination of strong image generation and downstream 3D tools gives you a workflow that moves from idea to physical object faster than any traditional pipeline.

The Two-Step Method That Actually Works
The most reliable approach for getting good 3D output from text is this: generate the concept image first, then use that image to inform your 3D prompt. This sounds like extra work but it saves significant time overall.
When you have a visual reference, your 3D prompt becomes much more precise. Instead of "a modern chair," you write "a mid-century modern armchair with tapered wooden legs, curved seat shell, and upholstered back cushion" because you can see exactly what you want. That specificity is what separates good AI 3D output from generic shapes.
The process:
- Prompt an image model with your concept, get a photorealistic reference
- Study the image, note the specific geometric features
- Write a 3D prompt that describes those features precisely
- Generate the 3D mesh, use the image as a texture reference
- Clean up topology in Blender, export to your target format
That workflow is accessible to anyone, regardless of 3D modeling background. The AI handles the hardest parts at each step.
Start Creating Your Own 3D Objects Now
The barrier to creating 3D objects from text is effectively zero at this point. You do not need modeling skills, expensive software, or hours of tutorial watching. You need a clear description of what you want and the willingness to iterate on the output.
Begin with the image generation side of the workflow. PicassoIA gives you access to over 90 text-to-image models including GPT Image 2, Flux Redux Dev, and PicassoIA Image. Generate your reference images, test different object descriptions, and use those outputs to feed the best text-to-3D tools available.
Try it now: pick one object you have been meaning to model, write a 10-word description of it, generate a reference image, and see what the 3D tools do with that input. The full pipeline from text to physical object has never been this accessible, and it takes less than five minutes to run your first experiment.


