That folder of scanned family photos from the 1970s looks terrible on a modern screen, and it's not because the originals were bad. The chemistry in old prints still holds detail that your scanner simply could not translate cleanly into pixels. AI upscaling changes that equation entirely. In seconds, and without any editing background, you can pull that buried resolution to the surface and see your family history the way it was actually meant to look.
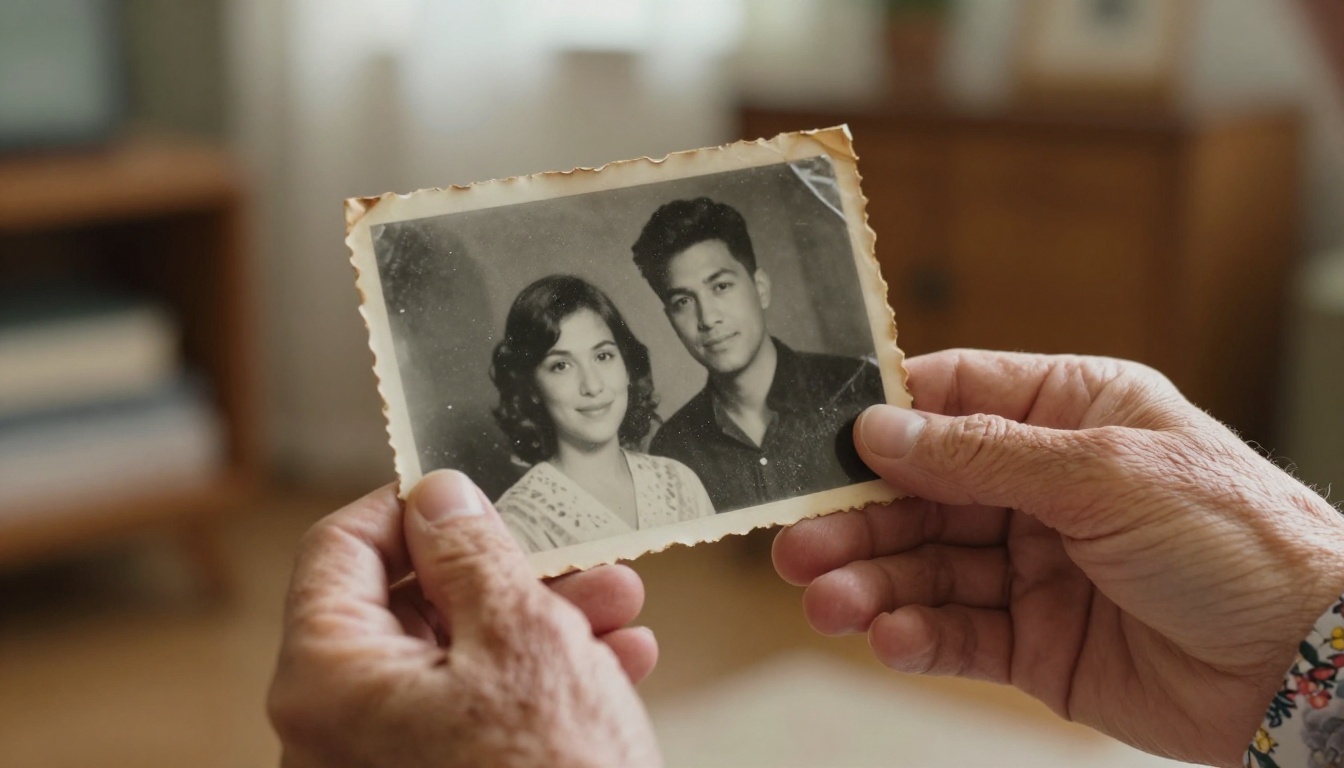
Why Old Photos Degrade So Fast
Print and Film Chemistry Over Decades
Old photographs are physical chemistry. Color dyes in prints oxidize, silver compounds in black-and-white prints shift, and the paper base yellows and becomes brittle. A photo stored in a shoebox in a warm attic can lose significant color information in as little as 20 years. By the time it gets scanned, you are working with a significantly reduced version of the original scene.
Fading is not random. Different color channels fade at different rates. In most color prints from the 1970s and 80s, cyan dyes are the first to go, shifting the photo toward red and orange tones. This is why so many photos from that era look warm and washed out even when the subjects were wearing cool-toned clothing.
What Your Scanner Actually Captures
The typical flatbed scanner at 300 DPI captures roughly 11 megapixels from a 4x6 print. That sounds reasonable until you realize that a modern smartphone captures 12 to 50 megapixels with autofocus, stabilization, and noise reduction. The scanner is capturing a degraded physical object at limited resolution. The resulting file carries all the damage: grain, scratches, color shift, and softness.
Bumping your scanner to 600 DPI does help. But even at 600 DPI on an old, faded print, you are still getting less usable information than you would get from a new photo taken today. That is the starting point AI upscaling has to work from.
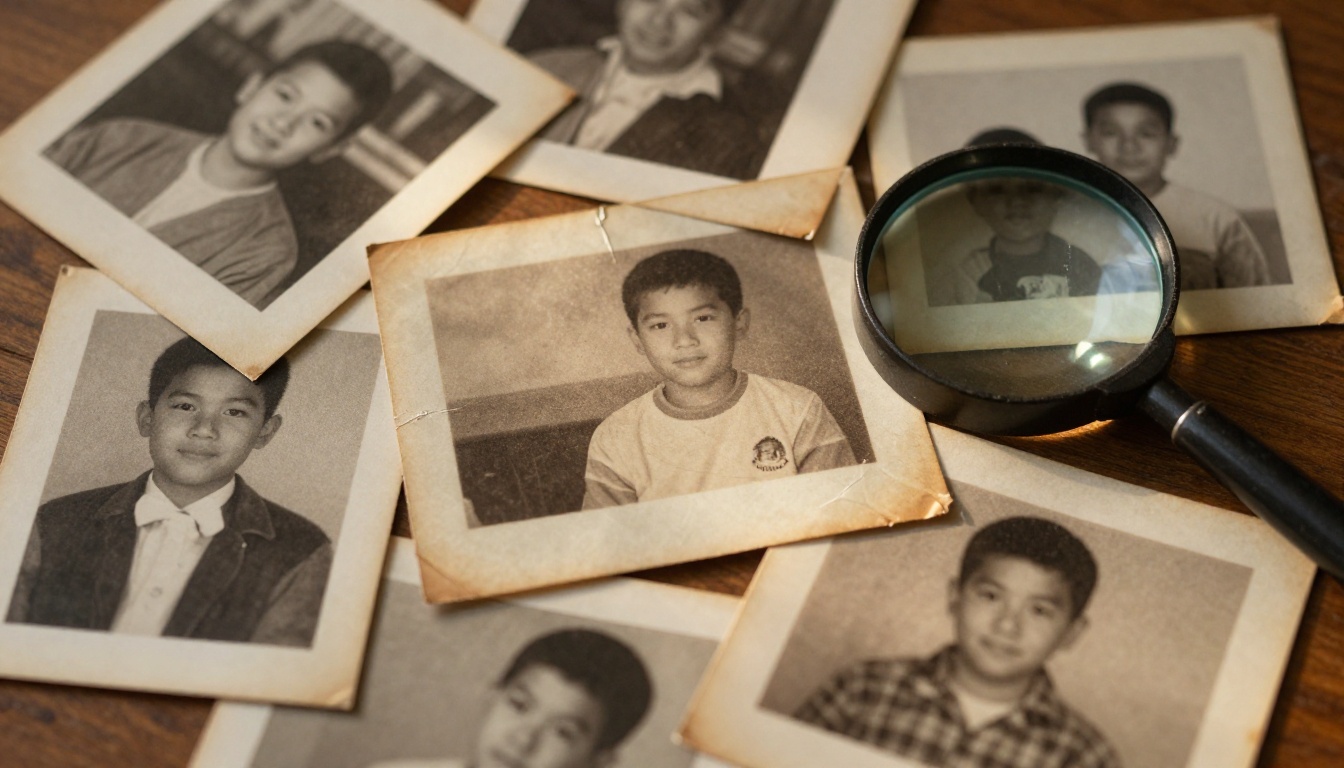
How AI Upscaling Works (and Why It's Different)
From Bicubic to Neural Networks
For most of computing history, image upscaling meant bicubic interpolation. The algorithm looks at surrounding pixels and averages them to create new ones when you increase the canvas size. It is math. It has no knowledge of what a face looks like, what fabric texture should look like at high resolution, or how grass appears when photographed with a sharp lens.
The output of bicubic upscaling looks exactly like what it is: a larger, blurrier version of the original with no new information added.
Neural network upscalers work completely differently. Models like Real ESRGAN and Clarity Pro Upscaler are trained on millions of image pairs, each pair consisting of a high-resolution original and a deliberately degraded low-resolution version. The model learns what the high-resolution version should look like given the low-resolution input. It is not guessing blindly. It is applying statistical knowledge about the visual world.
What the Model Actually Adds to Your Photo
💡 AI upscaling does not just make the image bigger. It adds genuinely new pixel information based on learned visual patterns. Skin pores, hair strands, fabric weaves, and eye detail can appear in the output that were not visible in the input at all.
The quality of that added detail depends entirely on the model and its training data. A model trained heavily on portraits will do better on faces. A model trained on general photographic imagery will perform better on landscapes and mixed scenes. This is why picking the right model for your specific photo type matters.
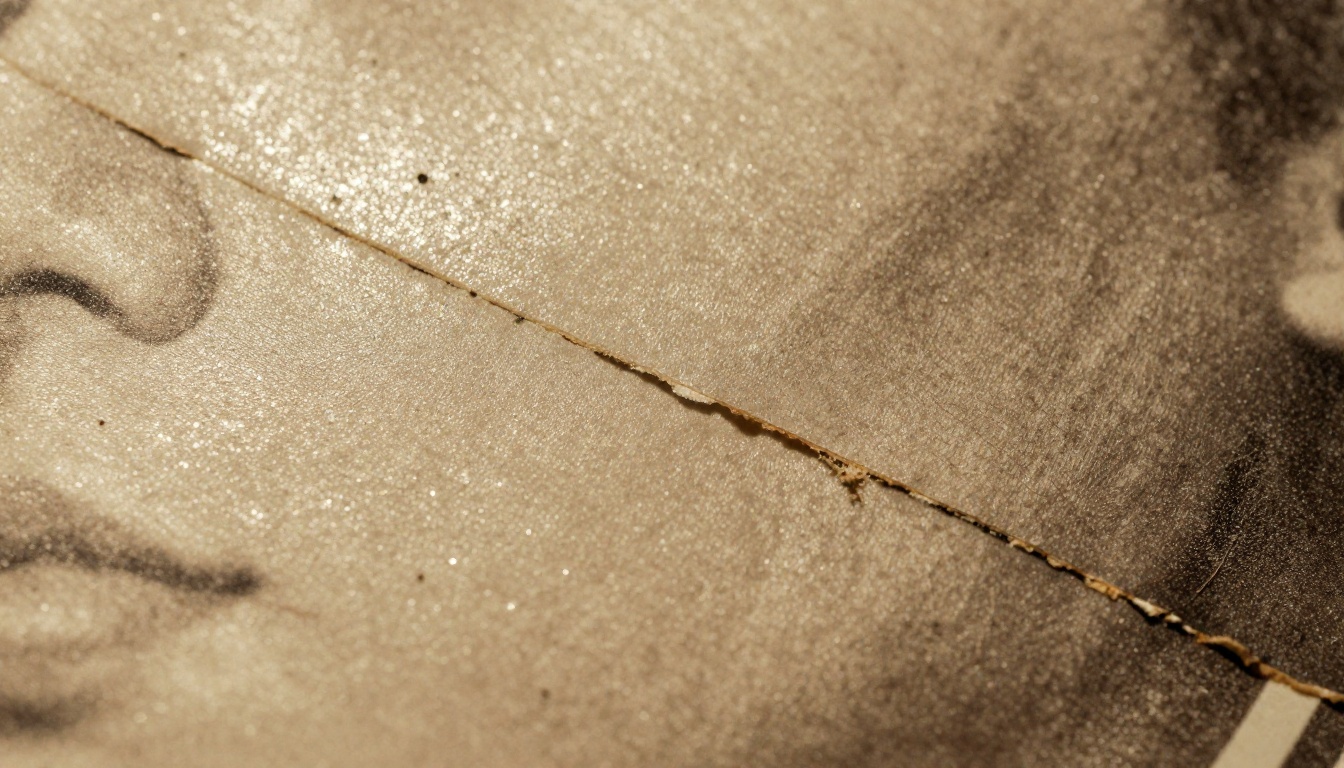
9 Super-Resolution Models Worth Knowing
PicassoIA has nine upscaling models available right now. Each one is optimized for something slightly different. Here is what each one does best.
P Image Upscale: Speed Without Compromise
P Image Upscale by prunaai processes images in roughly one second. That speed does not come at the cost of quality. The output is consistently sharp, faces look natural, and it avoids the over-processed look that faster models sometimes produce. If you have a stack of old scans to work through, this is your strongest starting point.
Clarity Pro Upscaler: The Photorealist's Choice
Clarity Pro Upscaler is built for photorealistic results. It produces outputs that hold up at 100% zoom without looking hallucinated or artificially sharpened. The model excels at organic textures: skin, hair, natural fabrics, and foliage. For portraits from the 1950s and 60s, this is the model that most often produces gallery-quality output.
Real ESRGAN: Handles the Messy Stuff
Real ESRGAN was built specifically for real-world degradation. That means photos with mixed quality issues: noise, JPEG compression artifacts, chemical staining, and inconsistent blur. Most upscalers are trained on clean inputs with a single type of degradation. Real ESRGAN handles the chaos of genuinely damaged old photos better than almost anything else.
Topaz Image Upscale: Go Up to 6x
Image Upscale by Topaz Labs is the only model here that goes up to 6x. When you are starting from a 400px or 600px image, the extra scale headroom is significant. Topaz also retains micro-detail at extreme enlargements where other models begin to blur.
Crystal Upscaler: Portrait Specialist
Crystal Upscaler is optimized specifically for portraits and close-up shots. Eye whites, eyelashes, skin texture, and hair separation all benefit from its training data. For individual headshots, school photos, or any photo where faces are the primary subject, Crystal Upscaler consistently outperforms general-purpose models.
Google Upscaler: Clean Edges, No Artifacts
Google Upscaler produces extremely clean output, particularly around high-contrast edges where other models sometimes produce halos or ringing artifacts. If you have run a photo through another model and noticed edge problems, Google Upscaler is the alternative to try.
Bria Increase Resolution: Solid 4x Default
Increase Resolution by Bria offers consistent 4x upscaling across a wide range of image types. It does not specialize in portraits or landscapes specifically, which makes it a reliable, predictable choice when you are not sure which category your photo falls into.
Recraft Crisp Upscale: Free and Fast
Recraft Crisp Upscale is available for free and produces clean output with no obvious artifacts. It is the right choice when you want to test the improvement on a photo without committing to a more specialized model first.
Recraft Creative Upscale: When You Want Depth Too
Recraft Creative Upscale does more than add resolution. It reinterprets the image with added tonal depth and creative detail, making it useful for photos that look flat or low-contrast after scanning. It adds something closer to an artistic reinterpretation alongside the resolution increase.
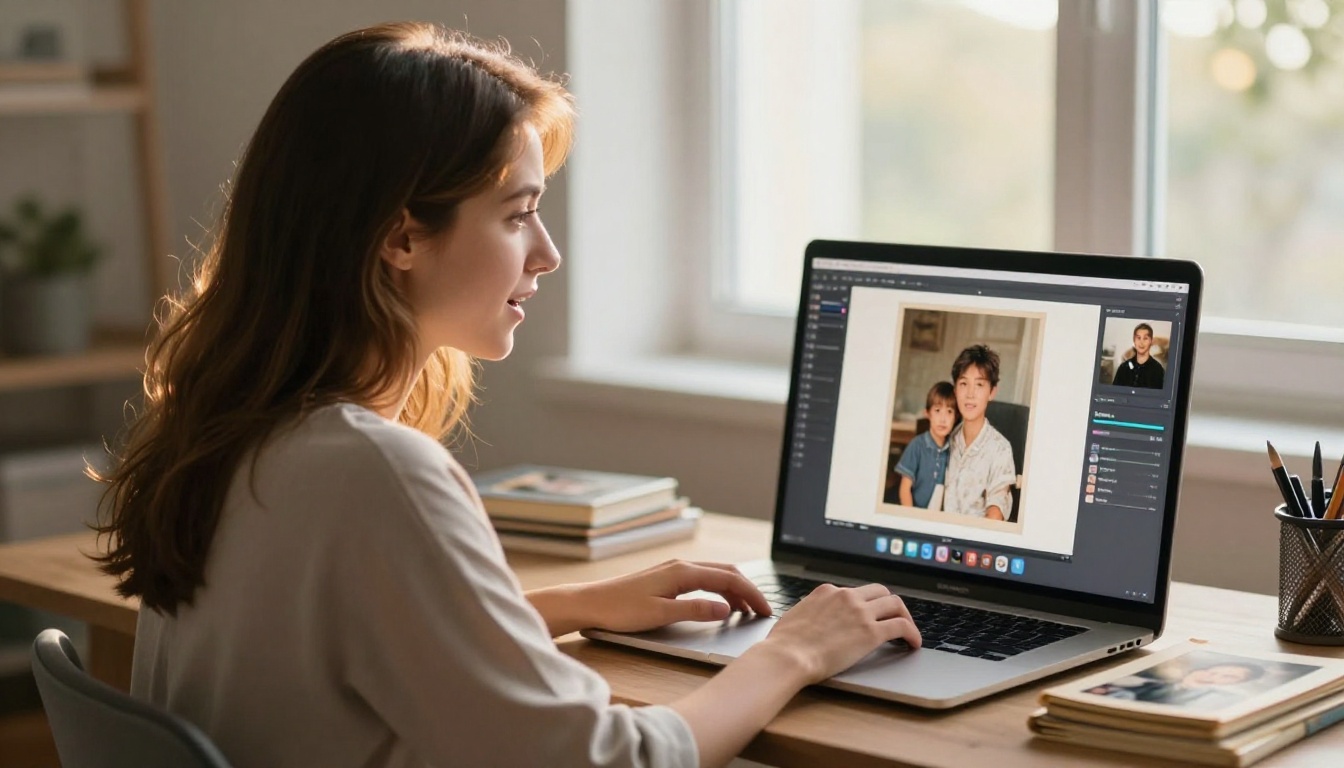
How to Use P Image Upscale on PicassoIA
P Image Upscale is the fastest and most versatile starting point for most old photo restoration work. Here is how the process works, step by step.
Step 1: Open the Model Page
Go to the P Image Upscale model page on PicassoIA. The upload interface is immediately visible. No complex setup required.
Step 2: Upload Your Scanned Photo
Click the upload area and select your file. JPEG and PNG both work. If you are scanning a physical print specifically for this purpose, use 600 DPI for the best input quality. Avoid heavy JPEG compression when saving the scan file, as compression artifacts confuse the upscaler.
Step 3: Set the Scale Factor
Most photos scanned at 300 DPI benefit from 2x upscaling to reach HD quality. Photos scanned at lower resolutions, or photos that are very small in the frame, may need 4x. Start with 2x, check the output, and step up only if needed.
Step 4: Run and Compare
Click the generate button. Within about a second, the result appears. Download both the original and the upscaled version and compare them at 100% zoom in your browser or image viewer. The difference in face detail and background sharpness is immediately visible in almost every case.

What to Expect in the Output
Face and Skin Detail
This is consistently where AI upscaling produces the most dramatic improvements. Models like Clarity Pro Upscaler and Crystal Upscaler reconstruct eye whites, catch light reflections, and individual hair strands from blurry originals. A face that looked like a smudge in the original scan can look like a sharp, modern portrait in the output.
Text and Background Objects
Small text visible in scenes, street signs, shop names, and book spines often becomes legible after upscaling with Topaz Image Upscale. This is particularly useful for historical or documentary photos where background context matters.
Colors: What Upscaling Does and Does Not Fix
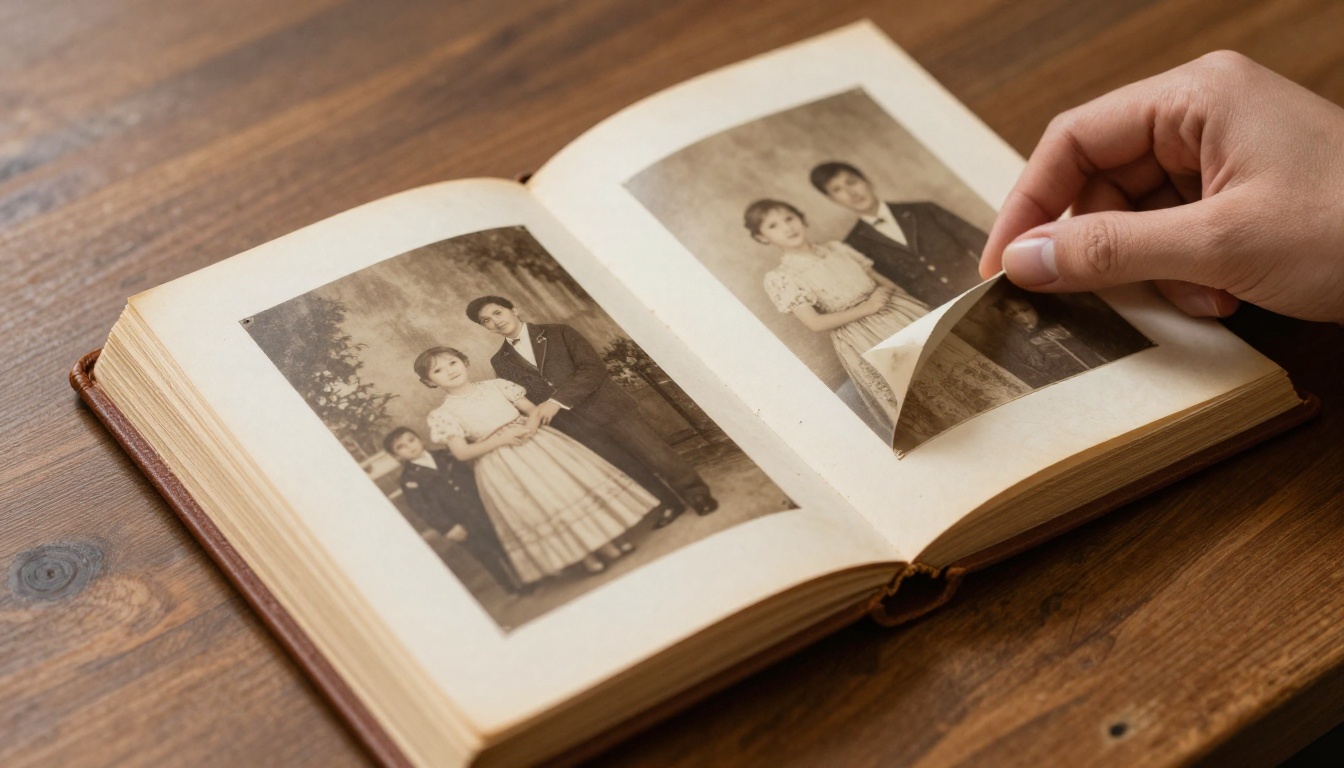
Upscaling sharpens whatever color data exists. It does not correct faded dyes. If your photo has shifted to orange-red due to cyan dye loss over the decades, the upscaled version will be a sharper orange-red photo. For color correction on top of upscaling, you would need to follow up in a photo editor. That said, Recraft Creative Upscale adds tonal richness and depth that can partially compensate for flat, low-contrast color in washed-out prints.
3 Things That Trip People Up
Pushing Scale Too High on Larger Scans
Running a 4x upscale on a photo that is already 1500px wide often produces over-sharpened results where skin looks textured in an artificial way. The model is inventing detail that should not be there at that size. For any portrait already above 800px wide, 2x is the better and safer choice.
Creative vs. Crisp: When Each One Fits
Recraft Crisp Upscale and Recraft Creative Upscale serve different purposes. Crisp upscaling is faithful to the original image, preserving its exact look while adding resolution. Creative upscaling interprets the image with added detail that was not strictly there. For archival-quality restoration where you want to preserve the photo as-is, use Crisp. For photos you want to look visually strong regardless of strict fidelity, Creative delivers more visual impact.
Output Is Only as Good as the Scan
The most common reason upscaling results disappoint is a poor input scan. If the physical print was scanned at 72 DPI on a phone camera app with uneven lighting, the upscaler has very little to work from. Invest time in getting a clean, flat, well-lit, high-DPI scan first. Real ESRGAN handles messy inputs better than most models, but no AI can fully recover from a fundamentally poor scan.
Quick Reference: Which Model for Which Job
💡 When you are not sure where to start, P Image Upscale is the fastest way to see what AI upscaling can do for your photo in under 10 seconds.
See What Your Old Photos Actually Looked Like
Every old photo holds more detail than what you are currently seeing. The chemistry of the original print captured fine texture that the scanner translated imperfectly and that time degraded further. AI upscaling pulls some of that back.

Pick any photo from your collection, ideally one that has always looked too degraded to share or print. Upload it to P Image Upscale or Clarity Pro Upscaler on PicassoIA and run it through at 2x. Then open both the original and the result at 100% zoom side by side.
The difference in face detail, background sharpness, and overall presence is usually enough to make the photo worth sharing again. PicassoIA has nine super-resolution models available, free to try, right now in your browser. Run your worst scan through two or three of them and see which one suits your specific photo best. You have nothing to lose and a decade's worth of blurry memories to recover.


