An empty room photographs like a storage unit. Buyers scrolling Zillow on a phone give each listing a few seconds, and a gray box of bare walls and scuffed floors loses that contest before the price even registers. AI virtual staging fixes the visual problem in minutes and for a fraction of what physical furniture rental costs. It also creates a new problem: Zillow, your MLS, and in some states the law itself now care a great deal about how you label and limit those edits.
This article walks through the rules that matter, the edits that are safe, the edits that get listings flagged or agents in trouble, and a repeatable workflow you can run with AI image tools. Rules change often, so treat this as practical orientation and not legal advice. Always check your MLS photo policy before you publish.
Why Zillow Buyers Care About Staging
Most buyers meet a home through its photos long before they meet the home. On Zillow, the first image decides whether someone taps into the listing or keeps scrolling, and a vacant property gives them very little to hold on to.
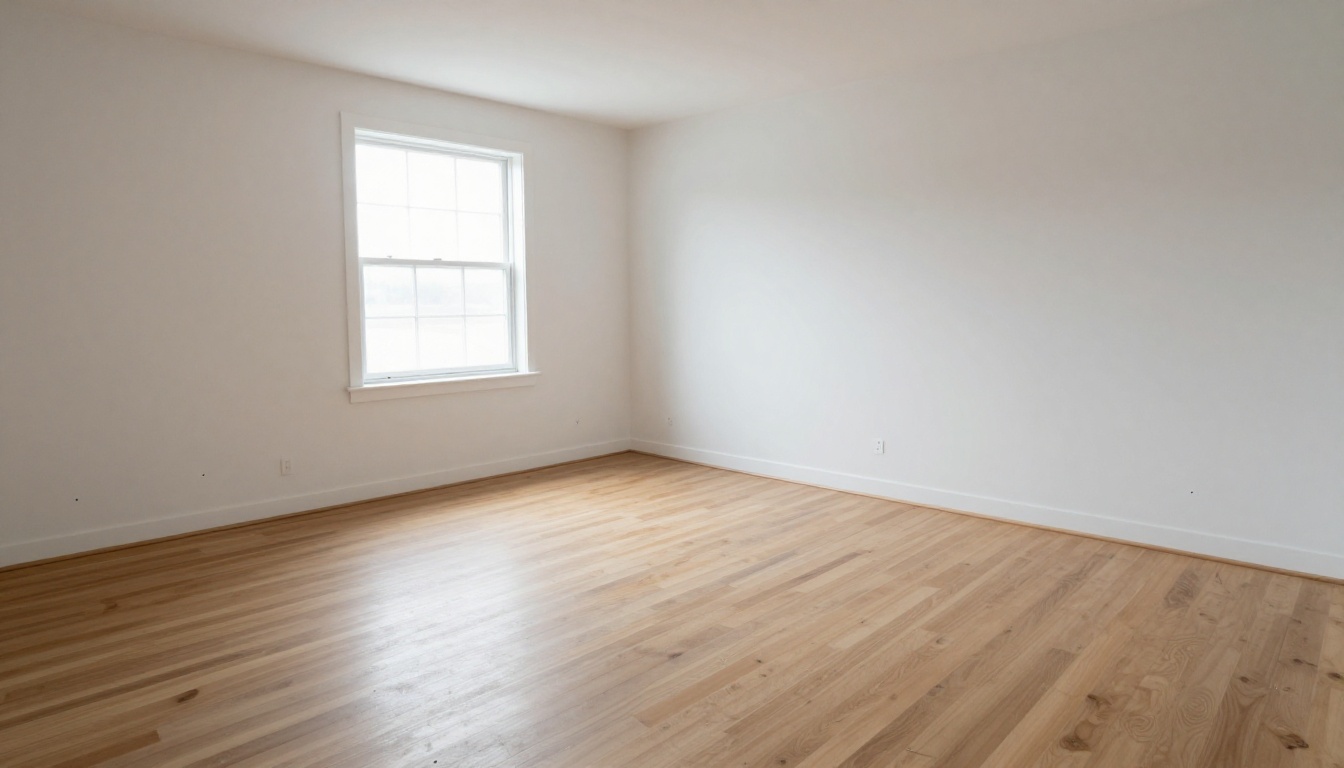
Empty Rooms Are Hard to Read
A bare room has no scale. Is that corner big enough for a desk? Does a sofa fit under the window? Where would the dining table go? Buyers cannot answer those questions from a blank box, so they fill the gap with doubt. A furnished room answers them in a glance and makes the space feel lived in rather than left behind.
Vacant homes also photograph badly for a technical reason. Without furniture, sound and light bounce around, walls look flatter, and wide-angle lenses exaggerate every scuff and seam. Furniture gives the eye places to rest, and it gives the buyer a reason to keep swiping to the next photo instead of closing the tab.
What Virtual Staging Actually Changes
Virtual staging adds sofas, rugs, lamps, art, and plants to a photo of an empty room. Nothing physical moves, nothing is delivered, and nobody pays a monthly rental fee while the home sits on the market. A set of staged photos can go live the same day the photographer finishes, which matters for a vacant listing in a slow week. The same approach suits new construction, estate sales, and rentals between tenants, where the rooms are empty and the calendar is tight.
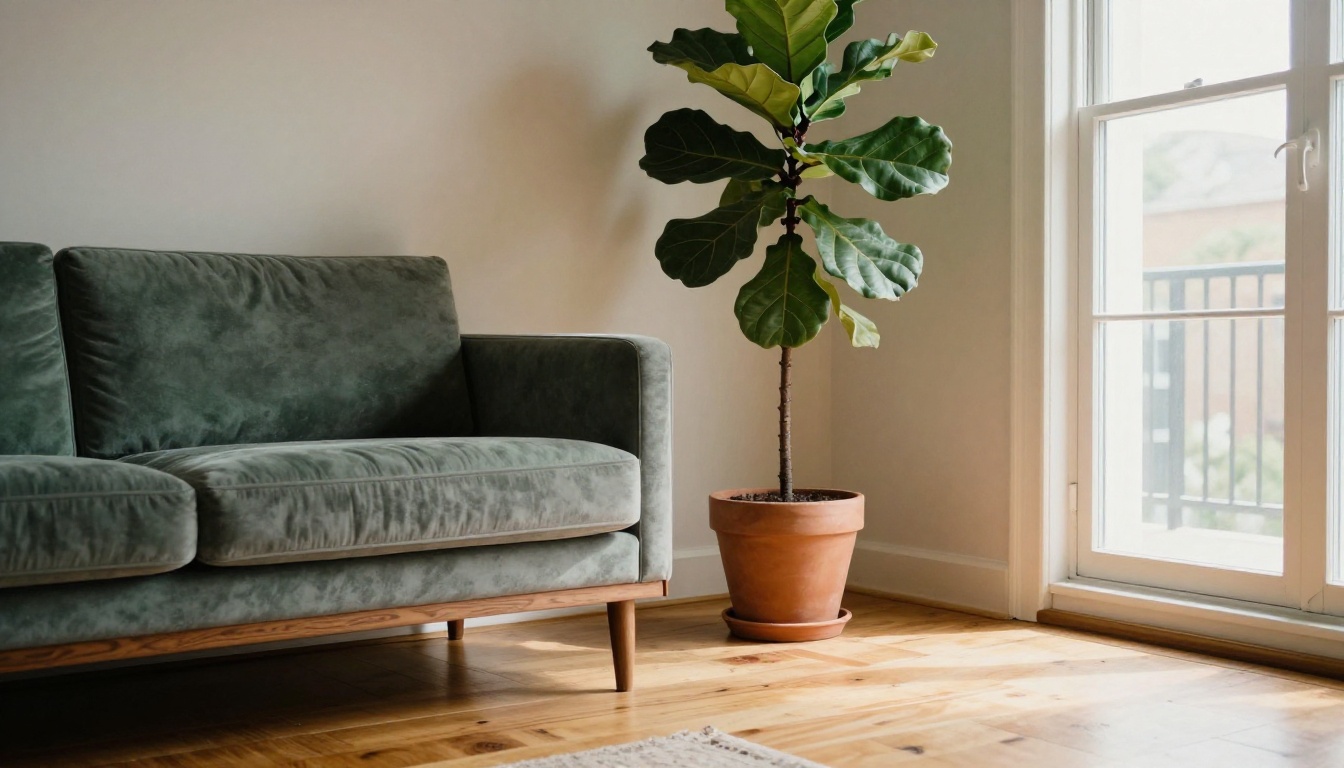
The goal is to show how a room could be used, not to change what the room is. That difference drives every rule in the next section. Staging adds removable items. Anything that alters the permanent condition of the property, like the floor, the walls, the windows, or the view, belongs to a different category with a much higher risk.
The Rules You Must Follow
There is no single national rulebook. Zillow, your local MLS, your state, and your brokerage each add a layer. The common thread is simple: do not mislead the buyer, and say so when a photo has been altered.

Zillow and MLS Disclosure
Zillow generally accepts virtually staged photos as long as they are disclosed. Because most Zillow listings arrive through an MLS feed, the details that bind you usually come from your MLS photo policy. Typical requirements include:
- A caption such as "Virtually staged" on every altered photo
- A label on the image itself, or a note in the listing remarks
- Access to the original, unstaged photo, sometimes as part of the photo set
- Limits on what can be changed, often a ban on editing permanent features
Plain wording works best. Skip clever phrasing and write exactly what happened, for example "Virtually staged. Original photo available on request" or "Furniture digitally added." A caption a buyer can read in two seconds beats a paragraph of legal text buried in the listing remarks.
💡 Tip: Read your MLS photo policy before the shoot, not after. Rules differ between boards, and a flagged listing can be sent back for correction while your marketing window is already running.
California AB 723
The California law known as AB 723 took effect on January 1, 2026. It requires licensed brokers and salespersons to disclose when an image used in real estate marketing has been digitally altered. The statement must be reasonably conspicuous, sit on or next to the image, and point to the original, unaltered version through a public link, URL, or QR code.
Routine adjustments like white balance and exposure do not trigger it. Adding furniture, adding grass, or removing power lines does. Penalties can include fines and license discipline, so agents outside California should treat the law as a preview of where other states may head.
What Counts as Misleading
A useful test: would a buyer be surprised after walking through the front door? If the answer is yes, the edit is a problem. The usual offenders:
- Making a room look larger than it is
- Hiding stains, cracks, water damage, or worn flooring
- Removing power lines, neighboring buildings, or busy roads from outdoor photos
- Adding a view, a pool, or landscaping that does not exist
- Swapping countertops, cabinets, or flooring that stay with the house
What You Can and Cannot Edit
Think of every edit as belonging to one of three buckets: standard photo corrections, disclosed staging, and changes that misrepresent the property. The first two are fine. The third is where listings get pulled and licenses get questioned.
| Edit | Usually acceptable? | Notes |
|---|
| Exposure, white balance, straightening verticals | Yes | Standard corrections, usually no label needed |
| Adding furniture, rugs, art, plants | Yes, with disclosure | Label every staged photo |
| Removing temporary clutter | Often, with disclosure | Check your MLS wording first |
| Changing floors, walls, or cabinets | No | Permanent features must match reality |
| Hiding damage or wear | No | Direct misrepresentation |
| Replacing the sky or view | Usually no | Not what the buyer will see on arrival |
| Adding a pool or landscaping | No | Misleading by definition |
Safe Edits
Brightening a dark room, correcting a color cast, and straightening leaning walls all make the photo more accurate, not less. Adding a sofa, a dining set, and a few lamps to an empty room is also acceptable almost everywhere, provided the photo carries a clear label. Keep the furniture believable: scaled to the room, sized for the doors, and styled for the likely buyer.
Edits That Cross the Line
If an edit changes something the buyer will still see after closing, leave it alone. That includes the floor, the paint, the windows, the fireplace, and everything outside the walls. It also includes removing flaws. A water stain on a ceiling is a fact about the house, and a buyer who spots it at the showing will trust everything else in the listing a little less.
A Clean Workflow for Staged Photos
Good virtual staging is mostly process. The software does the heavy lifting, but the steps around it protect you from complaints and from wasted edits.
Shoot a Clean Base Photo
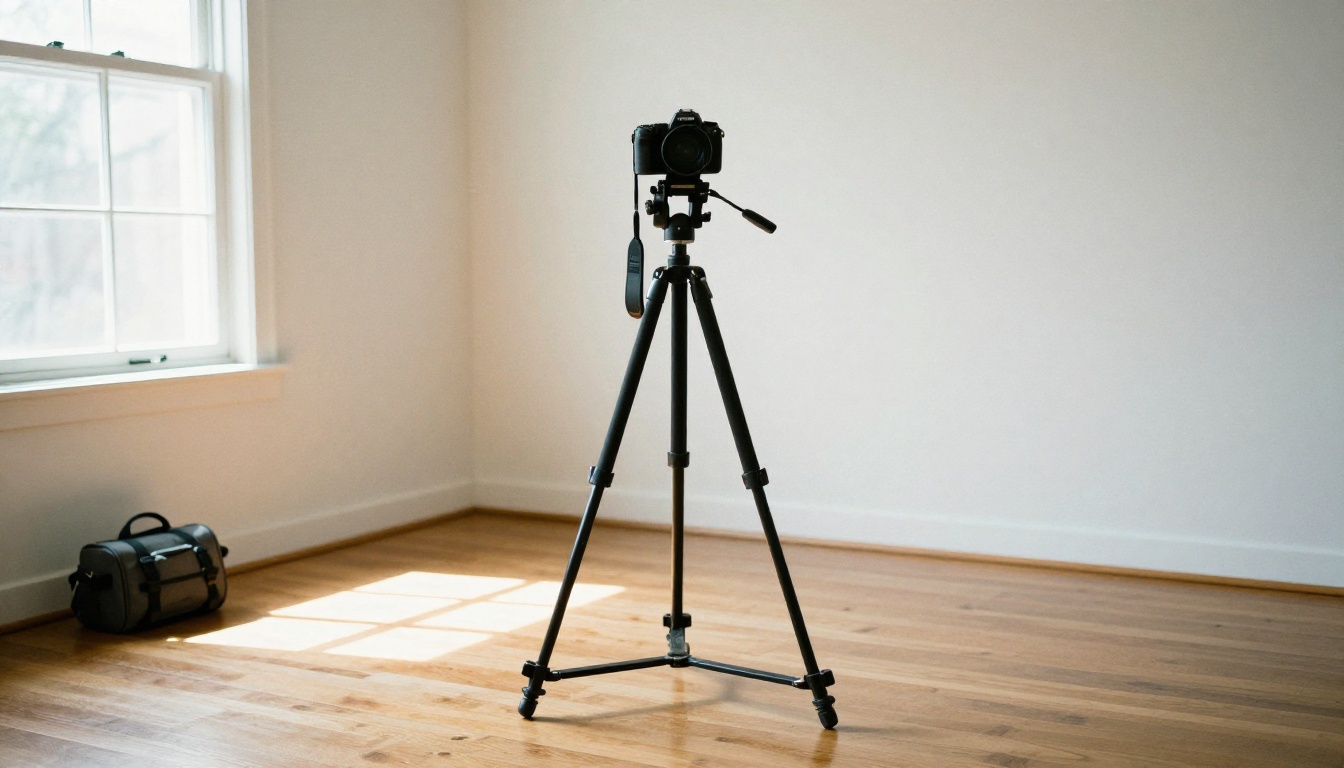
AI staging is only as good as the photo it starts from. Shoot in daylight with the lights on, keep the camera at chest height, and frame from a corner so the floor and two walls are visible. Keep vertical lines straight. Avoid deep shadows and blown-out windows, because AI models struggle to place furniture believably when the perspective is odd or the light is uneven.
Take two frames of each room: one wide and one slightly tighter. Having a second angle gives you a backup if the first staging attempt looks off.
Stage with an AI Editor
Use an image-editing model that accepts your real photo plus a text prompt. Describe the furniture style, the placement, and the light, and tell the model what to leave alone. A strong prompt always includes a preservation line such as "keep the floor, walls, windows, and ceiling exactly as they are."
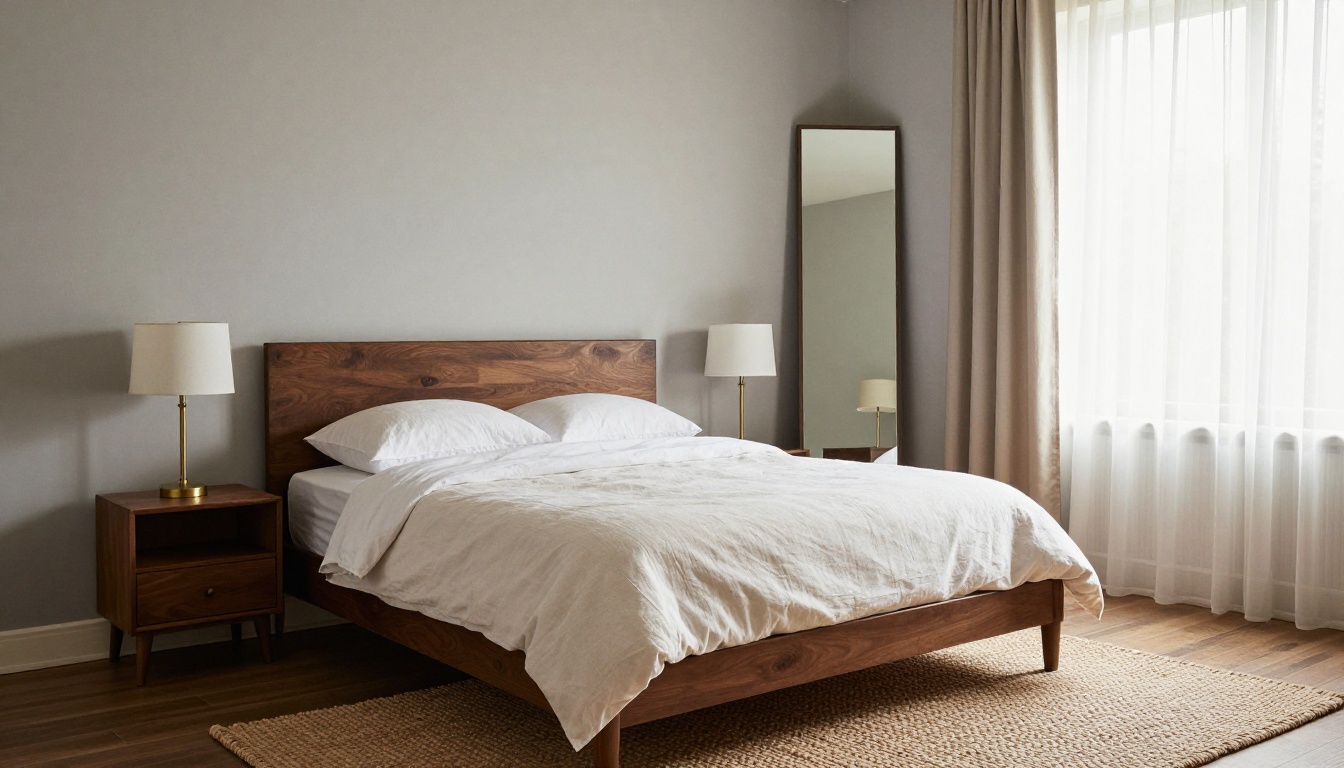
Check the Result Against Reality
Open the output at 100% and inspect it like a skeptical buyer. Then label it and file the original.
- Furniture contact: every leg should rest on the floor with a believable soft shadow.
- Scale: a sofa should not tower over a door frame or shrink beside a window.
- Access: nothing should block outlets, vents, closets, or door swings.
- Permanent features: compare floors, walls, and windows against the original, side by side.
- Label and archive: add "Virtually staged" to the caption and keep the untouched original in a labeled folder.
Staging a Room with Image Editor Pro
PicassoIA Image Editor Pro is a good fit for this job because it edits a photo from a plain-language prompt, accepts up to three reference images, and has no per-edit cap. You can run as many variations of the same room as you need until the layout looks right.
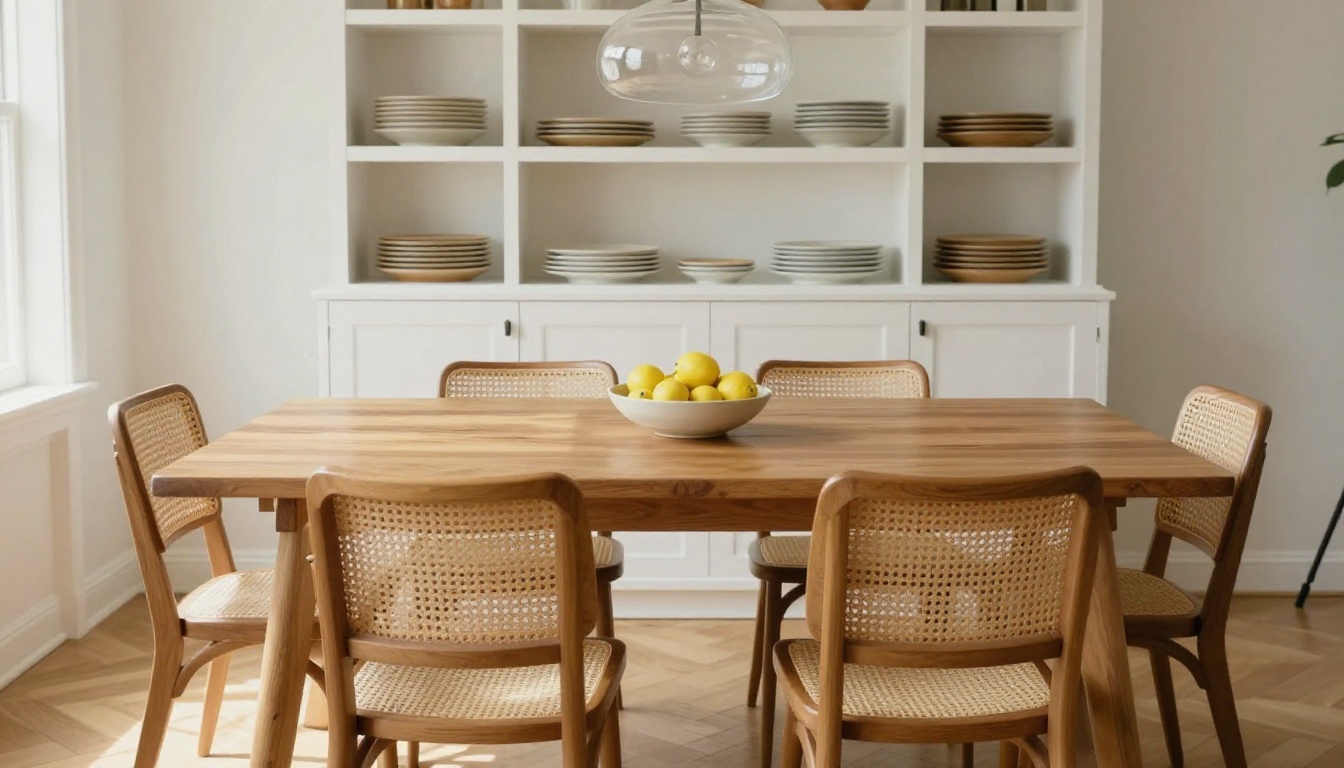
Here is the step-by-step process:
- Open the PicassoIA Image Editor Pro page.
- Upload your empty-room photo in the Images field. The first image is the primary one. You can add up to two more, for example a furniture reference.
- Write your prompt. A solid starting point: "Stage image 1 as a modern living room with an oatmeal linen sofa facing a round oak coffee table, a jute rug, a rattan accent chair, and a black floor lamp. Keep the floor, walls, windows, and ceiling exactly as they are. Match the existing daylight and add soft natural shadows under the furniture."
- Leave Aspect ratio on
match_input_image so the output keeps the framing of your photo.
- Set Number of outputs to 2 and compare two layouts in a single run.
- Choose JPG or PNG as the output format and keep the quality near the default of 95.
- Lock a seed when you like a result, then rerun with small prompt changes without losing the layout.
💡 Prompt rule: name what to keep as clearly as what to add. A prompt that only says "make this room nicer" invites the model to change things you never asked for.
Work one room at a time and keep each prompt short. If the model moves a window or alters a floor, strengthen the preservation line and rerun. Because the edits are unlimited, rerunning costs nothing but a few seconds.
Picking the Right AI Model
No single model wins every room. Some follow long instructions closely, some keep the original scene intact, and some are better at finishing touches. These are good starting points:
One Photo, Two Models
The fastest way to choose is to run the same photo and the same prompt through two models, then compare shadows, furniture scale, and how well each respects the floor and walls. Keep whichever result looks most like a photo taken in the room. If the winner comes out soft, pass it through Clarity Pro Upscaler before uploading to Zillow so the listing image stays crisp on large screens.
Tips for Staged Photos That Sell
A few habits separate staging that sells from staging that makes buyers suspicious.

Match Furniture to the Buyer
A studio near a university calls for compact seating and a small desk. A four-bedroom in a family suburb calls for a big dining table and a cozy living room. Pick styles that fit the neighborhood and price point: neutral palettes, natural materials, and furniture that looks like something a real person owns. Avoid trendy statement pieces that date the photo.
Respect Scale and Lighting
The most common giveaway is lighting that does not match the room. If sunlight enters from the left in the original photo, shadows under the new furniture must fall to the right. Include the light direction in your prompt, and reject any result where the furniture looks pasted on. Buyers may not name the problem, but they feel it.
Stage the Rooms That Matter Most
You do not need to furnish every closet. Focus on the living room, the primary bedroom, the dining area, and the kitchen counters, because these shape the first impression. Leave hallways, garages, and utility rooms as they are, and keep the staged count modest so the listing still feels honest. When your MLS allows it, keep one unedited photo of an empty room in the set. A before-and-after pair builds trust, and it protects you if a buyer asks what the space really looks like.

Exterior photos need extra care. A tidy lawn and a warm golden-hour shot come from timing and real photography, not from edits. Sky replacement, greener grass, and removed neighbors all count as alterations, and they are the edits most likely to disappoint a buyer on arrival.
Stage Your Next Listing Today
Virtual staging works on Zillow when it respects one rule: the buyer should be able to trust what the photos show. Disclose every staged image, leave permanent features alone, and keep the originals on file. Do that, and AI staging becomes a fast, low-risk way to make vacant rooms feel like homes.
The quickest way to see what is possible is to try it on a real photo. Upload an empty room to PicassoIA Image Editor Pro, write a prompt with a clear "keep this unchanged" line, and compare two layouts side by side. Once the stills look right, you can also turn them into short clips for social posts. Treat the first few rooms as practice: stage the living room, check it against the checklist above, adjust the prompt, and repeat. By the third room you will have a prompt template that works for your market, and each new listing becomes a matter of minutes. Open Picasso IA, load your next vacant listing, and see how quickly an empty room can start working for you.


