Something is noticeably different about GPT Image 2, and it is not just the version number. OpenAI's second dedicated image generation model brings changes that go well beyond resolution tweaks or aesthetic adjustments. If you are still relying on the original GPT Image 1, or if you are confused about what actually changed between the two versions, this article breaks it all down: the real differences, the remaining gaps, and how to put the new capabilities to work on a platform that already has the model ready to use.
What GPT Image 2 Actually Is
GPT Image 2 is OpenAI's second dedicated image generation model, built on the GPT-4o multimodal architecture. It follows GPT Image 1 (also known as gpt-image-1) and brings a set of structural improvements that change how the model interprets text prompts, handles multi-turn editing sessions, and delivers output files.
It is important to be clear about what this model is not. It is not DALL-E 4. It is not a general-purpose image editor. And it is not simply a resolution upgrade. The changes are architectural, which is why the behavioral differences in practice feel more significant than a typical model refresh.
Not Just Another Model Update
Most AI model updates are incremental. A few percentage points better on benchmark scores, minor quality improvements in edge cases, slightly faster generation. GPT Image 1 to GPT Image 2 is a different kind of step.
The core difference is that GPT Image 2 was built with multi-turn interactions as a first-class feature from the ground up. Previous versions treated every prompt as a completely independent generation request. GPT Image 2 can hold context across a conversation, which means you can refine an image through multiple rounds of feedback without losing the base composition, style, or lighting from the original output.
This represents a shift in design philosophy, not just a bump in capability. It changes how you work with the model, not just what you get from it.
How It Fits Into the OpenAI Stack
GPT Image 2 runs as a standalone model with its own dedicated API endpoint, separate from GPT-4o's native image output capabilities. While GPT-4o can generate images as part of a general conversation, GPT Image 2 is specifically optimized for image generation tasks, which means better spatial reasoning, higher attribute accuracy, and more reliable output formatting.
The model outputs images natively at up to 1024x1024 pixels, with support for higher resolutions through tiling workflows. More importantly, it delivers RGBA output, meaning it can produce images with a true alpha channel rather than defaulting to a solid background color. This is where one of the most practically significant new features becomes available to everyday creators.
For teams that need output beyond 1024px, pairing GPT Image 2 with a dedicated super-resolution model like Clarity Pro Upscaler on PicassoIA brings the final output to 4K without quality degradation.
The Real Differences That Matter
These are not marketing bullet points. These are the changes that will actually affect your workflow day to day.
Multi-Turn Image Editing
With GPT Image 1, if you generated an image and wanted to change the background, you had to re-prompt from scratch or use a separate inpainting tool. The model had no memory of what it had just produced. With GPT Image 2, the conversation model changes that entirely.
You can follow up in the same thread with targeted edit instructions:
"Now change the jacket to burgundy"
"Add a rain-slicked street reflection in the background"
"Remove the bag from her left shoulder and keep everything else the same"
The model retains the original composition, lighting direction, and stylistic decisions while applying only what you asked it to change. The accuracy of targeted edits is not perfect, particularly with complex spatial changes, but it is dramatically more reliable than anything the previous version offered.
This capability alone changes the economics of AI image production. Instead of generating 20 to 30 images trying to hit a specific look, you generate one and refine it through 3 to 5 conversational turns. Iteration speed and output quality both improve.
💡 Tip: Be surgical with your follow-up instructions. Vague edits like "make it more dramatic" produce inconsistent results. Precise edits like "increase contrast in the shadows and add a single rim light from the right side" work significantly better.
Native Transparent Backgrounds
This sounds small until you need it in a production workflow. GPT Image 2 can output images with true alpha channel transparency in RGBA PNG format, natively, without any post-processing step.
For product photography, logo overlays, content with cutout subjects, and any output destined for layered design work, this removes an entire stage from the pipeline. With GPT Image 1, you had to generate on a white or neutral background and then run background removal separately. PicassoIA offers background removal as a standalone capability for other models, but having it built into generation directly saves real time in high-volume workflows.
Prompt Accuracy and Context Awareness
GPT Image 1 handled general scene descriptions well but struggled when prompts stacked multiple specific attributes. Ask it for a person wearing a striped linen shirt with rolled sleeves, sitting at a round marble table in a cafe, and the model might get the cafe right while losing the shirt details, or vice versa.
GPT Image 2 shows measurably better attribute stacking accuracy. It holds concurrent descriptors without dropping or blending them. Spatial relationships also resolve more consistently: "the red mug is to the left of the laptop" produces the correct arrangement far more reliably than before.
This accuracy improvement comes from the GPT-4o visual reasoning backbone. The model processes spatial logic rather than operating purely on keyword-to-image pattern matching.

GPT Image 1 vs GPT Image 2
Here is a direct breakdown of where things changed and where they stayed the same.
| Feature | GPT Image 1 | GPT Image 2 |
|---|
| Multi-turn editing | No | Yes |
| Transparent PNG output | No | Yes (RGBA) |
| Prompt attribute accuracy | Moderate | High |
| Spatial reasoning | Basic | Improved |
| Max native resolution | 1024x1024 | 1024x1024 |
| Text rendering in images | Unreliable | Better for short text |
| Inpainting control | Limited | Improved via API |
| Context retention | None | Within session |
| Background removal support | No | Native |
| API access | Yes | Yes |
The native resolution ceiling is identical at 1024x1024. If your final output needs to be 4K or larger, you will still need a dedicated upscaling pass. Real ESRGAN and Clarity Pro Upscaler on PicassoIA handle this reliably for photography-style AI outputs.
What GPT Image 2 Still Gets Wrong
Honest review: the model has real limitations worth knowing before you commit to it for a project.
Style Consistency Across Sessions
Context retention works within a single conversation thread. Start a new session and the model has no memory of previous outputs. This is a problem for brand consistency work where you need the same visual style, color palette, or character appearance across many separate generation sessions over days or weeks.
For longitudinal visual consistency, models with LoRA training capabilities, like Qwen Image Edit Plus or Flux Redux Dev, which can be trained on your specific style references, will produce more reliable results across independent sessions.
Creative Interpretation vs Literal Rendering
GPT Image 2 leans strongly toward literal prompt interpretation. This is exactly what you want for product and commercial work. It is less satisfying for abstract, emotional, or artistically open-ended prompts where you want the model to take creative liberties and surprise you.
For expressively stylized or abstract visual output, models like Seedream 4.5 or Hunyuan Image 2.1 feel more generative and less constrained by literal interpretation.
💡 Tip: For abstract creative work with GPT Image 2, write prompts focused on mood, atmosphere, and emotion rather than explicit visual specifications. Give it a feeling to render rather than a scene to construct.
Using GPT Image 2 on PicassoIA
GPT Image 2 is available directly on PicassoIA's platform, which means you can start generating without API setup, code, or any technical configuration.
Step-by-Step
1. Open the model page
Go to the GPT Image 2 page on PicassoIA and click "Try Model."
2. Write a detailed first prompt
Be specific. Include subject, lighting, environment, clothing, and precise attributes. Think of it as briefing a professional photographer rather than typing a keyword.
Example prompt: "A woman in a cream linen blazer holding a ceramic coffee mug, standing next to a floor-to-ceiling window overlooking a rain-soaked city street at dusk, warm amber interior light from the left contrasting with cool blue natural light from the window behind her, 85mm lens, shallow depth of field."
3. Refine in the same session
Once the image generates, add a follow-up instruction in the same chat thread. Do not start a new session or you lose the context. Type what you want changed specifically.
Follow-up example: "Change the blazer color to terracotta and add a small potted succulent on the windowsill to her left."
4. Request transparent output when needed
Add "subject on transparent background, RGBA PNG format" to your prompt for product or cutout work where you need the alpha channel.
5. Upscale the final output
Take the generated image into Clarity Pro Upscaler for a 2-4x resolution boost when you need print-quality or large-format output.
Parameter Tips
- Seed control: Fix a seed value during iterative refinement to minimize compositional drift between edits
- Prompt length: GPT Image 2 benefits from detailed prompts. 60-100 words consistently outperforms short prompts of 10-15 words
- Text in images: Short labels of 1-3 words render reliably. Avoid full sentences or complex typography
- Lighting specificity: Name the exact lighting setup ("single overhead softbox from the right," "golden hour backlight") rather than using generic terms like "good lighting"

3 Cases Where GPT Image 2 Wins
Product Photography
GPT Image 2's literal accuracy and transparent background output make it exceptionally well-suited for product image generation. You can place any product in any environment, with any lighting setup, and export the transparent PNG directly for e-commerce use without additional editing software.
The multi-turn editing workflow is particularly valuable here. Generate the base product shot, then ask for lighting adjustments, shadow refinement, or surface texture changes without re-doing the entire prompt. A workflow that previously required 15 to 20 generations to nail might now take 3 to 4.
Marketing Creatives at Scale
For social media teams producing large volumes of on-brand imagery, GPT Image 2's improved prompt adherence means fewer rejected outputs per brief. When you specify "person facing directly to camera, neutral confident expression, soft even studio lighting, white background," the model consistently delivers that rather than introducing variation you did not request.
Pair it with PicassoIA Image for batch generation workflows across multiple briefs.
Content Creation with Iterative Refinement
Bloggers, newsletter writers, and content creators who need custom visuals for each piece benefit from the conversational editing model. Start with a rough visual concept and refine it through 4 to 5 follow-up instructions rather than generating dozens of separate images trying to hit the right composition by chance.
The time saving over a week of content production is significant, particularly when you factor in that the outputs require less manual editing afterward.
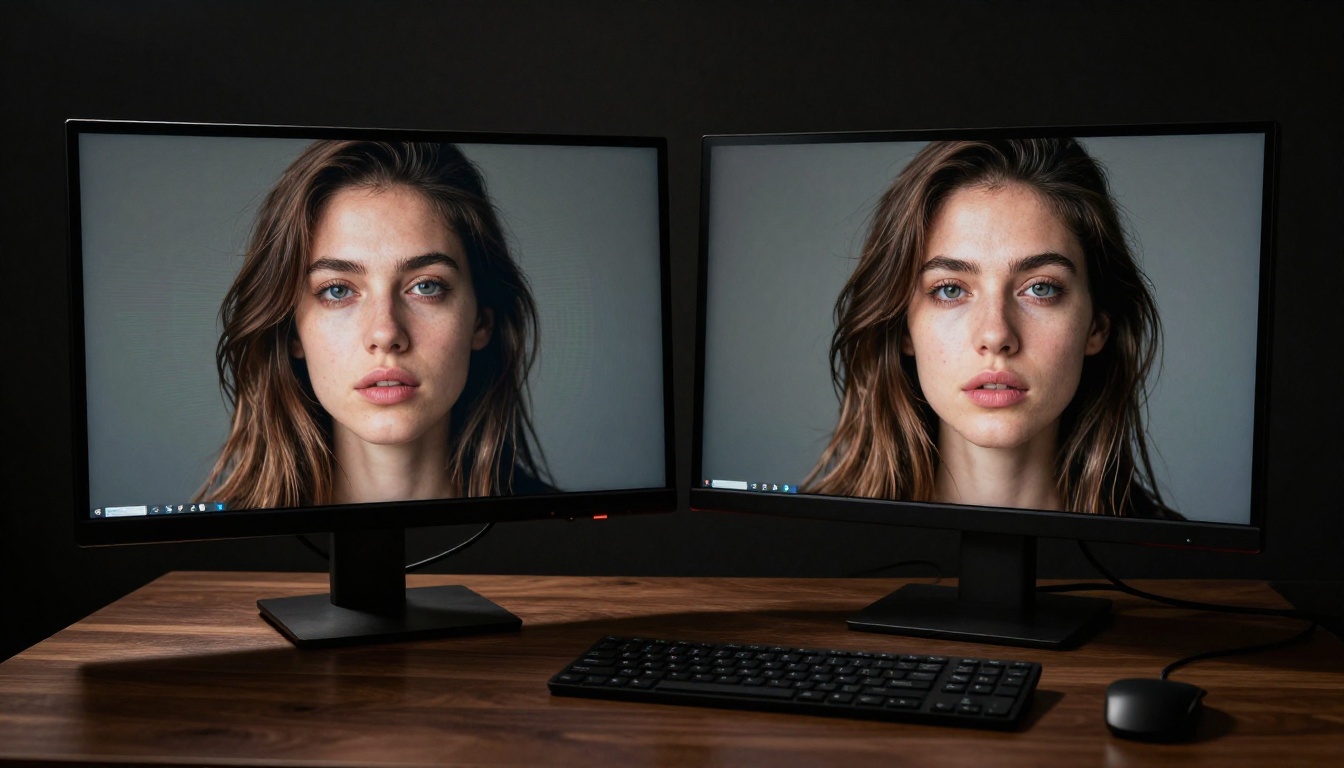
Which Model Should You Actually Use?
GPT Image 2 is not always the right choice, and the best results often come from combining it with other specialized models.
When GPT Image 2 Wins
- Precise attribute control: Multiple simultaneous descriptors, specific clothing details, spatial arrangements
- Iterative editing workflows: Multi-turn refinement saves significant time compared to re-generating from scratch
- Transparent PNG output: Built into generation, no separate background removal step required
- Commercial and product work: Literal accuracy is a feature for this type of output
- Short text in images: More reliable than most models at rendering 1-3 word labels without distortion
When Other Models Win
The most productive approach is to use GPT Image 2 as the generation and editing layer, then hand off to a super-resolution model for final delivery when higher pixel counts are required.

💡 Tip: Build a two-step workflow. Generate and refine with GPT Image 2, then pass the final image through Real ESRGAN for 4x upscaling before delivery.
Start Creating with GPT Image 2 Now
If you have been working with older generation models and finding that your prompts do not land with the precision you need, GPT Image 2 is worth testing directly. The combination of multi-turn editing, native transparent output, and dramatically improved attribute accuracy represents a real shift in what is possible without manual post-production work.
The fastest way to feel the difference is to run the same detailed prompt in both versions and see the gap for yourself. GPT Image 2 is live on PicassoIA right now. No API setup required. Write a prompt, generate, and start refining in the same session to see how the multi-turn workflow changes your iteration speed.
While you are there, browse the full catalog of text-to-image models on PicassoIA to see how GPT Image 2 stacks up against the other 90-plus available options. The right model for your workflow might be GPT Image 2 alone, or it might be GPT Image 2 combined with a specialized editing or upscaling model. The platform lets you test both within the same workspace.
The version number changed. So did the results.