Z Image Turbo is fast enough that you can test a LoRA, change one number, and test again before your coffee cools. That speed is exactly why people pair it with NSFW LoRAs: eight sampling steps, a 6B-parameter model, and skin texture that holds up when you zoom in. The catch is that Turbo is a distilled model, and it punishes the habits you brought over from SDXL or Flux. Too many steps, too much CFG, or a LoRA at full strength, and the image falls apart.
This article gives you the settings that behave, a ComfyUI workflow you can rebuild node by node, and the quickest free online routes if you would rather skip the local setup. Everything here targets suggestive, photorealistic glamour with adult subjects: swimwear, lingerie, boudoir lighting, editorial mood. Nothing explicit.
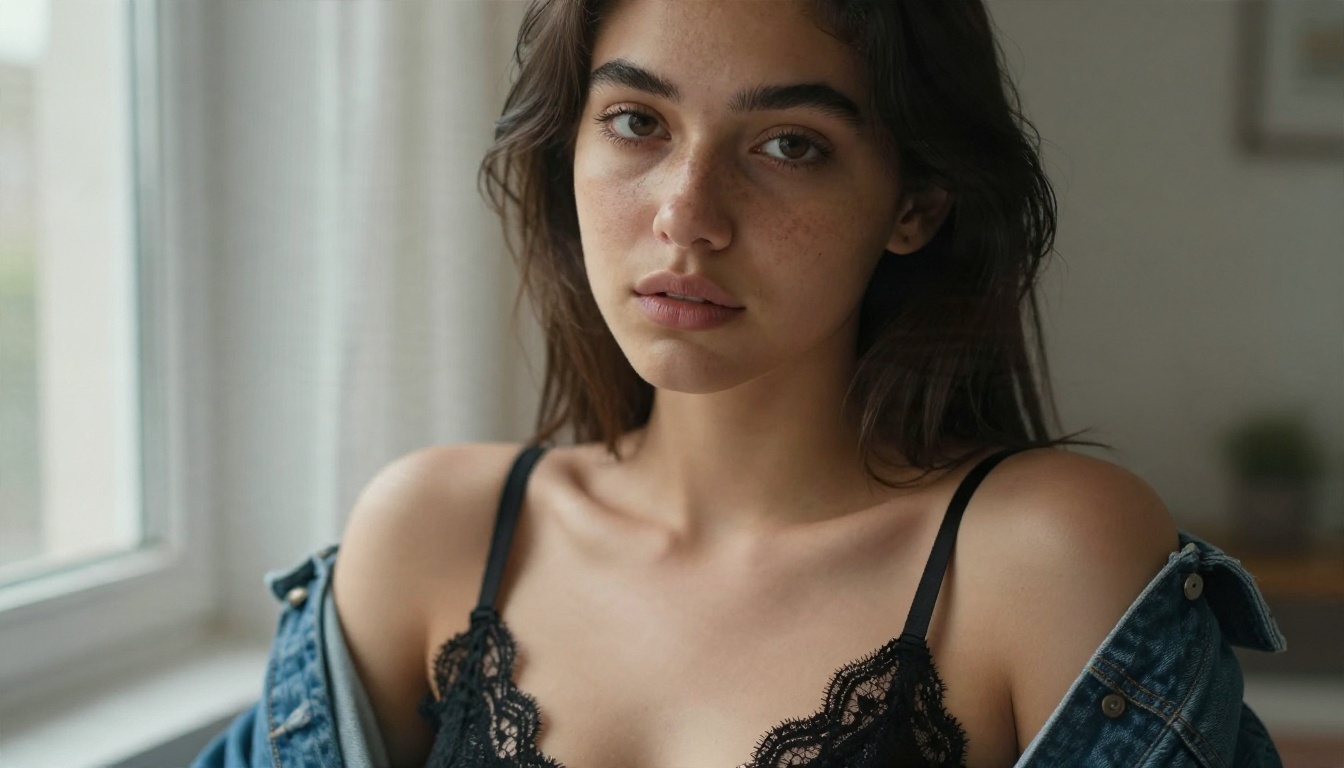
What a Z Image Turbo NSFW LoRA Does
A LoRA is a small add-on file, usually between 50 MB and 300 MB, that nudges the base model toward a look it did not produce reliably on its own. For adult-leaning content, that means better body proportions in swimwear and lingerie, more convincing fabric behavior, and fewer of the "plastic skin" artifacts that show up when a general model is pushed outside its comfort zone.
Base model versus LoRA
The base Z Image Turbo already produces sharp portraits and believable lighting. What it does inconsistently is anatomy in less common poses and clothing that sits tightly on the body. A LoRA trained on a few hundred curated photos fixes that by shifting the model's defaults, without replacing the model itself.
| Feature | Base Turbo | Turbo + NSFW LoRA |
|---|
| Skin texture | Good | Very good at strength 0.6 to 0.8 |
| Swimwear and lingerie fabric | Inconsistent | More stable |
| Pose variety | Moderate | Wider |
| Speed | 8 steps | 8 steps (no slowdown) |
| Risk of artifacts | Low | Rises above strength 0.9 |
Why Turbo is a special case
Turbo was distilled to reach a finished image in very few steps. Distillation bakes a lot of behavior into the weights, so the usual levers (steps, CFG, negative prompts) have a much narrower useful range. A LoRA adds another force on top of that. If the LoRA was trained directly on Turbo without care, it can partly undo the distillation, which is why some files look fine at 8 steps and others need 12 or more.
💡 Tip: Read the LoRA's page before touching a slider. If the author lists preview settings, start there. Those numbers beat any generic advice, including mine.
Free Online Use Without Installing Anything
Not everyone wants to download 12 GB of model files and debug a node graph. If your goal is good glamour images rather than a local pipeline, a hosted generator gets you there in seconds.
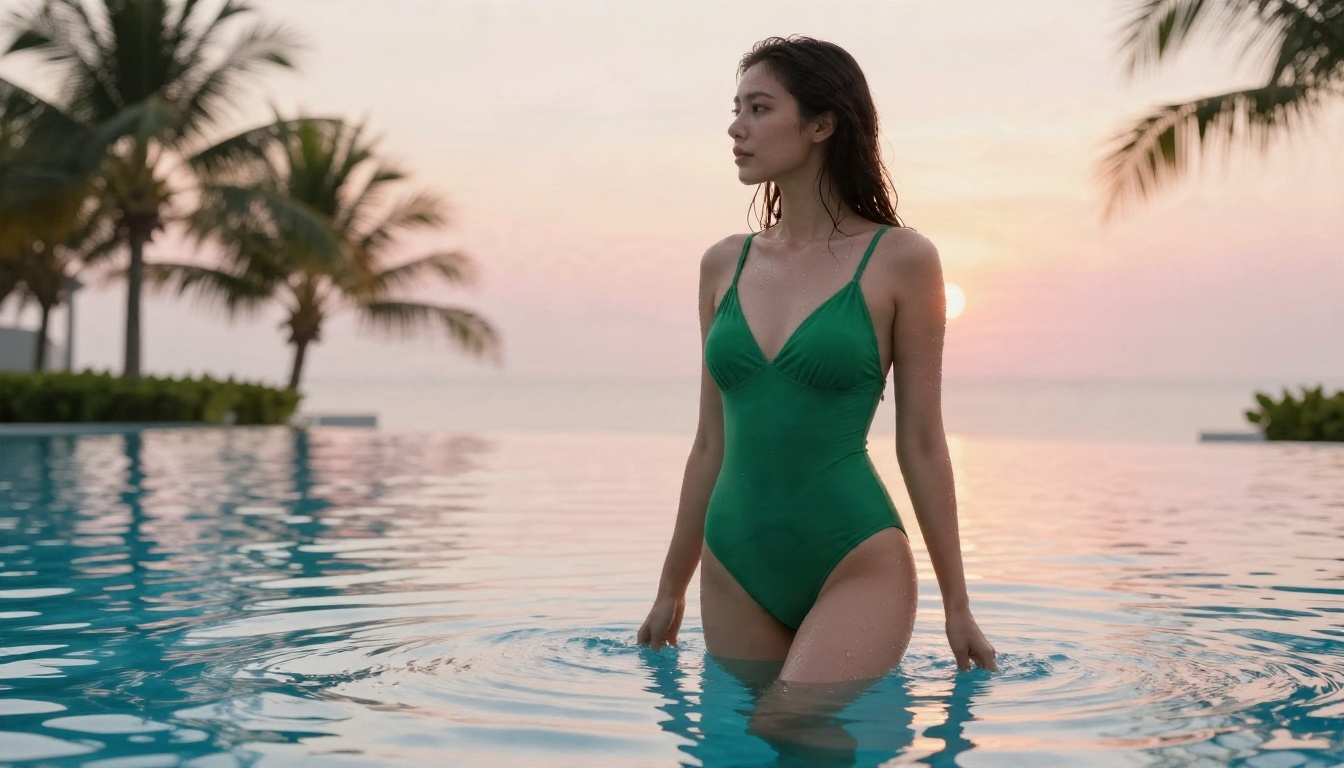
What the hosted version offers
The hosted Z Image Turbo on PicassoIA runs the base model with these controls: prompt, width, height, seed, steps, guidance scale, and output format (JPG, PNG or WebP). It does not expose a LoRA loader, so treat it as the fast baseline for testing prompts, not as a place to load community LoRA files. For custom LoRA files, local ComfyUI is still the route.
Where free online makes sense
- Testing a prompt before you spend time on a local run
- Locking a seed, then reproducing the same composition later
- Generating swimwear, boudoir and editorial shots at 1024 px or wider
- Working from a laptop or phone with no GPU
Where it does not
If you need a specific character LoRA, a style LoRA stacked with a second LoRA, or training-matched results from your own file, you need the local workflow described below. That is the honest split.
Settings That Actually Work
Distilled models reward restraint. These are good starting values for Z Image Turbo with a LoRA loaded in ComfyUI. Adjust one at a time.
| Setting | Starting value | Range worth testing |
|---|
| Steps | 8 | 6 to 10 |
| CFG | 1.0 | 1.0 to 2.0 |
| Model shift | 3 | 2 to 4 |
| LoRA strength | 0.8 | 0.5 to 1.0 |
| Resolution | 1024 x 1024 | up to about 1536 on the long edge |
| Negative prompt | None (zeroed out) | Skip it |
Steps and CFG
Eight steps is the sweet spot the model was built around. Going past nine or ten rarely adds detail and often adds a burnt, over-sharpened look. CFG should stay near 1. Values of 4 or higher, which feel normal on SDXL, produce harsh contrast and waxy skin on Turbo.
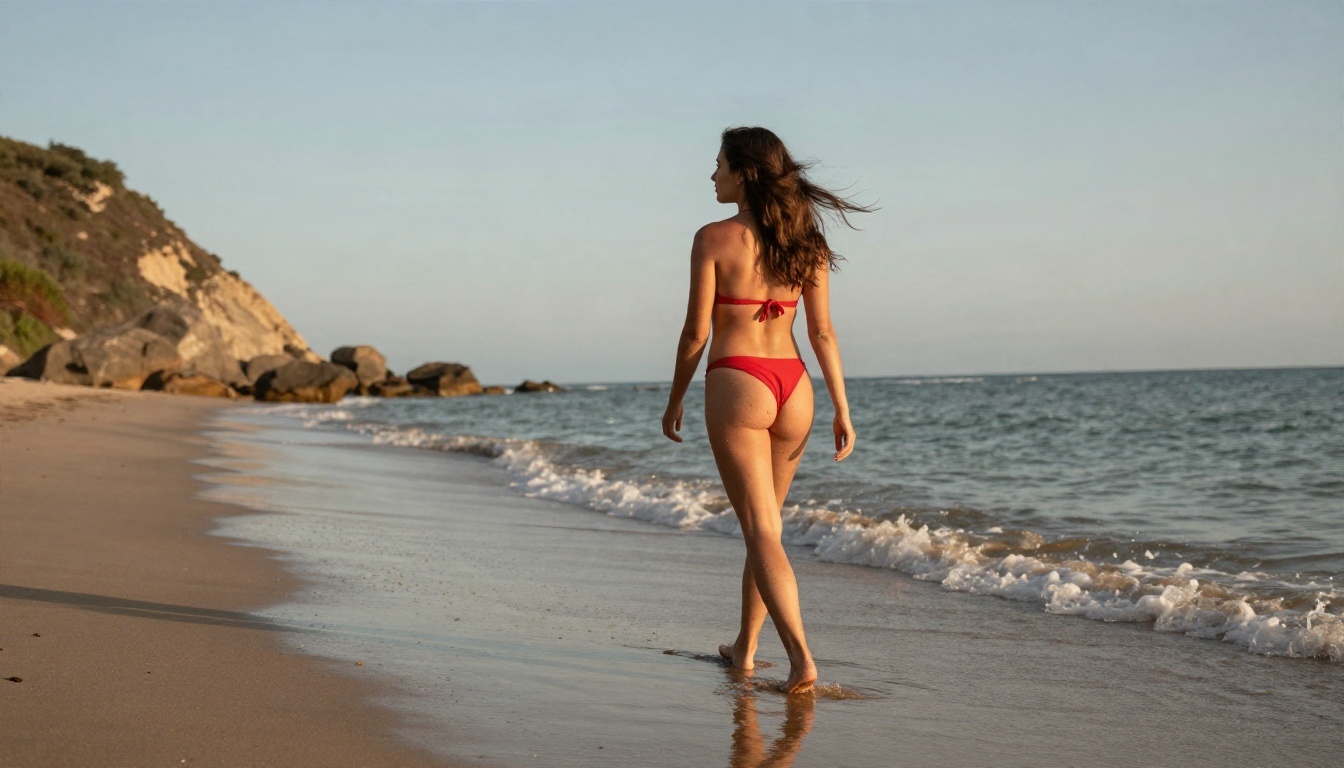
LoRA strength
Most well-trained files look best below full strength. Start at 0.8, then step down in 0.1 increments if faces drift or skin looks over-processed, or step up if the effect is barely visible. Using two LoRAs together? Keep the sum near 1.2 to 1.4 instead of stacking both at 1.0.
Seeds and testing
Fix the seed while you tune strength. Change one variable per run, save the image, and compare. This sounds obvious, and almost nobody does it, which is why most people end up chasing ghosts.
💡 Tip: Keep a small notebook or text file with the LoRA name, strength, seed and prompt for every image you like. Two weeks later you will thank yourself.
The ComfyUI Workflow, Node by Node
You can build this in about ten minutes. It mirrors the layout of the standard Z Image Turbo template, with one extra node for the LoRA.
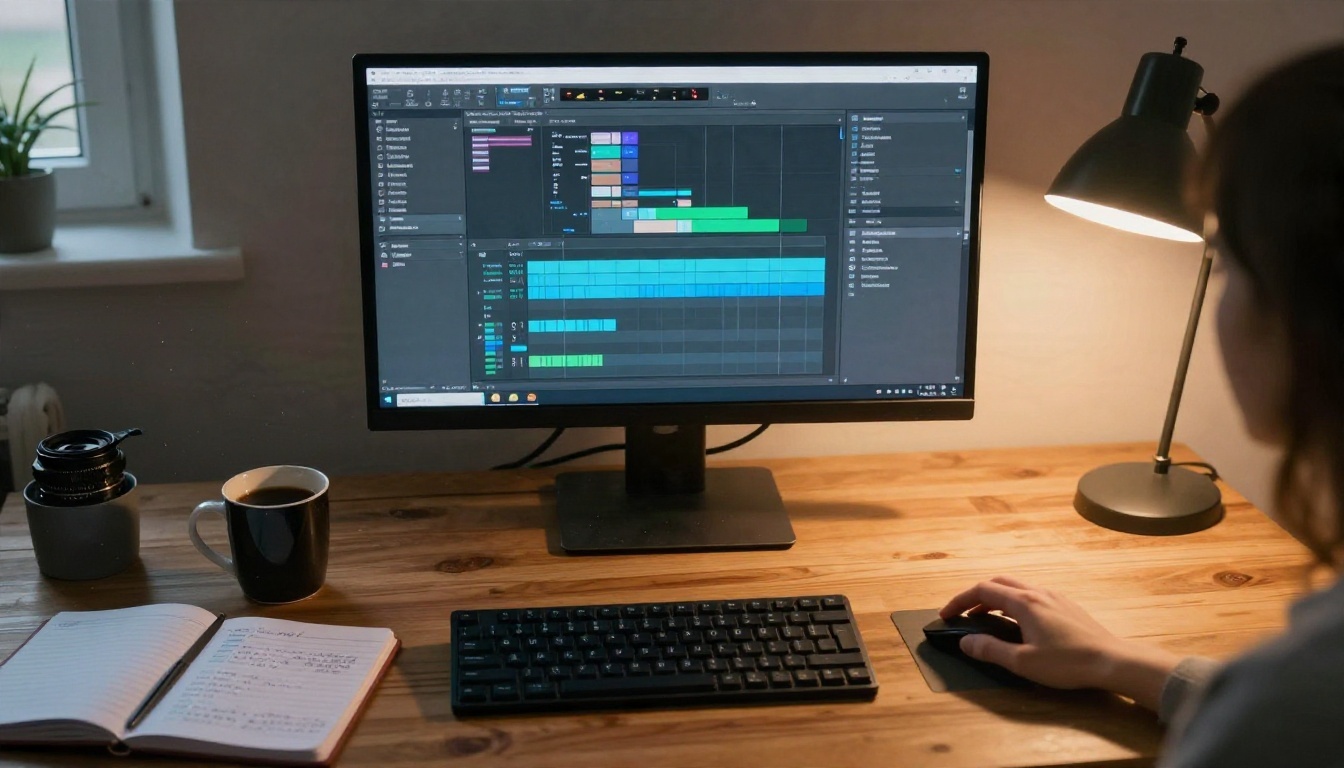
Files you need
- The Z Image Turbo diffusion model file (bf16 safetensors) in your
models/diffusion_models folder
- The text encoder file (a Qwen 3 4B based encoder) in
models/text_encoders
- The VAE file in
models/vae
- Your LoRA in
models/loras
Always download LoRAs as .safetensors, never .ckpt or .pt, and read the license on the page. Some files restrict commercial use.
The node chain
- Load Diffusion Model pointing at the Turbo file
- Load CLIP with the Qwen text encoder (type set to the one the template uses for Z Image)
- Load VAE
- LoraLoaderModelOnly between the model and the sampler, strength 0.8
- ModelSamplingAuraFlow with shift set to 3
- CLIP Text Encode for your positive prompt
- ConditioningZeroOut feeding the negative input, since Turbo does not need a written negative
- EmptySD3LatentImage at 1024 x 1024 (or 1344 x 768 for wide shots)
- KSampler with steps 8, CFG 1, a standard sampler such as euler or res_multistep, scheduler simple, denoise 1.0
- VAE Decode, then Save Image
Common wiring mistakes
- LoRA node placed after the sampler instead of before it
- Shift left at default, so images look flat or noisy
- A long negative prompt typed in anyway, which does nothing at CFG 1
- Wrong CLIP type selected, giving garbled or ignored prompts
Prompts That Respect the Model
Turbo understands natural sentences better than comma-separated tag lists. It was trained to follow descriptive prose, so write like a photographer briefing an assistant.
A structure that works
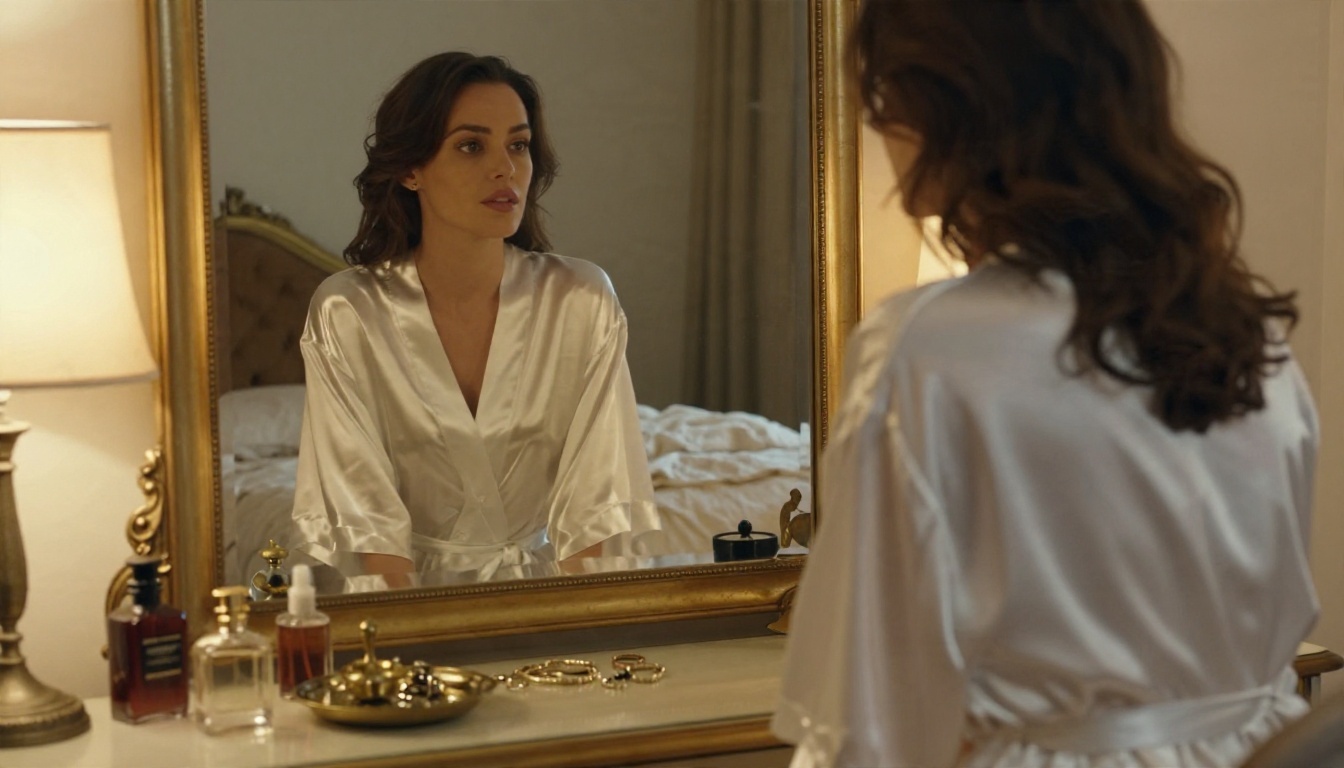
Follow this order: subject and clothing, pose, setting, light direction, lens, texture details, mood. For example:
"A woman in a white satin robe seated at a vintage vanity, face softly reflected in the mirror, warm lamp light from the right, 50mm lens, shallow depth of field, visible fabric sheen and natural skin texture, fine film grain."
Trigger words
Many LoRAs need a trigger word in the prompt to activate. If the LoRA page lists one, put it near the start of the prompt. If there is none, the effect usually applies on its own through the strength slider.
Words that help realism
- Lens and aperture: "85mm f/1.8", "35mm f/4"
- Light: "soft window light from the left", "golden hour rim light"
- Texture: "visible pores", "fabric weave", "film grain"
- Stock: "Kodak Portra 400 look"
Words that hurt
"Perfect skin", "flawless", "ultra HD" and "masterpiece" push Turbo toward smooth, plastic output. Ask for texture, and you get it.
Fixing Common Problems
Even with the right settings, a few failures keep coming back. Here is how to handle them.
Burnt or oversaturated images
Lower CFG to 1.0, drop steps to 8, and reduce LoRA strength by 0.1 or 0.2. Nine times out of ten that fixes it.
Faces that drift
Strong LoRAs can pull faces toward the training data. Reduce strength, add specific face details to the prompt (hair color, eye color, age range), and keep the seed fixed while you compare.
Soft or blurry results
Check that you are using the bf16 model file and the right VAE. Then try 10 steps instead of 8. If it is still soft, upscale afterward with a super resolution model instead of raising steps further.
Hands and fine anatomy
Turbo handles hands better than older small models, but not perfectly. Write the pose plainly ("one hand resting in her hair") and avoid complicated interlocking poses.
Responsible Use of Adult LoRAs
A few ground rules keep you out of trouble, and they matter more than any slider.
- Adults only. Every subject should be clearly an adult. No exceptions.
- No real people. Do not generate images of a real person without their consent. That includes celebrities, coworkers and exes.
- Check licenses. Some LoRAs forbid commercial use or redistribution.
- Keep it private or labeled. Share adult content only where it is allowed, and label it.
- Know platform rules. Many hosted services moderate sexual content, and that is their right.
Platform moderation is a real factor. Some generators block even mild swimwear or lingerie prompts, which can be frustrating when your intent is tasteful editorial work. That is one reason people run local workflows, and one reason to choose hosted tools based on how they handle suggestive content.
Free Online Alternatives for Glamour Images
If you want fast, photorealistic, suggestive results without installing anything, start with these, in this order.
Seedream 4.5 first
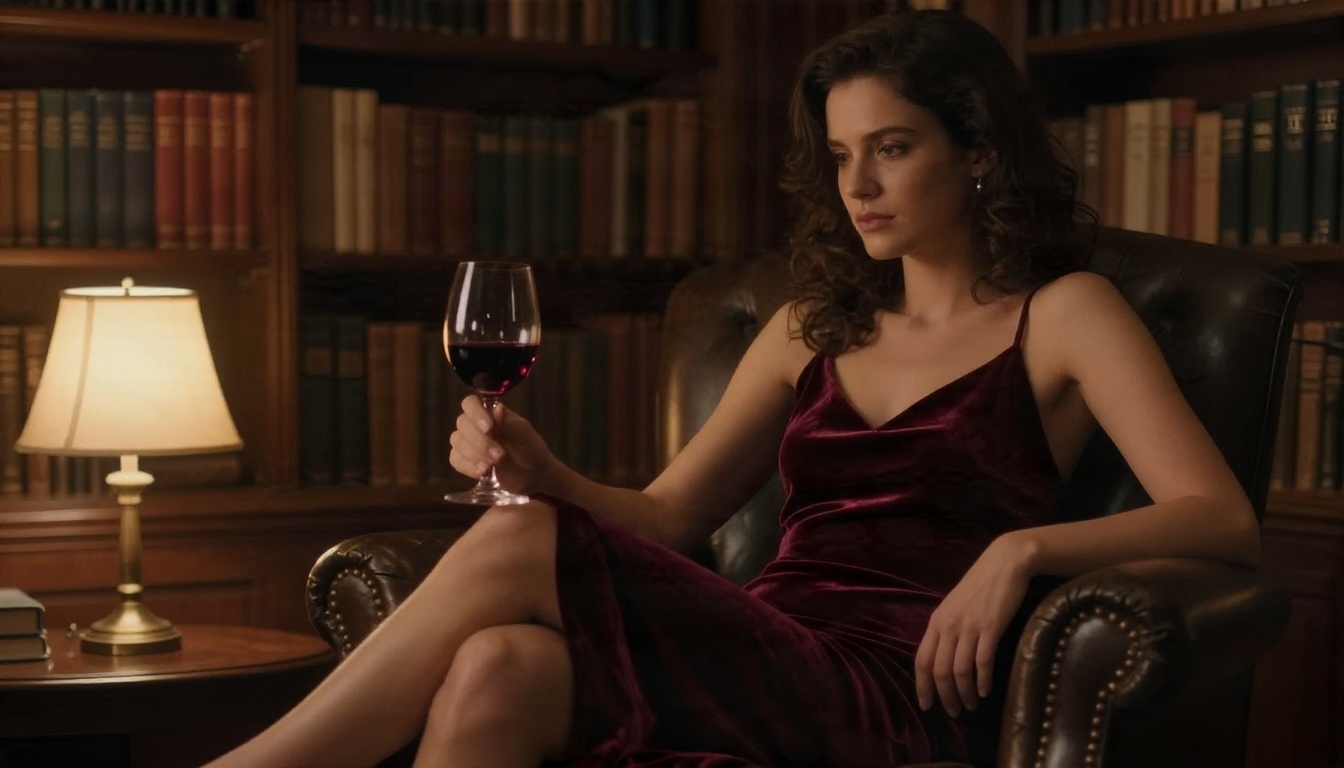
Seedream 4.5 is the best first stop for glamour work. It produces 4K output, follows long descriptive prompts, and renders skin, silk and wet surfaces with very little coaxing. Swimwear, lingerie and boudoir scenes come out sharp, and you do not need to tune CFG or load anything.
PicassoIA Image Editor Pro for unlimited runs
PicassoIA Image Editor Pro offers unlimited generations, which changes how you work. When every attempt is free, you can iterate on poses, outfits and lighting without watching a counter. It also edits existing images, so you can change clothing, background or lighting on a shot you already like.
More models worth trying
💡 Tip: Write the same prompt into two different models and compare. Each model has its own taste, and the best one for a given scene is often a surprise.
How to Use Z Image Turbo on PicassoIA
This is the fastest way to test a Turbo prompt before building a local graph. It takes about a minute.
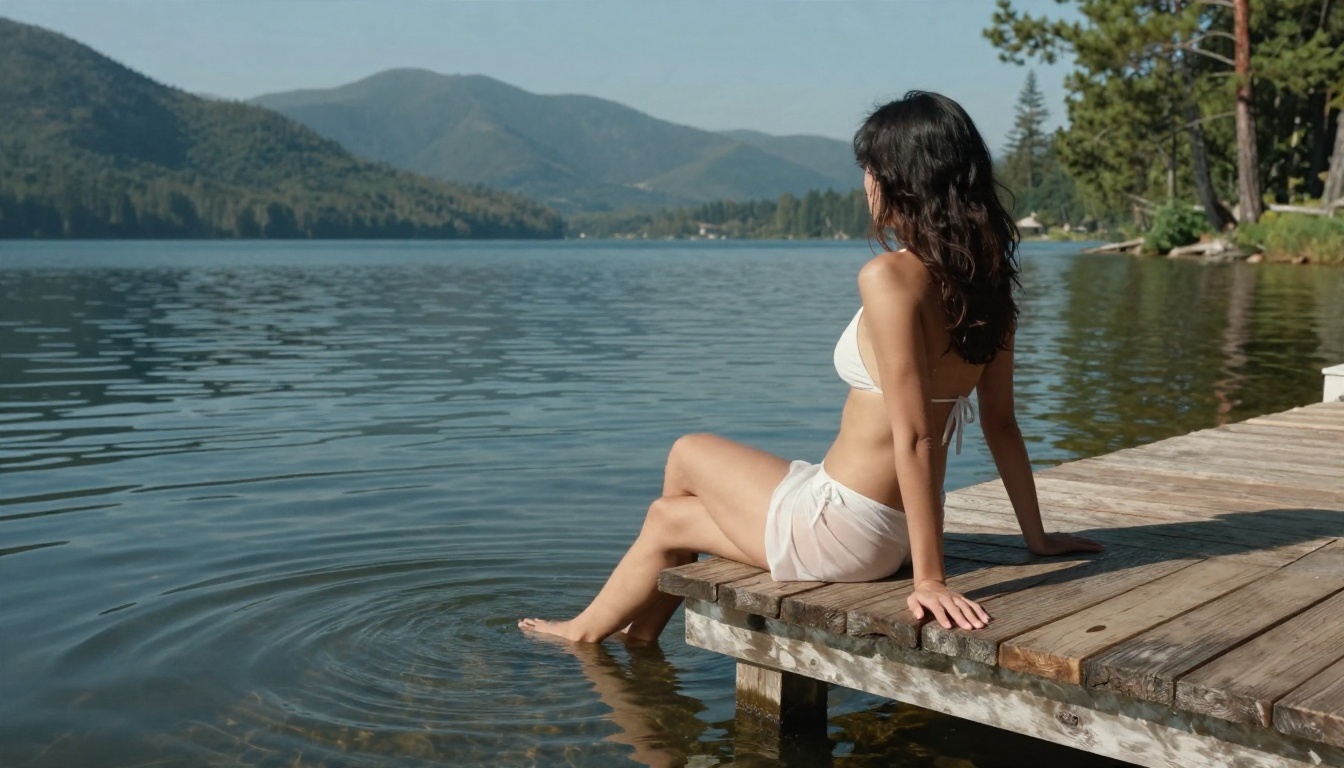
Step by step
- Open the Z Image Turbo page.
- Write your prompt as a natural sentence: subject, clothing, setting, light, lens, texture.
- Set width and height. Start at 1024 x 1024, or try 1344 x 768 for landscape shots.
- Keep num_inference_steps at 8.
- Leave guidance_scale at 0, since the model page states it should be 0 for Turbo models.
- Pick PNG if you plan to edit afterward, or JPG with quality 80 to 90 for sharing.
- Add a seed once you find a composition you like, so you can rebuild it.
- Generate, compare, adjust one variable, and repeat.
Parameter tips
| Parameter | Recommendation |
|---|
| Steps | 8 |
| Guidance scale | 0 |
| Size | 1024 x 1024 or 1344 x 768 |
| Format | PNG for edits, JPG for sharing |
| Seed | Fix it while testing |
The hosted settings differ slightly from ComfyUI, where CFG sits near 1. That is normal: each pipeline wraps the same model with its own defaults.
Which Route Should You Pick?
Choose by what you need, not by what is trendy.
- You want a specific LoRA look: build the ComfyUI workflow above, strength 0.8, 8 steps, CFG 1.
- You want great glamour images today: use Seedream 4.5, then switch to Image Editor Pro for unlimited iteration.
- You want your own LoRA: train it with P Image Trainer, then test it locally.
- You want fast prompt tests: run the hosted Z Image Turbo and fix a seed.
Start Making Your Own Images
Pick one scene you can picture clearly: a pool at sunrise, a velvet chair in a dim library, a balcony in morning light. Write it as three or four natural sentences, run it on Seedream 4.5, then repeat the same prompt in PicassoIA Image Editor Pro with unlimited attempts. Change only the lighting, then only the lens, and watch what moves.
When you want to see the full lineup, browse everything at picassoia.com/en/all-models and test a few side by side. Ten minutes of experiments will teach you more than any settings table, including this one.


