You upload a swimwear shot, ask an editor to put the model on a sunset beach, and get a polite refusal. Or worse, a blurred, mangled result with the outfit "fixed" by a filter. That is the everyday frustration with a mainstream AI background changer when the photo is even mildly glamorous. The good news: a handful of uncensored editors handle bikini, lingerie and boudoir photos without lecturing you, and some of them are free to start. This article covers what they do, the rules worth following, where to try them, and prompts you can paste today.
What an NSFW Background Changer Does
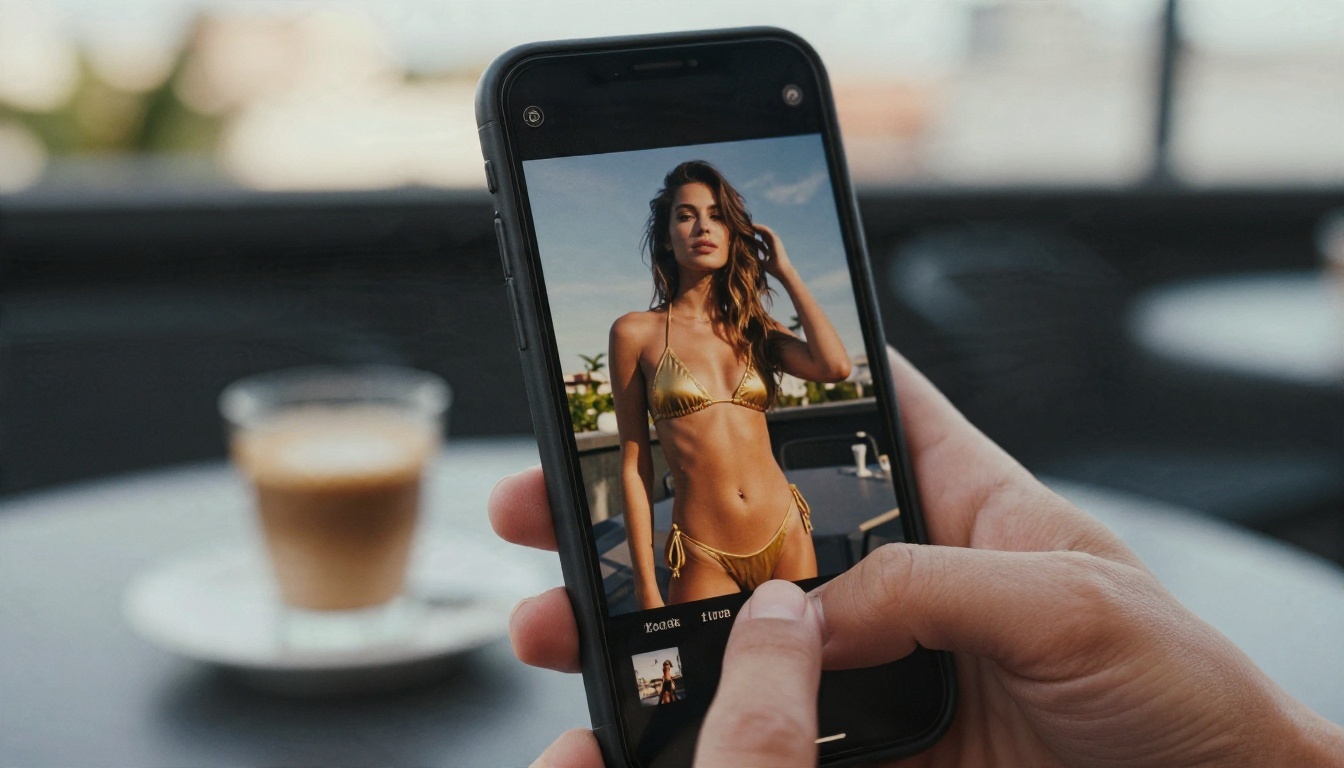
An NSFW background changer is an image editor that accepts adult, suggestive photos (swimwear, lingerie, glamour, boudoir) and swaps the scene behind the subject without refusing the upload. The word "NSFW" here means non-explicit adult content: skin, fabric, mood. It does not mean pornography, and the workflows below stay on the tasteful side of that line.
Swap, Remove or Regenerate
Three different jobs hide behind the same label, and picking the right one saves time.
| Job | What happens | Best when |
|---|
| Remove | The subject is cut out onto transparent or flat color | You plan to composite by hand |
| Swap | A new background is generated or placed behind the subject | The lighting already roughly matches |
| Regenerate | The whole scene is rebuilt around the subject using a prompt | You want new light, new mood, new location |
A plain cutout tool such as Remove Background is fast and predictable. A prompt-driven editor is slower but gives believable shadows and reflections, which is where most fake-looking swaps fail.
Why Mainstream Tools Refuse
Big consumer apps run safety classifiers that react to skin area, not to context. A bikini on a beach and a bikini in a studio score about the same, so both get flagged. That is a policy decision by the vendor, not a technical limit. Models built for creators with fewer content blocks simply skip that filter layer, which is what people mean by "uncensored."
💡 Tip: If an editor refuses a perfectly ordinary swimwear photo, switch tools rather than rewording the prompt ten times. You will burn credits and get inconsistent results anyway.
Uncensored Rules You Should Follow
Uncensored does not mean rule-free. Good habits protect you, the people in your photos, and your account.
Adults and Consent Only
Only edit photos of adults who agreed to the edit. That means your own photos, photos of a partner who said yes, licensed model shots, or fully synthetic people you generated. Never upload a photo of a real person who has not consented, a classmate, a coworker, an ex, or a celebrity. Putting someone's real photo into a suggestive scene without permission causes real harm, and in many places it is illegal.
What Stays Off the Table
- No minors, ever, and nothing that makes a subject look underage.
- No explicit sexual content. The approach in this article is glamour: swimwear, lingerie, silk, skin, mood.
- No real-person deepfakes of anyone who has not agreed.
- No passing edits off as real events or using them to harass, blackmail or impersonate.
Platform Terms and Privacy
Read the terms of whatever tool you use. Check whether uploads are stored, whether they train future models, and whether you can delete them. For anything personal, crop out faces, tattoos and room details you would not want public before you upload. Strip metadata too, since phone photos often carry location data.
Free Options That Work
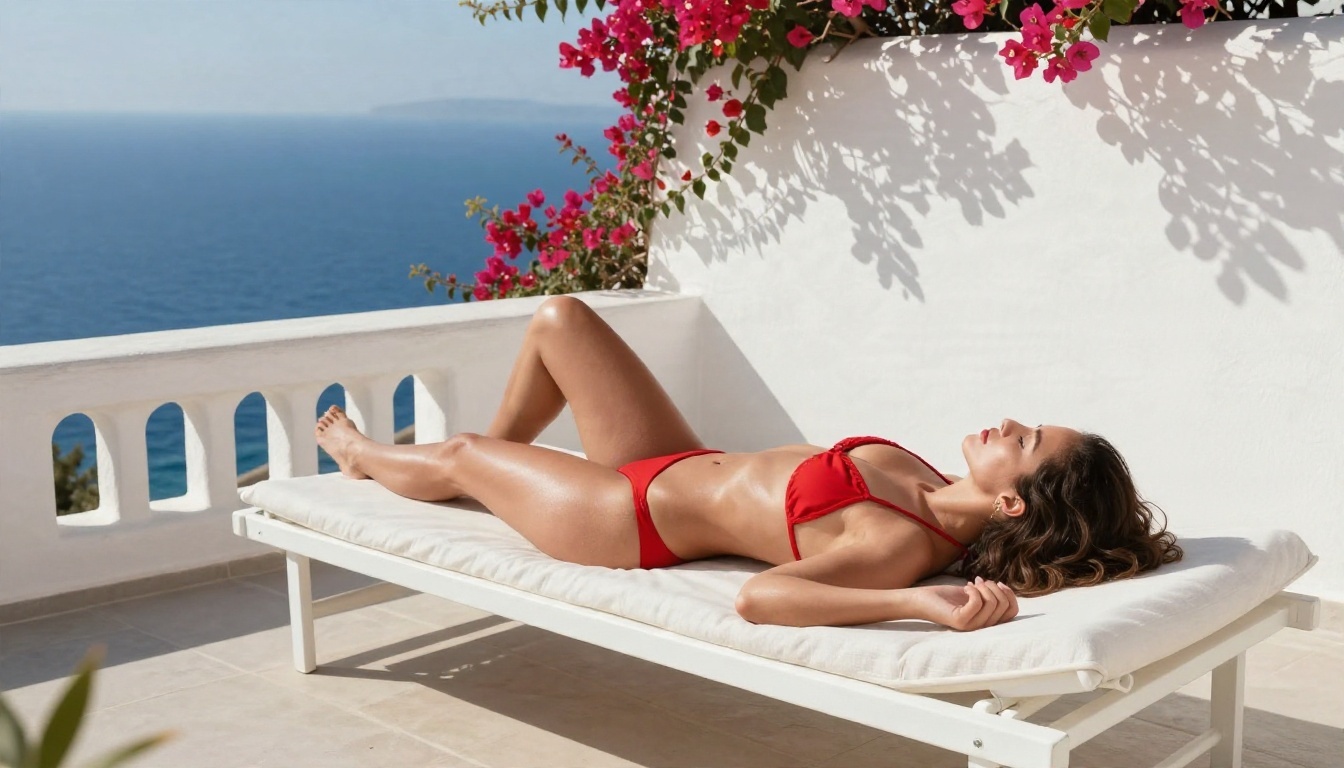
Free access matters here, because background edits need many tries. You rarely nail the light match on the first generation, so a pay-per-attempt tool gets expensive fast. These are the places to start.
PicassoIA Image Editor Pro
PicassoIA Image Editor Pro is the fastest route when you already have a photo. You upload the image, describe the change in plain language ("replace the background with a quiet marble hotel lobby, soft window light from the left"), and it rebuilds the scene around the subject. The big draw is unlimited generations, so you can iterate on light, angle and mood without watching a counter. It is also uncensored for adult glamour content, which removes the refusal loop.
Use it for:
- Swapping a plain wall for a beach, terrace or loft
- Fixing a cluttered bedroom behind a boudoir shot
- Changing time of day while keeping the pose
- Cleaning up edges after a rough cutout
Seedream 4.5 for Full Scenes
When you want a new scene built from scratch, with the subject and the environment designed together, Seedream 4.5 is the model to lead with. It produces sharp, photorealistic skin and fabric, handles reference images well, and follows long location prompts closely. It works for adult swimwear and glamour requests, so the output stays consistent instead of getting stopped halfway.
Other Editors Worth Testing
After those two, these models on PicassoIA are worth trying when you want a different look or a second opinion on the same photo:
Content tolerance differs from model to model, so test with a small, tasteful photo first. If a model refuses, move down the list. The full catalog is at picassoia.com/en/all-models.
💡 Tip: Run the same photo and the same prompt through two models. The comparison tells you more about lighting realism than any spec sheet.
How to Use Seedream 4.5 on PicassoIA
This workflow builds a brand-new background around a subject using a reference photo plus a prompt.
- Open the model page. Go to Seedream 4.5 on PicassoIA.
- Upload your reference image. Pick a sharp photo where the subject is fully visible. Even lighting makes the swap cleaner.
- Describe the new scene first, then the light. Start with the place, then the time of day, then where the light comes from.
- Lock the subject. Add a line such as "keep the person, pose, outfit and proportions exactly as in the reference."
- Set a wide ratio. Choose 16:9 for scenic backgrounds, or 3:4 for portrait framing.
- Generate, compare, repeat. Change only one thing per run (light direction, location, lens feel) so you can tell what helped.
- Finish with an upscale. If edges look soft, run the result through a super resolution model before you publish.
Parameter tips:
- Name a lens and aperture ("85mm f/1.8") to get natural background blur instead of a flat, pasted look.
- Name a film stock ("Kodak Portra 400") for believable color and grain.
- Add "natural skin texture, visible pores" to avoid the plastic finish.
- Keep prompts under about 120 words. Longer prompts start to fight themselves.
Prompts You Can Copy
Replace the bracketed parts with your own details. Each prompt assumes you upload a reference photo and want the person left untouched.
Beach and Pool
Keep the woman, pose, swimsuit and proportions exactly as in the reference. Replace the background with a quiet turquoise lagoon at golden hour, pale sand, soft haze on distant cliffs. Warm low sunlight from the left, gentle rim light on hair, soft bounce from the sand. Shot on 85mm f/1.8, shallow depth of field, Kodak Portra 400 grain, natural skin texture.
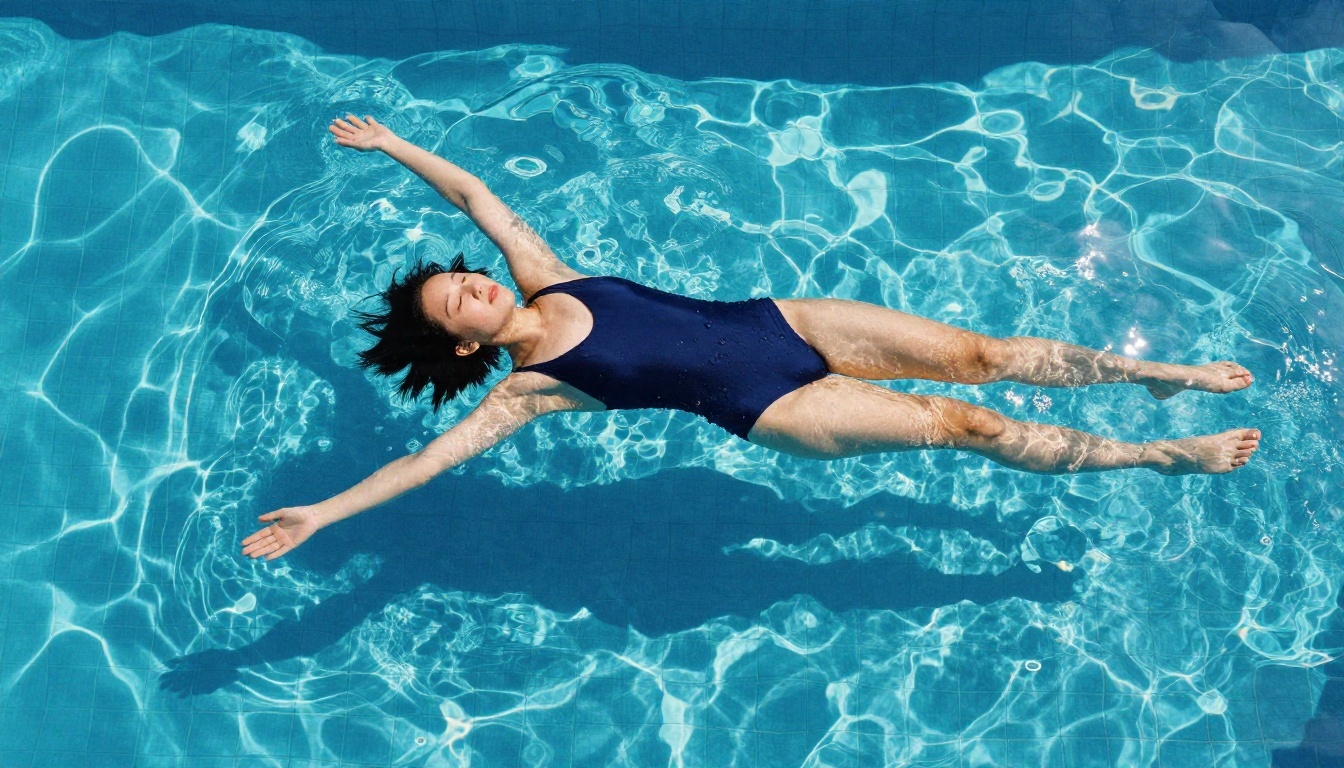
For a pool variant, swap the lagoon for "a clear tiled pool with sunlight caustics, hard noon sun, shot from above on a 24mm lens."
Interior and Hotel
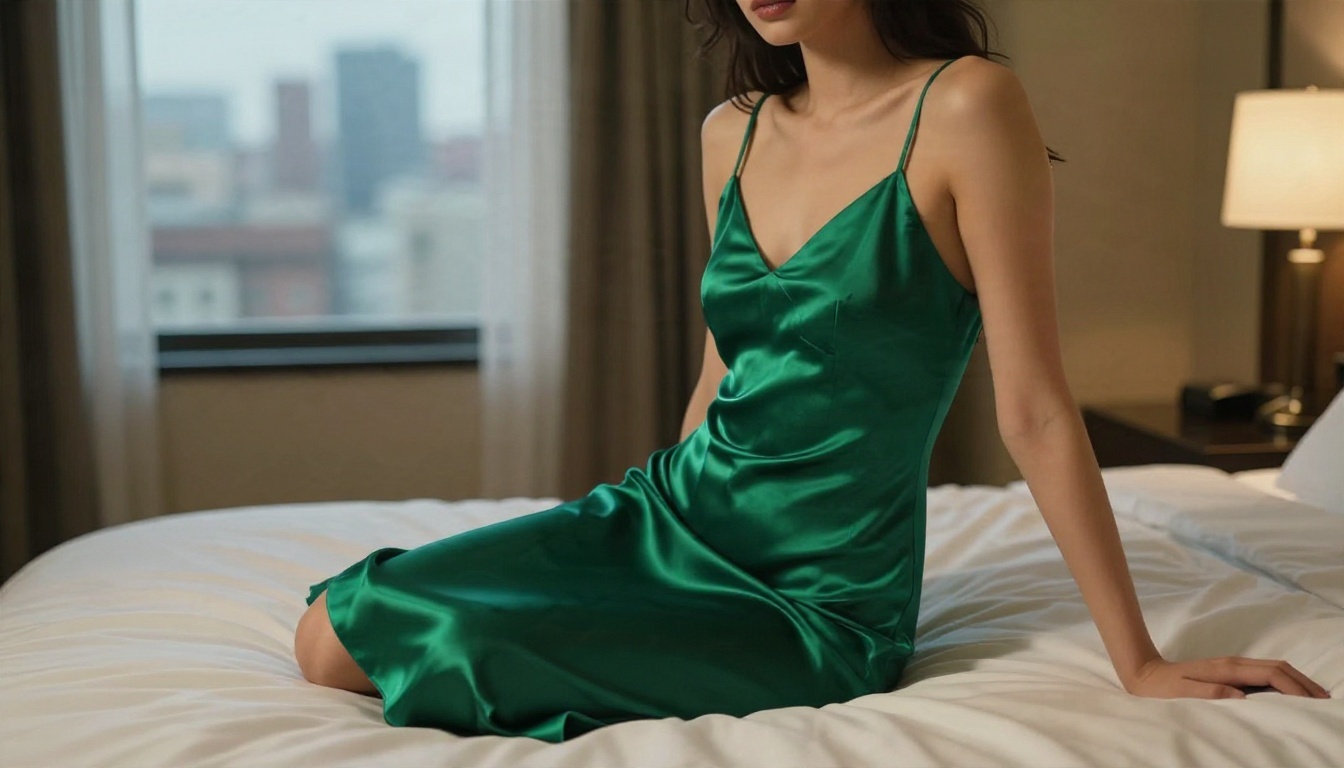
Keep the subject unchanged. Place her in a dim boutique hotel room with heavy curtains, a rumpled bed and a blurred city window. Warm lamp light from the left, soft shadows, visible fabric sheen on the satin. 85mm f/1.4, subtle film grain, photorealistic.
Interiors need a believable light source, so always name the lamp or window. Without it, the model invents flat ambient light that looks pasted.
Studio and Loft
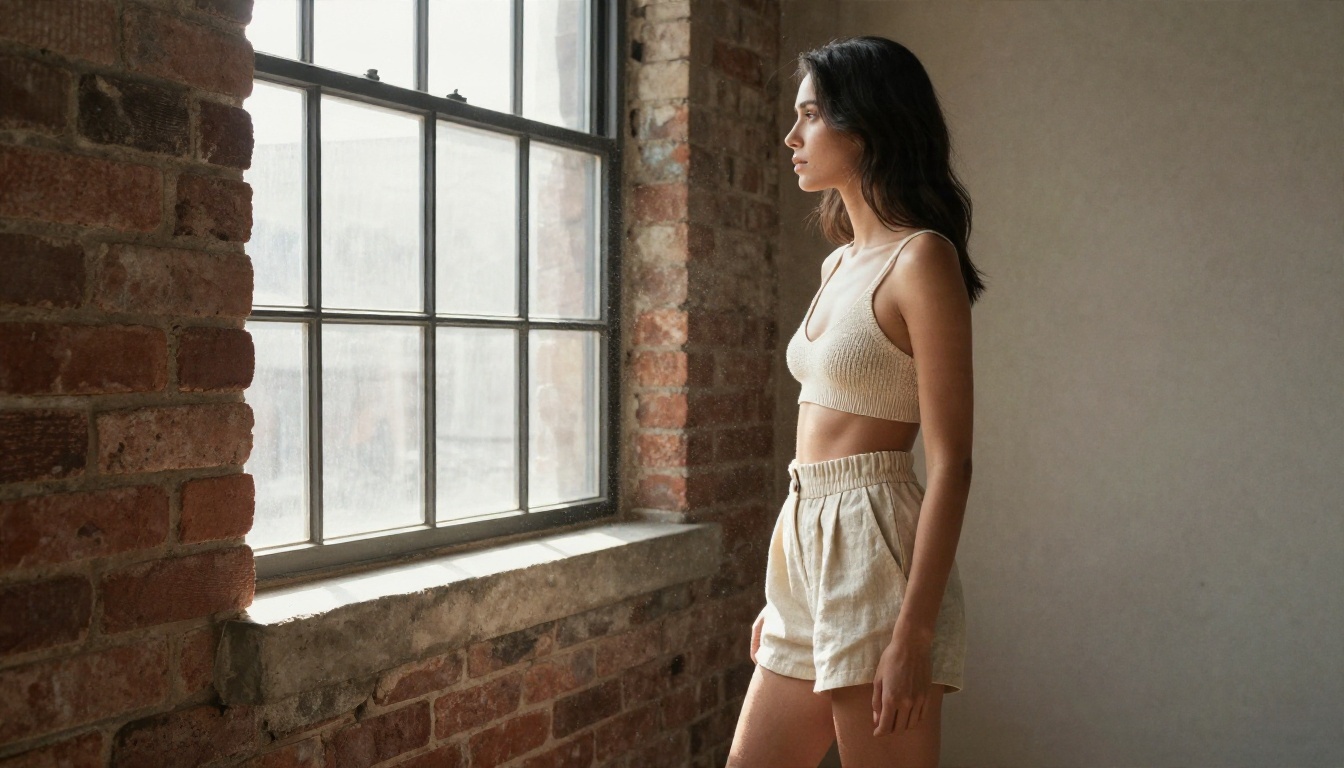
Keep the woman and outfit identical. Background: a sunlit loft studio with a bare brick wall and a tall window, dust motes in the light. Window light from the left, matte tones, soft shadows. 70mm f/2, fine grain, natural skin.
Loft and studio scenes are forgiving because the light is soft and directional. They are a smart first test for a new model.
Dusk and Golden Hour
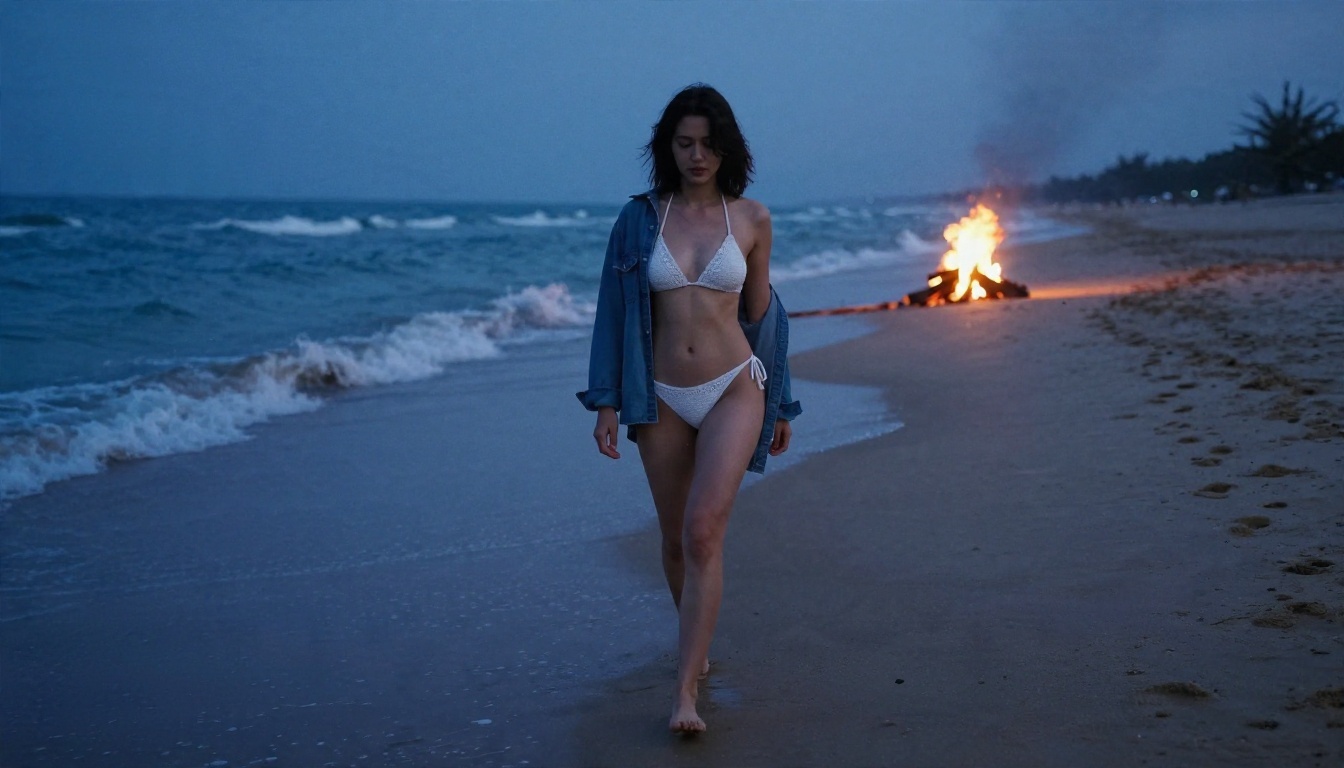
Keep the person unchanged. New scene: a wet sand beach at blue hour, a small bonfire glowing far behind, gentle waves, footprints in the sand. Cool ambient light with a faint warm accent on one side. Shot from a low angle, 28mm f/2.8, Kodak Portra 400 look.
Mixed light (cool sky, warm fire) is the hardest to fake, so keep the warm source small and far away. It adds depth without fighting the subject's existing light.
Fixing Edges, Light and Skin
Most bad background swaps fail in three places: the outline, the light, and the skin. Fix these and the image reads as a real photograph.
Match the Light Direction
Look at where shadows fall on the subject in your source photo, then describe the same direction in the new scene. If the original shows light from the right, a background lit from the left looks wrong immediately. Write "light from camera right" or "from camera left" in the prompt, and name the color: warm amber, cool overcast, neutral window.
Clean Hair and Edge Halos
Fine hair and sheer fabric are where cutouts leave a halo. Two fixes help:
- Use a prompt-driven editor rather than a hard cutout, since it blends edges as part of the generation.
- If you do cut out first, run a second pass with "blend edges naturally, remove any white outline, keep stray hair strands."
Keep Skin Looking Real
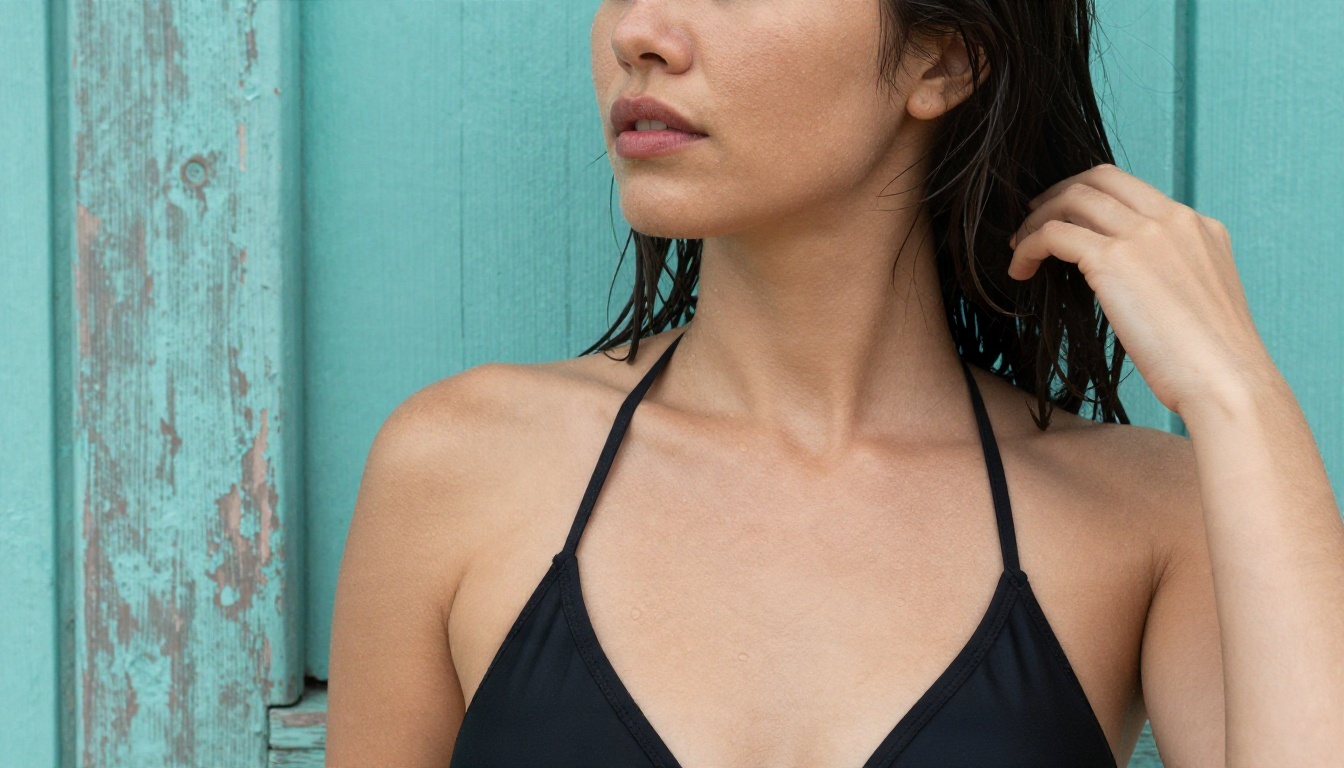
Over-smoothing is the giveaway of an AI edit. Add phrases such as "fine pores, soft natural highlights, faint freckles, subtle film grain." Avoid "flawless skin" or "airbrushed," which push models toward a waxy look. If the face drifts from the reference, add "same face, same expression" and lower the change strength where the tool lets you.
Common Mistakes
- Changing too much at once. New place, new outfit, new pose, and new light in one prompt rarely works. Swap the background only, then adjust the rest in a second pass.
- Ignoring perspective. A subject shot at eye level will not sit naturally in a scene rendered from above. Match the camera height in your prompt.
- Mismatched scale. If the background shows a tiny doorway, the subject looks oversized. Describe objects with a sense of size ("a standard wooden door").
- Skipping the upscale. Small output makes edge flaws obvious. A quick pass through a super resolution tool cleans up detail.
- Uploading someone without permission. Skip it. The edit is not worth the harm.
- Over-prompting. More adjectives do not mean better results. Specific nouns and one clear light source beat a paragraph of mood words.
💡 Tip: Save your best prompt as a template. Swap only the location line and keep the lens, light and grain lines the same. Your batch stays visually consistent, which matters for a series or a portfolio.
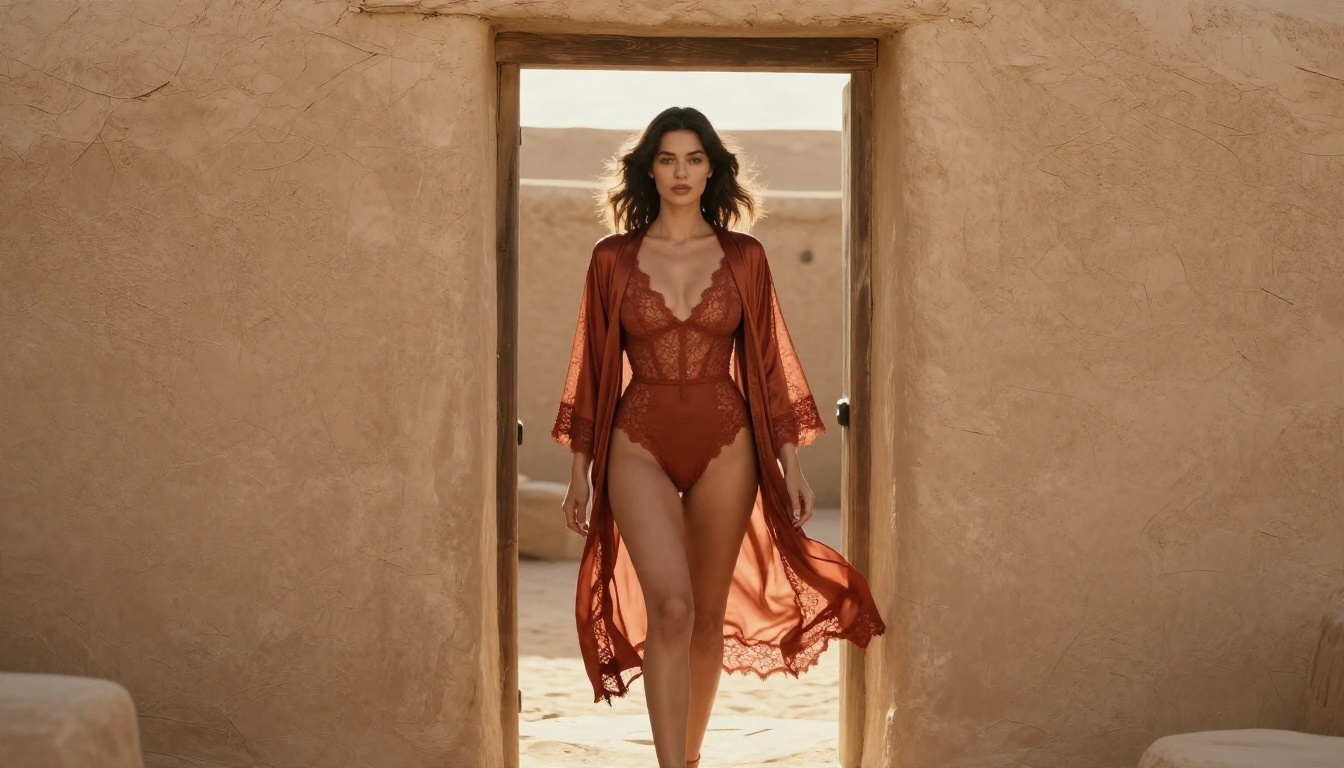
Start Your Own Edits
You now have the rules, the tools and the prompts. Pick one photo you own, open PicassoIA Image Editor Pro for unlimited tries on a quick swap, or build a full new scene with Seedream 4.5. Start with a soft loft or beach scene, match the light direction, and change one variable per run.
When you want other looks, browse the full catalog at picassoia.com/en/all-models and compare how each model handles the same photo. A few test runs will show you which one fits your style, and since the first tries are free, there is nothing to lose by experimenting.


