You have a great photo of yourself. You have a great photo of the person you love. The problem is that they were taken in different cities, different years, maybe even on different continents, and there has never been a single frame with both of you in it. A free AI couple photo editor solves exactly that. It takes two separate portraits, understands who is in each one, and builds a single believable picture where you stand side by side, with matching light, matching scale, and a background that makes sense.
This article walks through how to combine two photos into one online without paying, without installing anything, and without ending up with the plastic, mismatched look that gives most fake couple photos away. You will see which models work best, how to write the prompt, what usually goes wrong, and how to fix it in a minute or two.
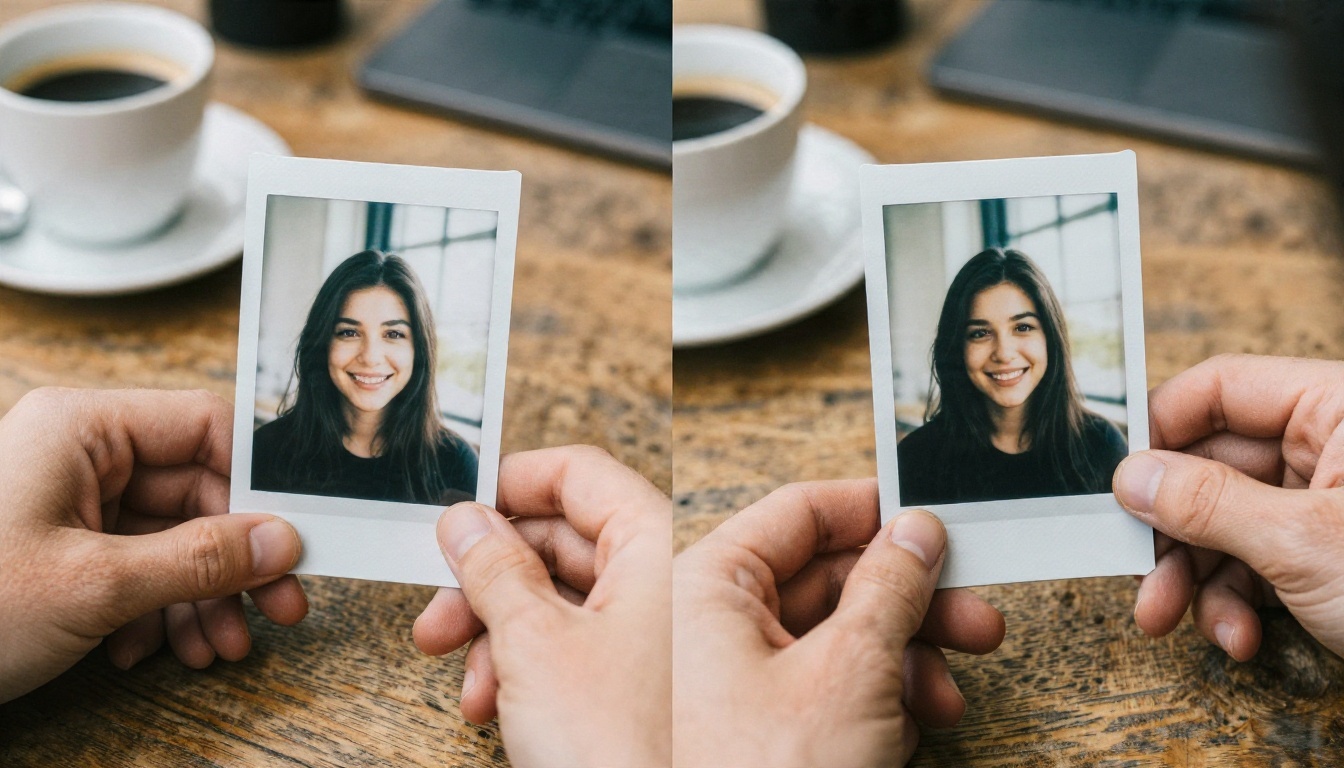
What a Couple Photo Editor Does
Old photo editors worked with layers. You cut a person out of one picture, pasted them into another, and then spent an hour with a soft brush trying to hide the edges. The result almost always looked like a collage because the lighting on each person disagreed with the other.
An AI couple photo editor works differently. Instead of pasting pixels, it reads both images as references and generates a new picture that keeps each person's face, hair, skin tone, and clothing while rebuilding the scene around them. Shadows fall in the same direction. The camera angle is shared. The two people appear to have been photographed in the same moment.
The Idea in Plain Words
Think of it as handing two photos to a skilled retoucher and saying, "Put these two people together on a pier at sunset." The retoucher does not copy and paste. They repaint the whole scene so everything agrees. That is the job of an image editing model.
Who Uses These Tools
The audience is wider than you might expect:
- Long-distance couples who have never had a photo together
- Families who want a portrait with a relative who could not travel
- Wedding planners building a save-the-date from two engagement selfies
- People restoring memories by placing a loved one beside someone from a different era
- Creators making anniversary posts, cards, and prints
💡 Tip: Use this only with photos of people who have agreed to it, or photos of yourself and your own family. A merged portrait is a keepsake, not a way to put someone in a scene without their knowledge.
How the Merge Actually Works
Under the hood, modern editing models take your reference images and a text instruction at the same time. They do not guess blindly. They compare the faces, the clothing, and the overall style of each source, then produce a new image that obeys your prompt.
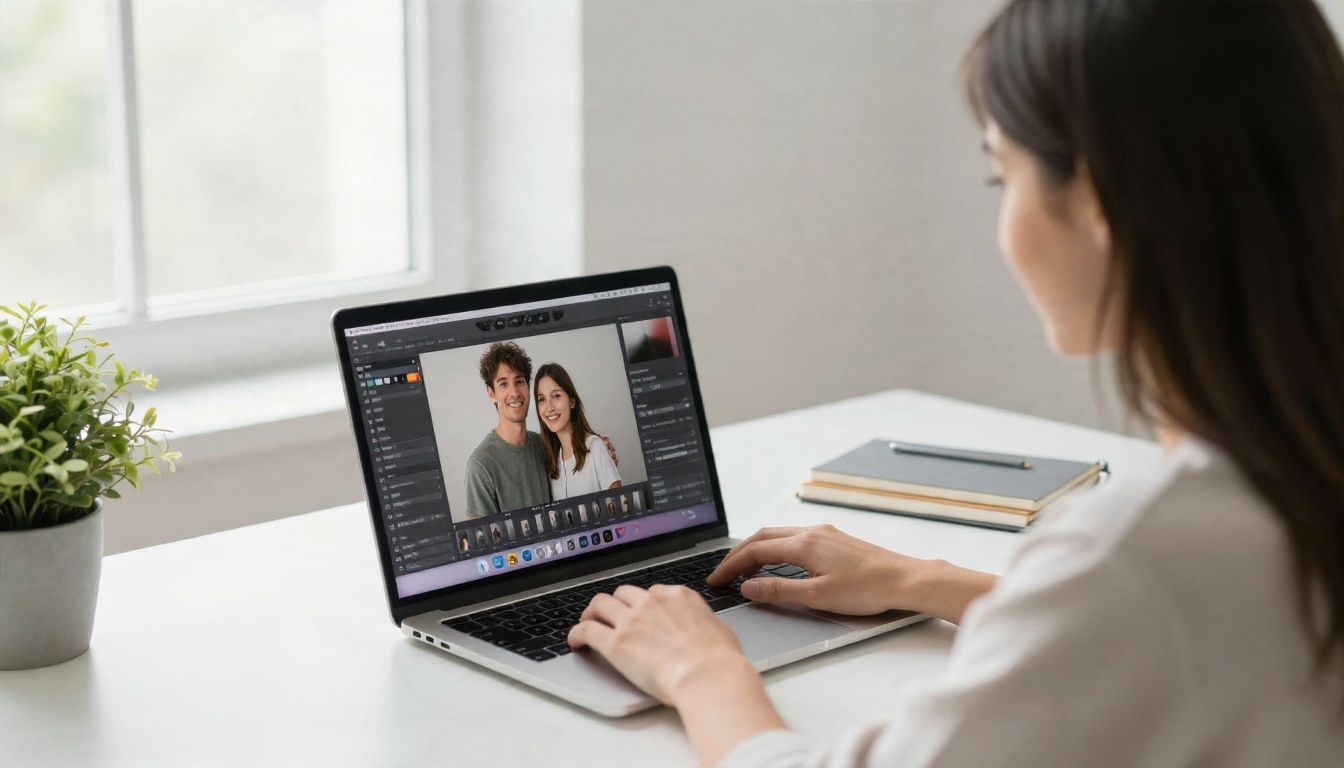
Reference Images and Identity
The most important thing the model must do is keep each person recognizable. Good editors lock onto facial structure, eye shape, hairline, and skin tone. When the source photo is sharp and front facing, identity stays strong. When the source is blurry or the face is turned away, the model has to invent more, and likeness drops.
Prompt as Director
The text prompt tells the model what to do with the references. A strong prompt answers four questions: who is in the image, where they are, how they are posed, and what the light and camera look like. We will build a full prompt in a later section.
Why Lighting Is Everything
If one source photo was taken at noon and the other under a warm lamp, the model must decide on a single light. By stating the lighting in your prompt, you remove the guesswork. "Warm golden hour light from the left" is far more reliable than leaving it open.
Best Models for Couple Edits
Not every model handles two references well. These are the ones worth trying on PicassoIA, and each can be used right in your browser.
| Model | Best For | Reference Handling | Speed |
|---|
| Nano Banana | Everyday couple merges, natural prompts | Strong with multiple images | Fast |
| Nano Banana Pro | High detail and sharp 4K output | Excellent likeness | Moderate |
| Seedream 4.5 | Polished, editorial looking portraits | Good with clear sources | Fast |
| Flux Kontext Fast | Quick edits to one existing photo | Best with one main image | Very fast |
| Qwen Image Edit Plus | Multi-image edits with clear instructions | Handles two or three inputs | Fast |
| Qwen Image Edit 2511 | Consistent faces across edits | Strong identity lock | Fast |
Nano Banana for Most People
If you only try one, try Nano Banana. It was built around editing and image mixing, so combining two portraits is a natural fit. It follows plain English instructions well, which makes it forgiving for beginners.
Nano Banana Pro for Print Quality
When you plan to print the result as a framed picture, the sharper Nano Banana Pro is the better pick. It holds finer detail in hair, fabric, and skin, which matters once the image is enlarged.
Seedream 4.5 for a Magazine Look
Seedream 4.5 tends to produce clean, well balanced compositions with pleasing color. It suits anniversary cards and wedding style portraits where you want a polished feel.
Qwen Edit Models for Precision
Qwen Image Edit Plus and Qwen Image Edit 2511 respond well to detailed, step by step instructions. They are a good second option when your first result drifts from how someone really looks.
How to Combine Two Photos on PicassoIA
Here is a simple workflow using Nano Banana. The same steps apply to the other editing models in the table.
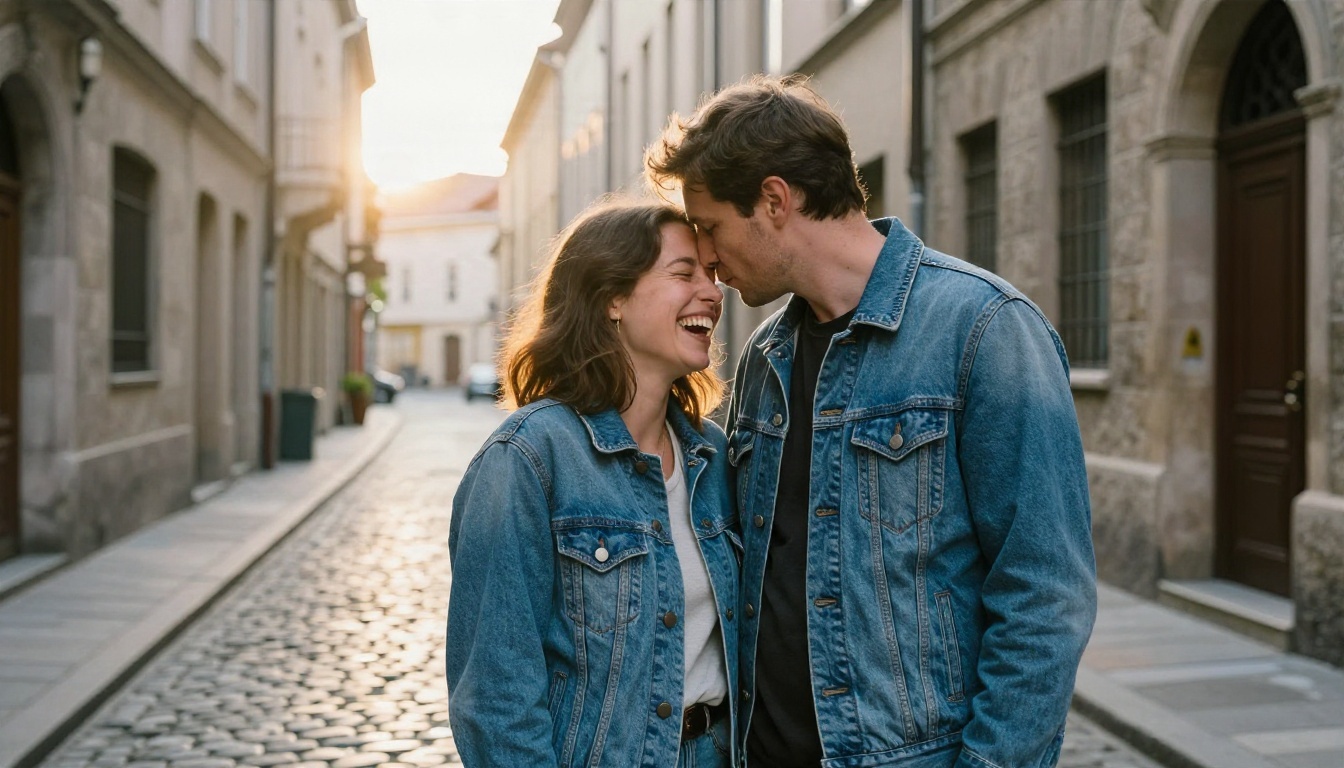
Step 1: Pick Two Strong Sources
Choose one clear photo of each person. Look for:
- A face that is clearly visible, ideally looking toward the camera
- Even lighting with no heavy shadow across the eyes
- Resolution of at least 1000 pixels on the long side
- No sunglasses, masks, or hands covering the face
A recent photo beats an old one when both people should look the same age. If one photo is much older, say so in the prompt.
Step 2: Upload Both Images
Open the model page, add the first photo, then add the second. Keep the order in mind, because you will refer to them in your prompt as "the first photo" and "the second photo."
Step 3: Write a Specific Prompt
Describe the scene, pose, and light. Here is a prompt that works well:
Place the person from the first photo and the person from the second photo together in one realistic portrait. They stand close, shoulder to shoulder, smiling softly at the camera on a cobblestone street in early morning. Warm sunlight from behind creates a gentle rim light on their hair. Keep both faces, hairstyles, and skin tones exactly as in the original photos. Natural skin texture, 50mm lens, shallow depth of field, Kodak Portra 400 color, subtle film grain.
Step 4: Generate and Compare
Run the model two or three times. Each run produces a slightly different pose and background. Pick the one where both faces look most like the originals. Small changes in wording often fix the rest.
Step 5: Polish the Result
If the face is close but not perfect, run a second edit with a short instruction such as "keep the man's face identical to the second photo, do not change his jawline." If the background is the weak part, a model like Generate Background can swap it without touching the people.
💡 Tip: Keep your prompt under about 120 words. Long, tangled prompts make models forget the identity instructions you wrote first.
Fixing Light, Scale, and Faces
Even the best model sometimes gives you a picture that feels slightly off. The cause is usually one of three things, and each has a quick remedy.
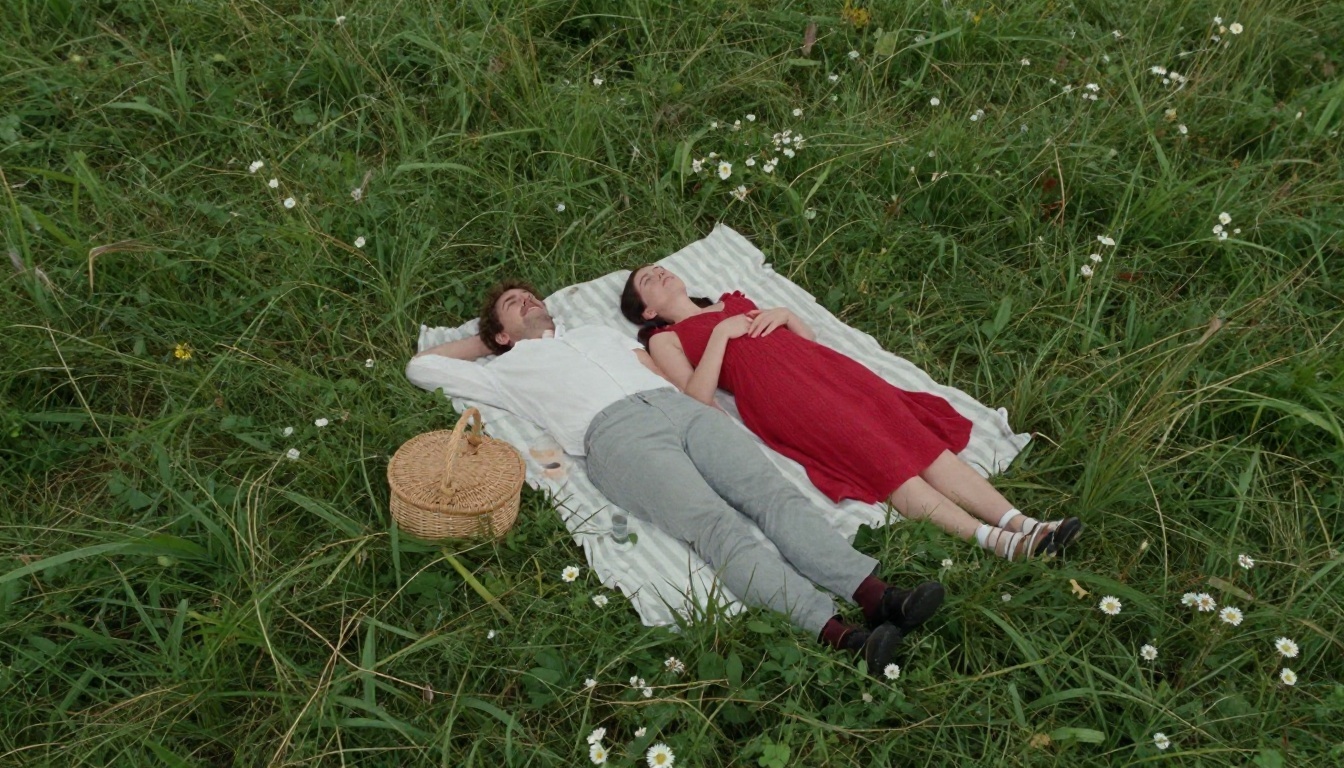
Mismatched Lighting
Symptom: One person looks warm and glowing while the other looks flat and cool.
Fix: State a single light source in the prompt, such as "soft overcast daylight from the left" or "warm golden hour sun from behind." Naming the direction matters more than naming the mood.
Wrong Scale
Symptom: One person appears taller, shorter, or larger than they really are.
Fix: Add a clear height instruction. For example, "he is about 15 centimeters taller than her, both standing on the same ground level." Wide, full body framing often makes scale easier to judge than a tight crop.
Drifting Faces
Symptom: The result looks like a cousin of the person, not the person.
Fix: Use sharper sources, repeat the identity instruction at the end of the prompt, and try a different model. Qwen Image Edit 2511 is a strong second attempt when faces drift.
Quick Troubleshooting Table
| Problem | Likely Cause | Best Fix |
|---|
| Plastic, smooth skin | Prompt asks for "perfect" skin | Add "natural skin texture, visible pores" |
| Extra fingers or hands | Pose is too complex | Ask for a simple pose, hands out of frame |
| Faces too similar | Both sources look alike in tone | Describe each person's hair and features |
| Strange background blur | No lens details given | Add "85mm, f/1.8" or a focal length |
| One face looks older | Source photos from different years | State "both people are the same age" |
Pose and Scene Ideas That Work
A good scene gives the model a reason to place two people naturally. Here are settings that consistently produce believable results.
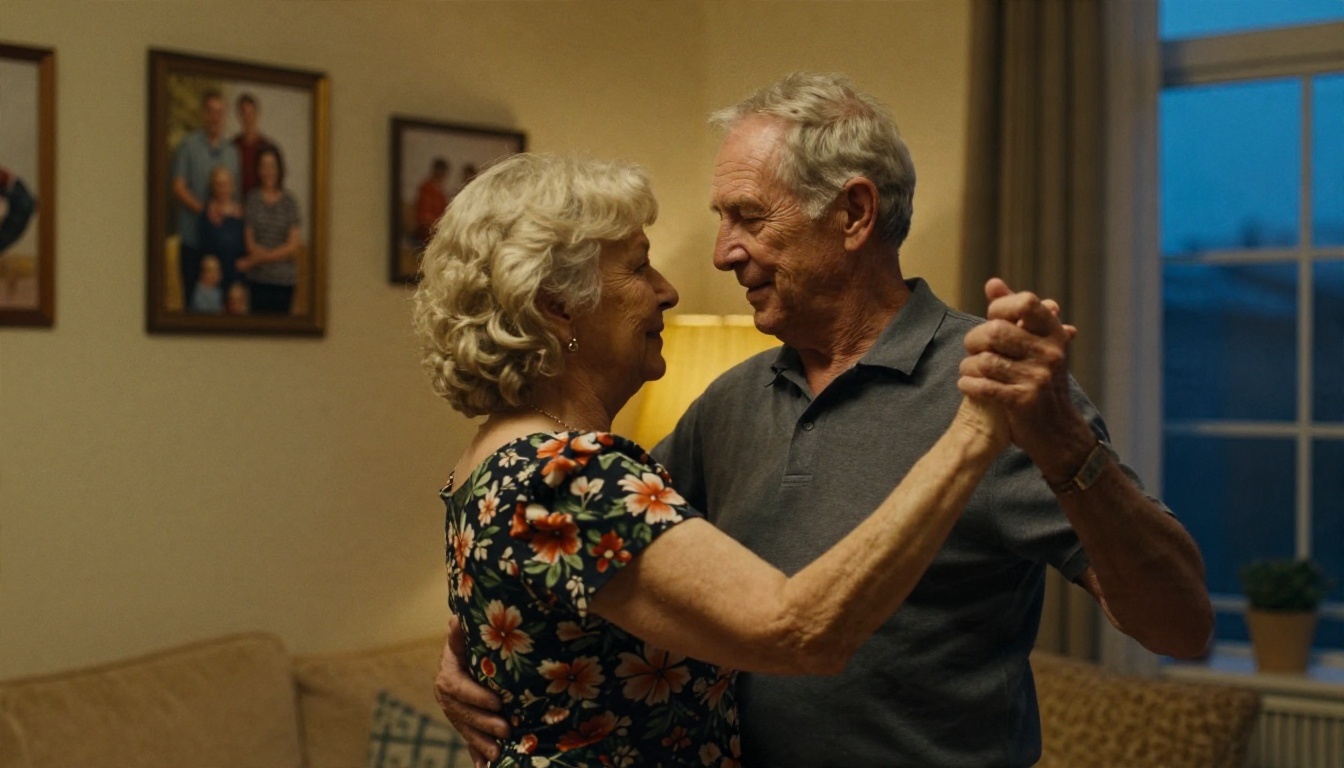
Romantic Everyday Moments
Slow dancing in a living room, sharing a coffee at a window, or walking hand in hand all feel natural because the poses are simple. Simple poses mean fewer anatomy errors and more convincing contact between the two people.
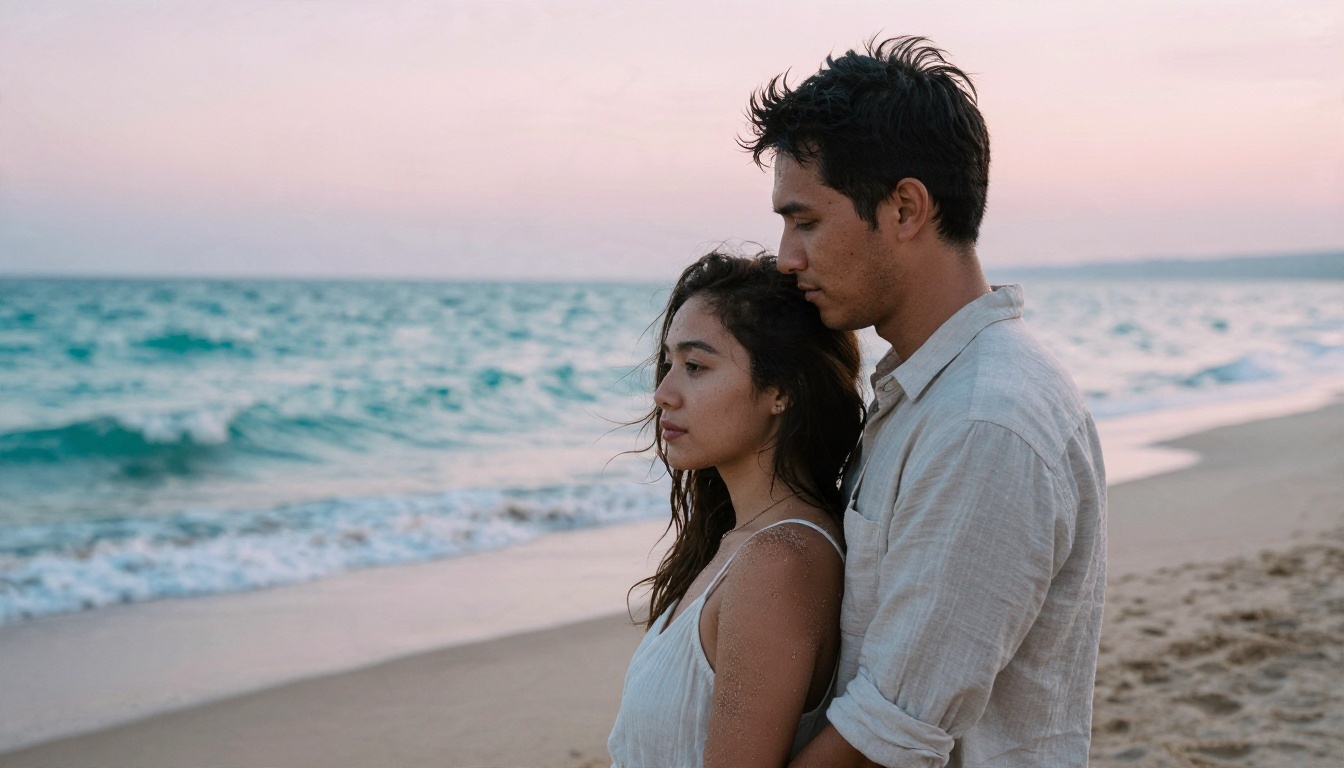
Travel Portraits for Long Distance Couples
Many long distance couples use this tool to create the photo they never got to take. A shared sunrise on a beach or a walk through an old town gives them a picture to print and keep on a shelf until they can recreate it in real life.
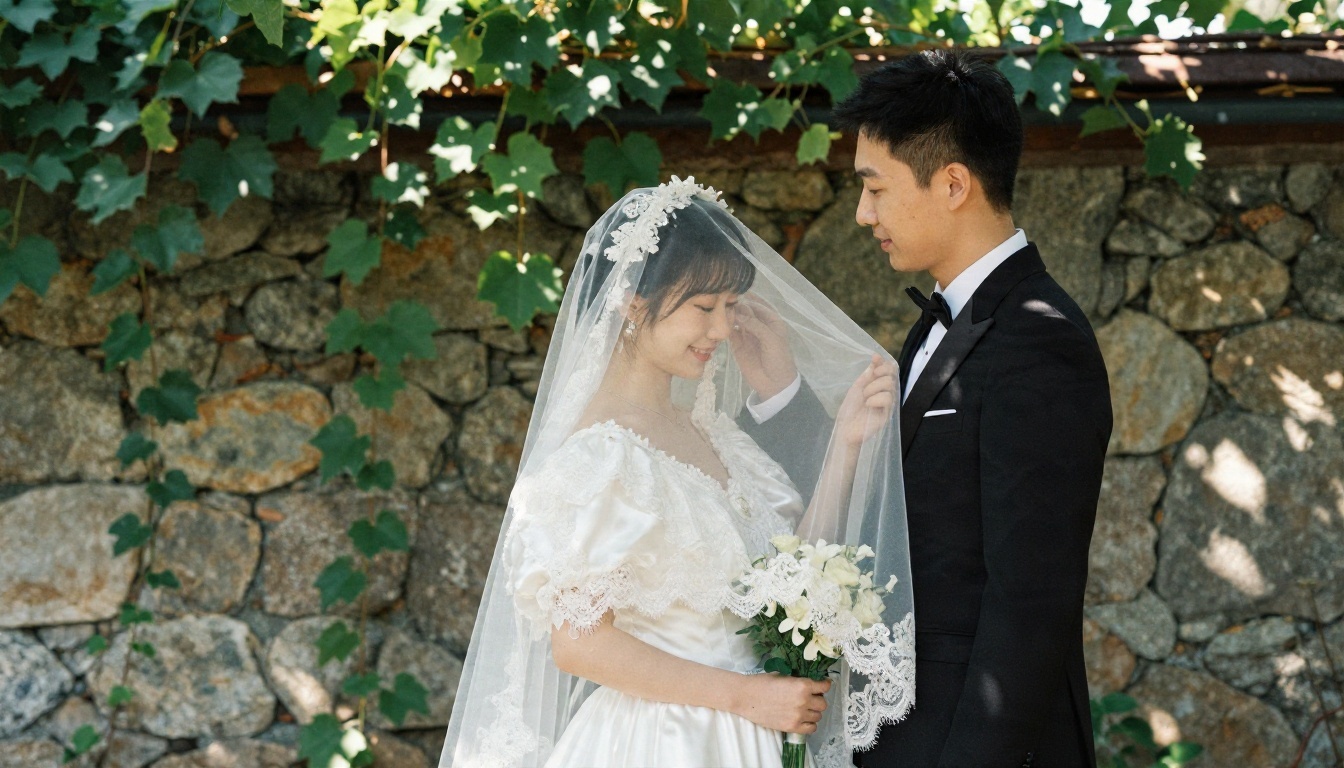
Wedding and Anniversary Style
Formal clothes, soft garden light, and a gentle pose work beautifully for save-the-dates and anniversary cards. If you want matching outfits, describe them directly in the prompt rather than relying on the source photos.
Generational and Memorial Portraits
Families sometimes place a grandparent beside a grandchild, or bring two generations into one frame. These portraits are deeply personal. Use the clearest source photos you have, and keep the styling simple so the faces carry the emotion.
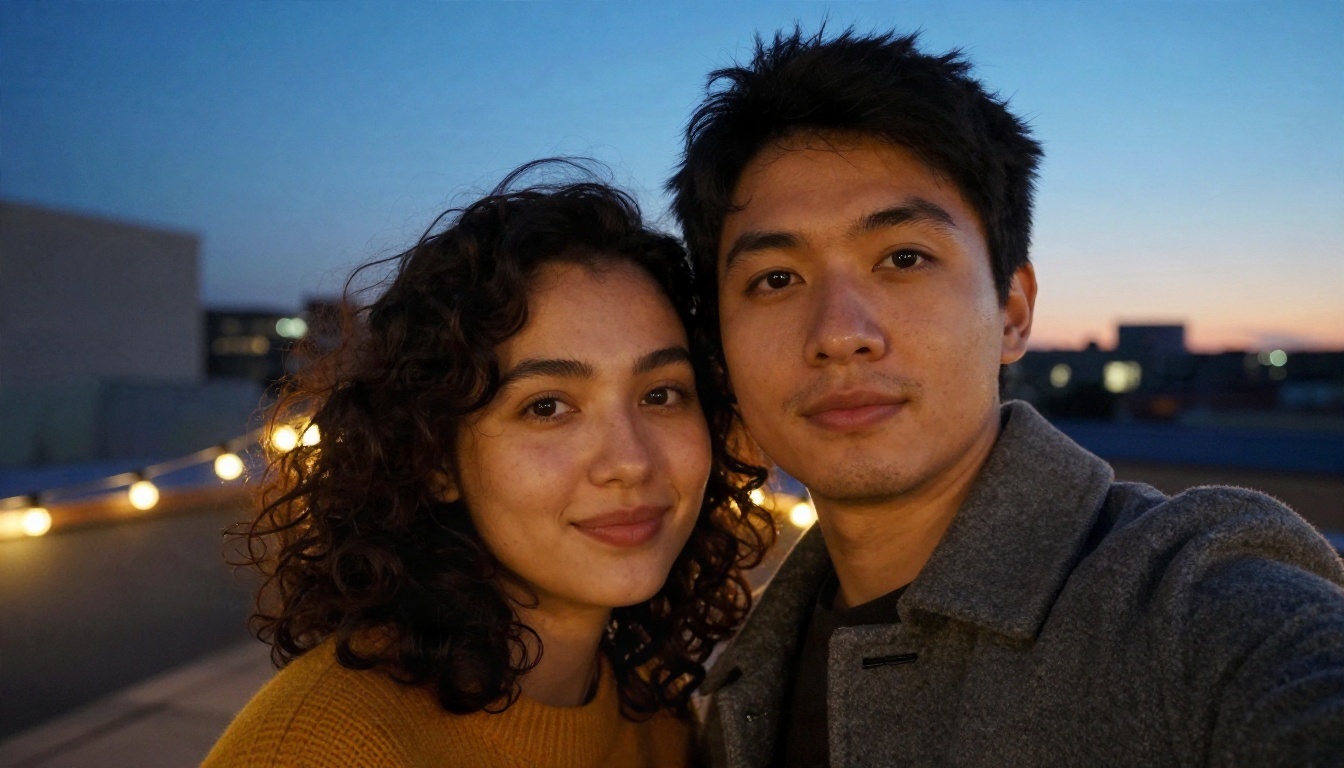
Casual Selfie Style
A cheek to cheek selfie looks authentic and hides small imperfections, because selfies are naturally close and imperfect. Ask for "a candid selfie taken by the man, slightly wide lens, warm light behind them."
Prompts You Can Copy Today
Replace the bracketed text with your own details. Each prompt assumes you uploaded two reference photos.
| Scene | Prompt |
|---|
| Beach sunrise | Combine the two people from the reference photos on a quiet beach at sunrise. She rests her head on his shoulder. Soft pink light from the horizon, 70mm lens, natural skin texture, keep both faces identical to the originals. |
| Cafe window | Put both people at a small cafe table by a large window, laughing over coffee. Soft daylight from the left, 50mm lens, shallow depth of field, film grain. Keep faces and hair exactly as in the references. |
| Wedding garden | Place both people in formal wedding clothes in a sunlit garden. He adjusts her veil. Dappled light through leaves, 85mm lens, Kodak Portra 400 tones, faces unchanged. |
| City night walk | Show both people walking hand in hand on a quiet city street at blue hour, warm shop lights behind them, 35mm lens, realistic fabric and skin texture. |
| Family keepsake | Combine both people in a warm living room, sitting close on a sofa, soft lamp light, natural expressions, keep both faces identical to the reference photos. |
What to Add for More Realism
A few extra phrases push results toward photography instead of illustration:
- Camera and lens: "35mm lens," "85mm f/1.8," "shallow depth of field"
- Film feel: "Kodak Portra 400 colors, subtle film grain"
- Surface detail: "natural skin texture, fine hair strands, fabric wrinkles"
- Light direction: "warm light from the left," "soft window light"
What to Leave Out
Avoid words that push the model toward a cartoon or a heavy filter. Skip "perfect," "flawless," "ultra smooth," and "airbrushed." Real faces have texture, and the model needs to be told that texture is welcome.
Free, Fast, and Printable
One of the biggest reasons people search for a free online couple photo editor is cost. Many tools charge per image or add a watermark across the result. On PicassoIA you can try several editing models without installing software, and you can compare their outputs on the same pair of photos in a few minutes.
Checking Quality Before You Print
Before sending an image to a print shop, zoom in to 100 percent and look at the eyes, teeth, hands, and hairline. These are the areas where AI mistakes show first. If something looks soft, run the picture through an upscaler, or generate again at a higher resolution with a model like Nano Banana Pro.
Small Edits After the Merge
You do not have to accept a first result as final. Two lightweight follow-up edits often help:
- Depth of field: Depth of Field softens a busy background so both faces stand out.
- Hairstyle tweaks: Change Haircut lets you match a hairstyle to how the person looks today.
Sharing Online
Social platforms compress images, so export at the highest quality and avoid heavy text overlays. A clean portrait with natural color survives compression much better than an image full of effects.
Common Mistakes to Skip
Most disappointing results trace back to the same few errors. Here is how to avoid them.
- Using blurry sources. If the faces are soft in your upload, they will be soft or invented in the result.
- Writing a vague prompt. "Put us together" gives the model too much freedom. Describe the place, pose, light, and lens.
- Mixing very different image styles. A heavily filtered selfie and a plain studio portrait will not blend well. Choose sources with similar color and sharpness.
- Asking for a complicated pose. Hugging, lifting, or intertwined hands are harder to render than standing side by side.
- Accepting the first result. Generate several versions and pick the best. It takes a minute and usually makes a clear difference.
- Forgetting to repeat the identity rule. End your prompt with a short line such as "keep both faces identical to the reference photos."
💡 Tip: Save the prompt that works. Once you have a wording that suits your two sources, you can reuse it with small changes for dozens of different scenes.
Try Your Own Couple Portrait
You already have the two photos. The only thing missing is the picture where you finally appear together. Pick your two clearest portraits, open Nano Banana on PicassoIA, paste in one of the prompts above, and generate a first version. Then try Seedream 4.5 or Qwen Image Edit Plus on the same pair and compare which one captures your faces best.
Change the scene, the light, and the pose a few times. Try a beach, a cafe, a garden, a rooftop. Within a short session you can have a small collection of couple portraits that look like they were taken by a real photographer, even though the two of you were never in the same place.
For more tools you can use alongside your edits, browse the full catalog at picassoia.com/en/all-models and start creating your own images today.


