You can spend weeks sourcing a great product and still lose the sale because the photo looks like it was taken in a hurry. Shoppers cannot touch your item, so the image does all the talking. The good news: AI for ecommerce photos has reached the point where a phone, a window and a few online tools can produce listings that look like they came from a small studio. This article walks through the free apps worth trying, how to cut out backgrounds without ragged edges, how to rescue low resolution shots with upscaling, and how to edit images so your whole catalog looks consistent.
Why Product Photos Decide Sales
What Shoppers Notice First
Before anyone reads your title or price, they register three things in about a second: is the image sharp, is the background clean, and does the product look the way it should. Fail any one of those and the scroll continues.
Marketplaces reinforce this. Amazon, Etsy, eBay and Shopify themes all reward clear main images, and most marketplaces expect a plain, bright background for the primary photo. Zoom features also punish small files, because a 600 pixel image looks soft the moment someone pinches the screen.
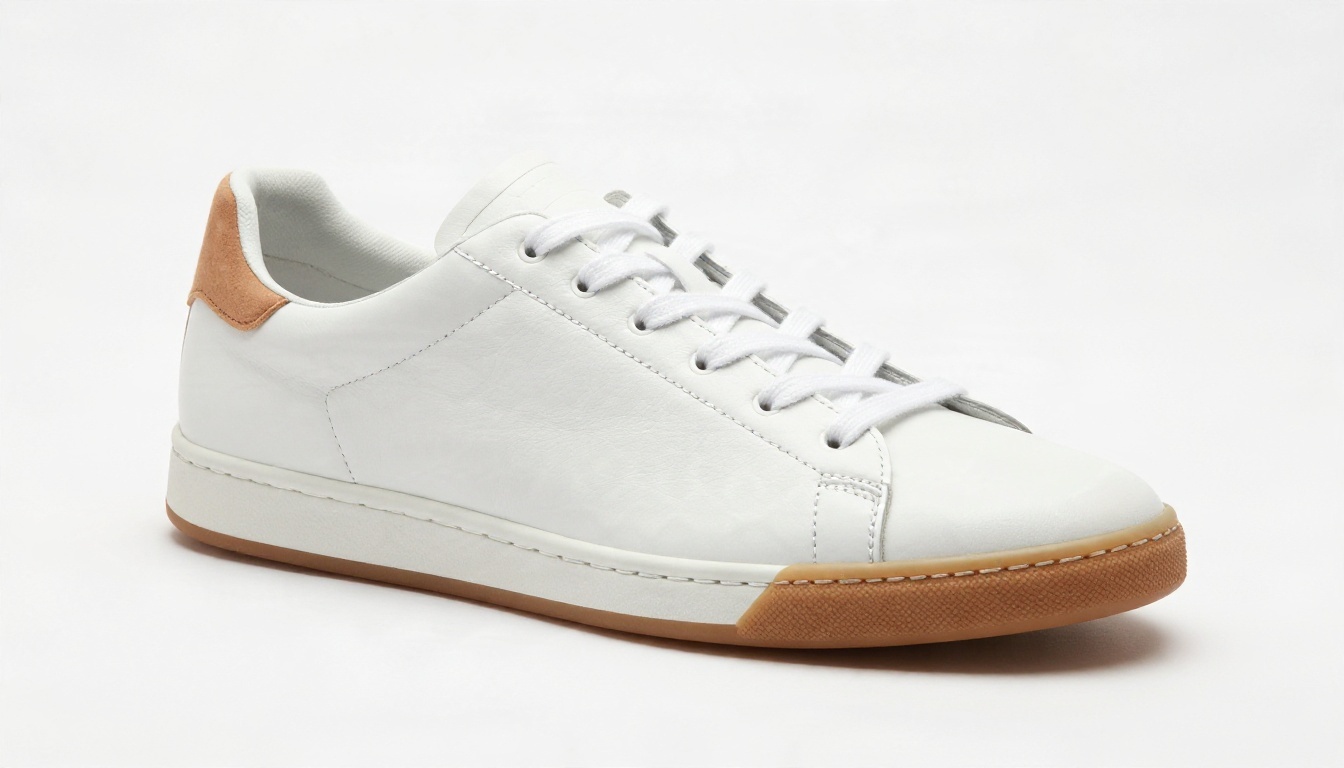
That sneaker is the look most marketplaces want for a main image: centered, evenly lit, a soft grounding shadow, and nothing else competing for attention. Getting there used to mean a lightbox, a DSLR and an hour in desktop editing software. Now it is mostly a matter of picking the right tool for each step.
Where Free Apps Fall Short
Free phone apps are a fine place to start, but they tend to hit the same walls:
- Watermarks or low resolution exports on the free tier
- Rough edges around hair, fur, glass and thin straps
- Inconsistent results from one photo to the next, which makes a catalog look messy
- Limited control over lighting, shadows and scene
That is why most sellers end up with a small toolkit rather than one app: something to shoot, something to cut out, something to sharpen, and something to build scenes.
Free Apps That Actually Help
Here is how the common free options stack up for product work. Features and limits change often, so check each app's current free plan before committing.
| Tool type | Good for | Watch out for |
|---|
| Phone camera apps (built in) | Shooting with tap-to-focus and exposure lock | Auto filters that change product color |
| Snapseed, Google Photos editor | Quick brightness, contrast and crop fixes | No real background removal |
| Canva, Adobe Express | Templates, simple cutouts, resizing for marketplaces | Best features sit behind a paid plan |
| Photoroom style cutout apps | Fast background removal on a phone | Watermarks and edge errors on complex items |
| Marketplace built in tools | One click background cleanup inside your shop dashboard | Limited to that platform, few settings |
| Online AI tools on PicassoIA | Cutouts, upscaling, scene generation and editing in one place | You need to pick the right model per task |
💡 Tip: Shoot at the highest resolution your phone allows and turn off beauty or HDR filters. AI tools fix a lot, but they work best when the source file already has accurate color and focus.
A Simple Phone Setup That Works
You do not need gear. A window, a white foam board and a tripod are enough.

Place the product on a white surface next to a window, bounce light back into the shadows with a second white card, and lock the phone on a tripod so every shot shares the same angle and distance. That consistency is what makes later AI steps predictable. If the framing is identical across products, cutouts and upscales behave identically too.
Clean Backgrounds in Seconds
Background removal is the single most useful AI step for sellers. A good cutout lets you place the product on pure white for a marketplace, on a soft color for social ads, or inside a lifestyle scene.

The handbag above was shot on a busy kitchen table, which is exactly the situation AI cutouts were built for. You do not need a perfect backdrop. You need a clear subject and decent light.
Three Cutout Models to Try
PicassoIA offers several dedicated tools, and each has a slightly different strength:
- Remove Background is the all-round option for clean, fast cutouts on typical products like bags, mugs and boxes.
- Product Cutout is tuned for product shots and tends to hold crisp outlines on objects with hard edges.
- Recraft Remove Background is a quick alternative when the first result leaves a halo or misses a thin strap.
Running the same photo through two of them takes under a minute and often settles any edge doubts.
Edge Problems to Watch
Even good cutouts stumble on certain materials. Zoom to 200 percent and check:
- Transparent items such as glassware, where the model may delete the product along with the background
- Fine hair or fabric fringe, which can look chopped
- White products on white backgrounds, where the edge disappears
- Shadows, which sometimes get removed so the item floats
For floating products, add a soft contact shadow back in. A faint, blurred oval under the item is usually enough to make it look grounded rather than pasted.
Upscaling Low Resolution Product Photos
Supplier images, old catalog files and screenshots are often too small for zoom. Upscaling uses AI to rebuild detail instead of just stretching pixels, so a 800 pixel file can become a usable 3000 pixel one.
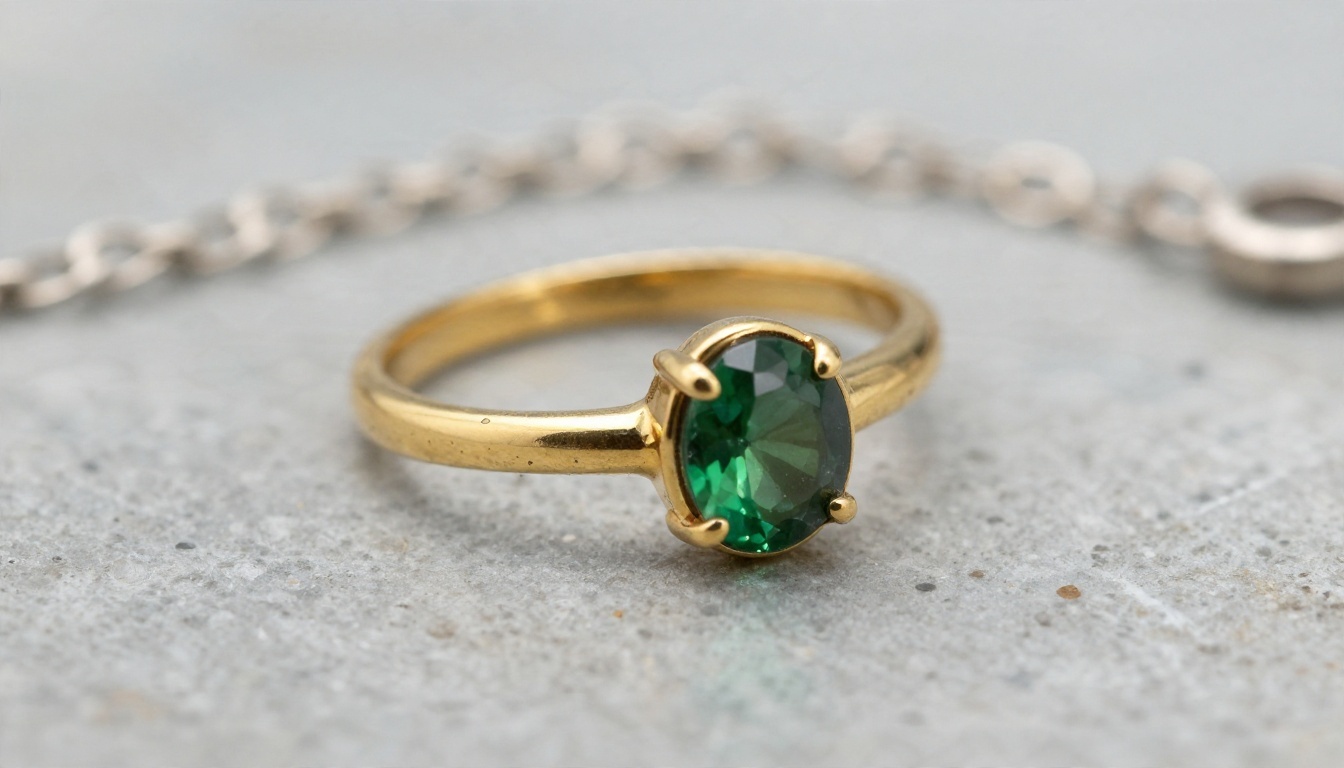
Jewelry is the toughest test. Buyers zoom in to check prongs, engravings and stone clarity, so any softness reads as poor quality. A good upscaler preserves metal texture without adding fake detail.
Which Upscaler for Which Product
| Model | Best for | Notes |
|---|
| Real ESRGAN | Quick 4x enlargements of everyday product shots | Fast and dependable for a first pass |
| Clarity Pro Upscaler | Photorealistic detail on textures like leather, wood and fabric | Good when you want extra crispness |
| Recraft Crisp Upscale | Clean, sharp results on packaging and flat graphics | Keeps edges tidy |
| Recraft Creative Upscale | Adding depth to dull, flat photos | May add detail, so compare to the original |
| Image Upscale | Large enlargements, up to 6x | Handy for print or banner use |
| P Image Upscale | Fast batches when speed matters | Great for many SKUs |
| Crystal Upscaler | Portraits and model shots | Useful for apparel with people in frame |
| Upscaler | General 4x enlargement without losing detail | A solid default |
Upscale Before or After the Cutout?
Upscale first, then cut out. Larger files give the cutout model more edge information to work with, and you avoid blowing up a rough mask. The exception is a tiny supplier image with heavy compression artifacts: clean it with a creative upscaler first, then run the cutout, then do a final light sharpen if needed.
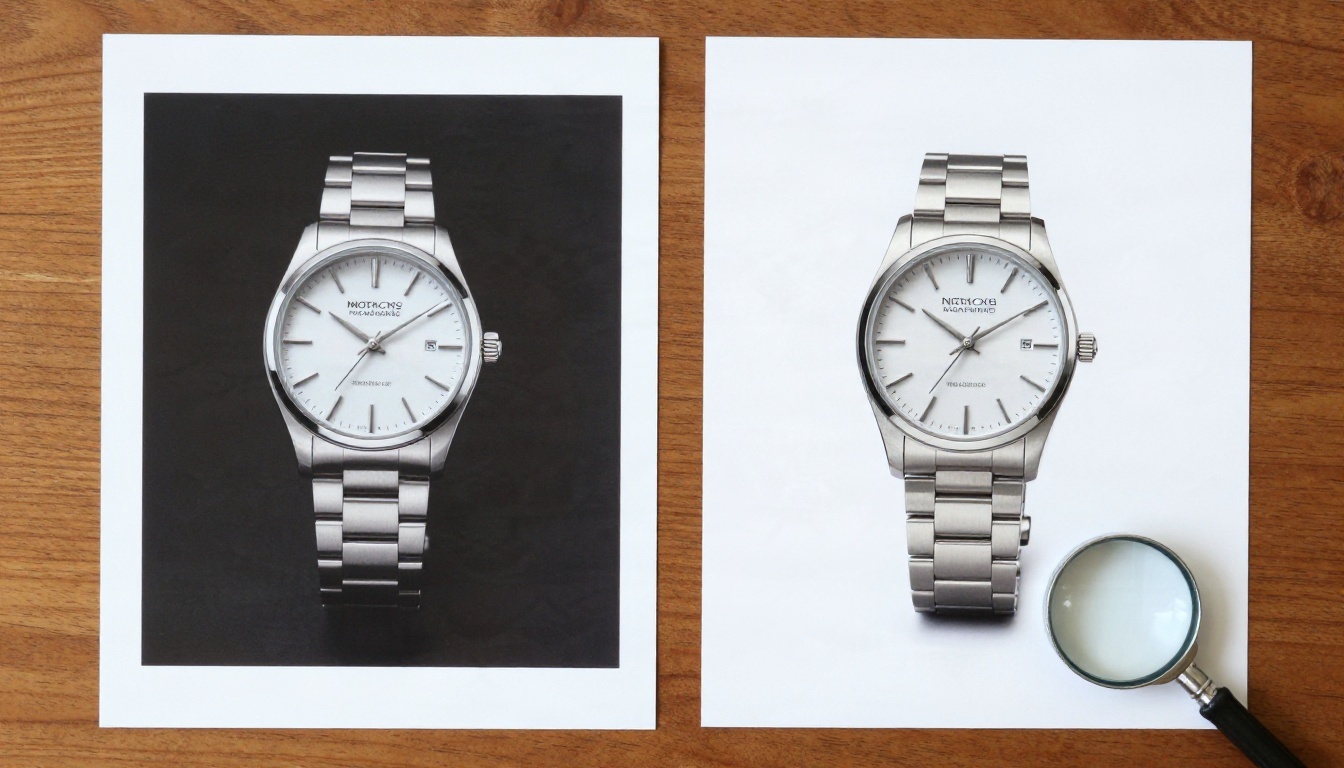
💡 Tip: Always compare the upscaled result to the original at 100 percent zoom. If the leather grain or fabric weave looks smoother or different than the real product, dial back or pick a more conservative model. Honest detail beats flashy detail.
Editing and Scenes That Sell
Plain white backgrounds win the main image slot, but secondary images are where you sell the feeling. Lifestyle scenes show scale, context and use.

Lifestyle Scenes From Plain Shots
The skincare scene above is the kind of image a shop would once pay a photographer to create. With AI, you start from your clean product shot and ask an editing model to place it in a believable setting. Nano Banana handles this kind of instruction based editing well: describe the surface, the light direction and the props, and it adapts the scene around your product. Nano Banana Pro pushes resolution higher, which helps for hero banners.
A prompt that works well follows a simple structure:
- Surface: "pale travertine shelf"
- Props: "folded white towel, eucalyptus sprig"
- Light: "warm morning light from the right, soft leaf shadows"
- Camera: "85mm lens, shallow depth of field"
For packaging, always check that the label, logo and proportions remain unchanged. If a model alters text on your box, redo the step or composite the original product back over the generated background.
AI Models for Fashion Listings
Apparel is the category where AI saves the most money, because model shoots are expensive. Tools like Seedream 4.5 and Qwen Image 3 generate photorealistic people with believable skin, fabric and light, useful for ad creatives, mood boards and campaign images.
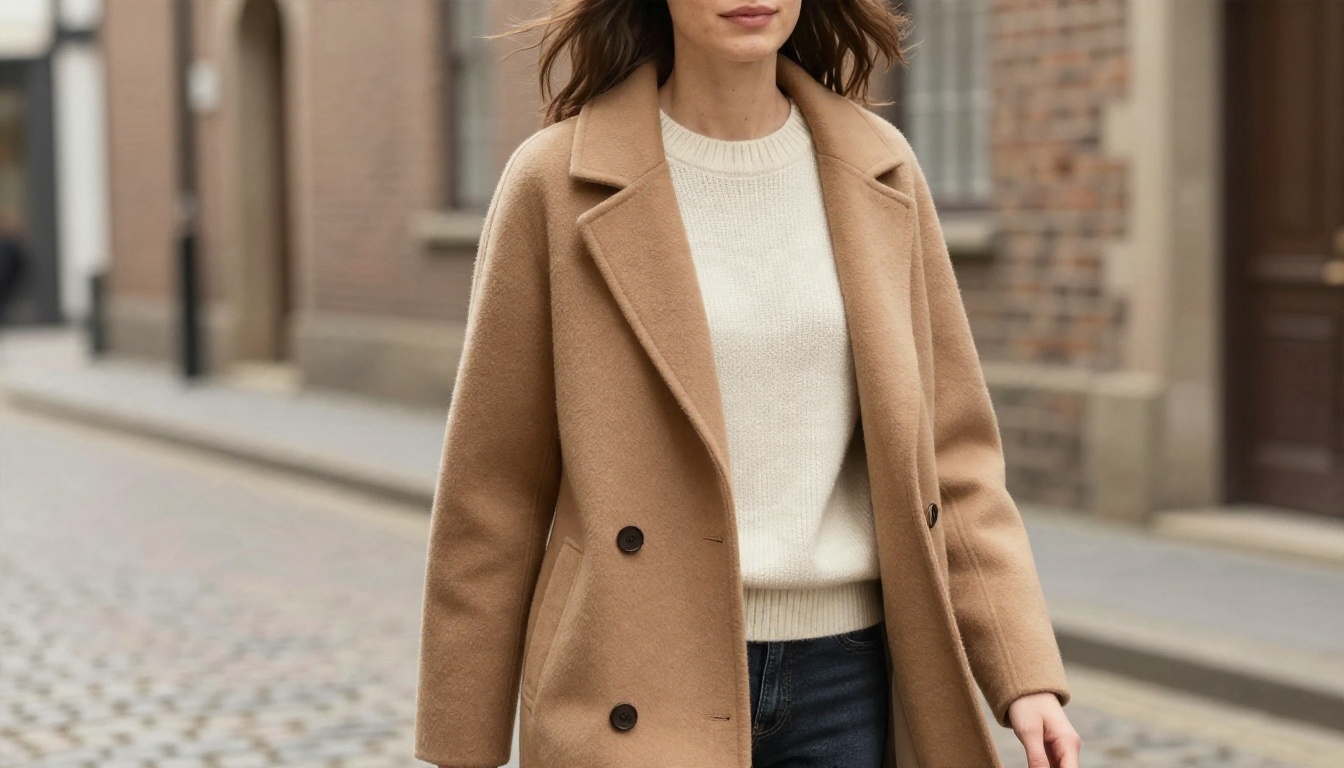
For stylized series or a consistent look across many images, Flux 2 Klein 9B Base LoRA lets you steer a specific visual style, which is handy when a brand wants all its images to share one mood.
Honest Product Representation
This matters more than any tool choice. A generated or edited image must still show the product accurately: true color, true size, true material. Returns, bad reviews and marketplace takedowns follow misleading images. Use AI to improve presentation, not to promise something the item does not deliver. If you use a generated model or scene, say so where your platform requires it.
A Workflow That Takes 15 Minutes
Here is a repeatable process for a new product. It works for a single item or a batch of fifty.
- Shoot three to five angles with a phone on a tripod, near a window, on a white surface.
- Upscale the best shots with Real ESRGAN or Clarity Pro Upscaler, depending on how much texture you need.
- Remove the background with Remove Background and inspect the edges at 200 percent.
- Place on white for the main marketplace image, with a faint shadow underneath.
- Build one or two lifestyle scenes using Nano Banana.
- Export at the sizes each platform needs, usually a square for the grid and a larger version for zoom.

Keep the Catalog Consistent
Look at the planters above: same angle, same distance, same light, same spacing. When a store grid looks like that, shoppers read it as professional and trustworthy, even if every photo came from a phone. Write down your settings once: crop ratio, shadow strength, background shade, and the prompts you use for scenes. Then reuse them on every product.
Save Time on Batches
If you handle many products, group them by type. Run every shoe through the same upscaler and cutout settings, then every mug, then every bag. Mixed batches create mixed results, because each material reacts differently to sharpening and edge detection.

The goal is to get photo work out of the way so you can spend your time where the monitor is not: sourcing, packing, shipping and talking to customers.
Mistakes That Cost You Sales
Even with strong tools, a few habits keep dragging listings down:
- Over sharpening. Crunchy edges and halos look fake. Stop earlier than you think.
- Changing product color. Shoot in neutral light and check the final against the real item.
- Skipping the shadow. A cutout with no shadow looks pasted on.
- Mixing styles. Different backgrounds and angles across a collection look chaotic.
- Ignoring file size. Huge images slow your store. Export at the size you need, compress sensibly and keep an original copy.
- Trusting the first result. Generate two or three versions and pick the most accurate one, not the most dramatic.
💡 Quick check: View your listing on a phone at arm's length. If the product is not obvious and attractive in two seconds, the photo needs another pass.
Try It on Your Own Products
The fastest way to see what AI can do for your store is to run one real product through the process. Take a phone photo of your best seller, upscale it, cut it out, and drop it into a simple lifestyle scene. You will see the difference in a single afternoon.
Open Remove Background for your first cutout, try Real ESRGAN to sharpen a small file, and experiment with Nano Banana to build scenes around your product. When you want to see everything available, browse the full list at picassoia.com/en/all-models. Pick one product, create your first set of images with Picasso IA today, and compare them to your current listing.


