You have a decent photo of yourself against a white wall, but you are wearing a faded t-shirt and the application is due tonight. Hiring a photographer, renting a blazer and booking a studio slot feels absurd for a single headshot. This is exactly the gap an AI passport photo maker with suit options fills: you upload a plain portrait, describe the outfit, and the editor swaps the clothes while keeping your face, hair and pose untouched.
It works surprisingly well when you know how to prompt it. It also has limits, and one of them matters a lot if the photo is meant for a real passport. This article covers both sides, with working prompts, a model comparison and a step-by-step tutorial you can run for free.
What Is an AI Suit Photo Maker?
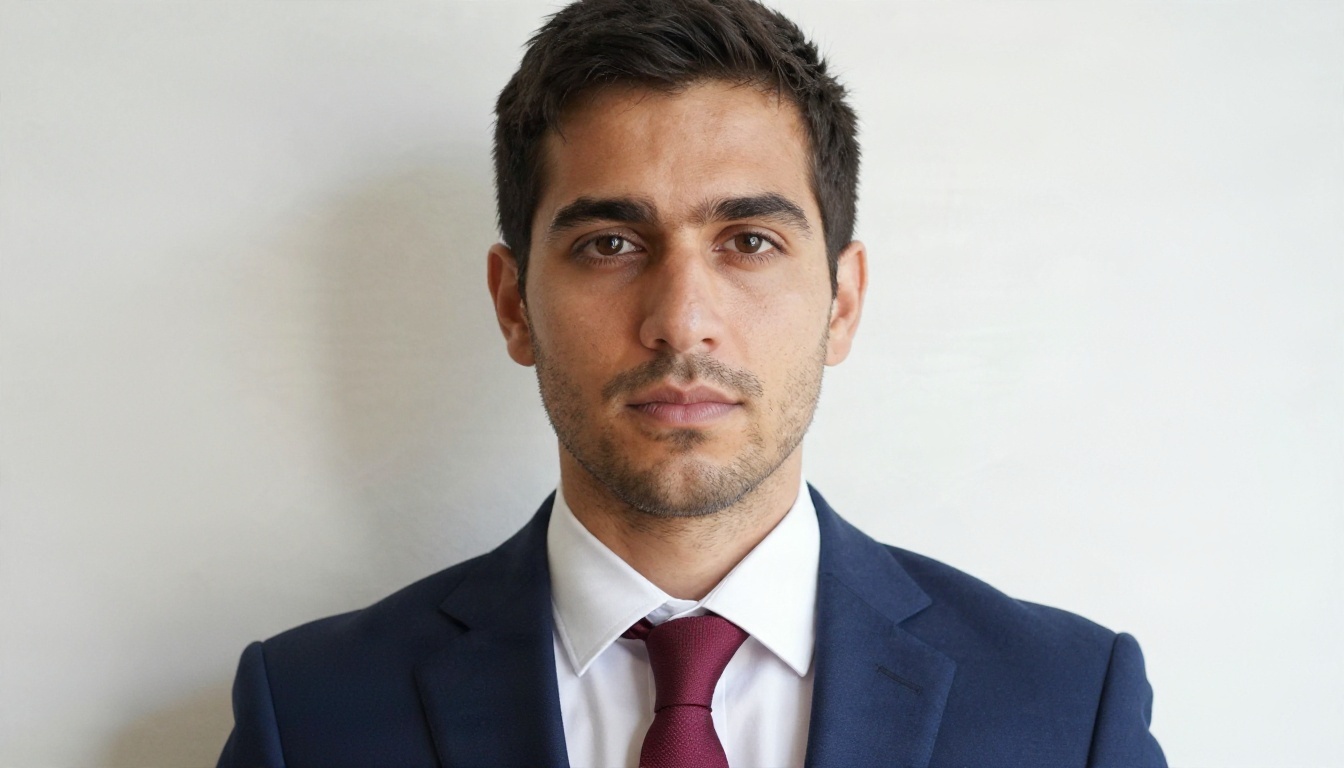
An AI suit photo maker is an image editing model that understands what clothing is and where it sits on a body. You feed it a portrait and a short instruction such as "replace the t-shirt with a navy suit jacket, white shirt and burgundy tie". The model repaints only the clothing region and leaves the identity of the person alone.
The older approach was manual: cut out your head in Photoshop, paste it on a stock suit body, then fight with edges, skin tone and lighting for an hour. Modern instruction-based editors skip all of that. They rebuild collars, lapels, shadows under the chin and fabric folds in one pass.
What It Can Change
- Tops: t-shirts, hoodies and sweaters become shirts, blouses, blazers or full suit jackets.
- Accessories: ties, bow ties, pocket squares, scarves and simple jewelry.
- Colors: switch a black blazer to charcoal, navy or beige without touching anything else.
- Fit: make a jacket look tailored, slim or relaxed.
- Background: swap a cluttered room for a flat grey, white or light blue wall.
What It Should Not Change
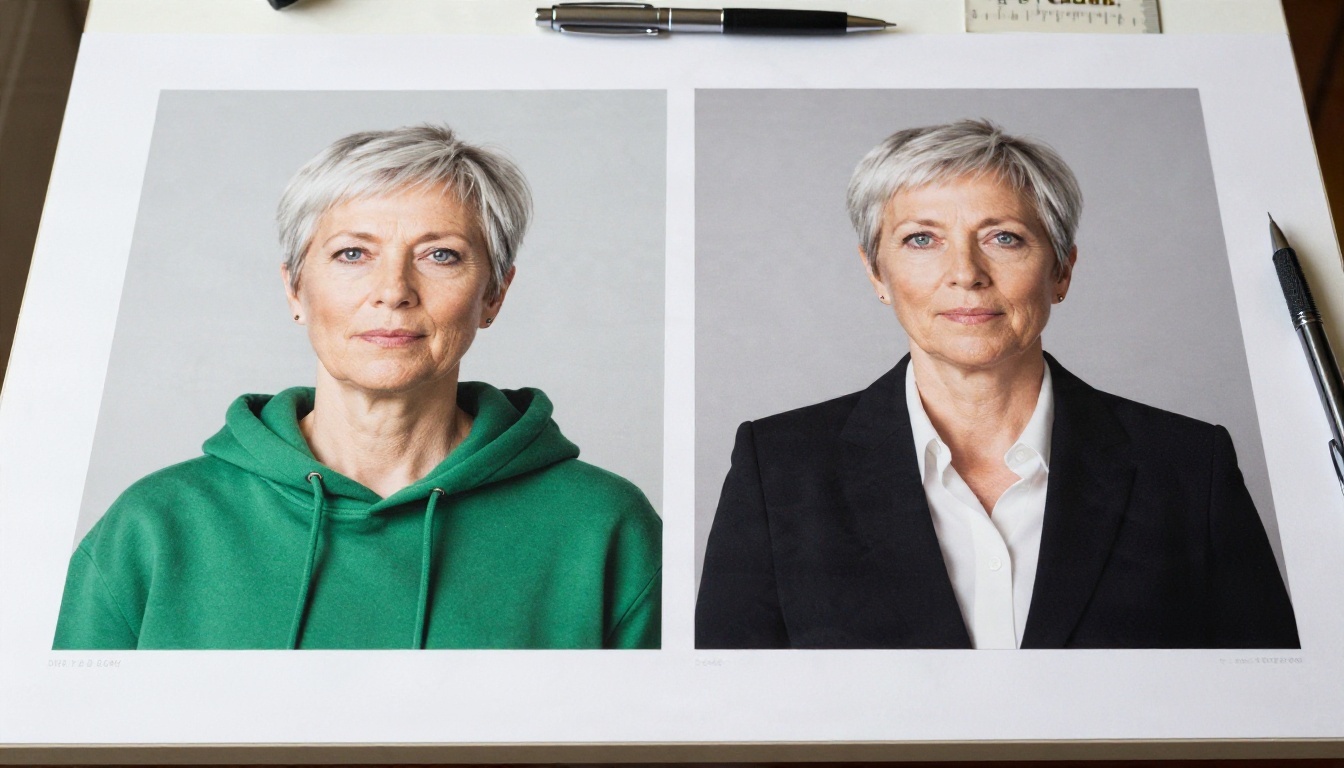
Your face. Anything that alters facial structure, skin, eye color or hair length defeats the point of an ID style photo and, for official documents, it is also a rule violation. A good prompt names the clothing and tells the model to keep everything else identical.
Can You Use It for a Real Passport?
Here is the honest part. Most passport and visa authorities require a photo that shows how you actually look on the day, taken against a plain background, with no digital alteration. Several national agencies state clearly that edited or retouched images are rejected, and clothing swaps fall under that. Rules differ by country, and they change, so always read the current requirements of the office that will issue your document.
💡 Rule of thumb: if a border officer or a clerk could compare the printed photo with your face and your clothing is the only fake element, it may still be refused. When in doubt, wear a real shirt for the official photo and use AI for everything else.
Where AI Suit Photos Work Well
| Use case | Is AI clothing swap a good fit? | Notes |
|---|
| LinkedIn or company profile photo | Yes | Most common use, no strict rules |
| Resume or CV portrait | Yes | Keep a neutral background |
| University application portal photo | Usually | Check the portal's wording first |
| Work badge or internal directory | Usually | Ask HR if they require an unedited image |
| Visa or ID style practice sheet | Yes | Good for layout and size tests |
| Official passport or national ID | Rarely | Many authorities reject altered images |
| Driver's licence | No | Taken at the counter in most places |
So the realistic play is this: use AI to make professional, passport-sized portraits for everything that is not a government document, and use it as a layout reference for the official one.
Start With a Photo That Works
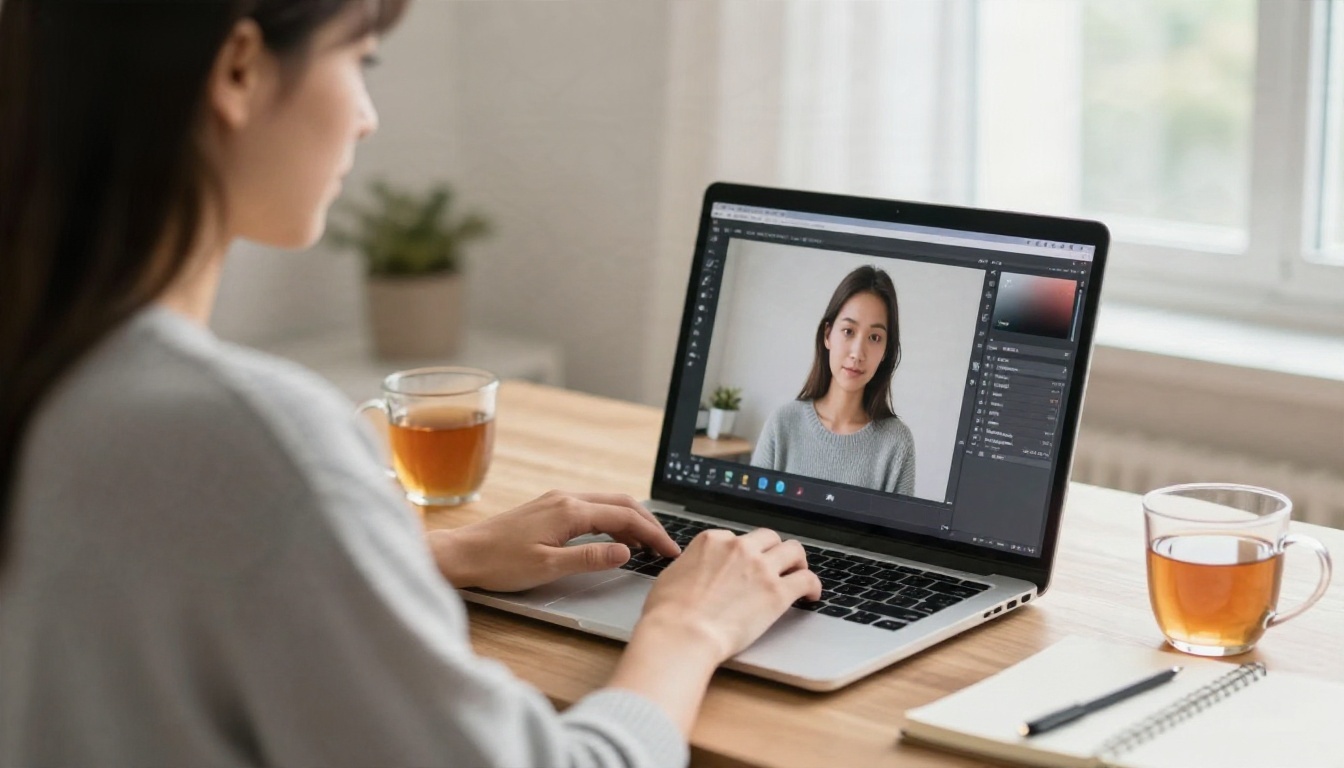
The output is only as good as the input. A clean source photo cuts the number of retries in half.
Lighting and Background
Stand facing a window, not with the window behind you. Soft daylight from the front gives even skin tone and removes the dark shadows under the nose and chin that AI editors sometimes misread as part of the clothing. Use a plain wall, a bedsheet or a door, anything without patterns.
Framing and Pose
- Keep your head and both shoulders inside the frame.
- Face the camera straight on, chin level, eyes open.
- Use a neutral face or a very light smile with the mouth closed.
- Hold the phone at eye height, about one to two meters away, and use the rear camera.
- Tie back hair that hides your ears or jaw line, since the editor needs a clear neckline to build a collar.
Clothing to Avoid in the Source
Very baggy hoodies with big hoods, scarves, headphones around the neck and bold prints all confuse the edit. A plain, close fitting top in a color that differs from the background gives the model a clean region to replace.
Which AI Editors Do This Best?
Several models on PicassoIA handle instruction based clothing edits. They do not behave the same way, so pick based on what you need.
| Model | Best for | Strength | Watch out for |
|---|
| Nano Banana | Everyday outfit swaps | Keeps the face very consistent | Needs a clear prompt for ties |
| Flux Kontext Pro | Precise text based edits | Strong on fabric and collar detail | Long prompts can drift |
| Professional Headshot | One click corporate look | Fast, no prompt writing | Less control over outfit color |
| Qwen Image Edit Plus | Multi change edits | Handles outfit plus background at once | Can smooth skin slightly |
| Seedream 4.5 | High resolution results | Sharp 4K fabric texture | Best with a well lit source |
| GPT Image 2 | Natural language edits | Understands detailed instructions | Check likeness carefully |
Quick Pick
How to Use Nano Banana on PicassoIA
Nano Banana is a strong default because it holds a face steady across edits. Here is the exact flow.
Step 1: Open the Model and Upload
Open the Nano Banana page and add your portrait as the input image. Use the sharpest, best lit version you have. A JPG or PNG is fine.
Step 2: Write a Precise Prompt
Name the garment, the color, the fit and the fabric. Then add a line that protects everything else. For example:
Replace the grey t-shirt with a tailored charcoal wool blazer, a crisp white collared shirt and a slim navy tie. Keep the face, hair, skin tone, expression and head position exactly the same. Plain light grey background, soft even lighting.
Step 3: Pick the Aspect Ratio
Passport style portraits are usually taller than wide. A 3:4 or 4:5 ratio gives room for the head and shoulders with a clean margin on top. You can crop to exact millimeters later.
Step 4: Generate and Compare
Run three or four variations. Check the collar line first, because that is where errors hide. Then check the ears, the hairline and the shoulders.
Step 5: Fix Details With a Second Pass
If the tie is crooked or the lapel looks flat, send the result back in with a short instruction such as "straighten the tie knot and make the lapels slightly wider". Small follow up edits beat rewriting the whole prompt.
💡 Tip: keep the same seed or the same source image across variations. That way the only thing changing is the outfit, not your face.
Prompts for Every Look
Copy these, then swap the colors for your own.
For Men
- "Replace the clothing with a navy two button suit jacket, white dress shirt and a dark red silk tie with a Windsor knot. Keep the face unchanged."
- "Change the hoodie to a charcoal blazer over a light blue oxford shirt, no tie, top button open."
- "Dress him in a black tuxedo jacket with a white shirt and a black bow tie, same face and pose."
For Women
- "Replace the sweater with a fitted black blazer over a white silk blouse, small stud earrings, same face and hair."
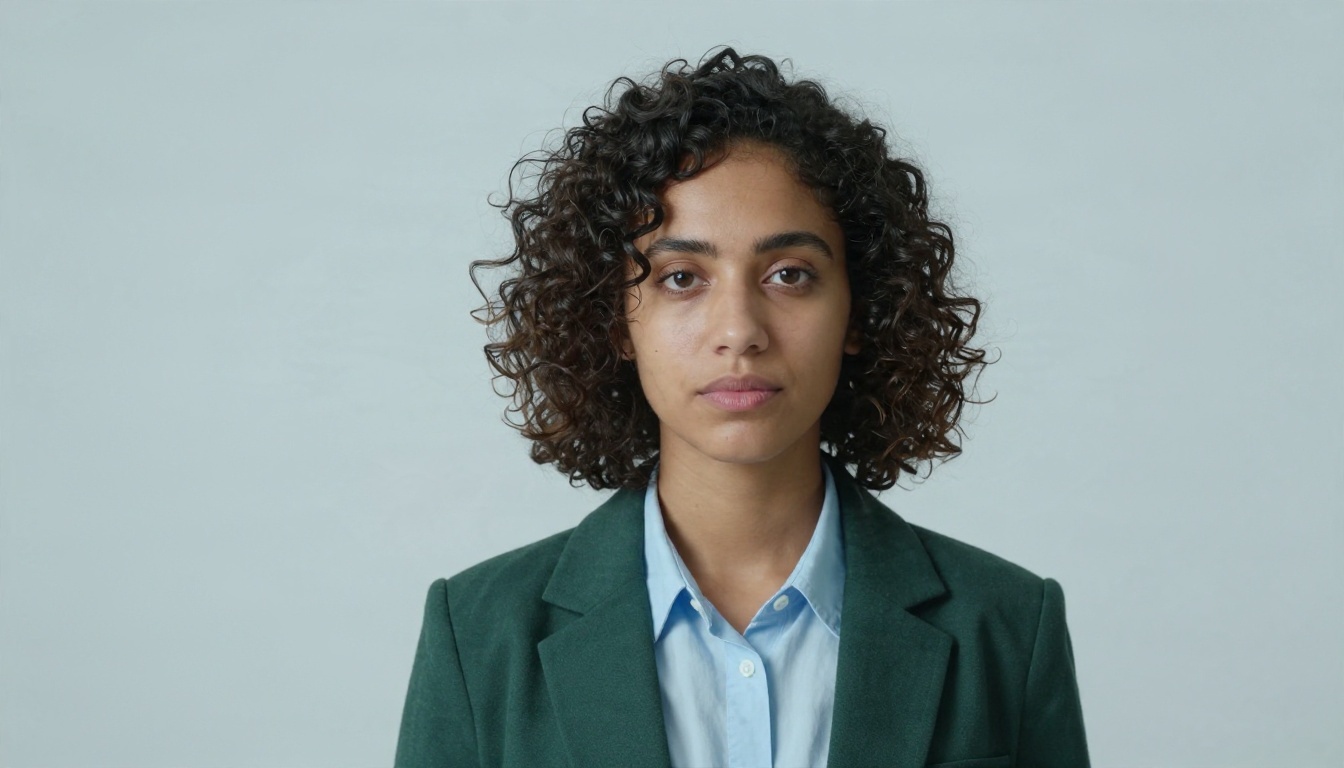
- "Change the top to a dark green blazer over a pale blue button shirt, collar neatly folded."
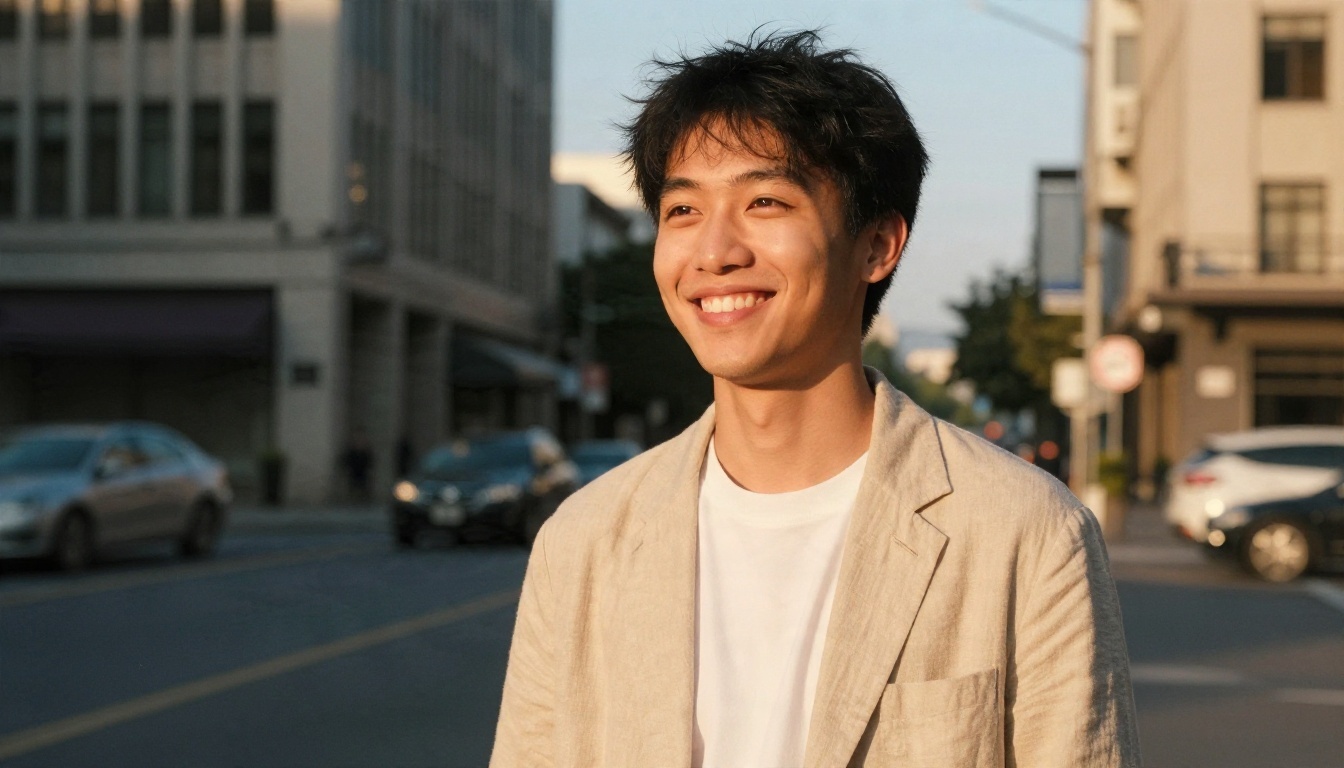
- "Put her in a beige linen blazer with a simple white crew neck underneath."
For Everyone
- "Replace the background with a plain light grey wall, even lighting, no shadows behind the head."
- "Remove the glasses glare and keep the frames exactly the same."
- "Keep neck, ears and hairline untouched, only change the clothing below the collarbone."
Choosing the Right Blazer and Tie
A believable result depends on realistic styling choices, not only on the model.
Match Color to Skin and Background
| Background | Strong jacket colors | Colors to skip |
|---|
| Light grey | Navy, charcoal, black | Pale grey (blends in) |
| White | Navy, forest green, burgundy | Cream or white |
| Light blue | Charcoal, dark green, black | Mid blue |
| Dark blue | Beige, light grey, white shirt | Navy |
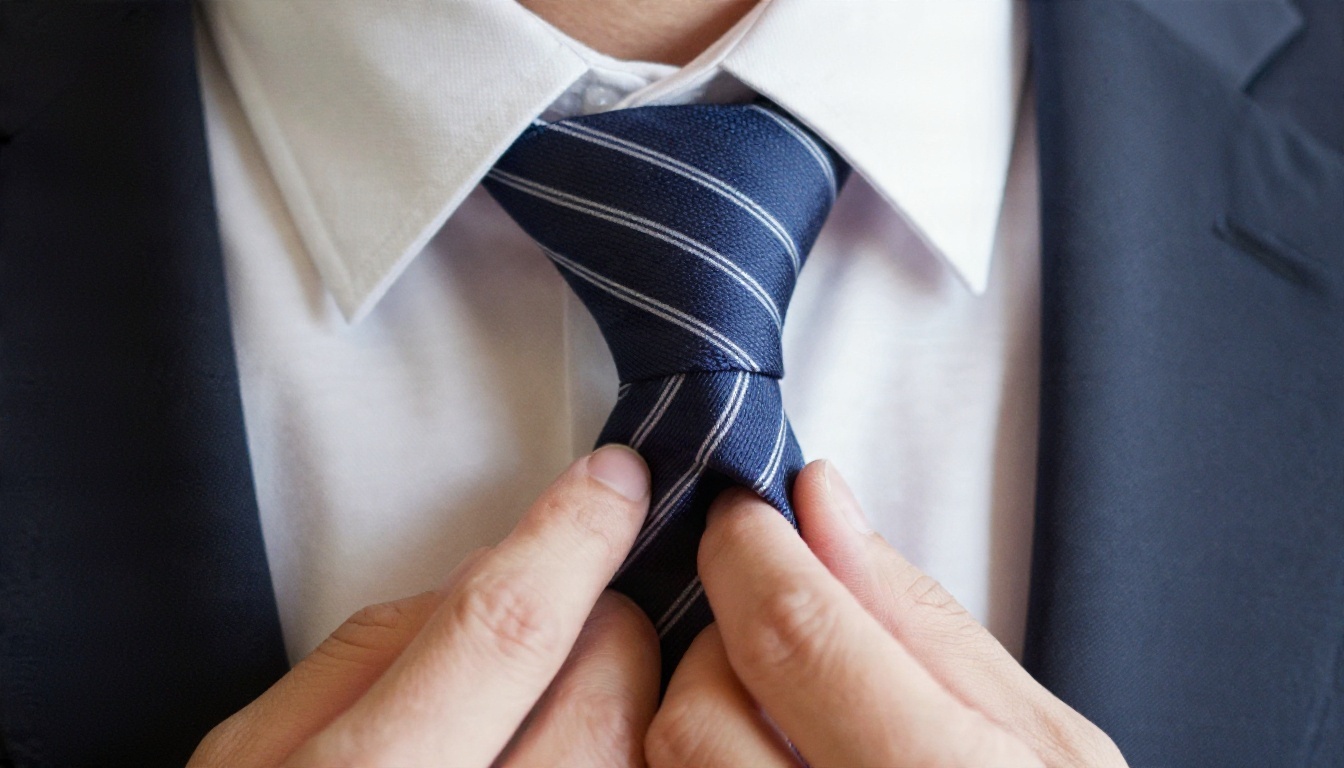
Tie Basics That Read Well on Camera
- Solid or fine texture looks cleaner than big patterns, which can warp.
- Mid width ties suit most faces. Very thin or very wide ones look dated quickly.
- Navy, burgundy and dark green work with nearly every jacket color.
- Knot size should match the collar. If it looks tiny, ask for a "full Windsor knot".
Match the Job or Setting
A finance application suits a dark suit and tie. A design portfolio is fine with a soft beige blazer and an open collar. A medical or academic profile often looks best with a simple shirt under a blazer and no tie at all. Ask for the style the audience expects.
Common Mistakes and How to Fix Them
Even the best editors slip. Here are the issues that show up most, with quick repairs.
Mistake 1: The Face Looks Slightly Different
Add "keep the face, skin texture and expression exactly the same" and lower creative freedom if the model offers it. Switching to Nano Banana or Flux Kontext Pro often fixes likeness drift.
Mistake 2: A Messy Collar or Neckline
This almost always comes from a hoodie or scarf in the source. Retake the photo in a plain top, or run a second pass that says "clean the neckline, show a flat white shirt collar".
Mistake 3: Plastic Skin
Over smoothing is a real problem on some editors. Ask for "natural skin texture with visible pores, no retouching". If detail is lost, run the result through Real ESRGAN to bring back sharpness at 2x or 4x.
Mistake 4: A Wrong Background Edge
When the wall is not a flat color, hair edges can look cut out. Use Remove Background to get a clean cutout, then place the portrait on a plain grey or white fill. If you want to soften a busy background instead, Depth of Field adds a natural blur.
Mistake 5: Wrong Proportions
Shoulders that look too narrow or too wide point to a source photo taken too close or at a tilt. Step back, use the rear camera, and keep the phone level.
Make It Passport Sized
Once you like the look, prepare the file for print or upload.
Size and Crop
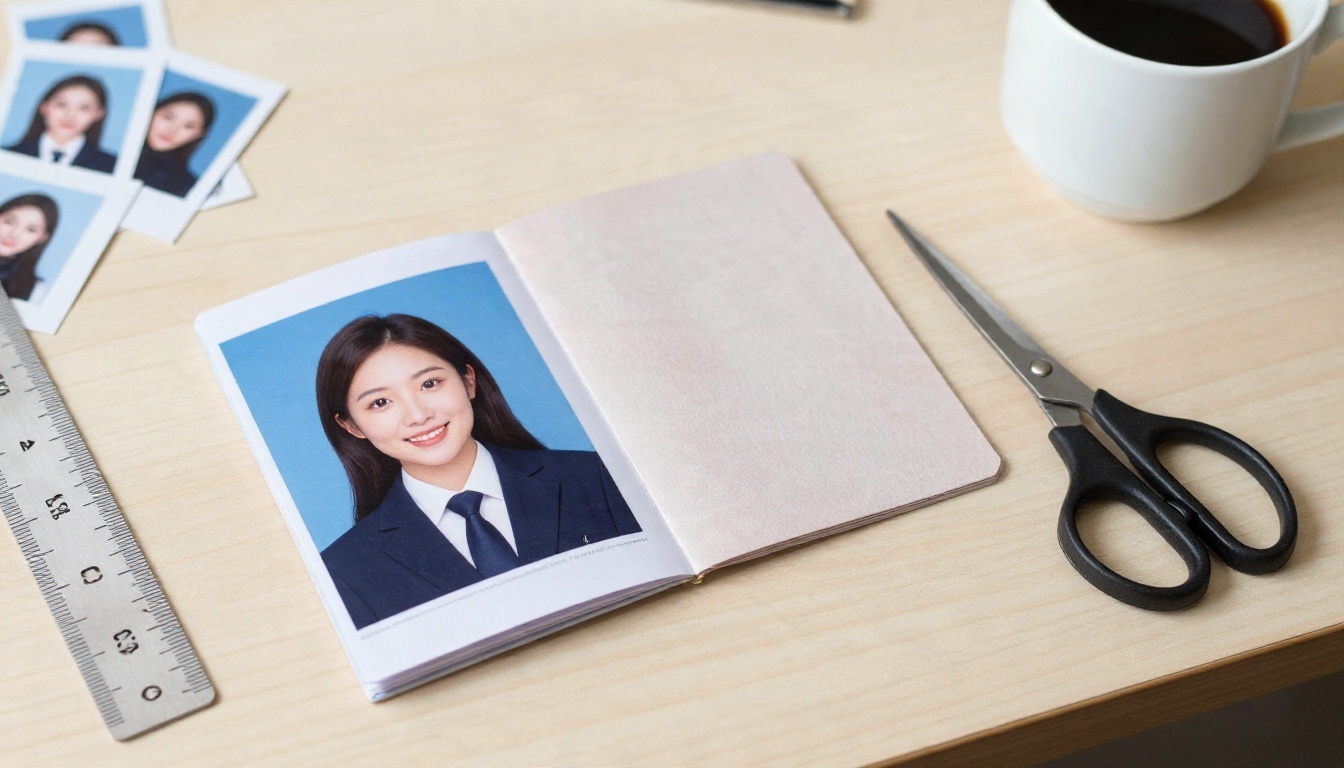
Different countries use different dimensions, so look up the exact size for your use. Common formats are 35 x 45 mm, 2 x 2 inches and 51 x 51 mm. Crop so the head fills most of the frame, with equal space on both sides and a small margin above the hair.
Resolution
Aim for at least 600 pixels wide for online forms and 300 DPI for prints. If the edit comes back small, upscale it with Real ESRGAN. For 4K output straight from generation, Seedream 4.5 is a good choice.
Background Cleanup
Flat light grey, white or pale blue is the safest. Use Remove Background if the original wall has shadows, then fill with a solid color in any basic image editor.
Print Sheet Layout
If you need a printed sheet, place four to six copies on a 4 x 6 inch canvas and print at a drugstore kiosk. Cut with a ruler and a sharp blade for straight edges.
Free Ways to Try It
You do not need to pay to test this. On PicassoIA you can open the editors linked above and run your first edits without setting up anything complicated. A sensible workflow that keeps cost at zero:
- Test your prompt on Nano Banana with one photo.
- Try the same photo in Professional Headshot for a quick comparison.
- Pick the best result and clean the background with Remove Background.
- Upscale the final file with Real ESRGAN.
💡 Privacy note: only upload photos of yourself or of people who agreed. Never edit a portrait of someone else into a document photo, and never use AI clothing swaps to misrepresent your identity or qualifications.
Where These Photos Make the Most Sense
Job Applications and Resumes
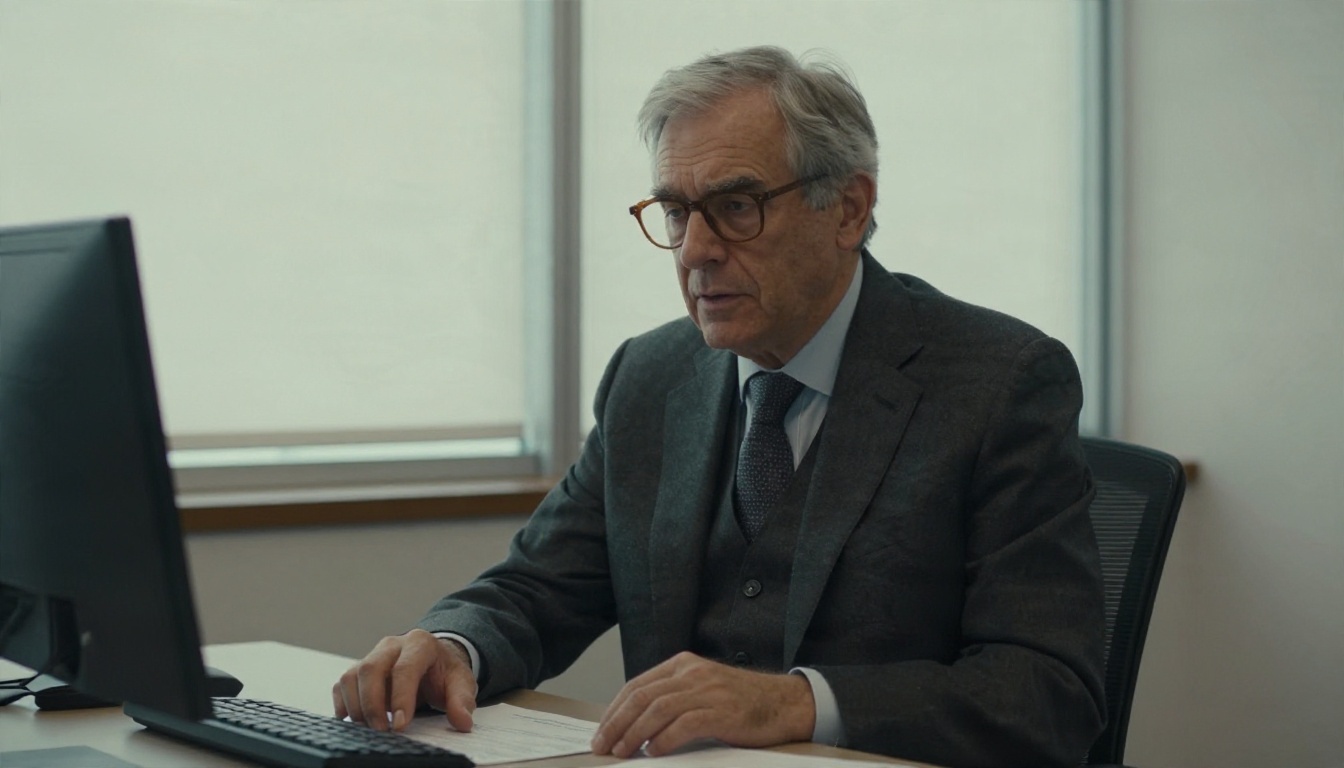
A fresh, professional portrait lifts a resume without needing a studio visit. Hiring managers see a clean face, a neutral background and polished clothing, which is all most roles need. Keep the look believable: if you would not wear that jacket to an interview, do not generate it.
Professional Profiles
For LinkedIn, speaker pages and team directories, a consistent portrait style across everyone matters more than perfection. Generate the same background and a similar jacket tone for each person, and the whole team looks unified.
Visa Application Drafts and Layout Tests
Use AI to plan composition, crop and print layout before you visit a photo booth. You will know exactly how much space the head needs and which collar color looks best against the wall. Then take the official picture in real clothing.
Students and Early Career
Students without a suit budget can still produce a respectable portrait for internship portals and portfolios. A simple blazer and shirt prompt takes less than a minute, and nothing was bought or returned.
Quality Checklist Before You Upload
Run through this list, ideally on a full screen and not a phone.
- Face matches your real face in a side by side comparison.
- Ears, hairline and jaw line look natural.
- Collar and tie sit symmetrically.
- No odd fabric merging into the neck.
- Background is plain and even.
- No visible AI artifacts around hair or glasses.
- File size and dimensions meet the portal's limit.
- You have confirmed that the destination accepts edited photos.
Try Your Own Suit Portrait Now
You already have everything you need: a plain portrait, a short prompt and a few minutes. Open Nano Banana on PicassoIA, upload your photo, and ask for a navy blazer, a white shirt and a tie. Compare the result with Flux Kontext Pro and Qwen Image Edit Plus, then finish with a clean background and a sharp upscale. Try three or four outfits, keep the one that looks like you on your best day, and use it where it fits. For more editors, browse everything at picassoia.com/en/all-models.


